Hi all! Jessica from the Let's Go Hobby Blog back with a new pattern hack for you. But before we get into the details, let me tell you how this idea started!
How it Started
This blog post started with a fun new event. I did a mini takeover of the Ellie and Mac Instagram stories. On the stories, I introduced myself, and told everyone where they could find me on Instagram (HERE!).
I then asked the audience what pattern I should make. The viewers gave me lots of great suggestions. The two ideas that were repeated were the Going Home Sweater Pattern and the South Shore Romper Pattern.
So, we had a vote! I'll bet you can guess which pattern polled higher in that vote! 😉 And I promised a hack of the pattern of course.
That was really fun! I was a little nervous to be in front of so many people. But, also, I felt a little famous!
If you suggested a pattern or voted, thank you so much for your help!!
The Going Home Sweater Sewing Pattern
The Adult Going Home Sweater is actually a fan favorite pattern. It's super cute and has a ton of great options.
Here's the line drawing so you can see what the original sewing pattern looks like:

Pattern Options
Raglan Sleeves -
- Short Sleeves
- 3/4 Length Sleeves
- Long Sleeves
Bodice
- Shirt Length
- Tunic Length
- Dress Length
Neckline
- Rounded Neckband
- Cowl Option
You might have also noticed the three younger looking characters on the right side of the line drawing picture above, This same pattern is also available for kids, you can find that pattern HERE. And, guess what, there's even a doll pattern too! You can find that HERE.
My Make
I thought about a few different hacks I could do with this pattern. One person on Instagram suggested I make the Going Home Sweater Pattern at tunic length with side seam pockets.
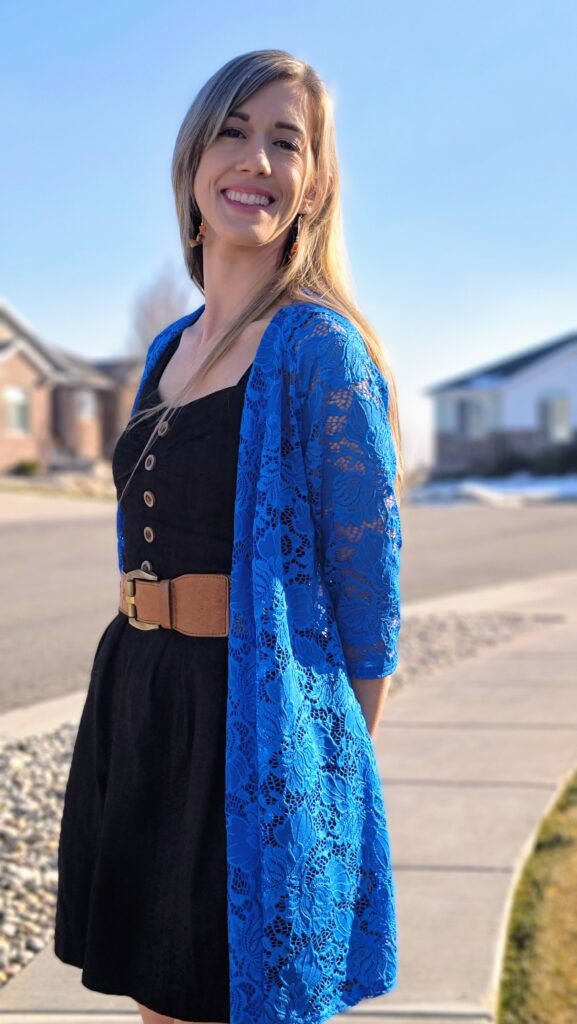
That would be super cute too and I thought about doing it. But then I saw this blue stretch lace fabric and wanted to use it. I considered making the pattern with lace sleeves and a solid fabric for the bodice, but I couldn't find the perfect fabric for it in my stash.
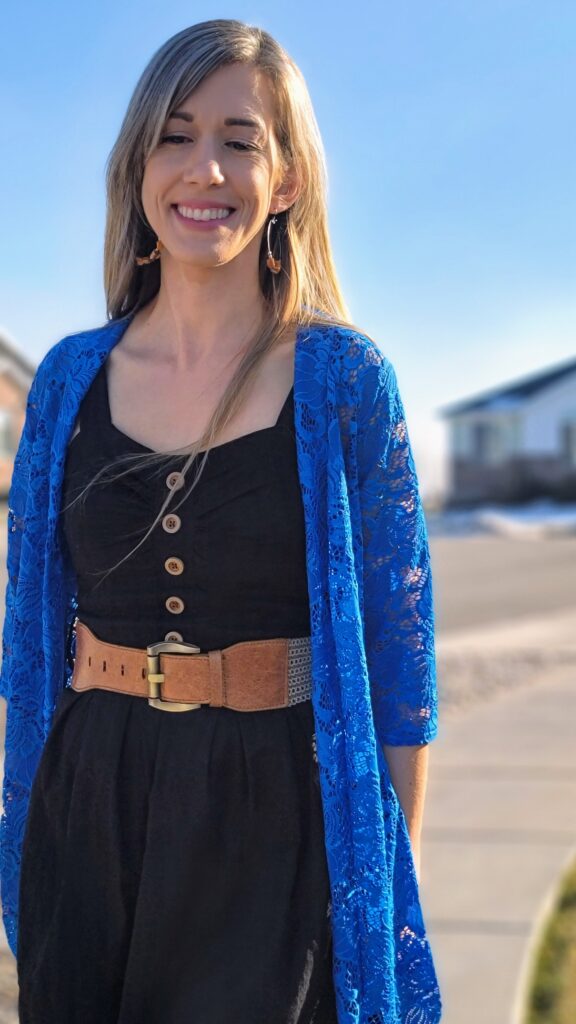
Then it occurred to me, all lace. Of course!
And what hack would look amazing with all lace?
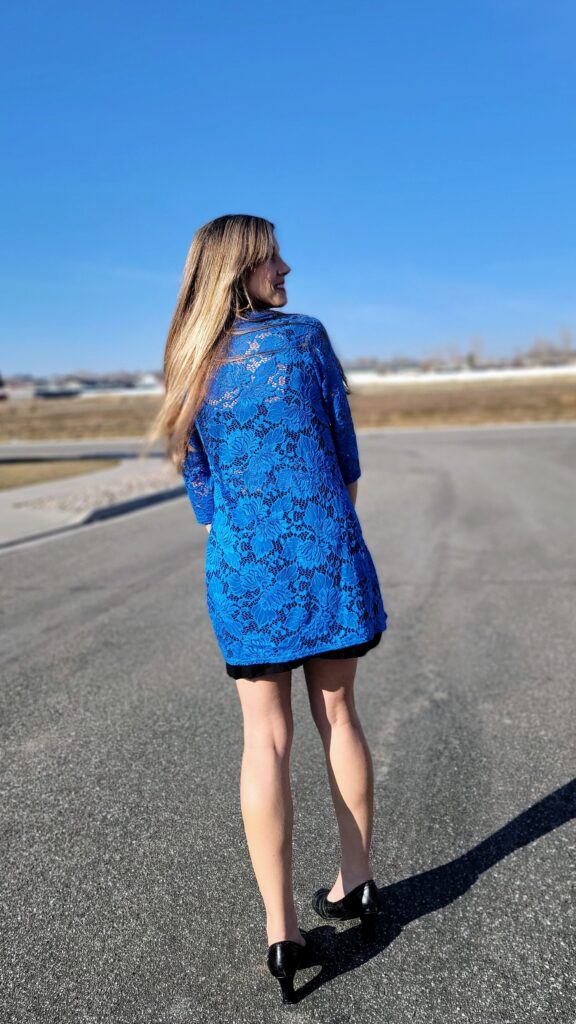
A C A R D I G A N!!

A raglan cardigan at that! The hack looks complicated, but it was actually pretty easy.
Read on to see how I did it! ⬇😀
Pattern Hacking
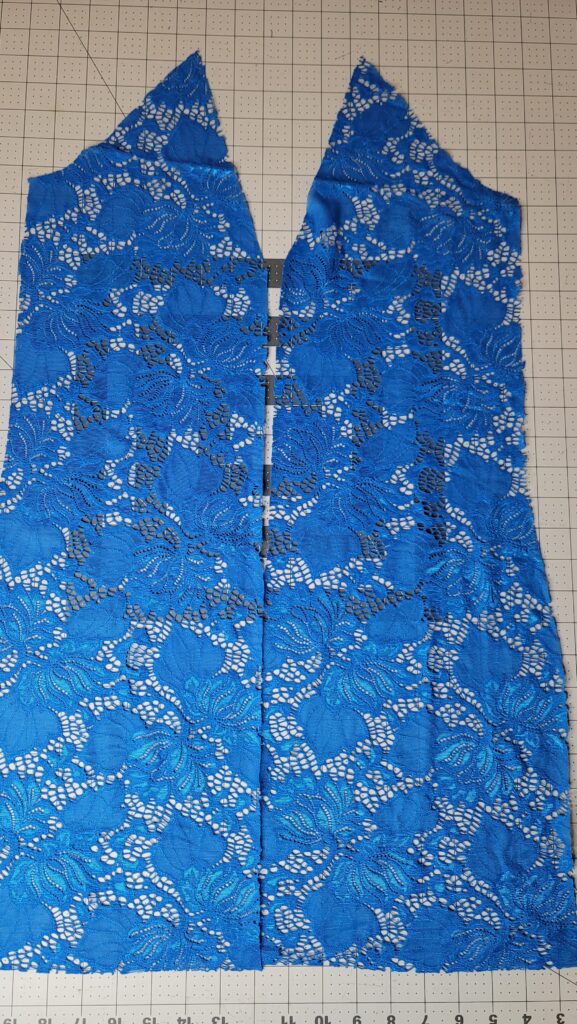
Here's a close up so you can see more of what I did for the hack:
Basically, I slightly altered the front bodice pieces, then cut 2 fronts instead of cutting the front on the fold. To finish the neckband and front pieces, I added a 1:1 length band all the way around.
Step-By-Step
Here are the instructions step-by-step!
Start by printing and cutting, or tracing (or projecting) - all your pattern pieces as per the original pattern.
Step 1
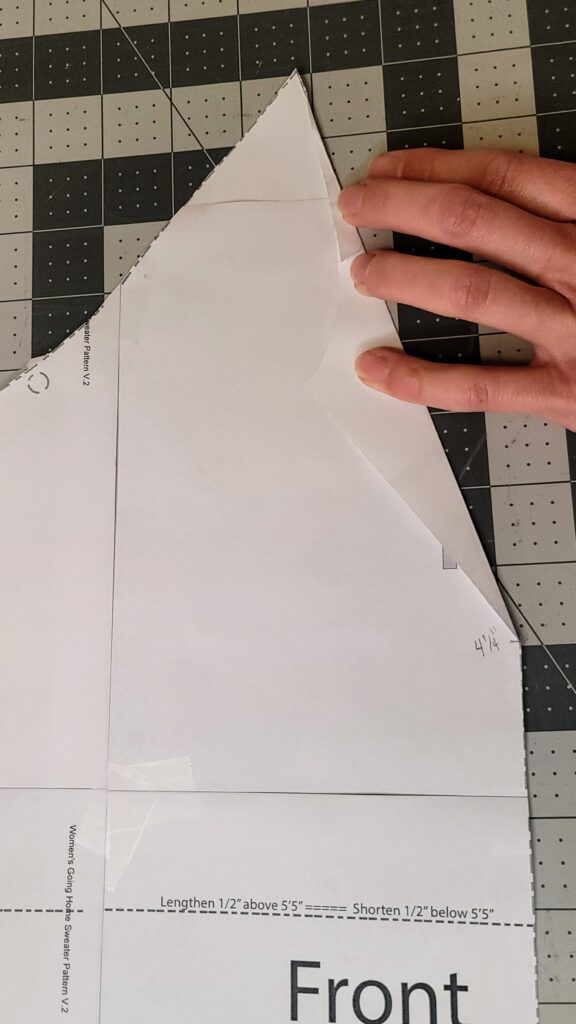
First we need to remove the part of the bodice that would allow you to attach a neckband. And instead we are going to create a slight v-neck to sew our band onto.
To do this, you will need a ruler and a pencil. See below:
⭐ I measured down 4.5 inches from the right side of the front bodice piece and made a mark.

Step 2
⭐ Now take your ruler, and place it along bodice piece from the pointy top down to that little mark you made at 4.5 inches. Draw a line down the paper along your ruler.

Step 3
⭐Next, fold your pattern piece along the line you just drew. This is the new shape of your front bodice pieces!
Step 4
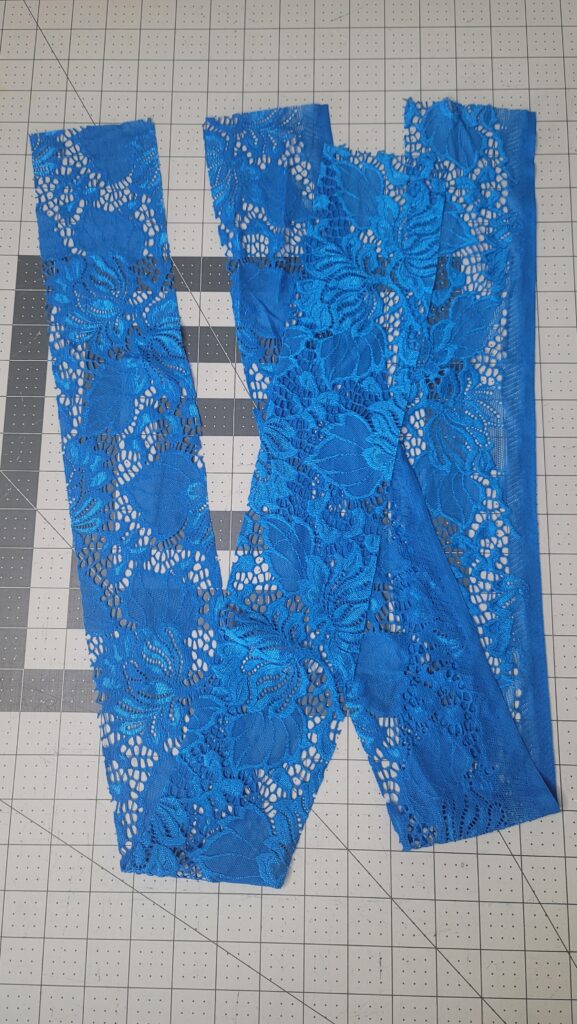
I'll combine a few steps here. ⭐You will need to cut 2 bodice fronts, 1 bodice back, and 2 mirrored sleeves.
You can make your cardigan and sleeves any length you desire. I cut my bodice pieces on the dress length line and the sleeves on the 3/4 length line. Don't forget to adjust for height and grade where needed!
* A little tip here - be sure to mark or notch your front and/or back of sleeves on both the sleeve and front bodice pieces. It can be confusing if you haven't marked them when you go to sew it all together.
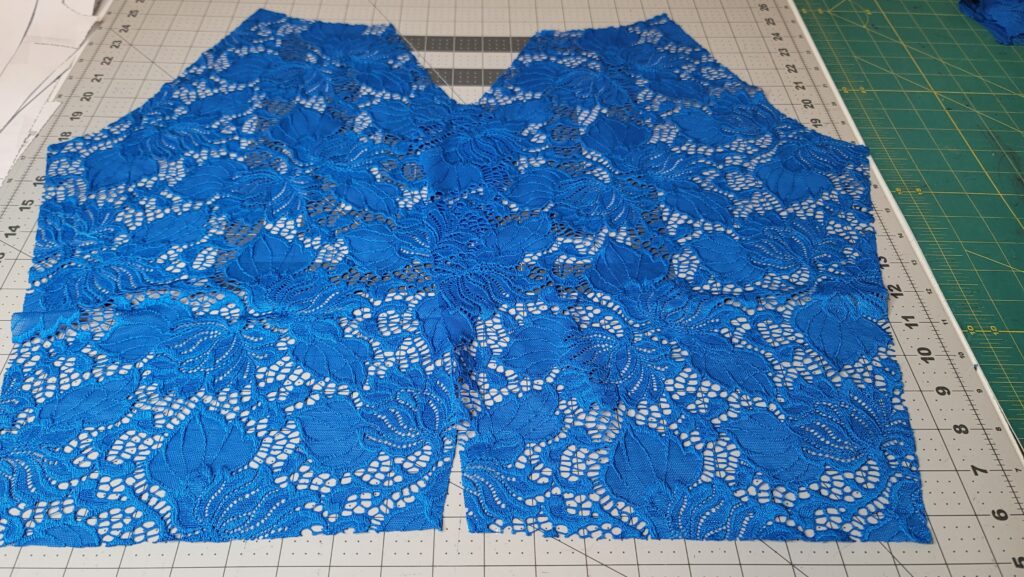
Step 5
Assemble the pattern pieces at the sleeves and down the side seams per the pattern instructions, except you will be attaching two separate fronts to the sleeves on each side.
Step 6
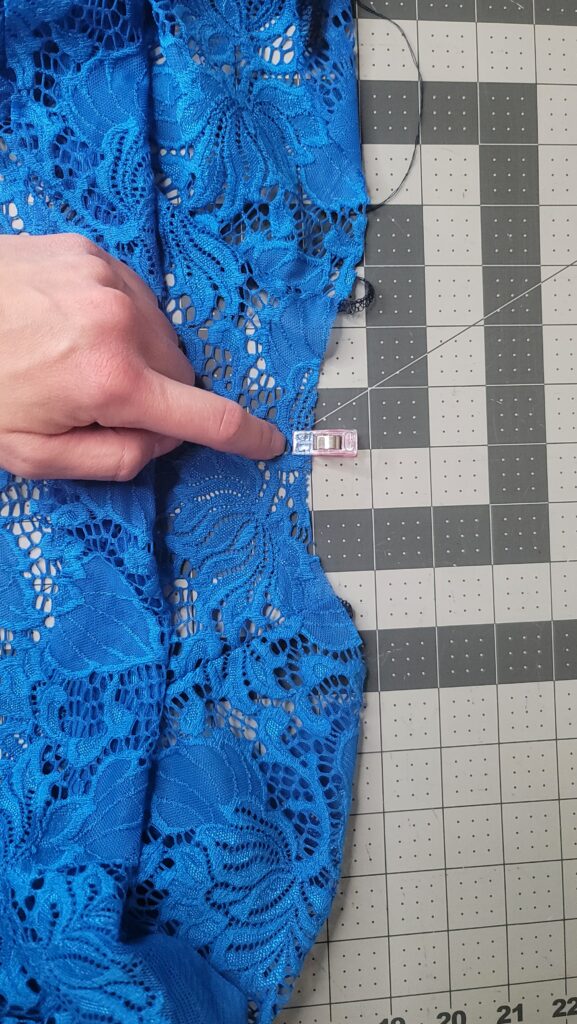
Time to cut the band. In order to do this, you will need to now measure your cardigan from the center of the neck (or the cb of the back bodice) down around the sleeve area to the hem.
I'm pointing to the center top of the back bodice piece below.
⭐Once you have that measurement, you can cut 2 band pieces at that width plus 1/4" for seam allowance, with a length of 3.5 inches. The greatest stretch goes along the long part of your band.
My cardigan measured 38 3/8" from top center back to hem, so I cut 2 bands at 39" x 3.5" just to be safe.
It's easier to cut off fabric than add more!
Note - if you don't have the fabric width to make your band in 2 pieces, you can find the total length you need and divide it by 3. Be sure to add extra for the seam allowances (1/4" SA).
Step 7
⭐Sew the short ends of your bands right sides together so that you have one long stretch of fabric.
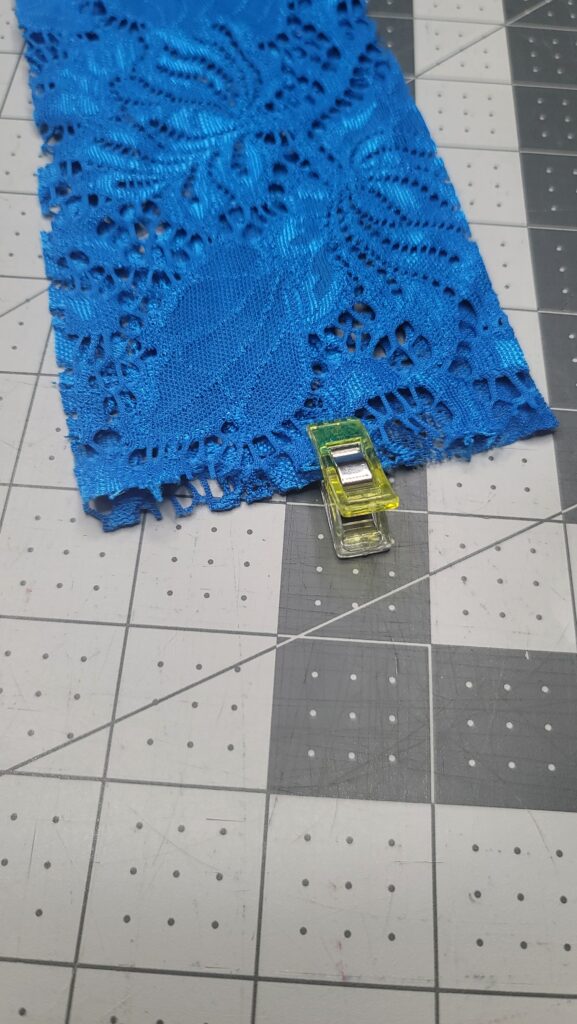
Step 8
⭐Fold your band wrong sides together, then pin/clip the band with right sides together all the way around the outer edge of the cardigan from hem to hem.
Step 9
⭐Sew the band to the cardigan at the 1/4 seam allowance.
Step 10
⭐Hem your sleeves and bottom of bodice by folding the raw edges up 1/2" and then folding another 1/2" before sewing topstitching with a stretch stitch of your choice.
Note - The reason for the double fold here is to ensure you have caught the lace in the stitching. If you are using solid fabric, you can choose to fold the hem once.
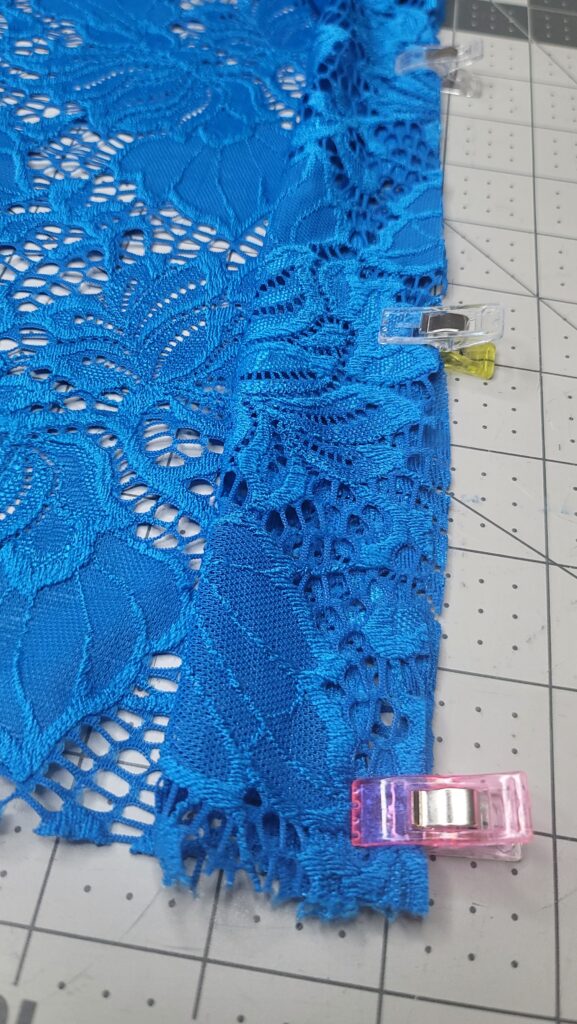
Have you ever had your open hems stick out on the side?
This tip is to show you how to ensure that doesn't happen!
Fold the corner in a triangle shape first, then fold the hem up twice and sew.
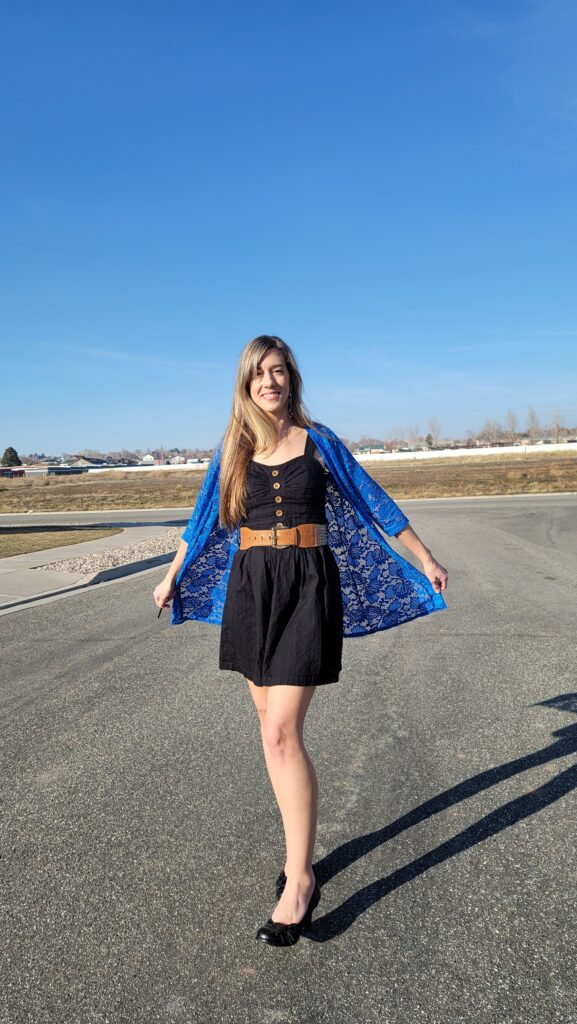
You're Finished!
Enjoy your new amazing raglan cardigan!


Link to Pattern
Here's the link to the pattern if you want to make your own -
Adult Going Home Sweater Pattern
If you do, I'd love to see it! Tag me on Instagram @sewletsgohobby or on Facebook @letsgohobby.
Until next time you awesome Ellie and Mac Fans...
More Posts
I hope you enjoyed this hack post. If you're interested in reading more posts by me on the Ellie and Mac Blog, you can find them with the links below 😀 :
- Be Invincible & Urban Leggings Mash
- Hack Your Wrapped Love Dress
- Be Dreamy Dress Hack
- Morning Lounge Wear
- Sunset Dreams Dress to Top Hack
- Be Smart Jumper Hack
- Add a Paperbag Waist to Any Skirt
This post contains affiliate links. The patterns are still the same cost for you, but if you use my links, I'll get a tiny bit of the cost, so that I can buy more fabric to help me continue to write more blog posts for you!💗