Hey Ellie and Mac Fans! My name is Jessica. I usually chat about sewing patterns and tips, plus some other fun hobbies like gardening and food, over on the Let's Go Hobby website - www.letsgohobby.com
But, I'm excited to be a guest blogger here on the Ellie and Mac website today! In this post, I'm going to show you how to take the EM Sunset Dreams Dress and turn it into a super cute tank top. One with princess seams and a super cute sweetheart neckline!

The princess seams not only take this top up a notch in style, they also provide an even better fitting top. Princess seams allow you adjust for fit through more seams in both the front and back bodice pieces.
Dress to Top Hack
So, how did I do it? After printing out all the Sunset Dreams Dress pattern bodice pieces, I was trying to think of a way to know where and how to grade the lines out to go from dress bodice to shirt. I needed to take the top from the natural waist down to a shirt length and add width below the waist as well.

Free Pattern for Reference
Then I realized that Ellie and Mac has a free tank pattern already sitting on the website! Have you seen the Be Trendy Halter Top pattern in the Wacky and Free section? The cover photo is a super cute girl in a pink halter top. It's perfect for comparing to the Sunset Dreams bodice to know how to adjust the pattern below the waist!
Trace the Be Trendy Pattern
So, after printing that awesome freebie out, I traced the front and back bodice pieces onto some craft paper. Now, if you don't have big paper like mine. No worries! Just tape some smaller pieces of paper together and trace that Be Trendy pattern onto it! If you have tracing paper, you can skip this step, and move onto the next one!
A note - if you need to grade between sizes through the bust, waist, or hips. Do that with the Be Trendy pattern now before you use it as a reference.
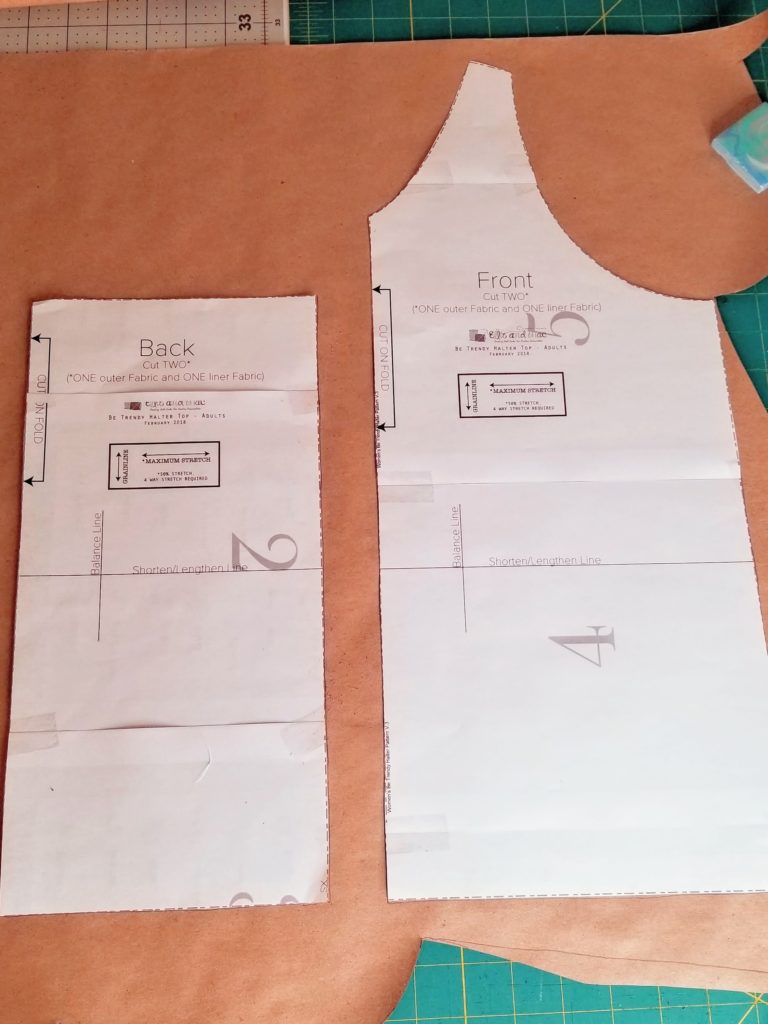
Be sure to have the hems of both the front and back Be Trendy pieces line up. Alternatively, you could cut the two pieces apart and then lay them straight next to each other. If you cut them out now, be sure to leave some space on either side of the traced pieces.
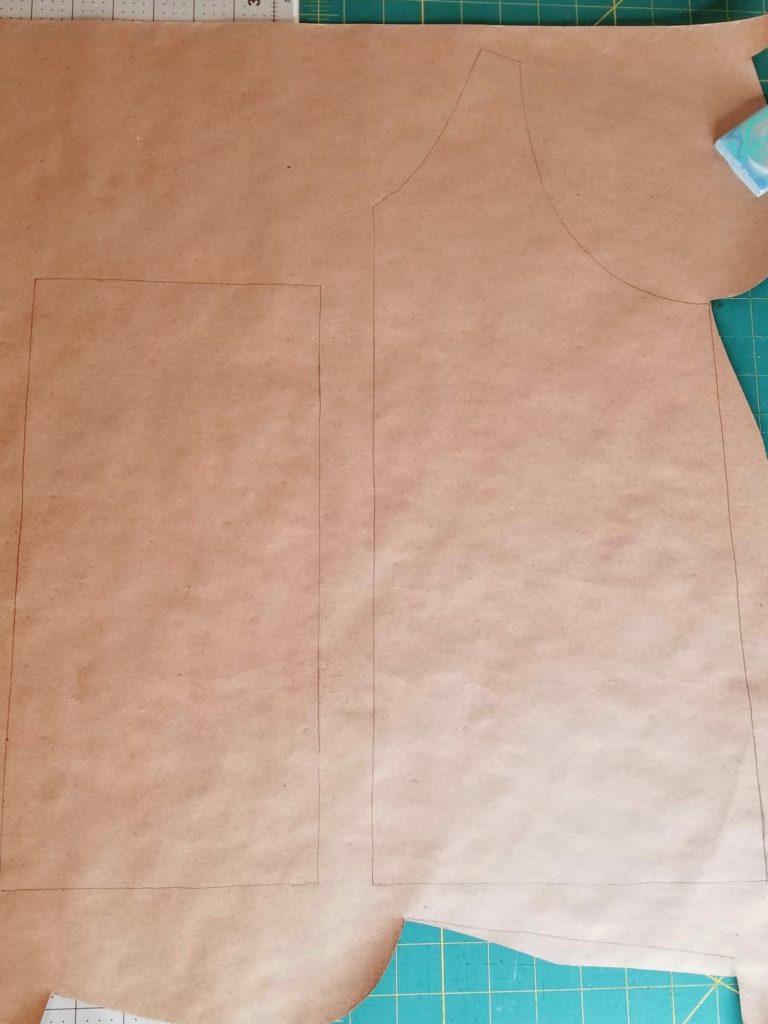
Place the Sunset Dreams Pattern on Top
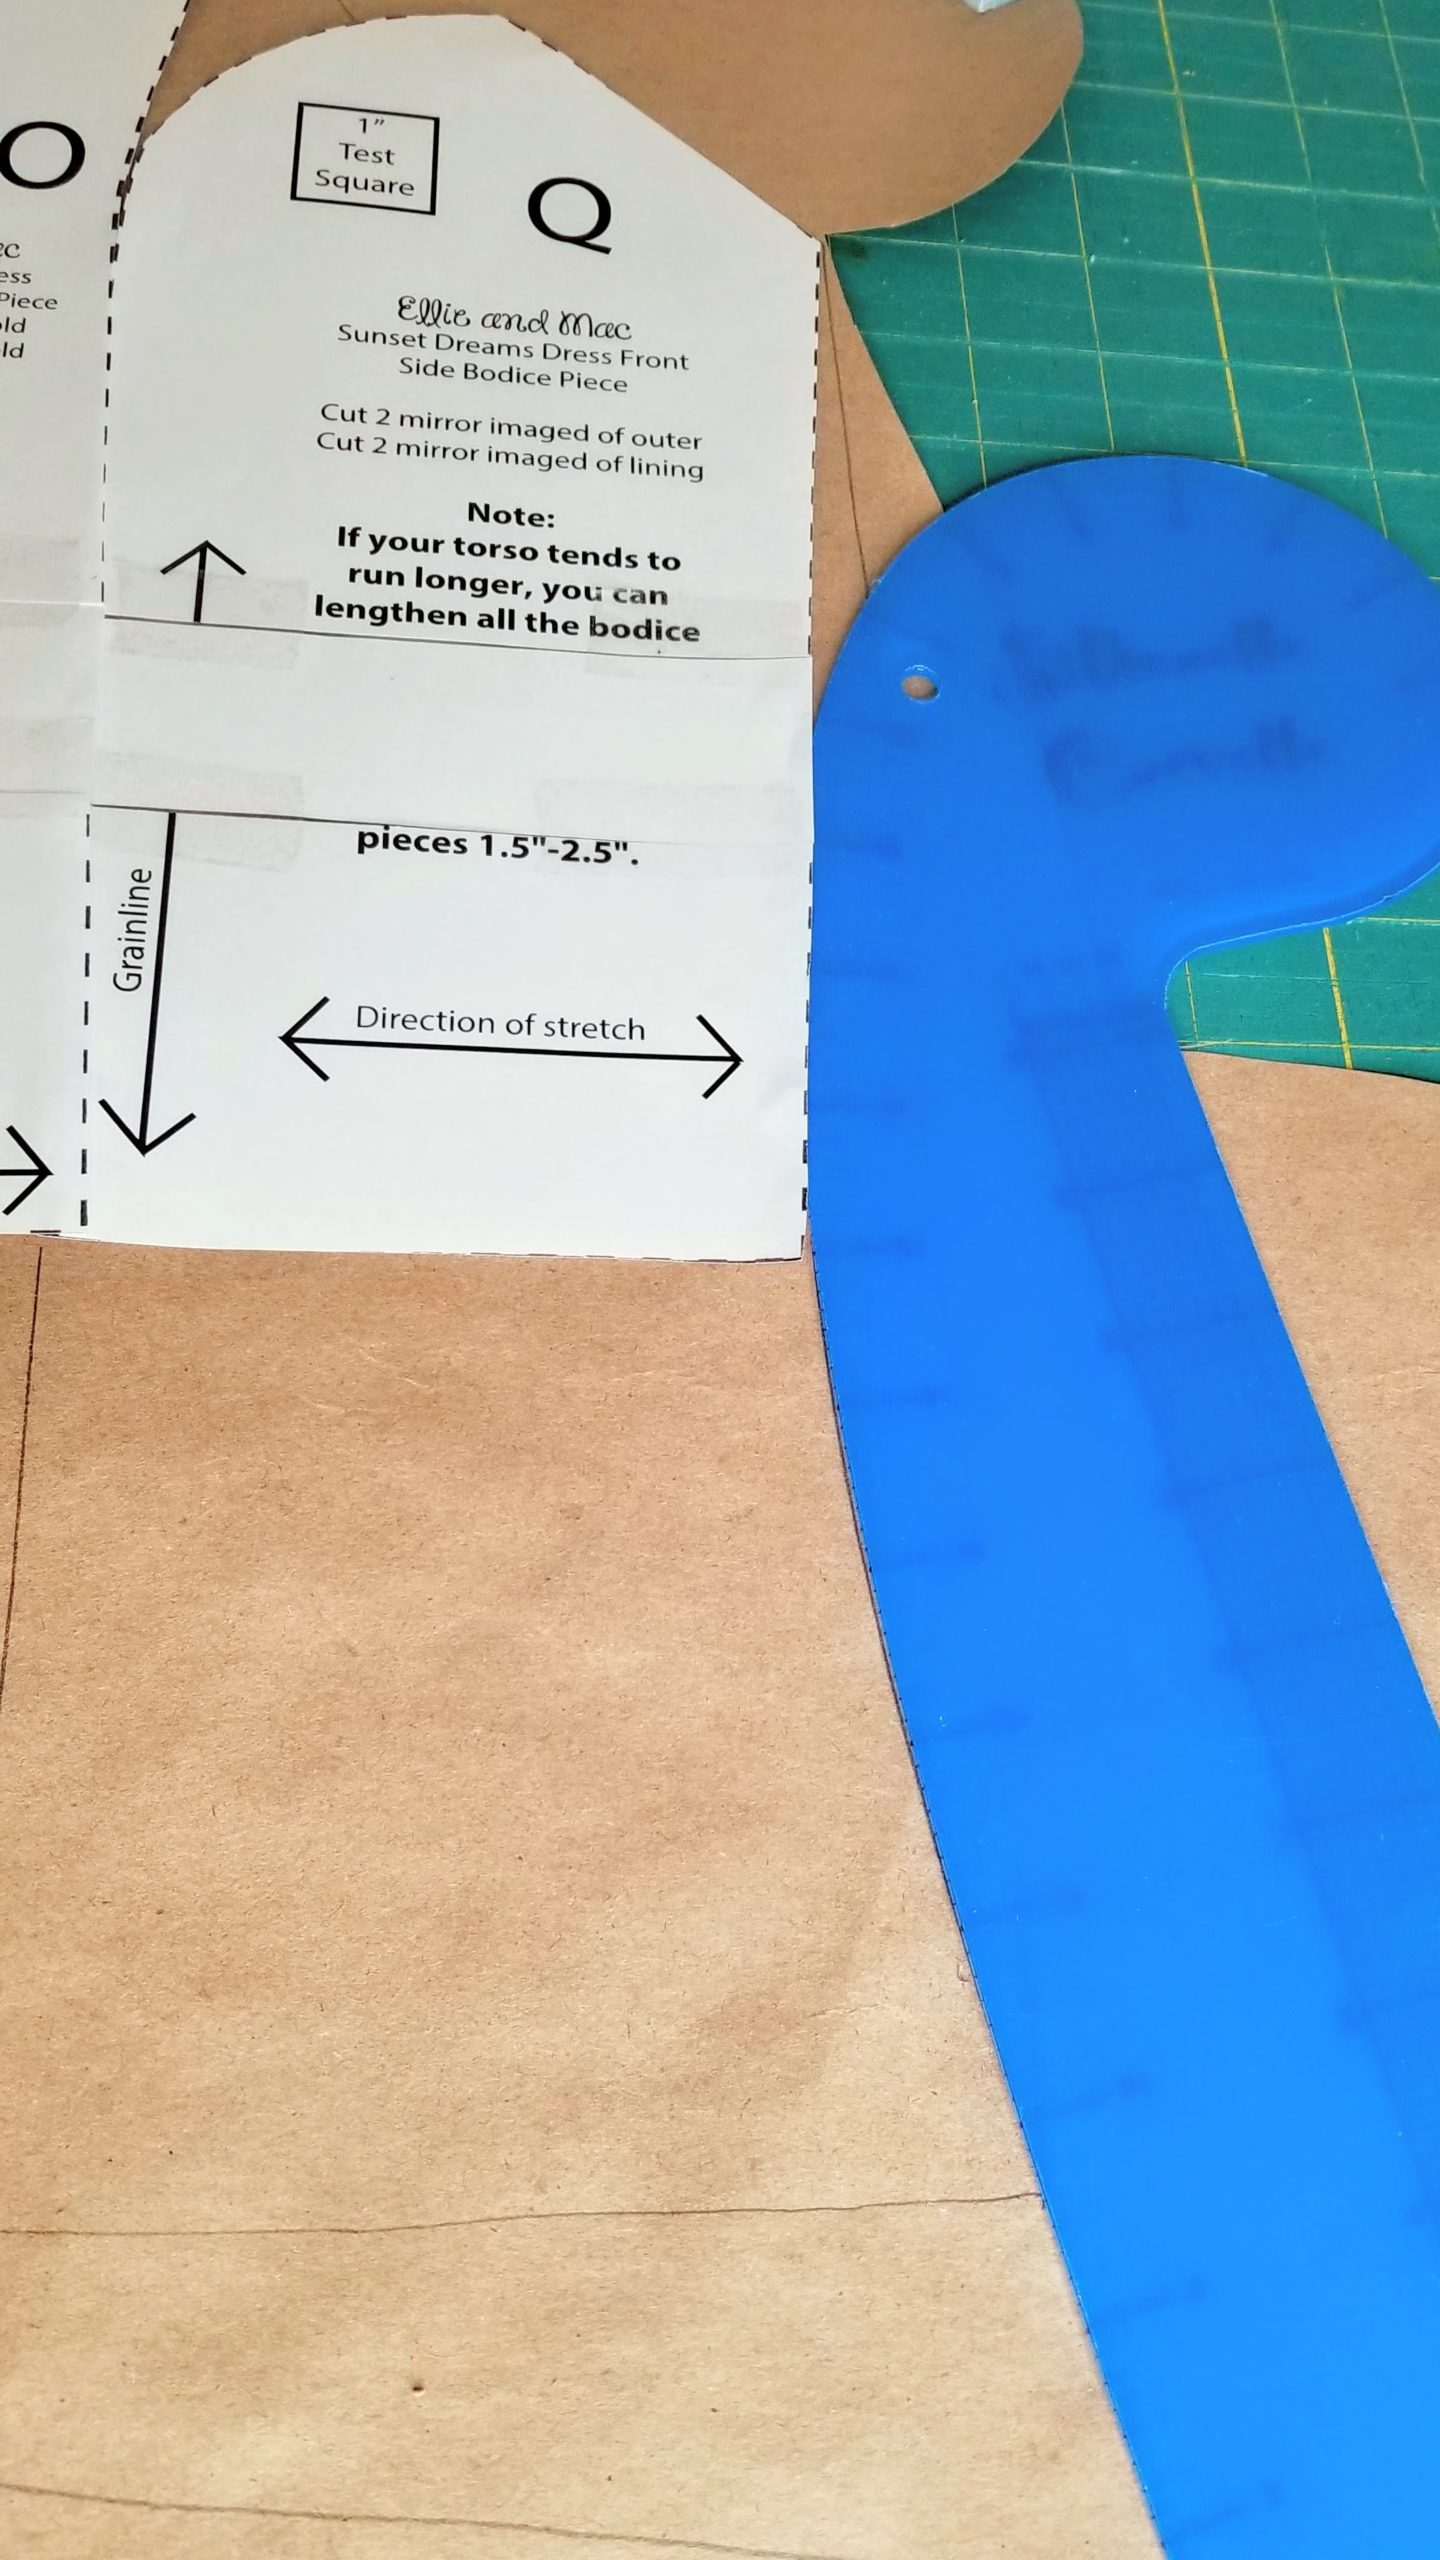
Now lay all your Sunset Dreams bodice pieces on top of the Be Trendy tracings. Your Sunset side bodice piece corner will align where the Be Trendy side seam and armscye come together like in the picture below.

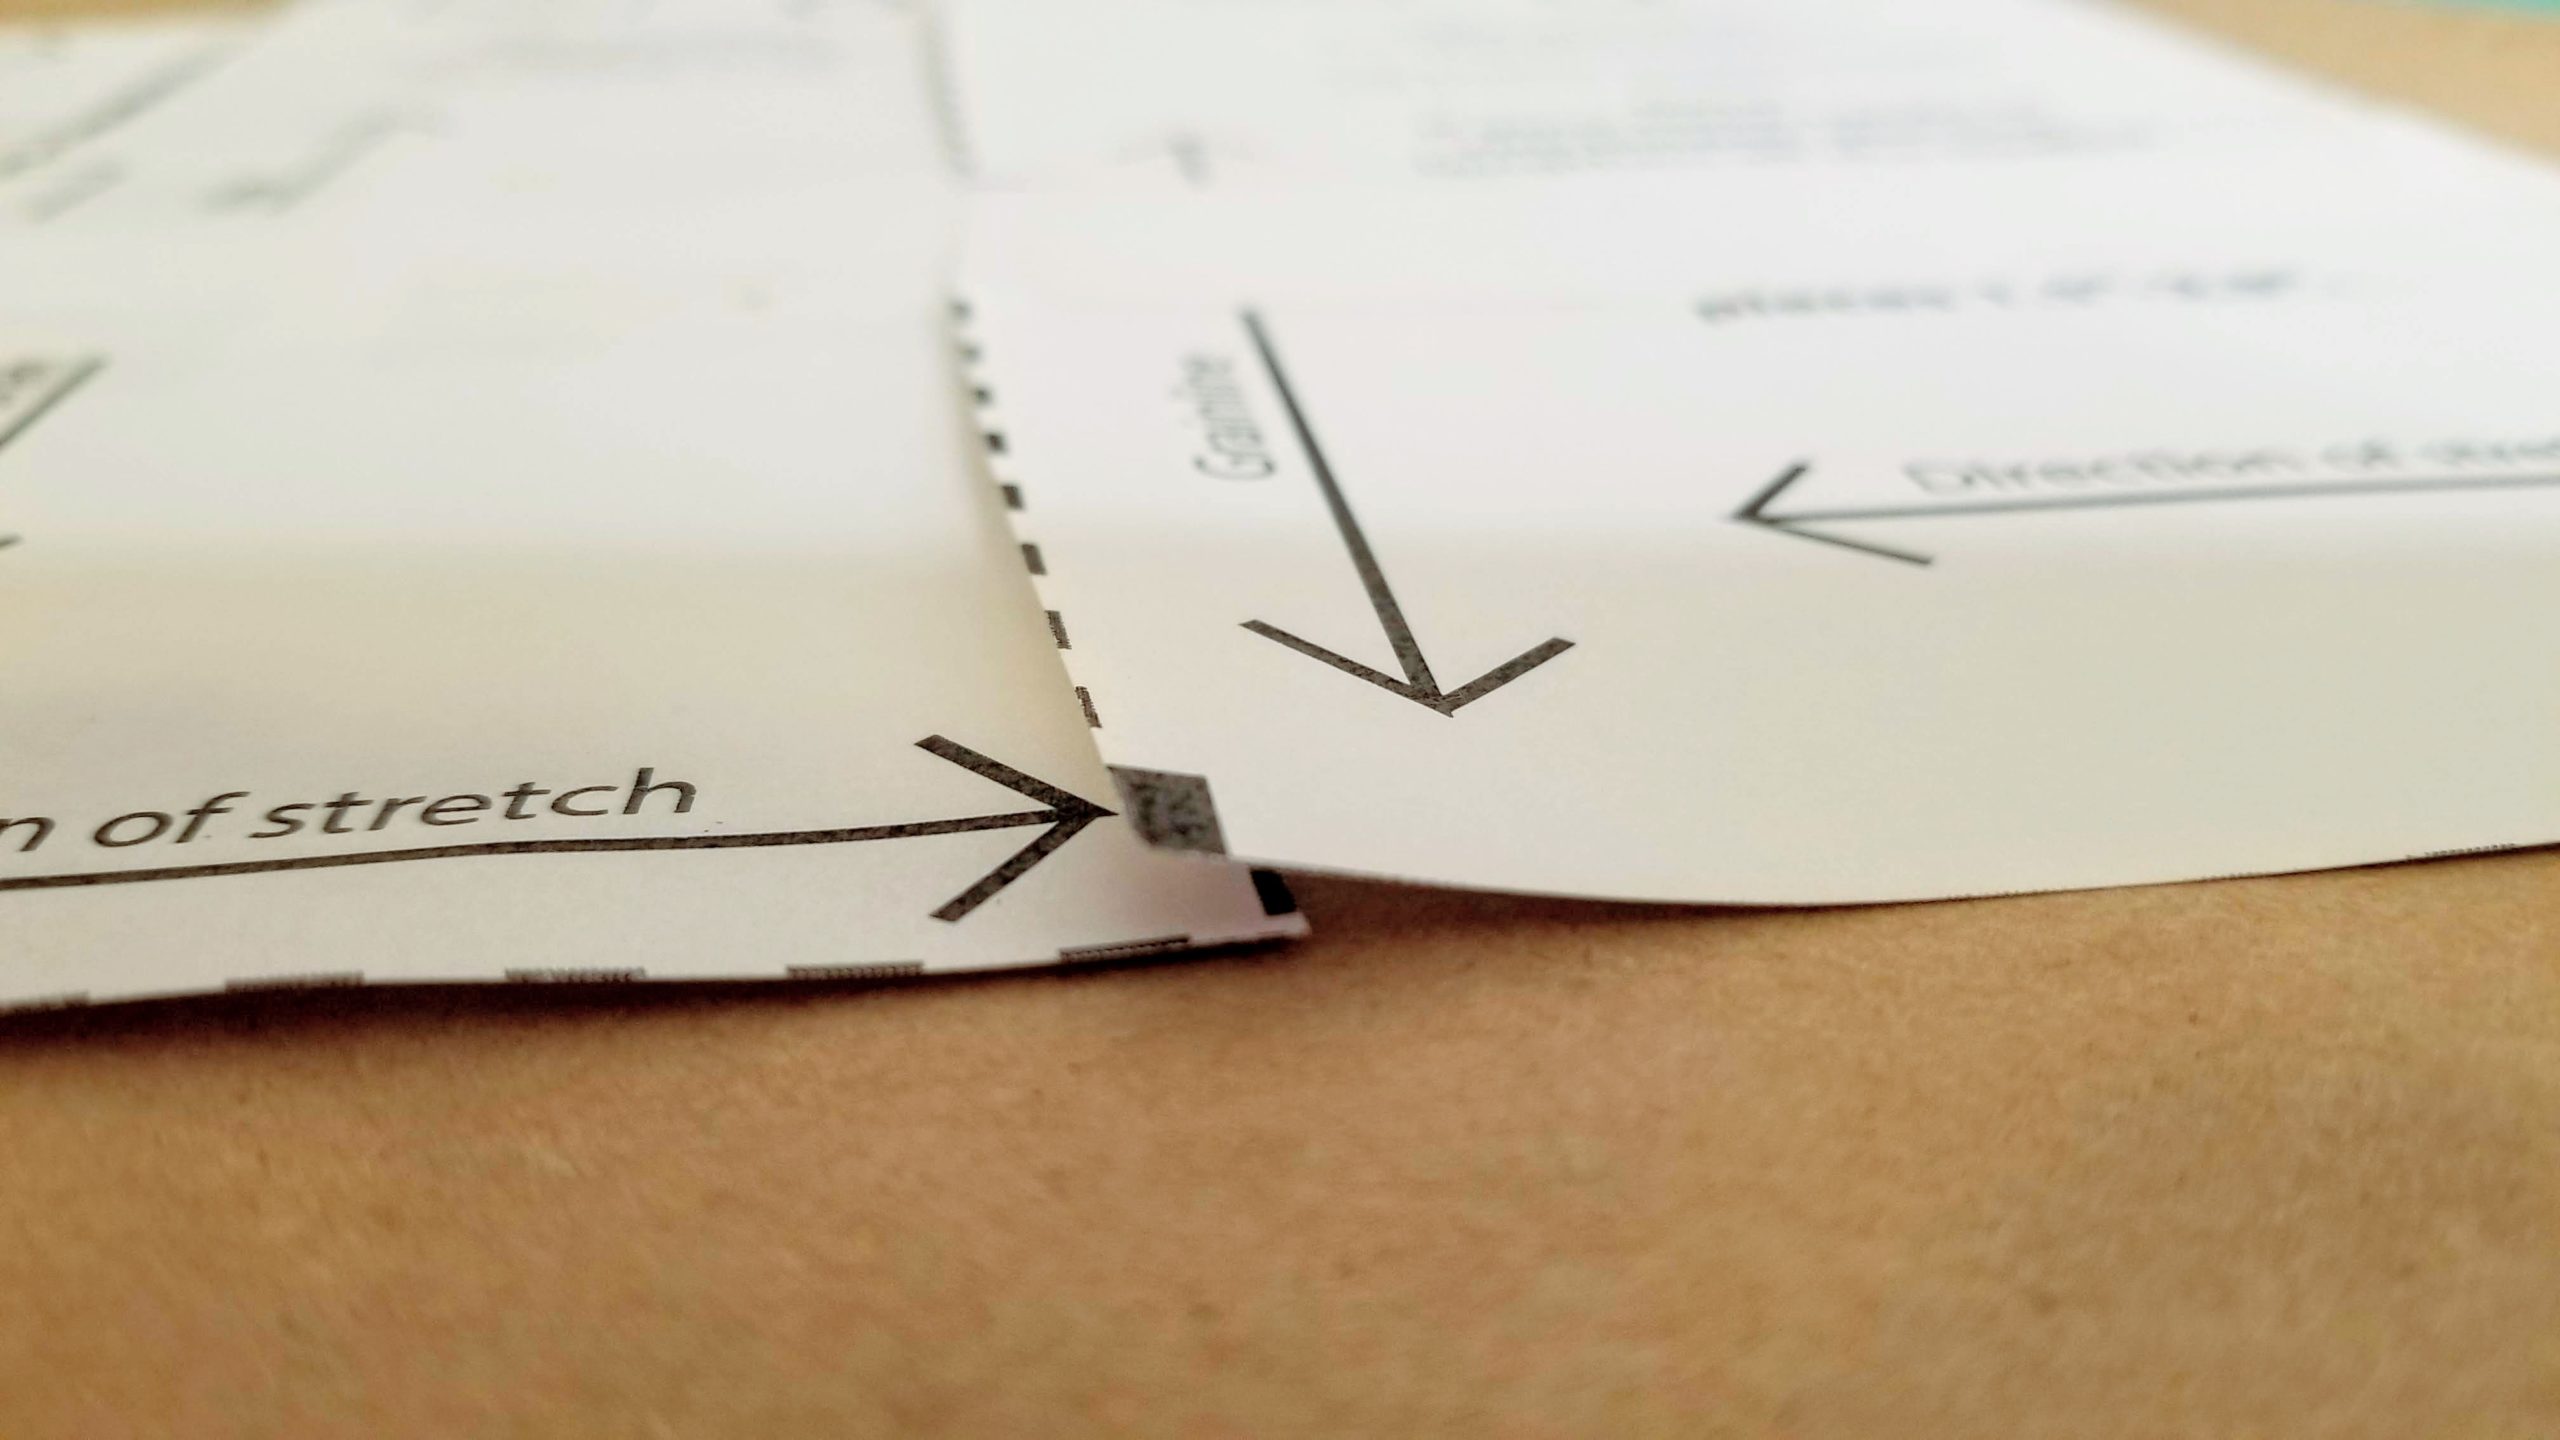
Be sure to overlap your seam allowances on the side and center pattern pieces by 1/4 inch.
A little note about my sunset dreams pattern pieces, I have a longer than 8 inch side waist, which is what this pattern is drafted for. Mine is closer to 9.5 inches. So, I did add that 1.5 inches through all the Sunset Dreams bodice pieces to bring the bottom of the pattern down to my natural waist.
Observations
After examining the front and back Sunset Dreams bodice pieces with the be Trendy, here are some observations I made:
- The Sunset Dreams back bodice is actually wider than the Be Trendy patterns back. So you won't need to add width as you add length to make the shirt.
- The Sunset Dreams front bodice pieces like up almost exactly with the Be Trendy near the top of the side seam, but then the Sunset Dreams gets narrower around the waist.

Action Plan
So, to make sure that the shirt we are making fits below the natural waist, we will need to add width below the waist area (this is assuming your hips are larger than your waist. If you need to grade out at the waist or in at the hips, be sure to do that first with the Be Trendy pattern!). This is where having another pattern as a reference comes in so handy!
Draw the Curve
In the picture above, I have lined up my french curve from the bottom of the sunset dreams. Now, you don't have to have a french curve for this part, you can just eyeball a nice gradual curve from the bottom of the Sunset Dreams Waist down to the bottom of the Be Trendy Top.
Your curve should look something like this, from dot to dot:

Now, keep in mind that this is accurate only if you need the same size at bust, waist, and hips. If you are grading in or out at any of these points, your curve will look different!

The Be Trendy Top does have a band at the bottom. But, I wanted this top to be on the short side so it would look cute with lower cut bottoms like in my pictures.
If you want your new tank top to be longer, just add some length in. Many of my shirt patterns would be about 2 inches longer than this. Add it if you desire!
Add Length and Cut
From here, you will just tape the Sunset Dreams pattern pieces to the bottom paper and cut the shapes out.

Be sure to extend the straight fold lines straight down and don't chop off that 1/4 inch seam allowance! Use a ruler to be accurate.

In the end, you should have 4 pattern pieces with little extenders on them like my picture below:

Cut and Sew
From here, it's simple! Cut all your pieces out the same way you would if you were just making the regular bodice. You can follow the instructions in the PDF pattern file to construct the bodice. And then just fold up the hem at 1/2" and use a stretch stitch to finish the top!

A Little Deviation
If you don't want to line this top fully (because of fabric usage consideration or heat!), you can use a facing instead. I drafted my facing to be 2 inches long (from the top of the bodice down 2 inches minus seam allowance).
Use the Pattern Pieces for Guidance
It took me a minute to figure out the shape, thus the erased pencil lines on my pieces below. But this is what it should look like.

You can really making the facing be any length you want, but I wanted mine to be above the bust, but not too short that it would flip up.
Here's a few more pictures that show how I drew the lines:
Below, I lined up the end of a wide ruler with the top of the curved top front side bodice piece, then laid another ruler across the top along the 2" line. Then removed the wide ruler and drew the final line all the way through.

For the front bodice piece, you will want to mark points 2 inches down from the top all the way along the curve. Then use a french curve or just connect the dots along the points you marked.
This doesn't have to be perfect, as the facing curve will not be visible. The important part is to make sure that the sides of each facing piece you make are the same size so that they match up when you sew them together (so each side will measure 2" from the top).

Here's my facings cut out along with the front facings from the fabric.

The back will need facings too, but these are much easier. Just measure down 2 inches from the top of each back bodice piece and cut out those facings as well.
Attach the Facings
To add the facings to the garment, you will sew them in the same way you would with a lining on top. You will sew each facing to the front and back bodice, right sides together with the straps sandwiched in between - just like in the pattern instructions!
You can then choose to under-stitch or top-stitch to keep the facing in place. I top-stitched across the top on mine.


So, hopefully you now have all the know how to make your own Sunset Dreams Top. Please feel free to ask if you need any help or if I didn't make something clear!
You can find the Sunset Dreams Dress dress HERE. And the Be Trendy Halter Top for reference HERE.
You can find me on my blog at www.letsgohobby.com. I also post my sewing makes on Instagram at www.instagram.com/sewletsgohobby. And lastly, you can find sewing posts and links on my Facebook page @ www.facebook.com/letsgohobby.
Thanks for you time!
Happy Sewing!
(Written by: Jessica Luckert)