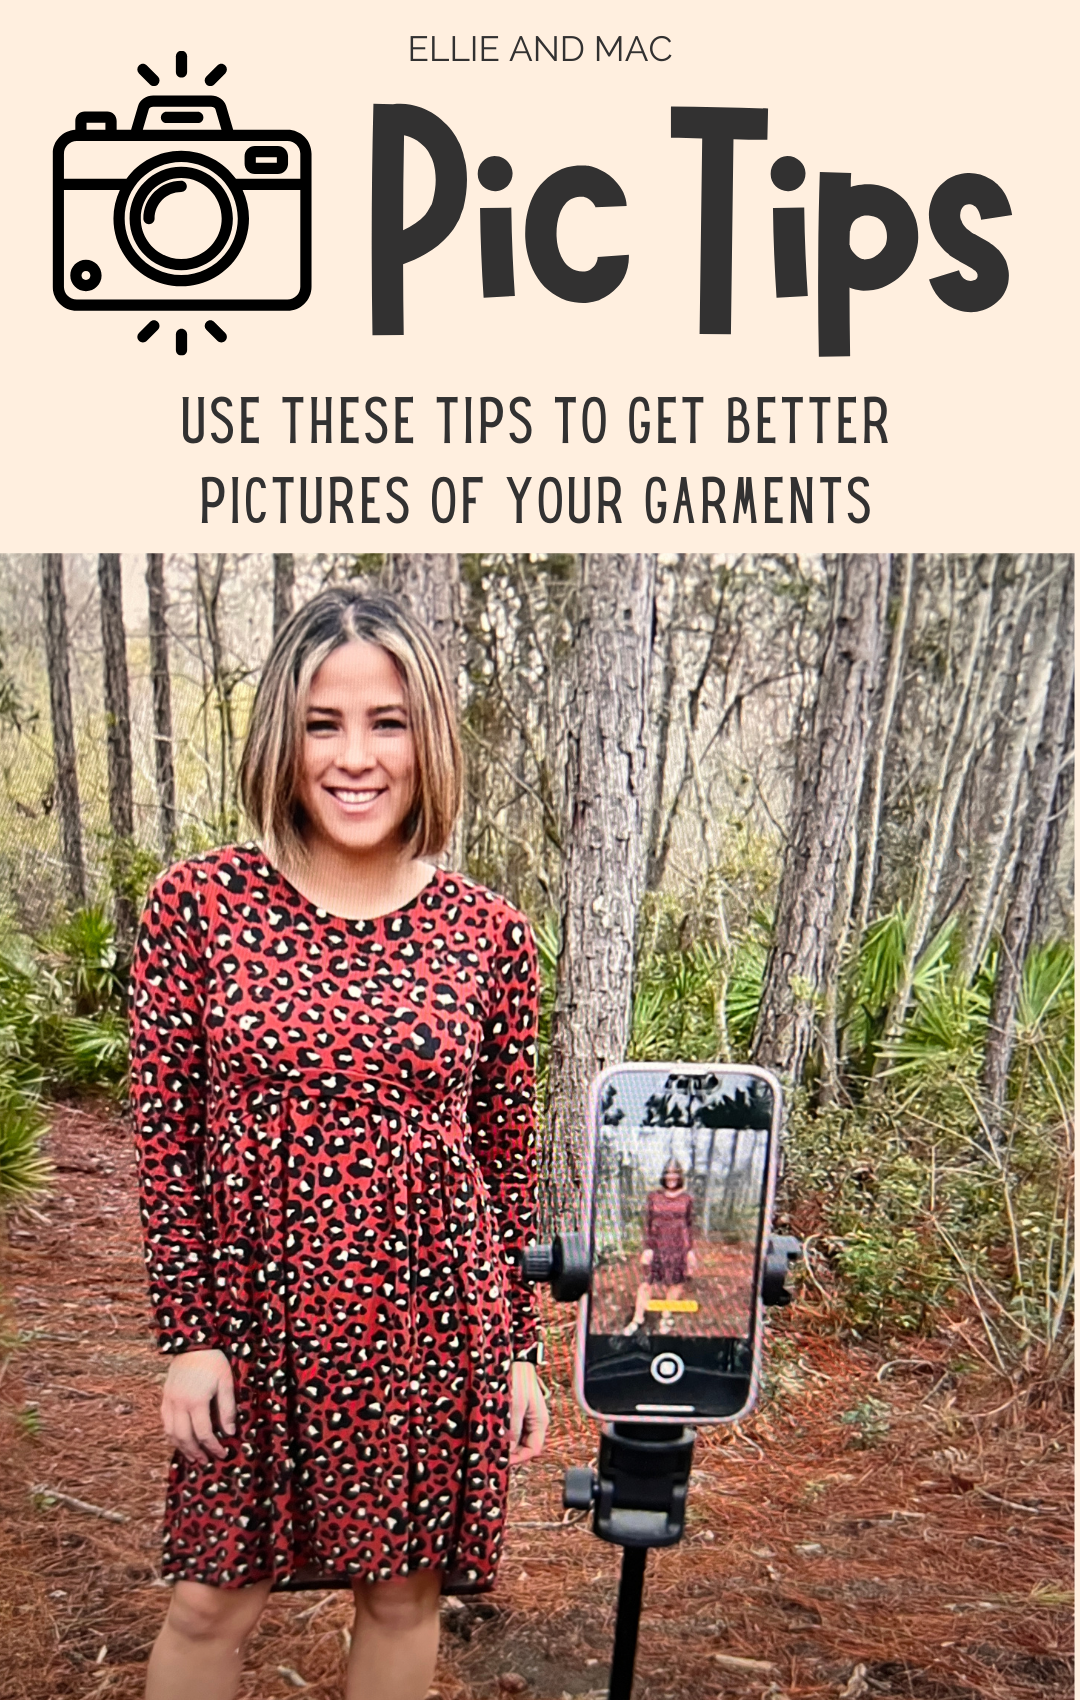
Hi all! My name is Jessica and I am the Social Media Manager for Ellie and Mac as well as a blogger (you can find my sewing blog at www.letsgohobby.com).
I'm here today to give you some pointers on how to take great pictures of the beautiful things you make. Plus, a few tips on how create posts on social media that others will want to engage with you on.
Let's get started!
How to Take Good Pictures:
Taking pictures of your clothing can be difficult, but it becomes easier over time. Start with the basics, what makes a great picture?
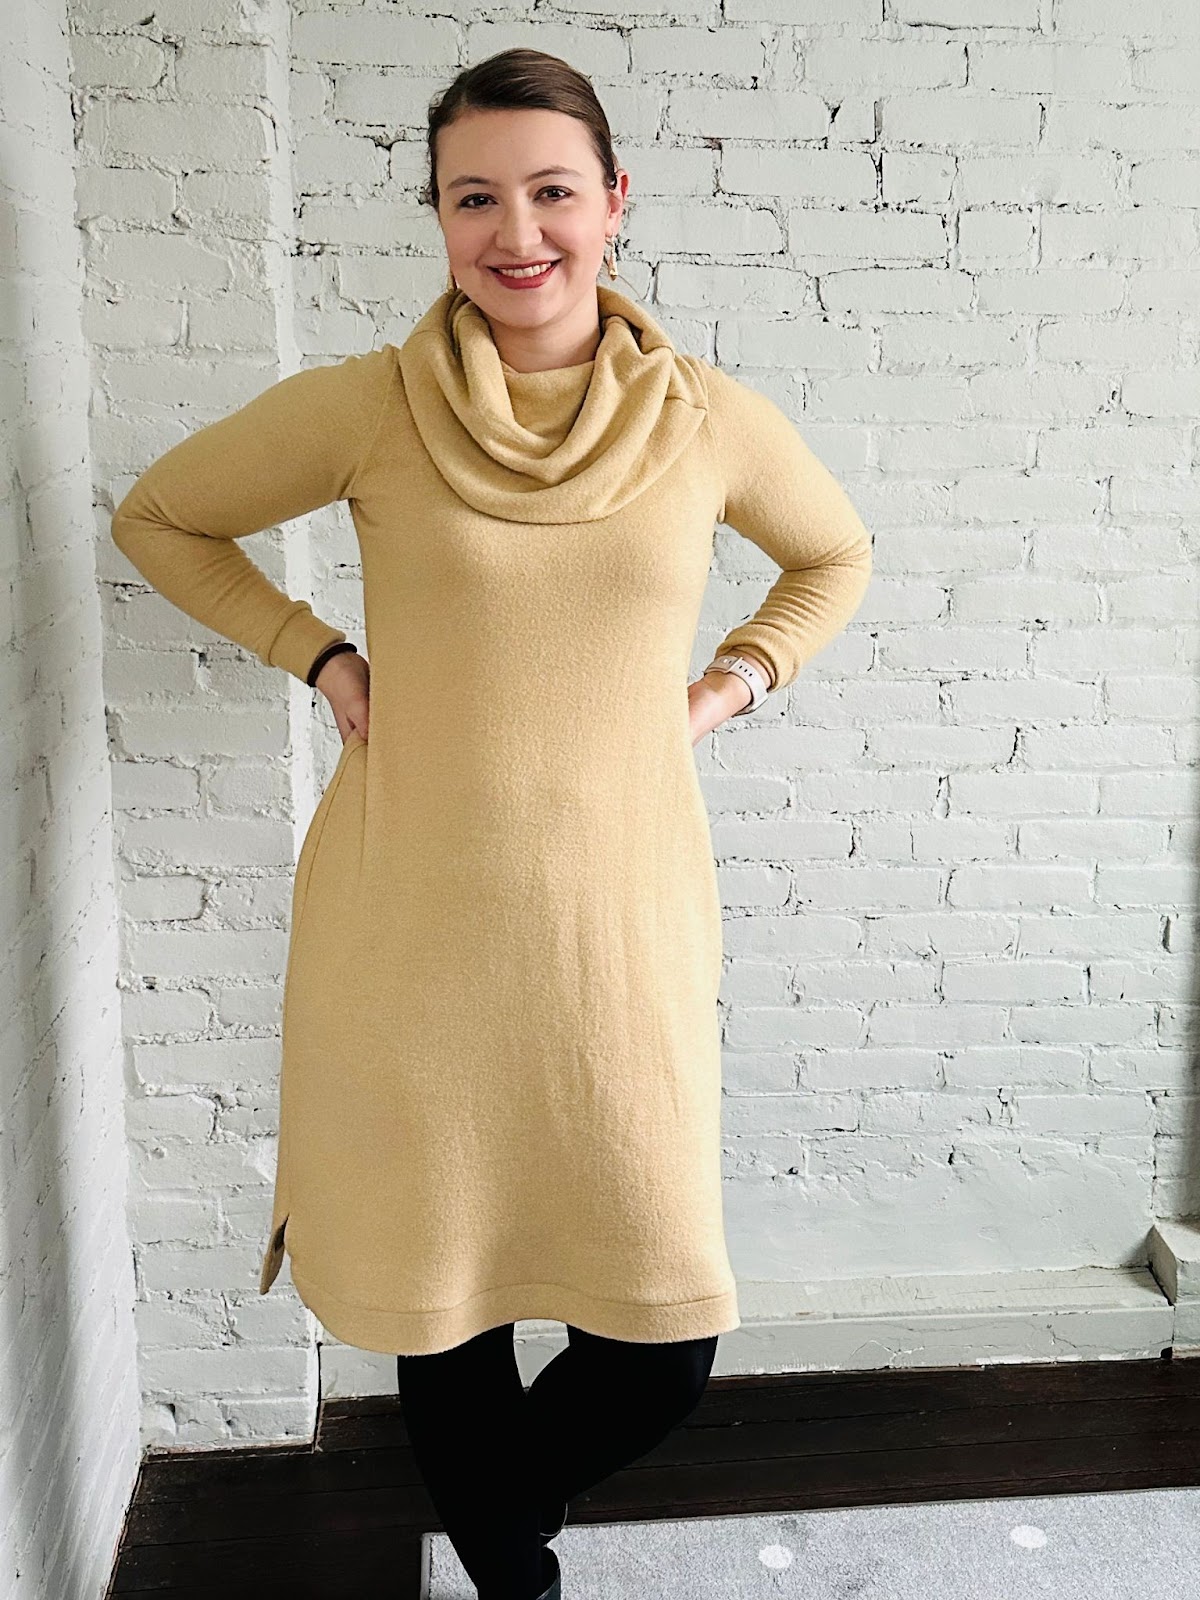
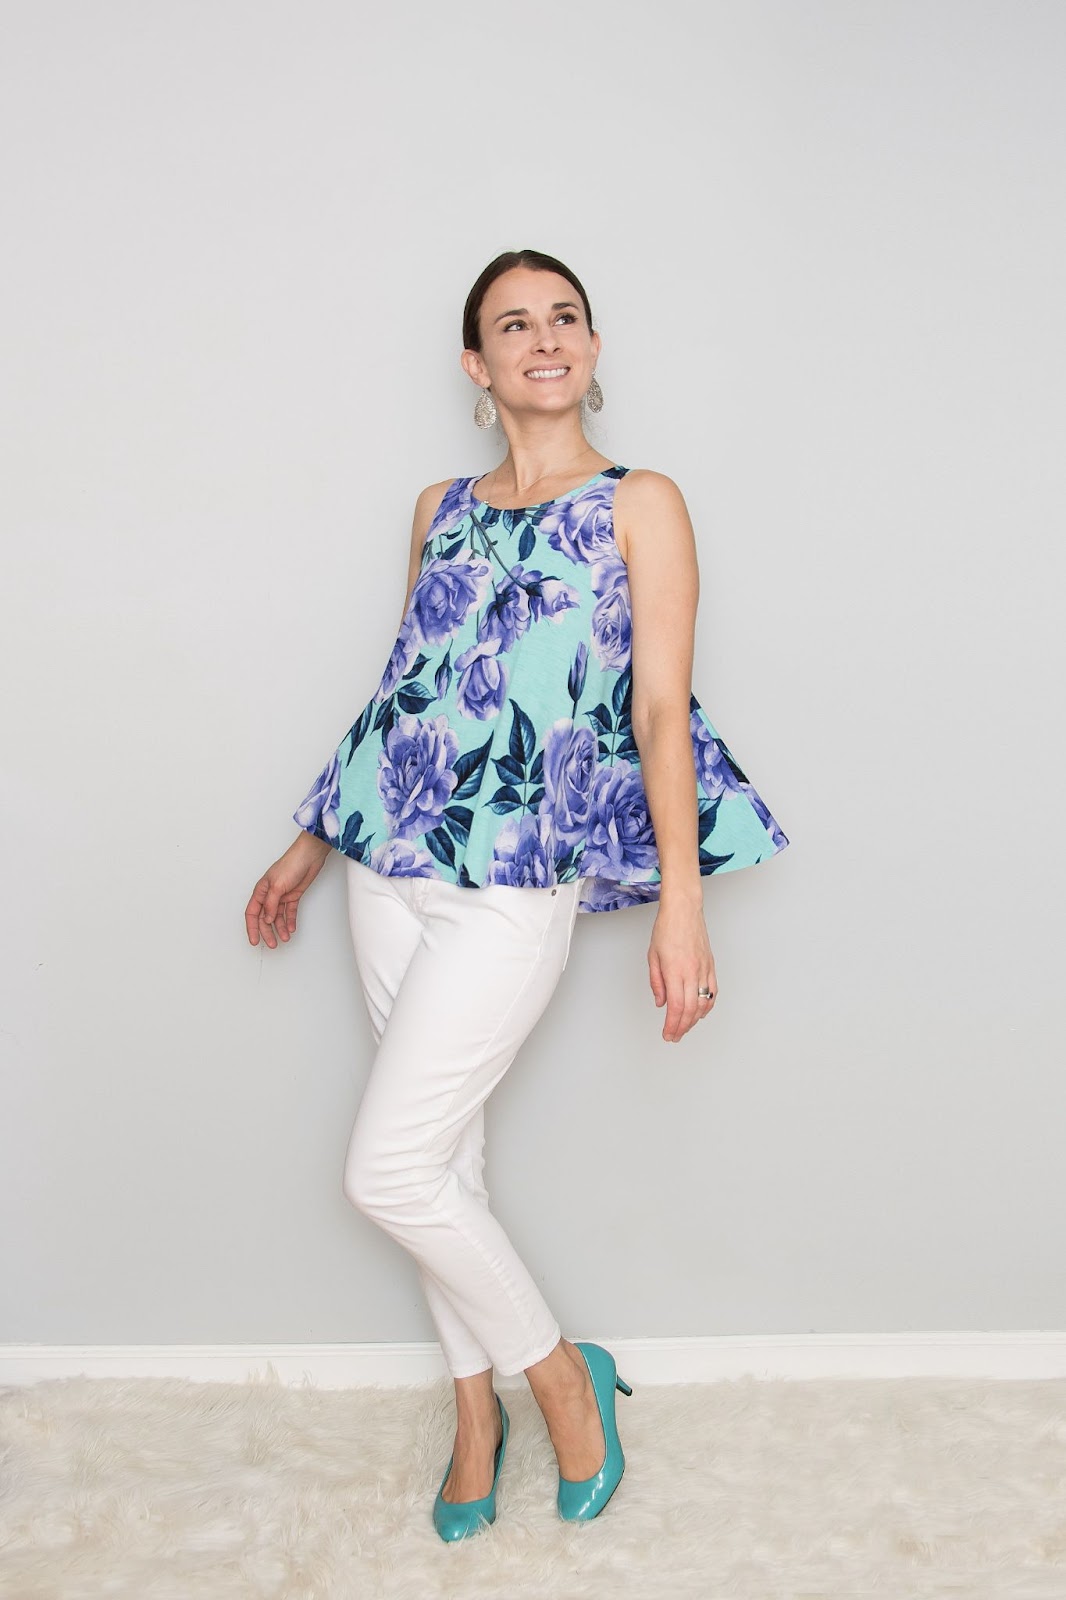
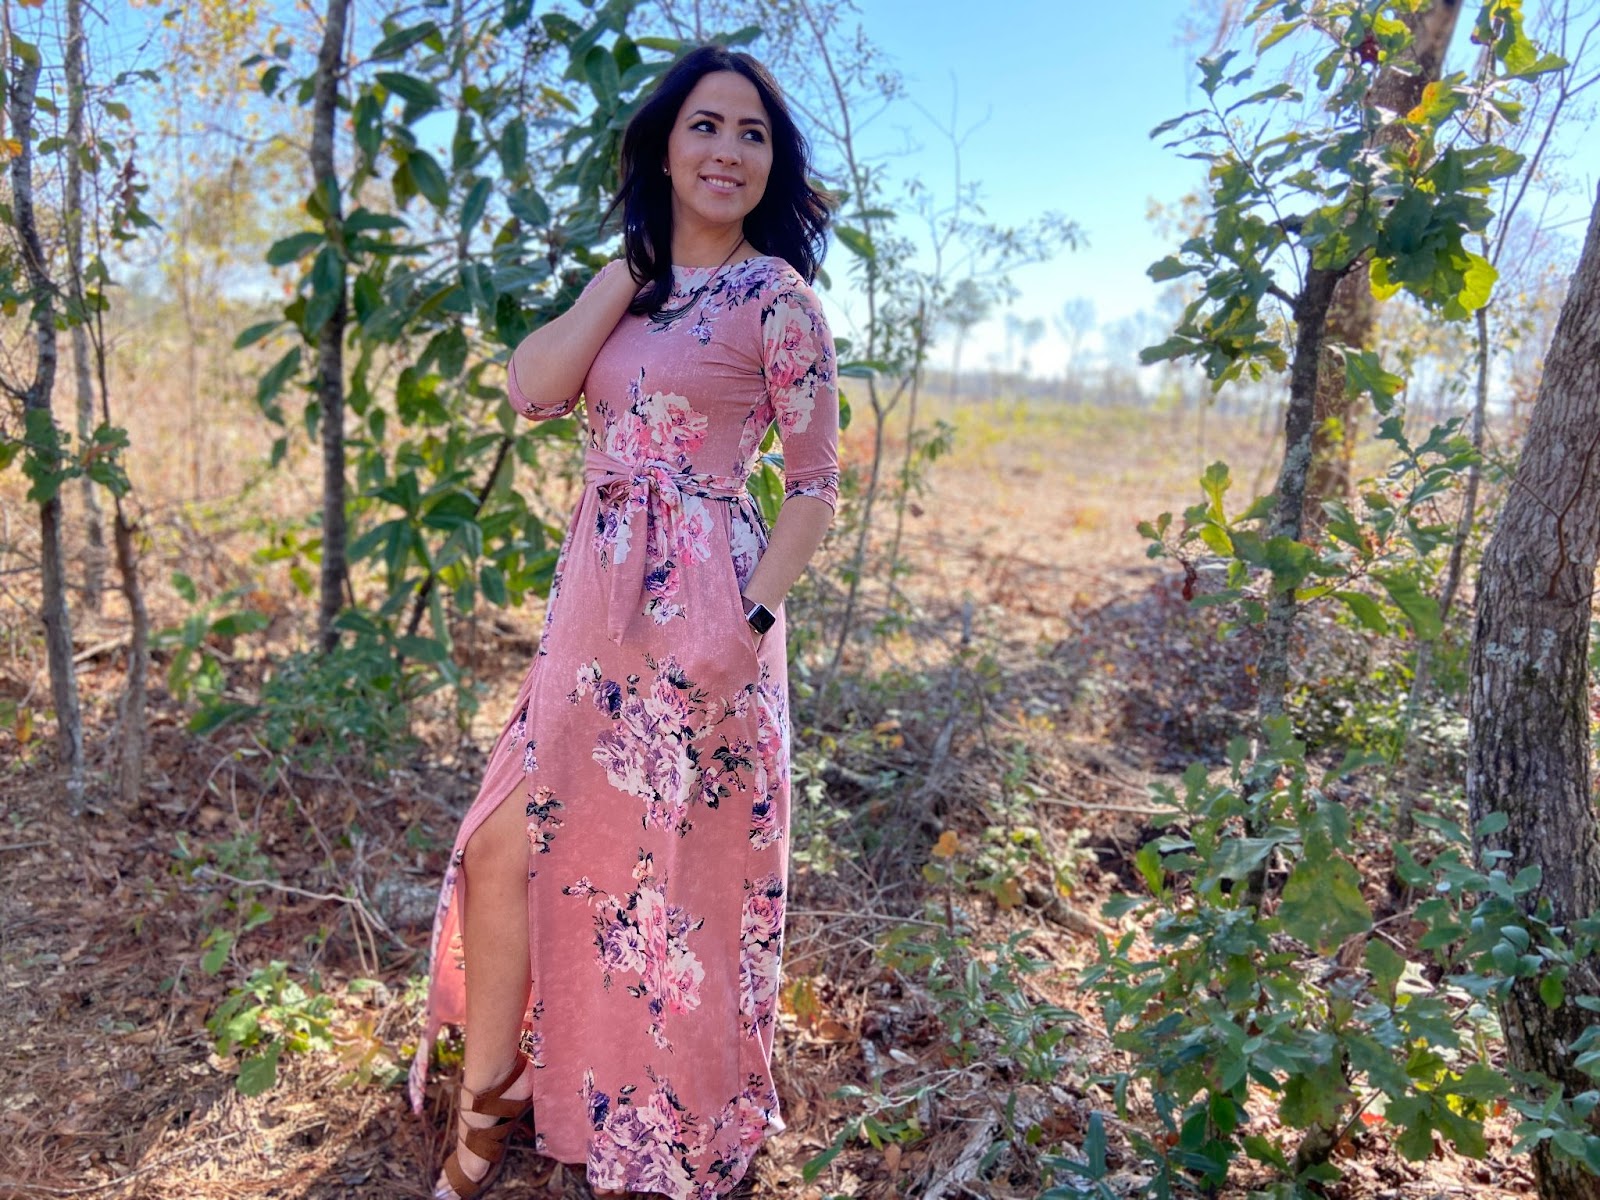
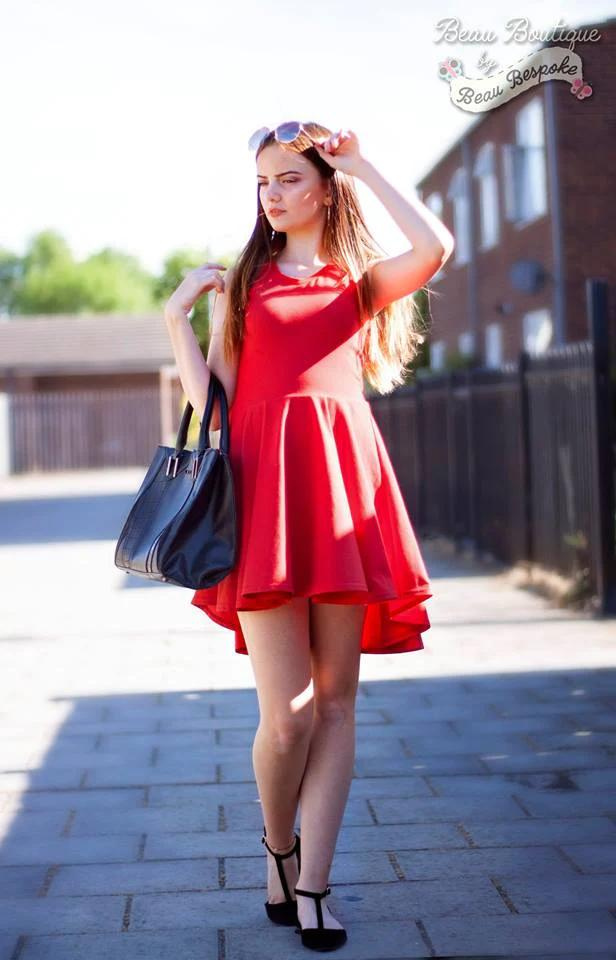
I'll go over each topic below and grab some pictures from our testers and brand reps to give you a visual idea.
Lighting
This is the first thing you should think about when taking pictures. The word photograph literally means “written in light.”
How do we make sure the camera can receive all the light? By ensuring the lens is clean. This is especially true for cameras on phones, as many times the lenses get smudged and dirty from daily use. Be sure to wipe your camera lens(es) before each photo shoot!
Outdoor lighting is generally the best, but you can get away with indoor photographs with help from a window or LED light (check out THIS POST for ideas on photographing objects inside).
If you just have one window, you can face toward the window with your camera in front of you.
If you have a number of windows, you can open the shades/curtains on all of them to brighten a room. Adding more light by using a fill light or LED stand light also works well.
Generally, you want to avoid having a ceiling light right over your head, as it casts a shadow on your face and isn’t very flattering.
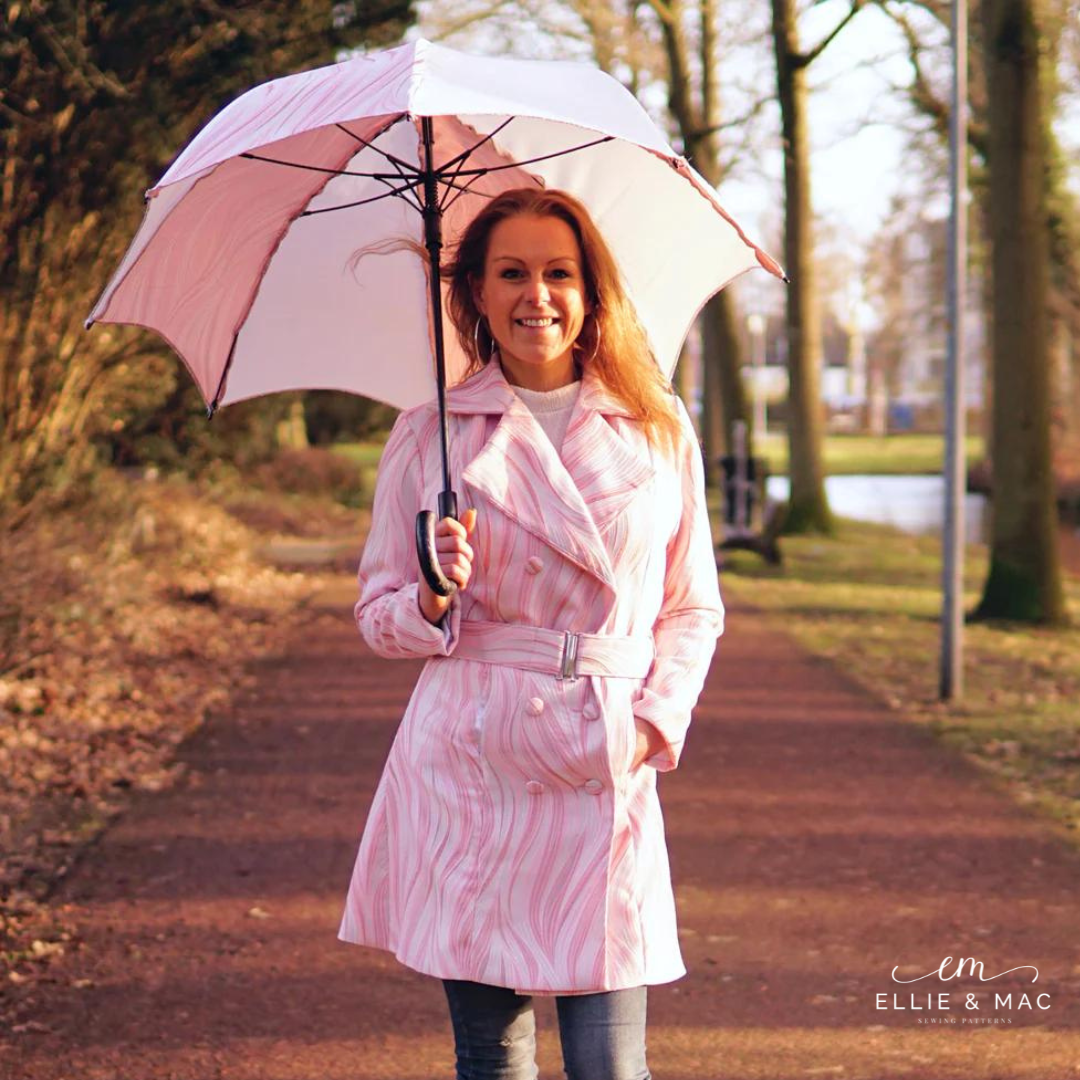
When the lighting inside or out is difficult, try taking pictures from multiple angles.
On a very sunny day, it’s usually better to find an area outside where there is shade. You don’t want so much shade that the picture loses quality, but having a bit of a sun break is best.
I'm partial to taking photos on my front porch where the bright light can filter in, but not shine directly on me.


Background
Place you or your subject in front of a clean background. The focus should be on what you made. So, you don’t want garbage, laundry, random cars, a messy bed, or anything else that would detract from your beautiful make behind the subject.
Take a picture and then look closely at the background and floor/ground to be sure it looks nice.
I don't recommend using free editing apps to put yourself in a different room. Unless you are using a decent software and you have experience doing it, the pictures tend to look strange and detract from showing what you made.
If you are taking pictures in a shadowed environment and it casts a large shadow on a wall behind you, it may be better to take a few steps away from the wall.
Taking pictures on “location” can be a fun way to mix it up. Find some cool architecture or beautiful scenery and take some fun photos.

It's also important to think about what is directly behind you or your subject. A pole or a tree right behind your subject’s head will look like the object is growing out of their head. Putting a vertical object just beside your subject can work though.
Composition
Composition refers to how your subject and the environment around your subject are placed. Most of the time you will want your subject in the center of your photo. But, you can also use the rule of thirds and place your subject on the right or left side of the picture 1/3 of the distance from an edge.
A flattering height to take pictures of people is at about eye level. But, try using different angles to make your pictures interesting.

Putting the camera high above the subject or low to the ground can be fun. But, remember that you are trying to show what you made, so sometimes these angles are visually interesting, but not as useful.
Posing
This is one of the hardest parts of taking pictures of people. The biggest tip I have here is to take a lot of pictures. At least 20 in each location you choose.
Then, you or your model should try a number of different poses and try out different facial expressions like a warm smile (slight upward curve of the lips without teeth showing), a full smile, or even a model stare. Try looking directly into the camera, down at the ground, or out into the distance.


Common poses to try:
- One hand on hip
- Both hands on hips
- Bump one knee out
- Try walking toward the camera slowly (this will work better with more lighting or you may get blurry photos. You can also have your model start to walk, but then freeze in position)
- Arms big
- Arms crossed
- Lean against something and shoot from the side of the body
- Arms behind the head
- One hand touching hair, necklace, or other feature
- Hands in pockets
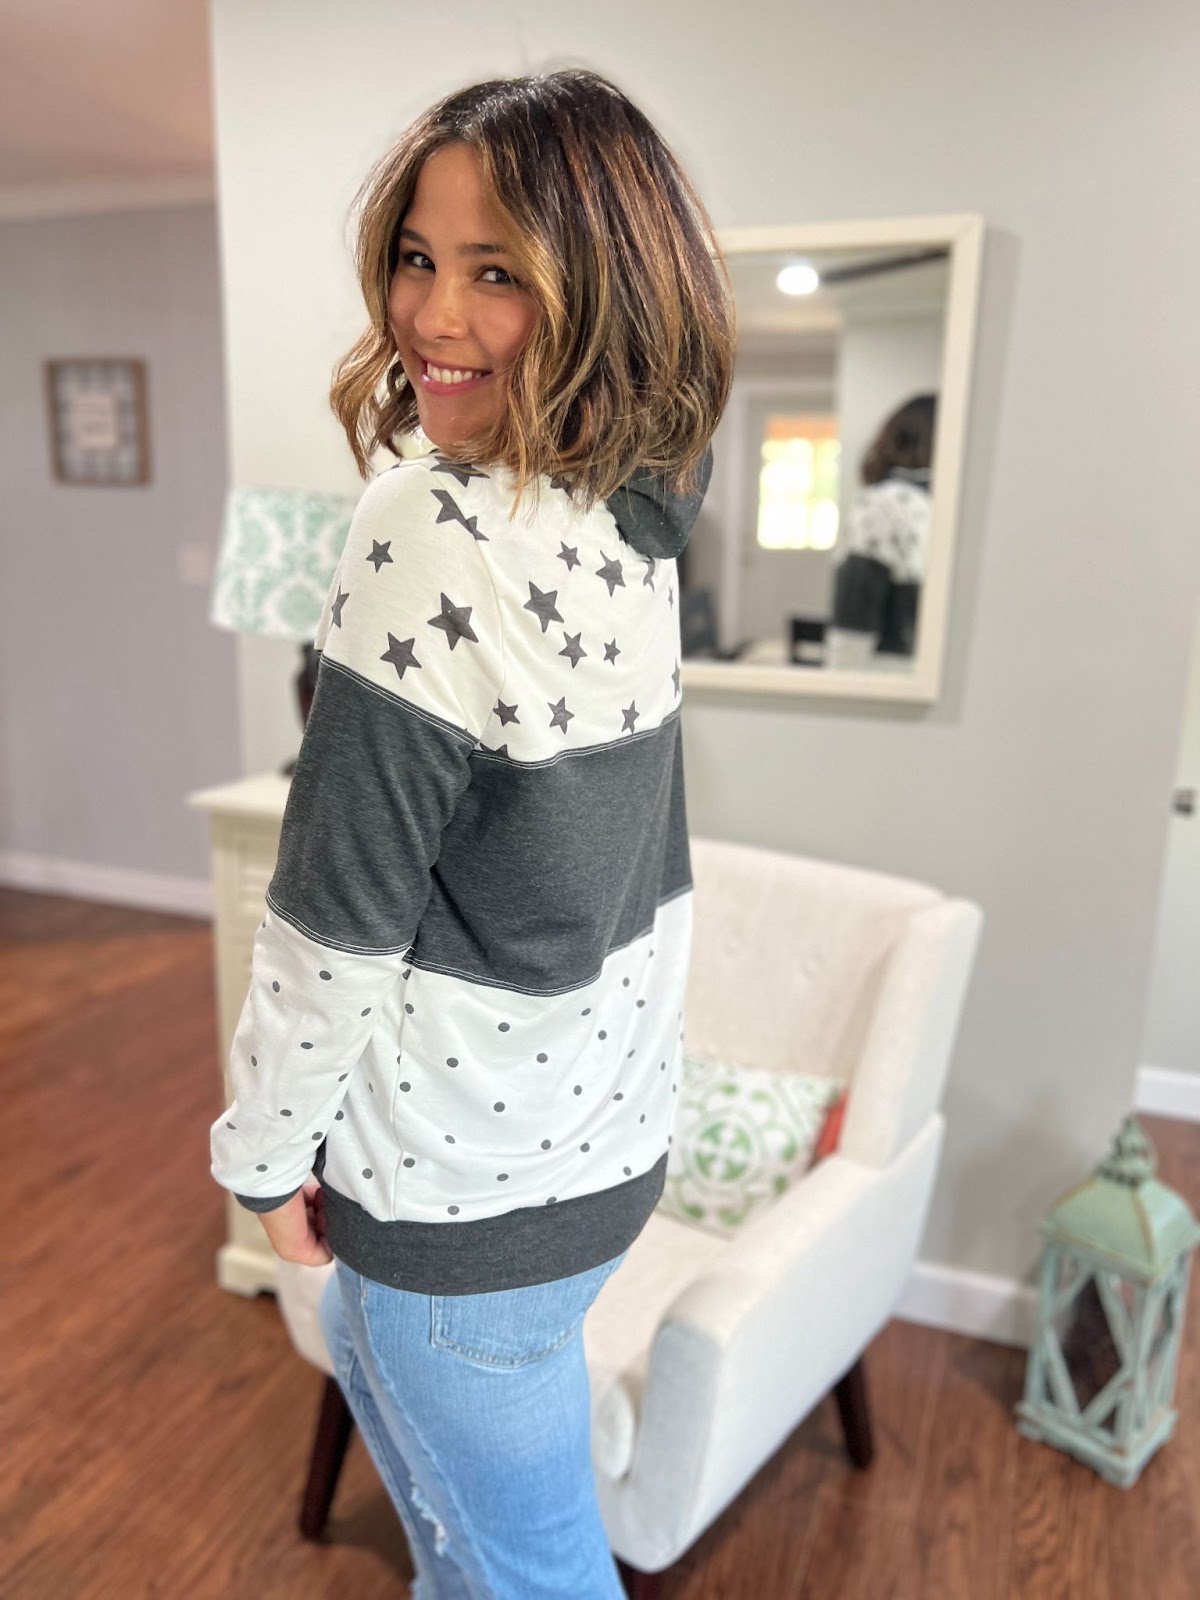
- Head to the side and picture taken from the back of the body
Garment/Bag/Craft Details
Before taking any pictures, you want to be sure that you have ironed your sew, pressed the hems, trimmed loose threads, and lint rolled any loose hairs off.
As you take the pictures, be sure that your make and model looks good and there are no hems flipped up, collars askew, twisted waistbands, or messy hair (unless it’s the look you are going for!). Sometimes, details will need to be adjusted later even though they look good at the beginning.
It's usually best to show your entire make, but there may be some times that you want to show certain details. That can be good too!

Bags can be filled so that they sit properly as they would when you actually use them (clothes in a duffle bag, wallet and the sort in a purse, etc.)

Styling and Props
Styling can be a really fun part of the process. For example, if you’re taking pictures of a dress, you can choose cute earrings, a coordinating hat, and just the right shoes to go with it. If what you made looks more elegant, try to choose a hairstyle that goes well with that look.
For crafts and bags (and even underwear and swimsuits), you can choose coordinating items to go with them and set up a little photoshoot station. White or light colored backgrounds usually work best. Find a white blanket or sheet against a light colored wall and be sure to think about lighting as well. Sometimes I like to look up ideas online for how others have taken pictures of the item.


When taking pictures of clothes, props can make a picture stand out. Grab a pair of sunglasses or a purse to go with an outfit and you or your model can play with the prop trying it out in different poses.
Camera Settings
I highly recommend going through each setting within your camera or phone camera app because there is probably more there than you realized. For example, my phone can take pictures of different qualities, and the regular preset isn’t the best one.
My phone is preset to take pictures that are 12 Megapixels (noted 12M on the screen). This is a good photo, but if I want an amazing photo that can be zoomed in without losing quality, I can choose a 50 MP or even a 200 MP photo. BUT, I do not recommend leaving the camera at these high MP numbers as it will drain your storage. This is just to take a few pictures and then delete the ones you don't like.
Take a look at the different ratios that your camera can take pictures in, like 4x5, 4x3, 9x16, etc. 9x16 is what ratio reels and TikToks are.
You can try using the “portrait” setting which will artificially change the photo to look like it was taken with a low aperture setting which basically blurs the background a bit. You don’t want the background so blurred though that it looks strange. So, be careful how high you turn up the setting.
If you are confident you can even try using the "pro" setting if your camera has the option, but I've found that staying in the auto camera mode works better when I'm not behind the camera to see what is happening in the view finder.
And don’t forget that no matter what setting you choose, it all comes back to the lighting! An indoor picture taken at night with one light above the head will never look great.
Products that make taking pictures of yourself easier:
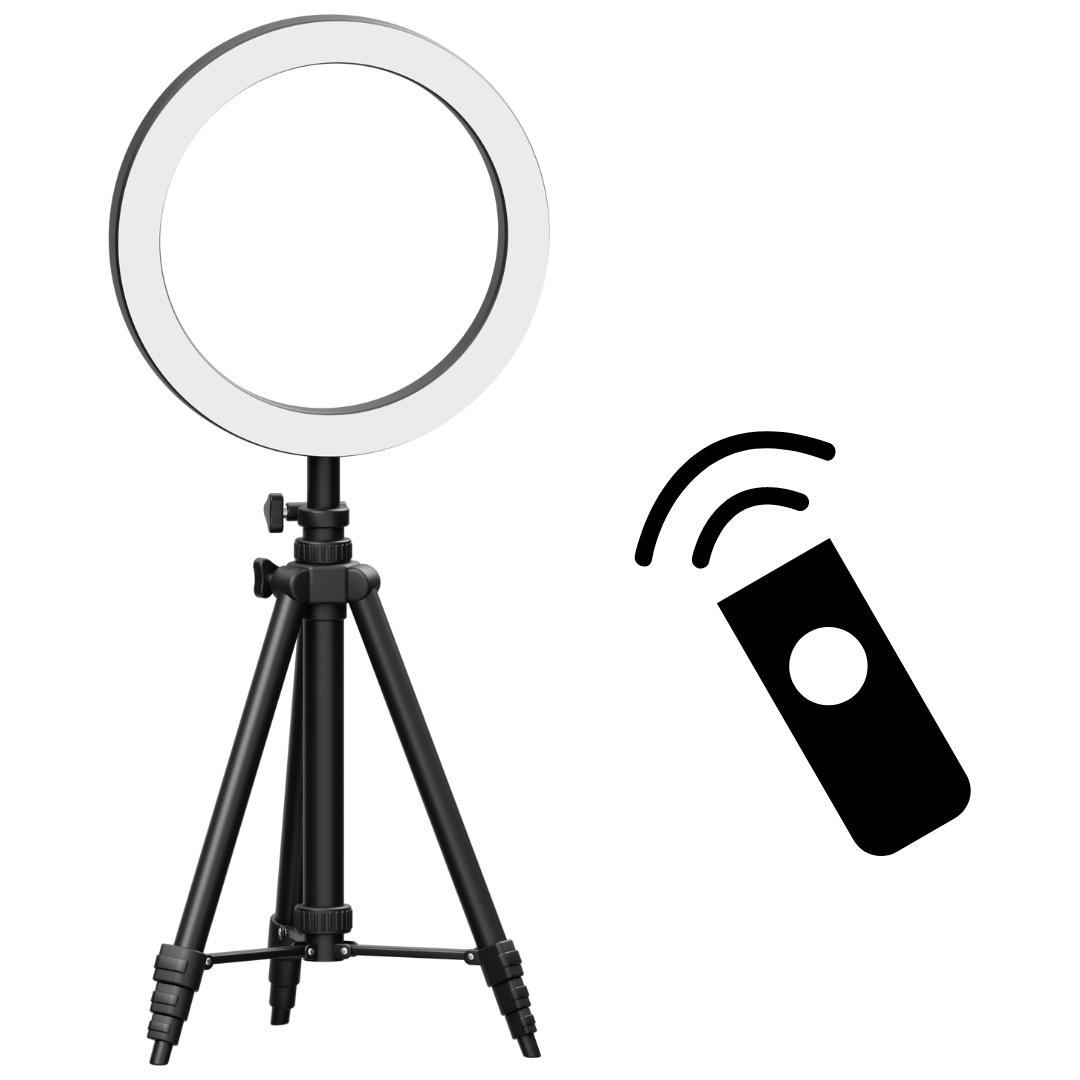
- Tripod - this can be a basic tripod that holds your camera or phone. Or you can get something a little nicer and with an LED ring light on it.
- Bluetooth remote with button - This can connect to a phone or camera so that you can take pictures from anywhere.
Additionally, you may be able to take pictures remotely by using a smart watch or stylus. Some phone cameras let you take pictures by saying a word (like smile) or by holding up your hand, but I haven't found these methods to be reliable.
Social Media Posts:
Here are some General Posting Tips that should help you get people interested in your posts and want to come back to see more!
Captions:
Captions, or the text that you write for a post, should be interesting to your reader. You want to tell them a bit about what you made including the pattern that you used.
If you want to direct people to an affiliate link or sale, that’s great, but you don’t want to sound too salesy. Copying and pasting the website product information usually won’t get people excited about your make because it isn’t coming from you!
Make it personal - talk specifically about what you did, why you made the garment/bag/craft, what you think of the final product, what you might do differently next time, would you make it again? Did you encounter any difficulties - what helped you overcome them?…
Consider using a story format that takes your reader on a journey of how and why you made what you did. Perhaps your child wanted something and you were able to recreate it. Maybe you needed something for an occasion, then you can tell about how you thought through the process.
Okay, let’s break down each platform a bit -
Instagram:
Firstly, nothing in an Instagram caption is clickable. So, if you add a link in the caption, nobody is going to get to the website from there. Plus, on a phone, you can’t copy and paste the link. And they aren’t clickable in comments either.
So, where to put your links? In stories!
How to add a link in stories - Open a new story by tapping your profile picture and then swiping up. Then add a picture by tapping the small square on the bottom left (or add a post to your story by using the paper airplane symbol on one of your previous grid posts).
Next, tap the smiley face that looks like a piece of paper and scroll down to the “Link” sticker. From there you can add a website link. If you use an affiliate link, be sure to note that somewhere on the story slide that you post.
Another place to add links is in your bio. Instagram now allows more than one link, so you can add anything there. Or you can have one link to goes to a linkt.ree or linkin.bio type page. But remember that if you are using affiliate links, that must be noted and most businesses require you to show that you have or made the item you are linking to (don't just use a photo from the business website!).
Instagram is unique in that pictures are formatted squares, so to best fit the square format, here are a few tips -
- Take your pictures far away enough from the camera so that if you are trying to show a full length outfit, it can be fully seen in a square format. Taking close up pictures of details is great too, but a full length dress or pants with a top won’t fit if there is no space at the top and bottom of your photograph.
- Have your subject near the center of your photo if shooting in portrait orientation. If shooting in landscape orientation, you have more play, but you will still need that space at the top and/or bottom of the photo.
Hashtags are still very relevant on Instagram and you can add up to 30 for each post. If you aren’t sure what to use, you can look at other people’s posts, or look up “sewing hashtags” on google.
Facebook:
Facebook links are totally clickable so you can add all the relevant information about the pattern as well as the link right to the caption.
Facebook allows you to upload any common photo ratio. But remember that stories and reels are in the 9x16 format (shaped like a phone in portrait orientation).
Facebook also gives you the option to post in multiple groups. Just be sure to look at the group rules of where you want to post to see if they allow links or promotions if you plan on promoting what you made.
TikTok:
On TikTok, links are not clickable within a caption. You have to direct people to your link in bio (if you have a business account) or they have to just type it themselves in a browser.
Of course Tiktok is mostly videos (in 9x16 format), but the platform has started allowing pictures to be uploaded as well. You can experiment and see how they work.
But, they probably need to be catchy and interesting as there is sooo much content there.
X (Twitter):
Pictures and certain types of videos can be added to X. Captions are clickable, so you can add your links directly to the posts.
X allows you to upload photos in ratios of 1:1, 1:3, 3:1, and 9:16.
More Photography Tips
Looking for more tips and tricks on how to take your photos? Be sure to check out this video on the Ellie and Mac YouTube Channel from Diana:
Do you have questions for me about this post? Feel free to find me on Instagram at www.instagram.com/sewletsgohobby