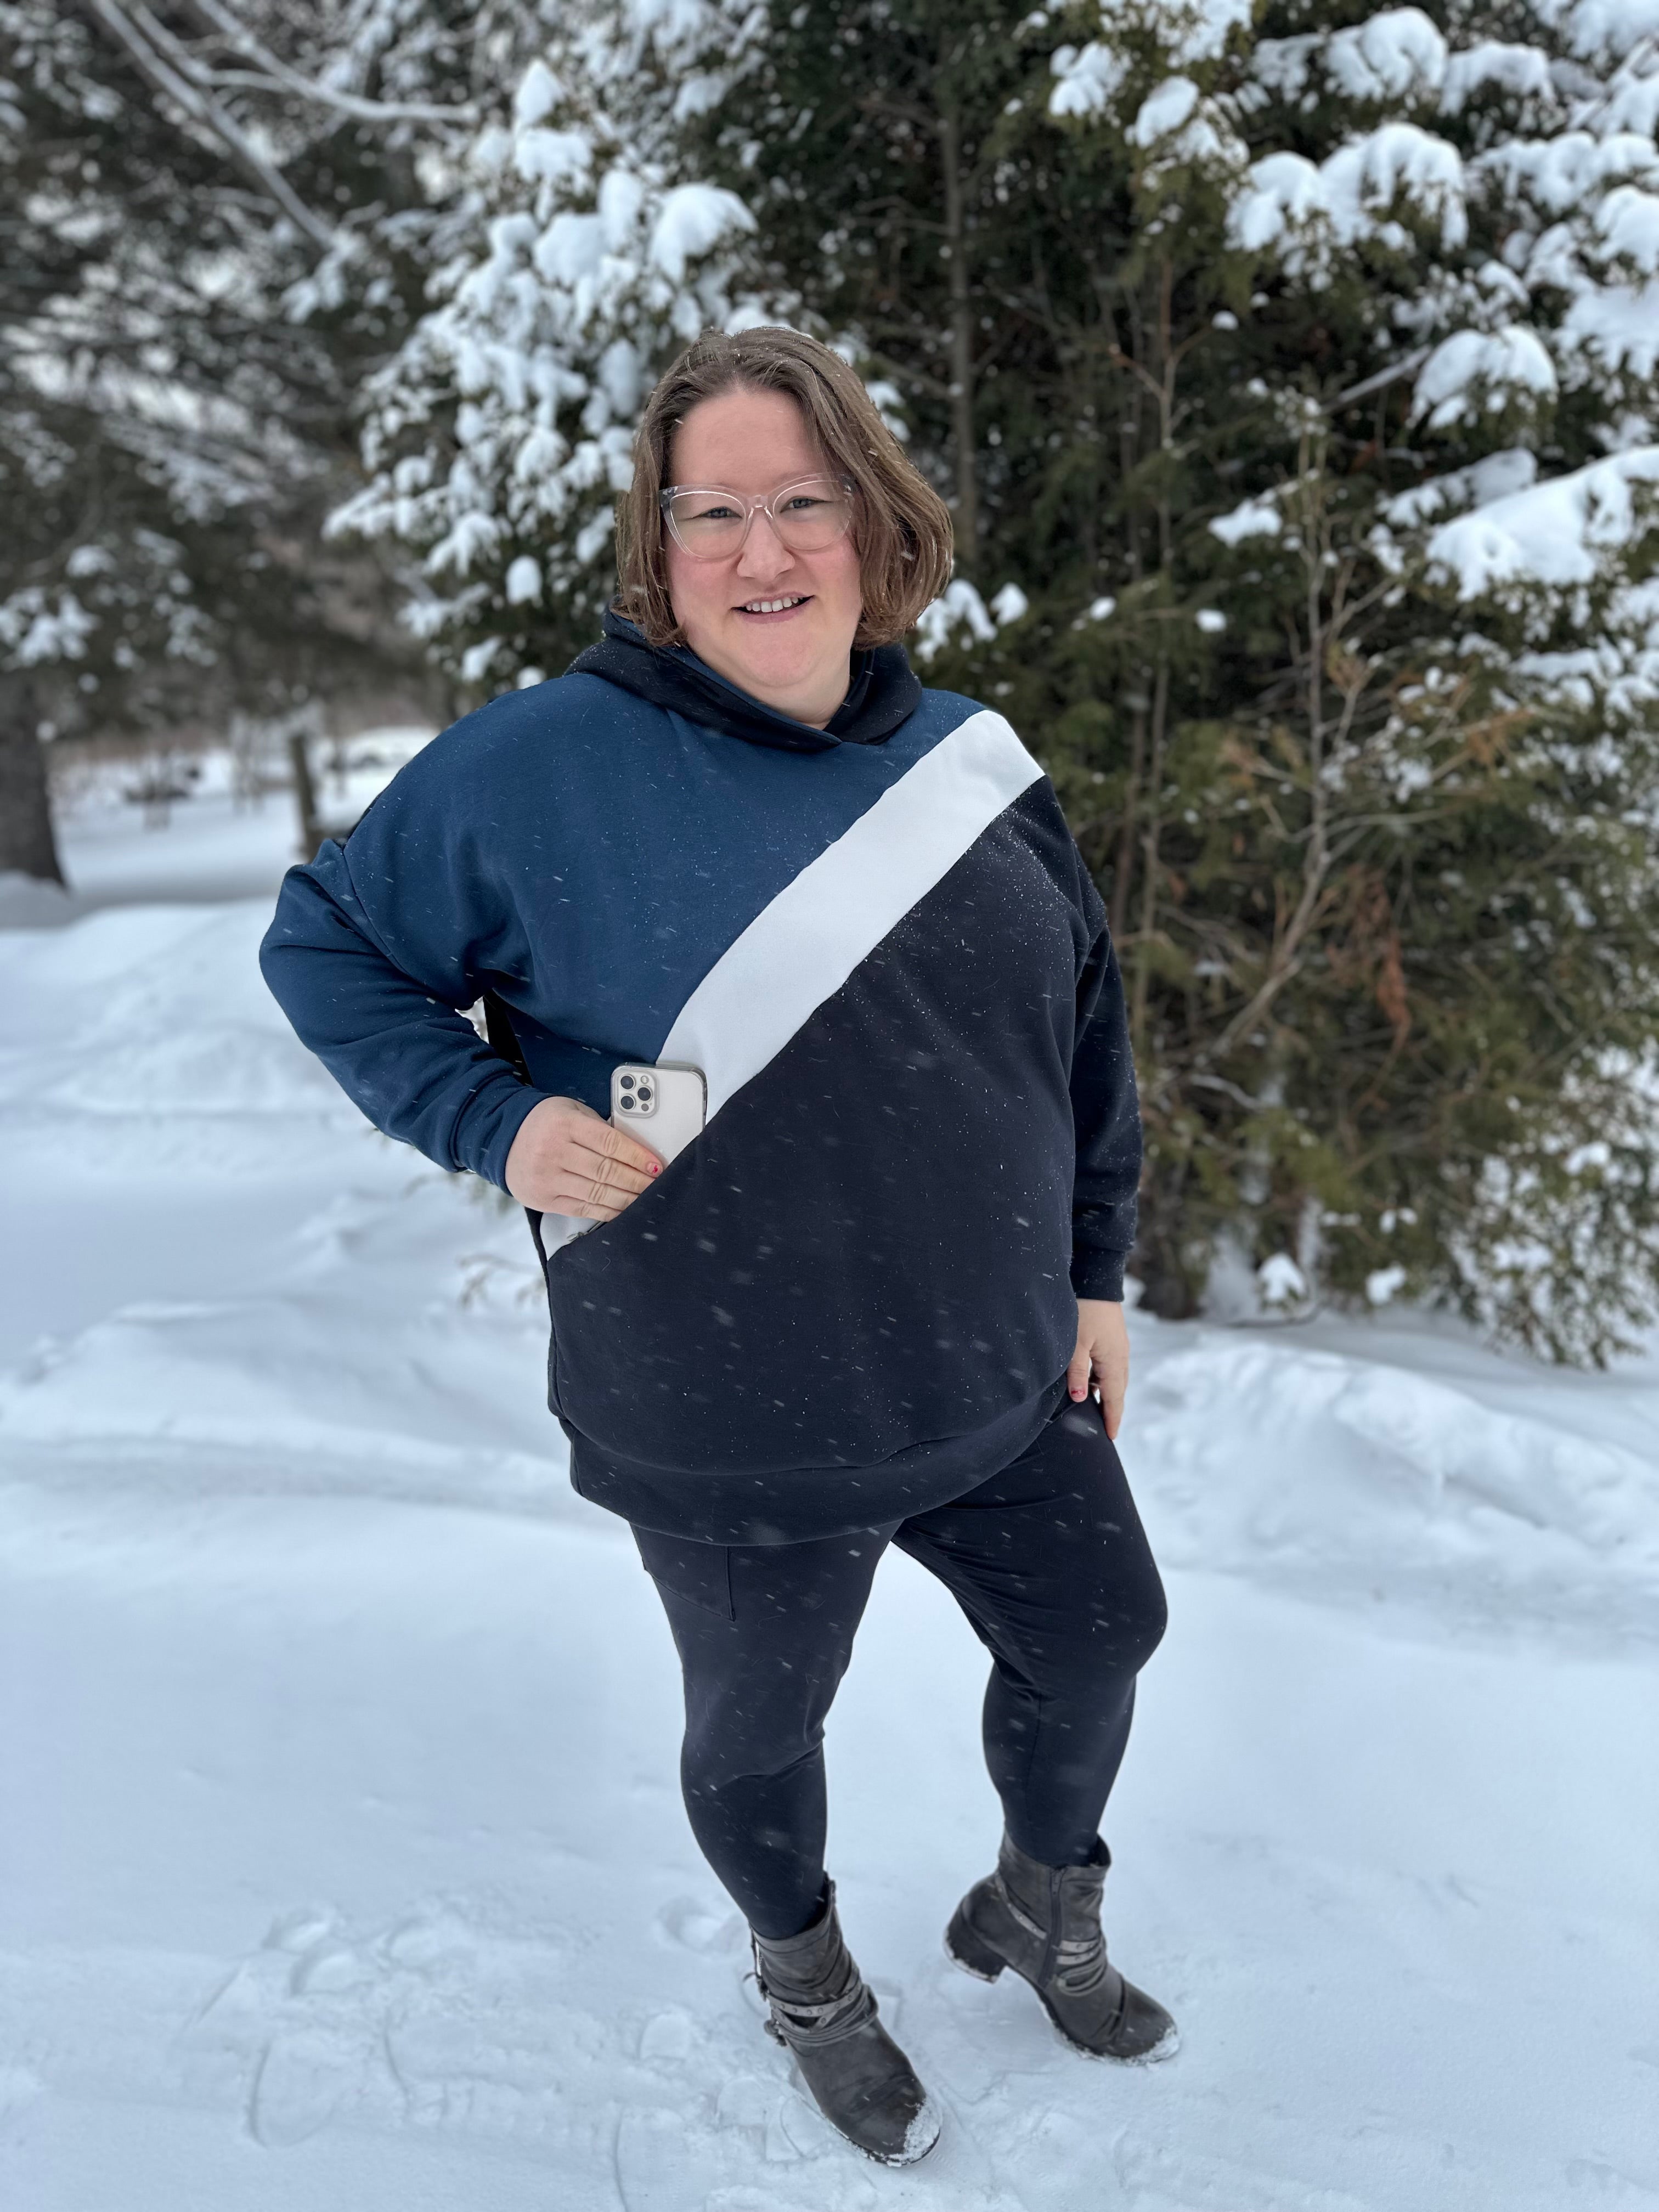
Hi everyone! Today we’re looking at how to Reverse Coverstitch for decorative topstitching effect on your clothes! I’m using the Kid’s Joggers, one of my favorite patterns and always my go-to for fun hacks like this.
For this tutorial, we will be using a coverstitch machine. If you don’t have one, don’t worry! You can always use a sewing machine for fun topstitching. I showed one way to do this in my Moto Hack tutorial. I should note that the technique we are using today will not give the same effect if you use a twin needle on a sewing machine, as the backside of a twin needle stitch is basically a zig-zag.
TL;DR?? We're sewing upside down!! :D
Start by cutting all of your pieces out per the pattern. Sew the two side seams of your pants, per the pattern instructions.
I then baste the accent pieces to the pants. This helps them stay put and helps avoid stretching while you’re doing your top stitching. I baste about 1/3” in from the edge, so I don’t have to try and pull the basting out later through the stitches.


Now that we’ve basted our pieces together, go ahead and flip your pants right side down and take to your coverstitch. Take a good look at the distance from your basting stitch to the edge of the accent piece; your basting stitch is your guide. Line up your needles so they overlap the edge of the accent fabric. You can double check this by feeling through the fabric; you will feel a ridge where the accent piece ends. You are sewing upside down in this step!

Once you’ve sewn all the way across the leg, flip over and check that you didn’t miss any sections. If you did (see pictures below), you can easily remove the coverstitch stitching by cutting a couple of the “top” threads and pulling the “bottom” string, it should come loose all the way down. (There are great tutorials on ripping coverstitch stitches on youtube if you want more info on this!)


When you’re happy with your coverstitching, go ahead and CAREFULLY remove your basting stitches.


Once that is done, you can sew the inseams of each leg, per the instructions. I like to hold the tails of the coverstitch stitches so they catch in the seam to secure them.

Now you can add your waistband and leg cuffs per the pattern, and you’re done! So all we really did is to sew upside down, and the result is a really fun and unique accent on your garment!
Thanks for joining me for a new adventure in sewing!


