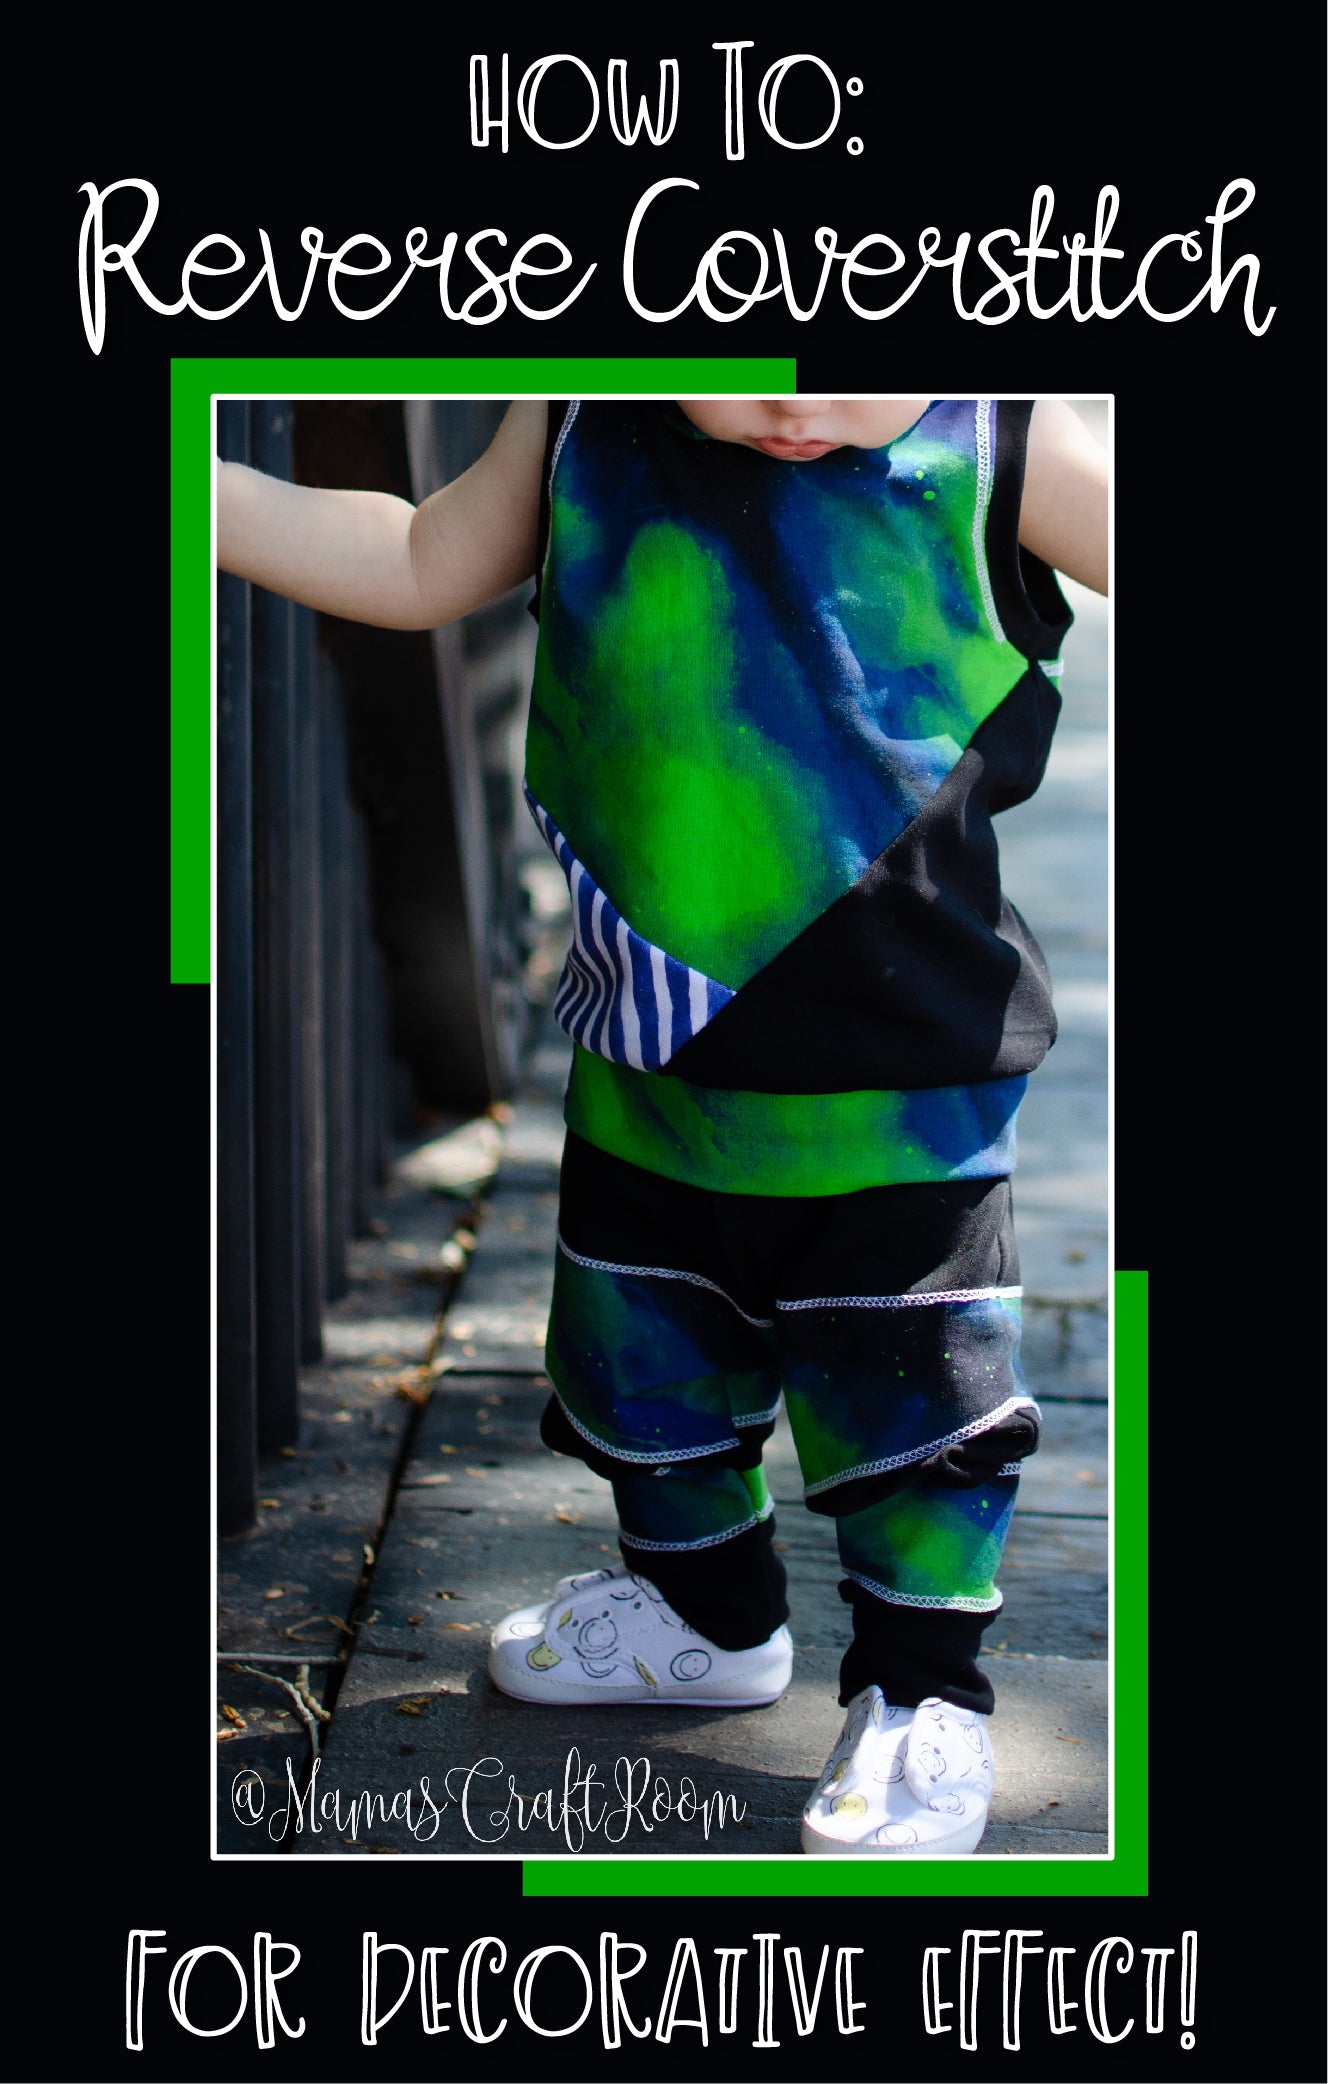
Hey y’all!! It’s Lakeisha from Sincerely, Shantelle, again. Today I’m sharing with you a technique to help transform the neckline of ANY Ellie and Mac pattern. Many of them come with neckbands. While neckbands are a quick and neat way to finish a knit garment, I find that sometimes I desire a different look for the finish. This was the case when I made my first Breezy top.
I decided I wanted to omit the neckband, but I did not want the bodice lined either, because I was using French Terry. A facing was the perfect compromise, and I have used his technique in various other patterns since.

To get started in creating your facing, all you’ll need is the bodice pattern pieces of whichever pattern you’re using, a ruler, pen or marker, and some scrap paper. It may be helpful to apply interfacing if you’re using a thinner fabric and not intending to trim the facing away in the end. This will help keep your facing from flipping and curling up. *SPECIAL NOTE: Remember to use knit interfacing for knit fabrics, or the facing will be restricted and no longer have any stretch to apply to the neck opening!!*

The first step is to place your front bodice piece onto you scrap paper. Measuring from 2 inches down the “fold” line, trace up and over the bodice. Mark 2 inches past the shoulder seam. This is where you stop. *SPECIAL NOTE: If your shoulder is narrow and 2 inches is too much, you can adjust to 1 inch. Procedures will still be the same, the facing just won’t be as tall.*

You can remove your pattern piece. You will now start marking 2 inches down from the curve of the neckline, starting at the fold line up until you’ve reached the shoulder mark you made earlier.

Trace these lines to make a solid line, and your front facing is complete. Repeat these exact steps for the back bodice. Cut pieces.

Now’s the time to cut your fabric. You can use the same of your bodice fabric, or use a coordinating fabric…the choice is up to you! If using interfacing, cut pieces of interfacing a little smaller from the same pattern pieces so that they don’t hang over the edges of your fabric. Adhere them to the wrong side of the fabric, following the manufacturer’s application instructions, and proceed with steps.

Place the facing pieces right sides together and sew along the sides.

Sew your bodice shoulder seams, right sides together. Leaving inside out, insert the facing so that the RIGHT sides of the bodice and facing are touching. Match up the side seams of the facing to the shoulder seams and pin or clip it into the opening. Make sure the front facing is with the front bodice, and back facing to back bodice. There should be no stretching requiring, as the facing is the same size of the bodice.

I recommend using a sewing machine with a stretch stitch for this step, that way you are able to clip into the seam allowance to allow the facing to curve properly. This is helpful in creating a nice, flat finish. Sew the facing all the way around, about 1/4 inch from the edge. Snip the curves when finished, being careful not to snip through any stitches.

If you would not like visible stitches on the outside of your garment, like a lining, you can understitch the facing. You can do so by pressing the seam allowance TOWARD your facing, and edge stitch about 1/8 inch from the seam. This will hold the facing inside and attached to the seam allowance.

Alternatively, if you are topstitching (as I am), or intend to trim the facing away, you can just press the facing to the inside of the bodice and topstitch around the opening. Trim the facing away, if desired. Proceed with the rest of the construction steps to complete your garment.

It’s that simple! You can now transform ANY neckline for a new look! I hope you found this blog helpful, and can’t wait to see what YOU do with it. Make sure to stop by the Ellie and Mac Facebook Page to share your creation with us!