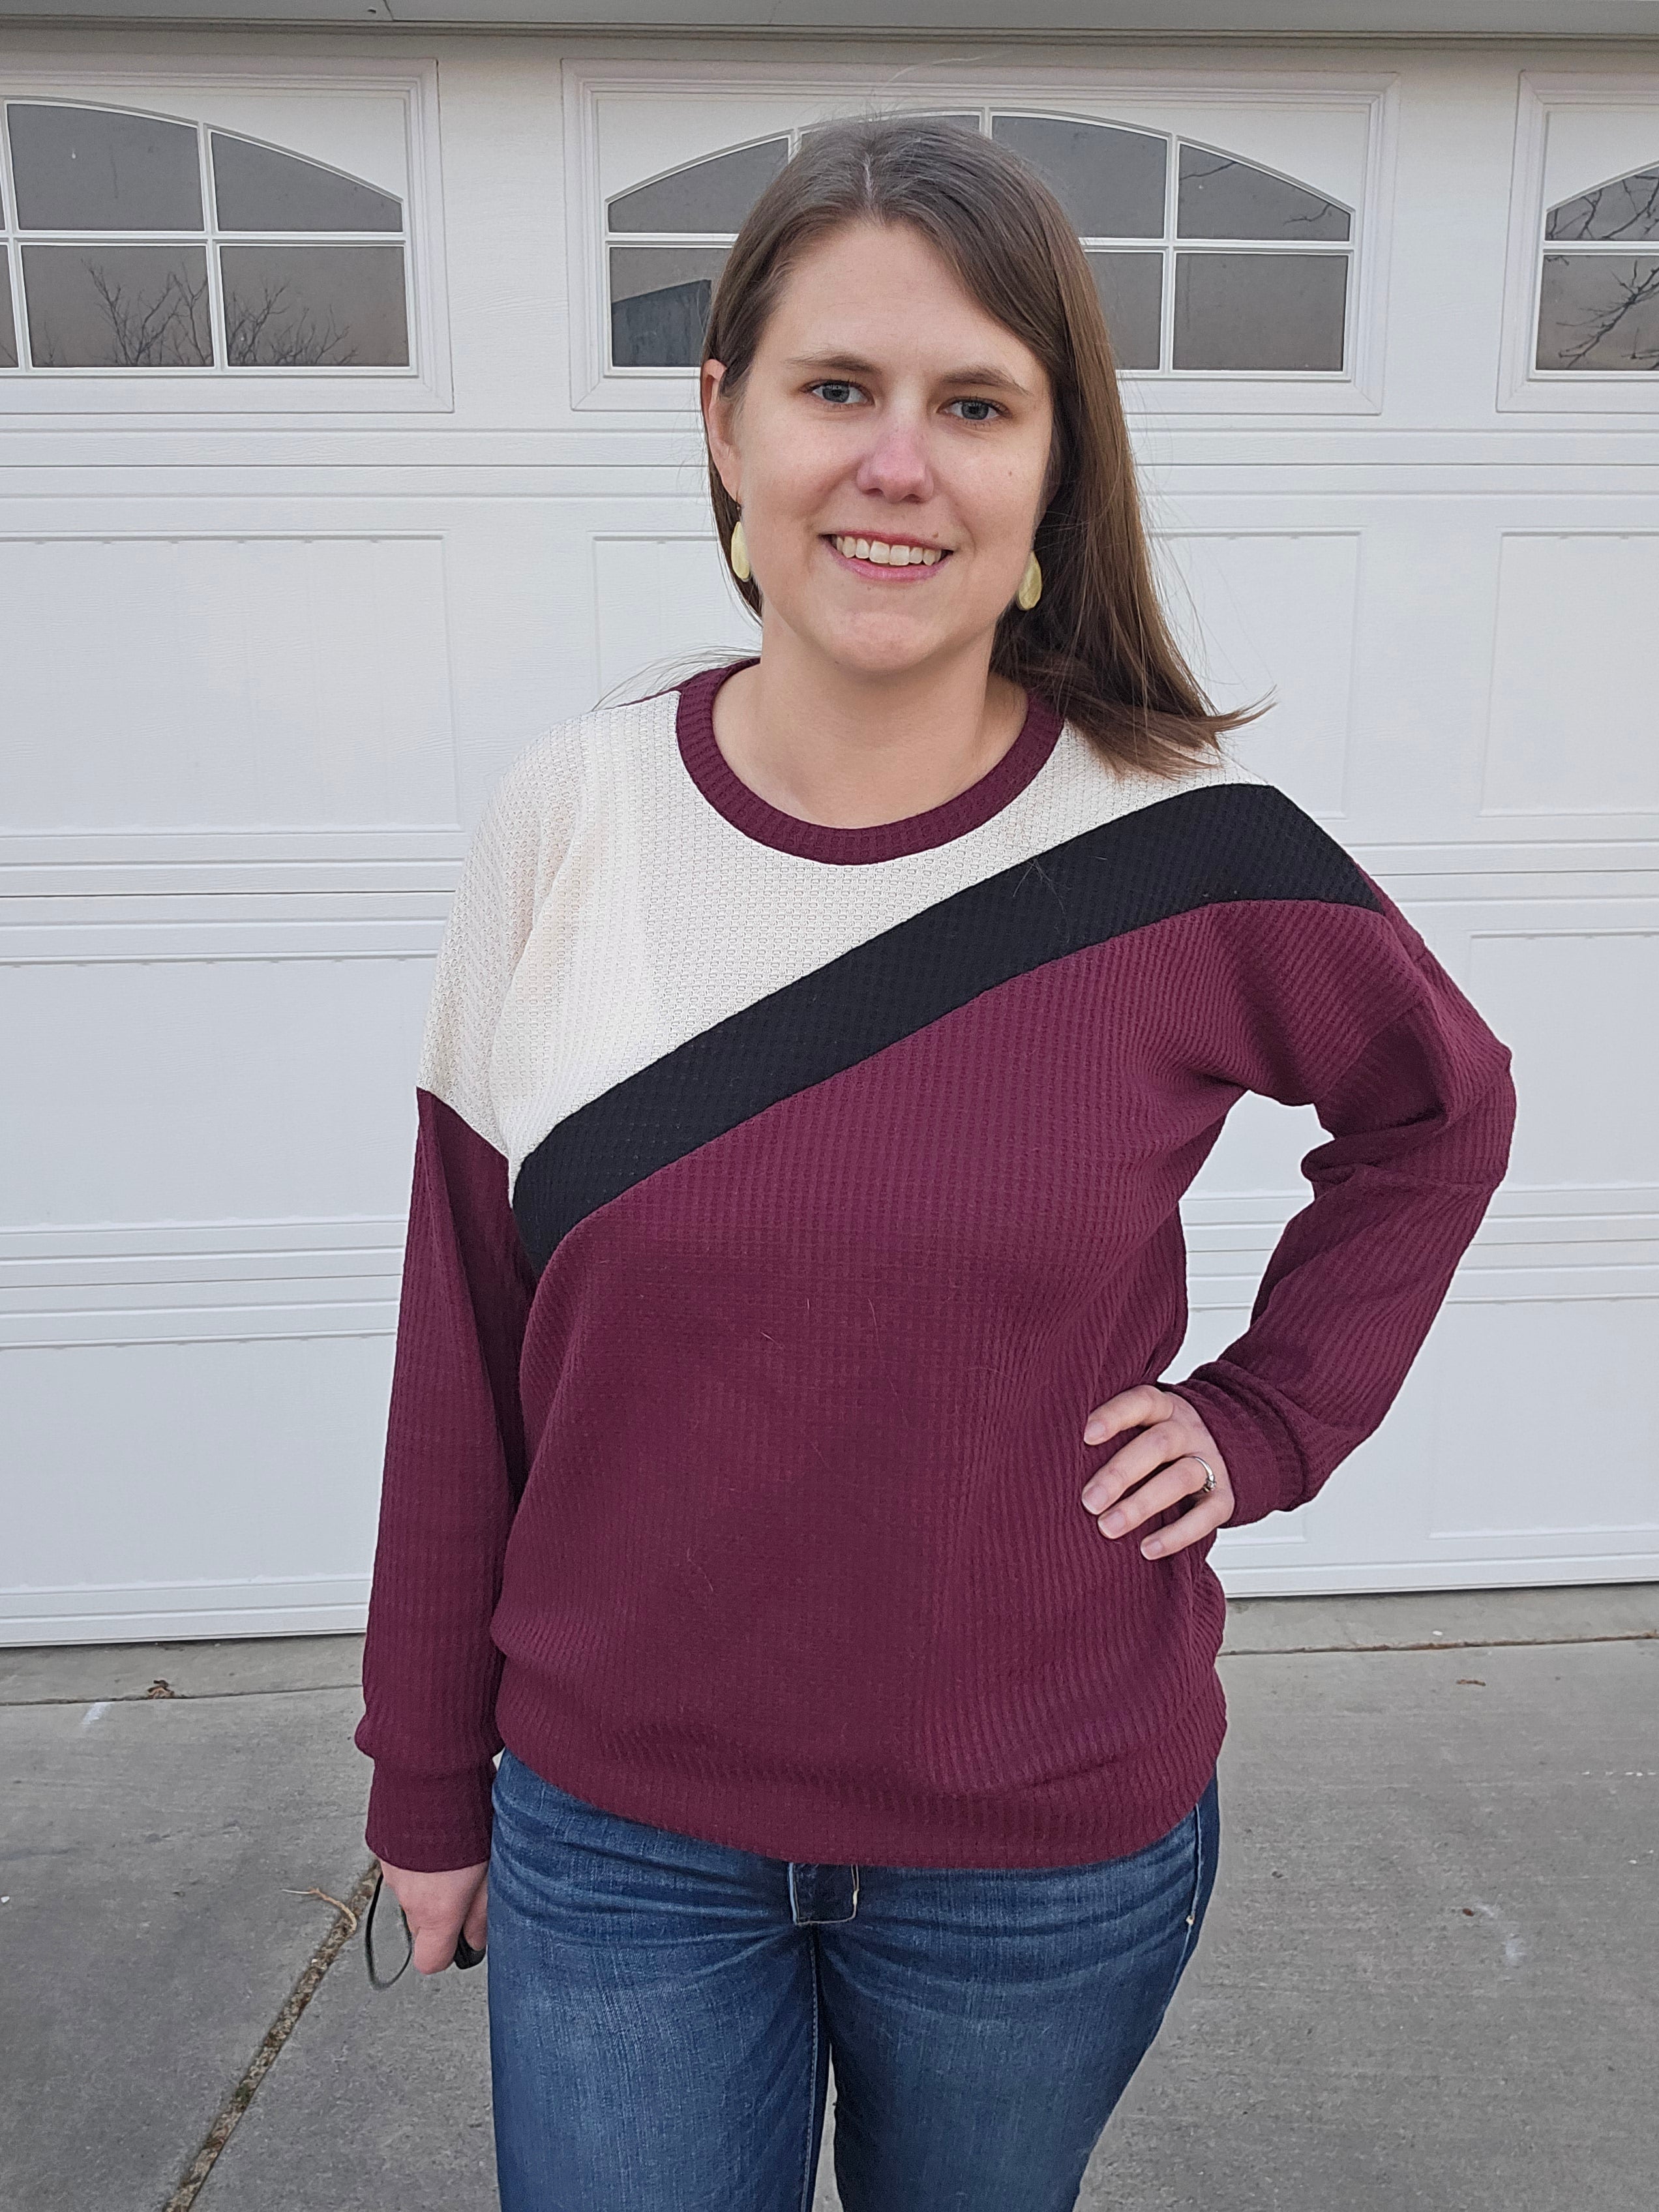
Hey ya’ll!
Have you seen the PDF pattern for the Essential Dolman Dress yet? It is super cute!! Check it out here:
Adult Essential Dress Pattern
Kids Essential Dress Pattern
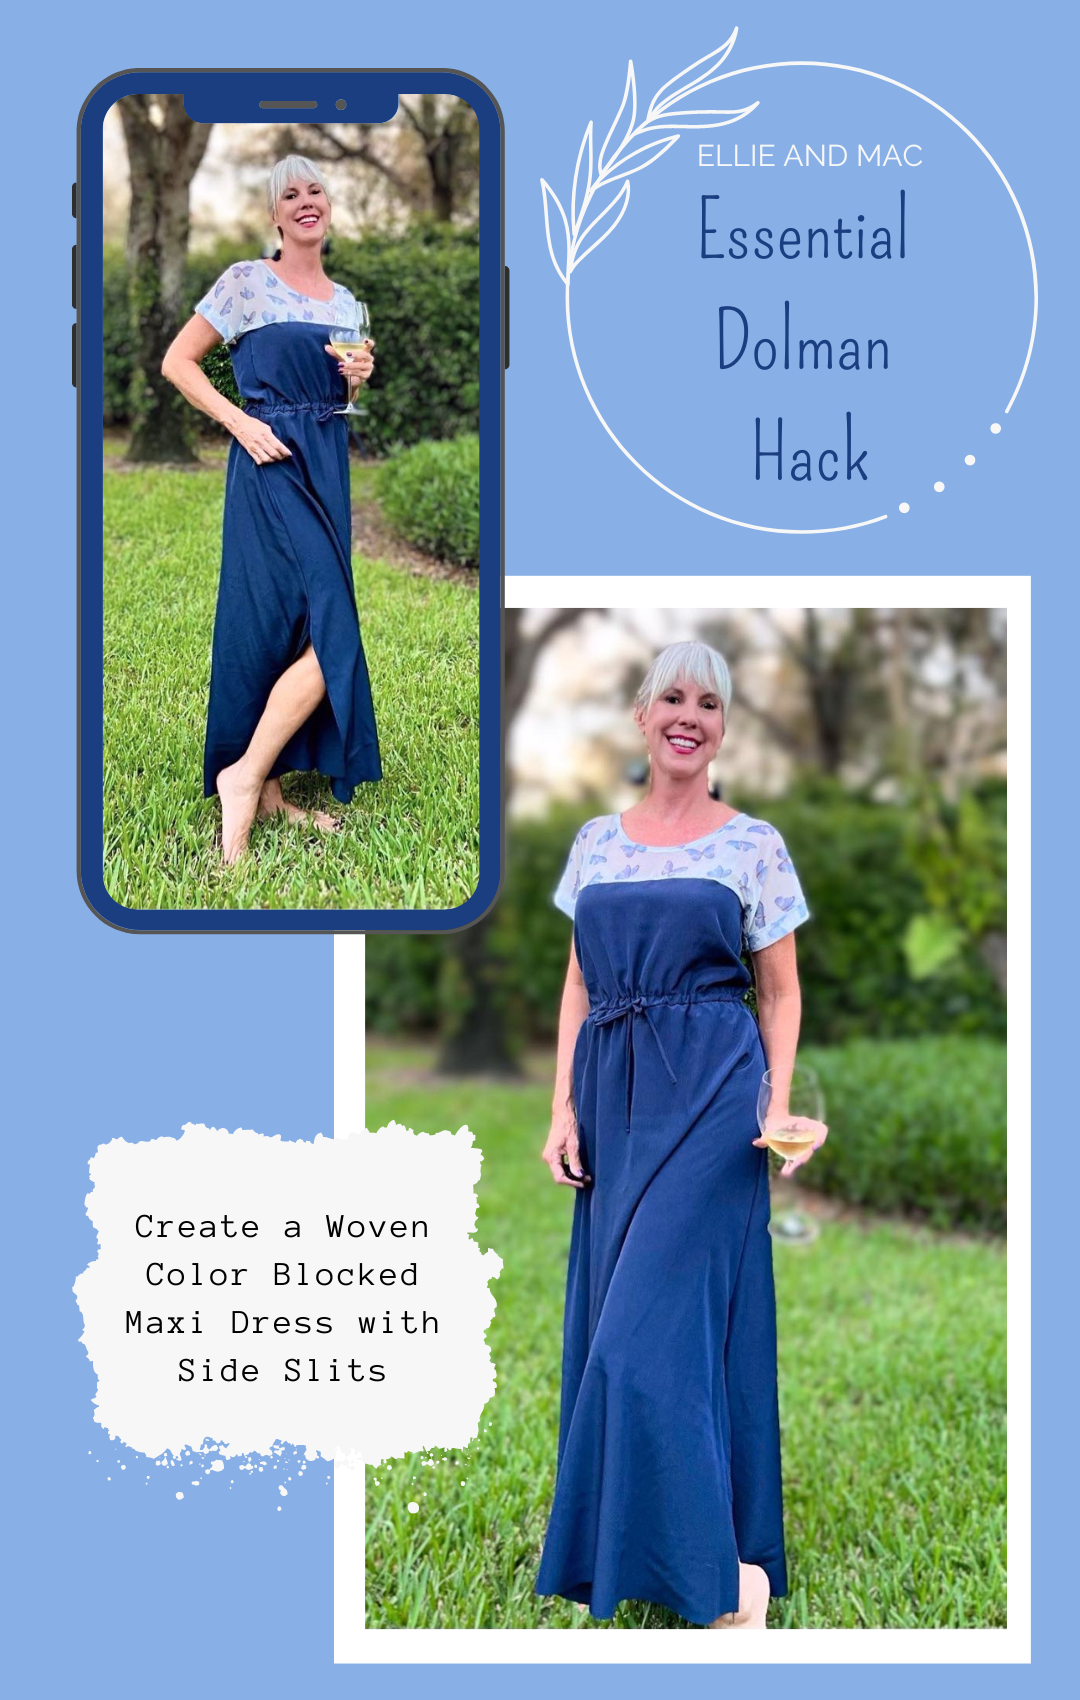
So, this dress got me thinking - woven? Color blocking? How about something a bit sheer? All of this in one? YES! 
So here goes!
Let’s talk color blocking. I decided to use a mesh fabric (butterflies) since it matched my base fabric (navy) so well, yet still gave a little bit of sheer illusion. You can use any lace, sequined or metallic fabric, or how about a quilted or embroidered piece? Possibilities are endless! And it is a great way to really show off your creativity.
For the lower portion of the bodice and skirt, any woven fabric works.
Now, let’s discuss the Basics.
- I ended up cutting my regular size based on the size chart. For my first try (yes, it took 2), I did size up but found it a bit baggy for my liking. Given the ease and cut of this pattern, it seems to work in my normal size.
- The crew neck worked well without any additional modifications. It is large enough to fit over my head without needing a keyhole closure or zipper in the back. Notice that I left off the neckband and faced it though. More on that later.
- You will need to decide where to cut the color blocking. I used the Ellie and Mac Poppy Top as a guide. But your choice.
- Fabric requirements are the same as the knit. The color blocked piece took about ½ yard and that was generous.
You will need:
- Adult Essential Dress Pattern
- Adult Poppy Top Pattern
- Any woven fabric, amount based upon size and fabric chart in the pattern.
- ½ - ¾ yard of color blocking fabric.
- Normal sewing supplies listed in the pattern.
Steps:
- Print the pattern for the Poppy and superimpose it over the upper bodice piece with the Essentials Dolman Dress bodice; draw a cut line for your color blocking. Depending upon the type of fabric and how sheer it is, you may need to raise this line slightly depending upon where it hits on the chest. Ask me how I know…

Remember to add seam allowances!!!
Since this is a woven, I added 3/8”
Cut your front and back upper color block bodice pieces (the butterflies).
Cut the remaining or lower portion of the bodice (the same fabric as the skirt) remember to add seam allowance to the top seam. This will attach to the upper portion and create the entire bodice piece.
TIP: Consider increasing the length of your bodice (I increased by 1.5”) since the woven fabric does not stretch and your bodice will end up short. Normally, I add .5” for my side waist. Note that I added 1.5” for this and it worked well.
2. Sew shoulder and side seams of front and back upper bodice pieces right sides together

3. I chose to create facings for the crew neck keeping a nice large opening for my head to go through. If you choose the boatneck version, it will need some sort of closure in the back. Perhaps a simple keyhole closure. That is why I stayed with crewneck.
4. Facings are super easy to create. Take your pattern, mark 1” in on the neckline and cut it from the same fabric as the upper bodice.

5. Sew the front and back facing pieces together creating one circle.
6. Attach it to the neck opening right sides together with ¼” SA.

7. Iron facing away from bodice.
8. Fold under, to the back, either a double or single fold, iron/pin, and topstitch down.

9. Sew the upper and lower bodice piece together. They should be a 1:1 ratio.

10. From here, simply follow the pattern instructions as written.
11. I added slits to the sides of my maxi for an extra detail.
My version:

And there you have it!
Easier than you thought! Right?
Happy sewing!

(This post contains affiliate links to the patterns)

