*This is a guest blog, written by Sylvie Conil*
Hi dear sewists!
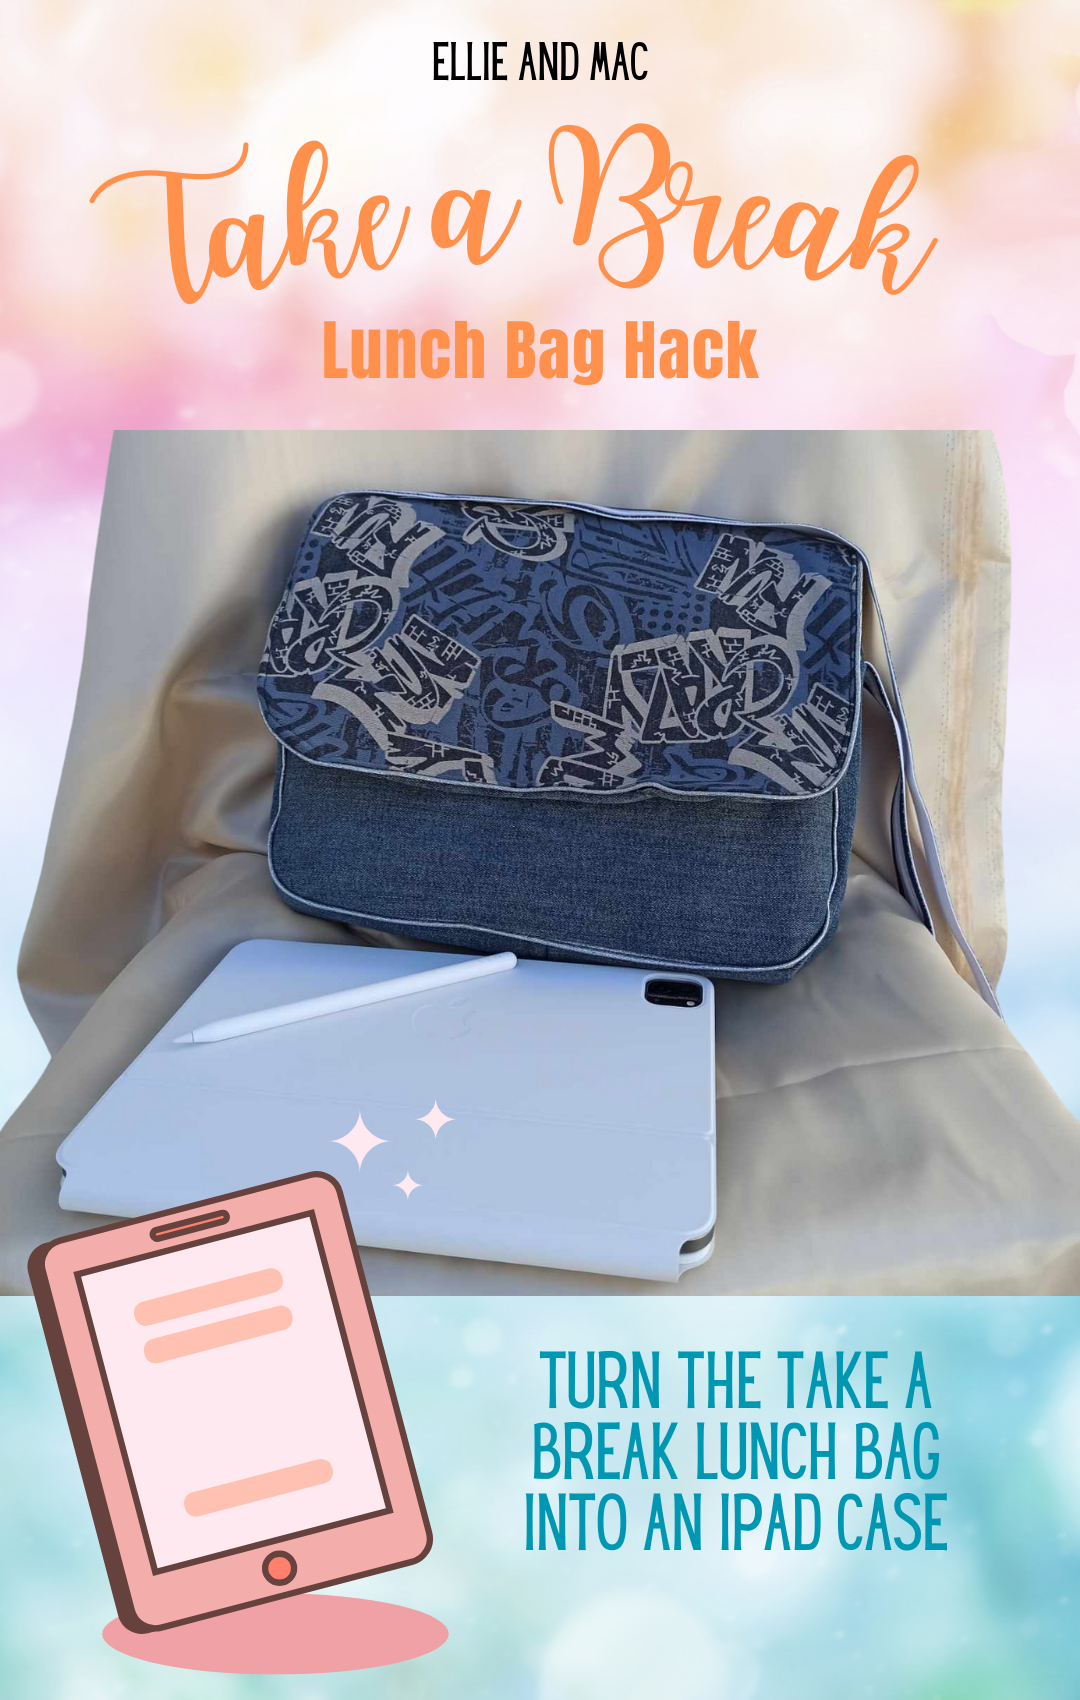
It’s me, Sylvie. I’m happy to share with you today my hack of the lovely Take a Break Lunch Bag. I transformed into an Ipad Bag.
First of all, it’s an upcycle challenge. I use old jeans pants and some pieces of fabrics to make it. I have so many pieces of fabrics I don’t want to waste, I'm sure most of you are as I am with a lot of several little things waiting to be transformed into something special and give them a second life!
Let’s get started!
To make this, you’ll need of course the pattern of the lunch bag you can find on Ellie And Mac site.
You can grab the lunch bag pattern HERE.
You’ll need:
-
pattern paper to draw on
-
a ruler
-
2 zippers: one of 23 cm / 9 inches, and one second of 44 cm / about 17.5 inches.
-
I bought some ready to use piping too.
-
1 handle, length of your choice, mine is 100 cm
Note: I didn’t use interfacing because the jeans fabric was rigid enough in my opinion, neither Insulation foam, because it wasn’t needed for my use, but of course you’re free to use it if you prefer.
We can start now!
STEP 1:
Copy your ‘Interior panel’ piece of pattern on the pattern paper, trace a middle vertical line and a horizontal one.
Note: you can simply fold your piece of paper to do those lines, if you prefer.

Cut now following the horizontal middle line.
Add a 4 cm strip between the 2 parts, use tape to fix your new piece.

Then, cut following the vertical middle line.
You’ll have to add a 6 cm strip between the 2 parts you have now, use tape to fix your new piece.

Don’t forget that when you change the shape of a pattern piece you’ll have to change the pattern pieces you're working with too.
The new ‘Interior panel’ looks like this now:

STEP 2:
Copy the ‘Interior Zipper Pocket’ piece on the pattern paper.
Add 6 cm in width.

STEP 3:
Draw a rectangle strip of 62 cm width and 7 cm height. It will be our new ‘Bottom Gusset’ piece.
Draw a rectangle strip of 44 cm width and 3.5 cm height. It will be our new ‘Top Zipper Gusset’ piece.
You won’t need to use any other part of the original pattern.
So, let’s cut the fabric!
STEP 4:
Cut the different parts of our bag.
-
Interior Panel piece: Cut x4 in the main fabric
One for the front.
One for the back. Be sure to draw the zipper opening.
Two for the top covering of the bag.
Then cut 2 more pieces, but this time out of your lining fabric.
-
Cut 1 interior pocket out of the lining. Draw/transfer the zipper line onto.
-
Cut 2 top gusset out of the main fabric and 2 out of the lining.
-
Cut 1 bottom gusset out of the main and 1 out of the lining.

When your pieces are ready we can start to sew.
STEP 5:
I start to prepare the top covering.
Put the 2 parts right side together, add piping between the 2 pieces, leaving free the ‘top’ part where it will be sewn to the bag.
Pin it and sew around leaving free a medium space in the ‘top’ part to let us turn the piece right side out later.


Turn the right side out and topstitch all around the piece.
It’s done. Keep it for later.
STEP 6:
Sew the Zipper pocket to the back part of the bag following the instructions you can find in the ‘Sewing instruction of the lunch bag’ file, under ‘zipper pocket’ part.
You’ll use the 23 cm zipper here.


STEP 7:
Prepare the Top gusset.
Position one of the top gusset exterior pieces Right side up.
Position the zipper 44 cm long, right side down, centered with the gusset piece.
Position one of the top gusset lining wrong side down, as the zipper.
Pin all along, and sew.
Press the gusset seams allowance, and top stitch along.

Repeat the same steps with the seconds top gusset piece.

Press the gusset seams allowance, and top stitch along.
STEP 8:
Now our top gusset is complete, you can take your bottom gusset piece.
-
Take the lining bottom piece, put it right side up.
-
Put the lining top gusset part, right sides together. At this step you should see the top gusset exterior part right side up.
-
Put your handle right side up, centered with the top gusset exterior.
-
Then, take the bottom gusset and position it right side down on the handle.
Pin the 5 layers together and sew the 2 sides to form a strange triple oval piece.


NOW, OPEN THE ZIPPER!
It’s very important before you continue.
STEP 9:
We start to finish the inside of the bag.
Pin or clip the back piece of the lining bag to the gusset, right sides together.
Pay attention to center it correctly before sewing!


Repeat the same step with the lining front part of the bag. But this time, leave a little unsewn gasp that will allow us to turn right side out our bag at the end.
The lining is now complete.
STEP 10:
Choose where will be the exterior front part.
Pin the piping all around the gusset where the front part will be, then pin the front part to the gusset, right side together. The piping is between the front piece and the gusset.
Check if your piece is well centered before sewing.
Sew all around.

Now, we’ll prepare the back part. First, position the top covering bag, right side up on the gusset, then pin the piping all around.
Sew to secure the top covering part, then, pin the back outer part all around the gusset, right side together with the top covering.
The piping is between top covering and back main part, and between the gusset and the back.
Always check if it’s centered and well positioned before sewing all around.


STEP 11:
Our bag is nearly complete.
Turn it right side out using the little gap in the inside, close it with your preferred way, for my part I closed it hand sewing.
It’s done! Congratulations!
I hope you’ll be pleased with your new bag!


See you in my next blog article!
@Sissy.baby.doll on Instagram
(Written by: Sylvie Conil
This blog contains affiliate links)