Hi everyone, Lakeisha here, from Sincerely, Shantelle and the EAM admin team!
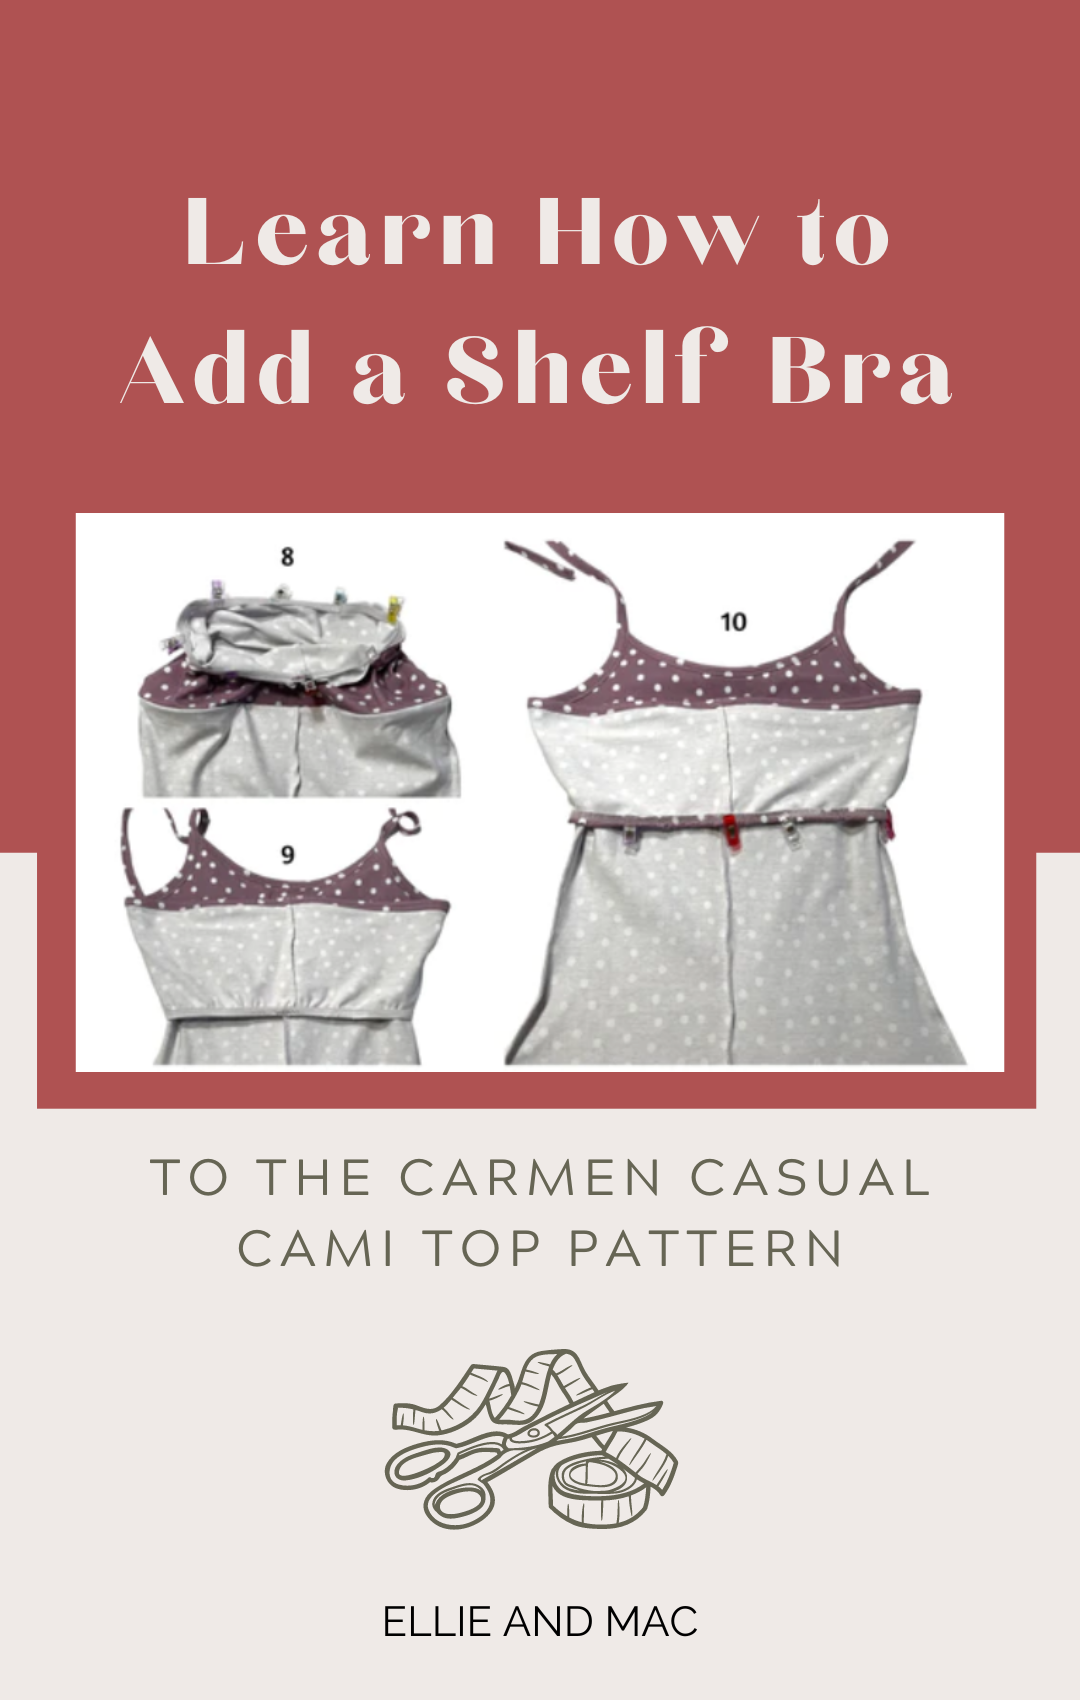
Today I am here to show you how to add a shelf bra to the newly released ___ Cami! I originally wrote a post for the Kids Cami doing the same thing, but a couple things changed with the Curvy version of the pattern, so I figured I'd do a fresh post. This will only include the necessary information for adding the shelf bra to the Fitted Cami, so you'll need to make sure you read through the tutorial, or reference it when prompted to complete your cami.
Materials needed:
* Extra fabric for the shelf bra
* Elastic of your choice (picot, 1/2", foldover elastic)
You will need to cut all the pattern pieces required for the bodice. In addition, you will also cut another front and back on the sports top cut line (Fitted Cami Option only). If your cami fabric is light colored, I recommend cutting the shelf bra fabric in a solid color, as it may show through the cami if it is dark or has a design on it.

Step 1: Make sure you have cut pieces for your shelf bra using the sport top cut line on the pattern piece.
Step 2: Put the two shelf bra backs right sides together and sew the center back seam. Press.
Step 3: Place the front and back cami right sides together and sew the side seams. Do the same with the shelf bra front and back.

Step 4: Turn both cami and shelf bra right side out.
Step 5: Slide the shelf bra directly into the cami, aligning all raw edges around the neckline/ underarm/ back. Baste together.

Step 6: Prepare your binding from the pattern instructions. Mark the center of the front neckline and front binding.
Step 7: With right sides together, sew the binding to the neckline. Continue following pattern tutorial to finish binding. Additionally, move on to the back and strap binding.

Step 8: You have a few options for how you choose to finish the bottom of the self bra. You can choose picot, regular braided or knit, or even fold over elastic. In this tutorial, I am using 1/2" braided. To measure, wrap elastic around the ribcage to where it is comfortable and not too tight. Sew the two cut edges together to create a loop. Divide the shelf bra and elastic into four equal parts and mark. Place elastic over the wrong side of the shelf bra. Align the marks and pin or clip in place.
Step 9: Sew elastic to the raw edge, using your preferred stretch stitch. You can leave is this way if you'd like. I have some store-bought camis that are like this.
Step 10: (Optional) fold the edge of the elastic toward the wrong side of the shelf bra, then sew close to the edge of the elastic to secure.
Pictures aren't included for these additional options, but if you're using picot elastic, you will sew the flat edge of the elastic to the right side of the shelf bra, then flip the decorative edge down and topstitch the straight edge of the elastic in place. If you are sewing fold over elastic, you can baste one side of the fold in place first and then sew, or simply wrap it over the raw edge and sew in place.
I hope this post was straightforward and that you'll enjoy adding a shelf bra to your next cami! Tag me in the Facebook group if you have questions.
Until next time......
(Written by: Lakeisha Webb)