*This is a guest blog, written by Iris Hoogendoorn*
Hi everyone!
I know the title sounds like this blog is supposed to start with ‘once upon a time…’ but as we all know sewing is not a fairy tale and really has its ups-and-downs. I’ll share some great tips I got when I just started using a serger, so hopefully your sewing tale will have a happy end too!
Once you’ve figured out your serger and you’ve got the hang of using it on straight edges you’ll run into some issues. Problems you didn’t have with your sewing machine.
Cutting corners

The first one I ran into was 90 degree or other sharp edges. For angles on the outside I find it best to do one side first, then the other. You cut the remaining tail of the first side off when doing the second one. This makes sure your angle is nice and sharp.


Having the corner on the ‘inside’ of your fabric is another problem. I like to serge until the corner is at the front edge of the foot. Make sure the needles are in the fabric before you lift the foot. You align the edge after the corner with the rest you’ve already done, so it makes a straight line. Then you make about 3 little pleats like I’ve shown in the pictures. You can do more or less depending on your fabric. Put the foot down and carefully help the pleats and the corner through. It takes a bit of practice but you’ll get the hang of it!

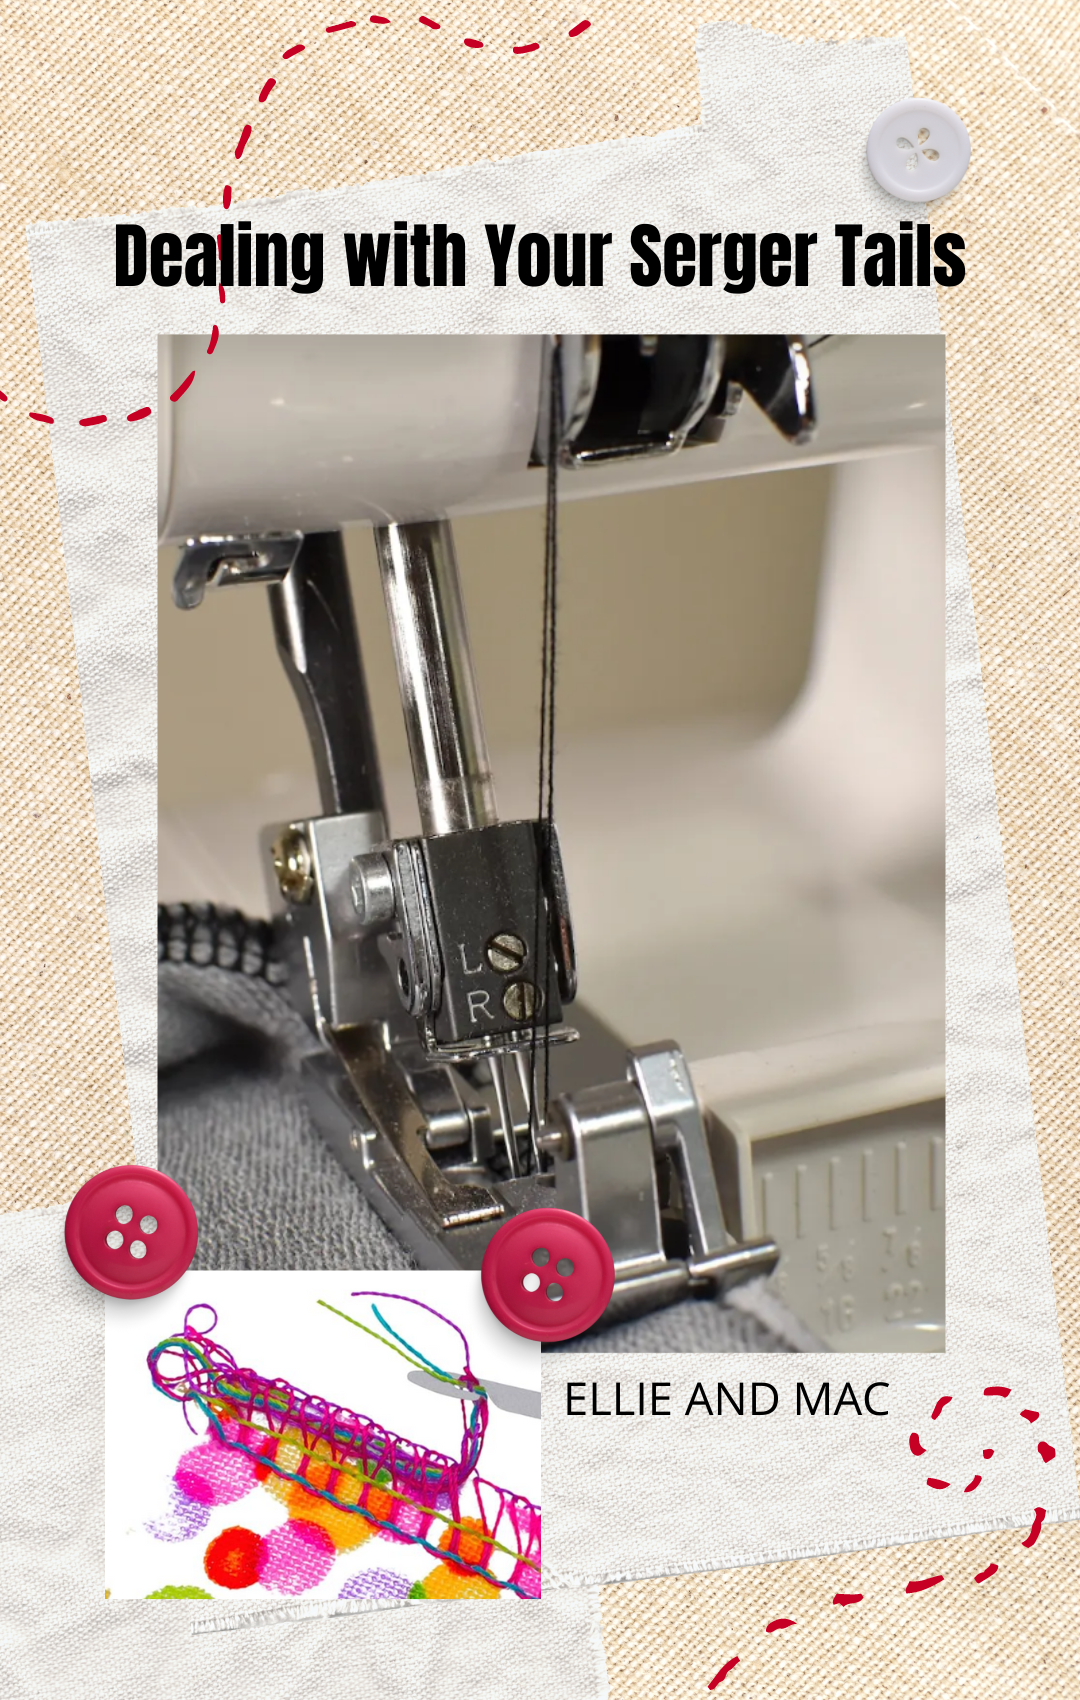
Don’t chase your tail
Little details can help make your creations look more professional. Having a serger takes care of the edges. But what do you with that tail you get at the end? There are many solutions, but here are my 5 most used ones:

-
You just leave it! This is the one I use most, since most ends will get covered up with bands or other seams. The serger will just cut the tail off when you’re doing the new seam.
-
Tie a knot. You can either use the tail or take apart the threads. Just make sure you tie it as close to the edge of the fabric as you can. Then cut off the excess.


-
Pull the looper thread. I use this most when I go in the round, when adding neck bands and cuffs. Go all the way around until you’re back at your starting point. Go a little over the beginning and then make a sharp corner off the fabric. When you look at the tail you’ll see 2 threads going fairly straight, and 2 that make loops. Take one of the looper threads and pull. The last few stitches in the fabric will tighten enough that it won’t come loose. Then cut off the excess of the tail.
-
Pull the tail through the seam. Make sure the tail is long. You need a blunt needle with a big eye for this. You put all 4 threads through the eye of the needle. Then you use the needle to pull the thread back through the seam for about 2 inches and then cut off excess.
-
Back through the seam. You start very carefully until you’re about 2 or 3 stitches in. Leave the needles in the fabric and lift up the foot. Pull the tail a little bit and move it from the back to the front. Align the tail with the seam and make sure it’s within the seam allowance. Put your foot down and serge the tail in the seam allowance for about 2 inches. Then pull the tail toward the right so the knife will cut the rest off and do the rest of your seam.

These tips you can use and try on your serger. When learning a new skill just practice on scraps. The only way to learn it is to do it!
Thank you sew much for reading,
(Written by: Iris Hoogendoorn)
PS. Since this is my first ever blog, here’s more about me: I’m Iris and I live with my boyfriend, our 2 sons (5yo and 2yo) and our cat in The Netherlands. My love for sewing started when my eldest son was born, and it’s only grown from there! Most of my makes are for kids.