Hi sewing friends! Today I am here to share a few tips on something that can feel very scary and intimidating – buttons and buttonholes! Do you love buttons? I do!! So many colors, shapes, and sizes! Just for fun – here is a picture of my own button collection:

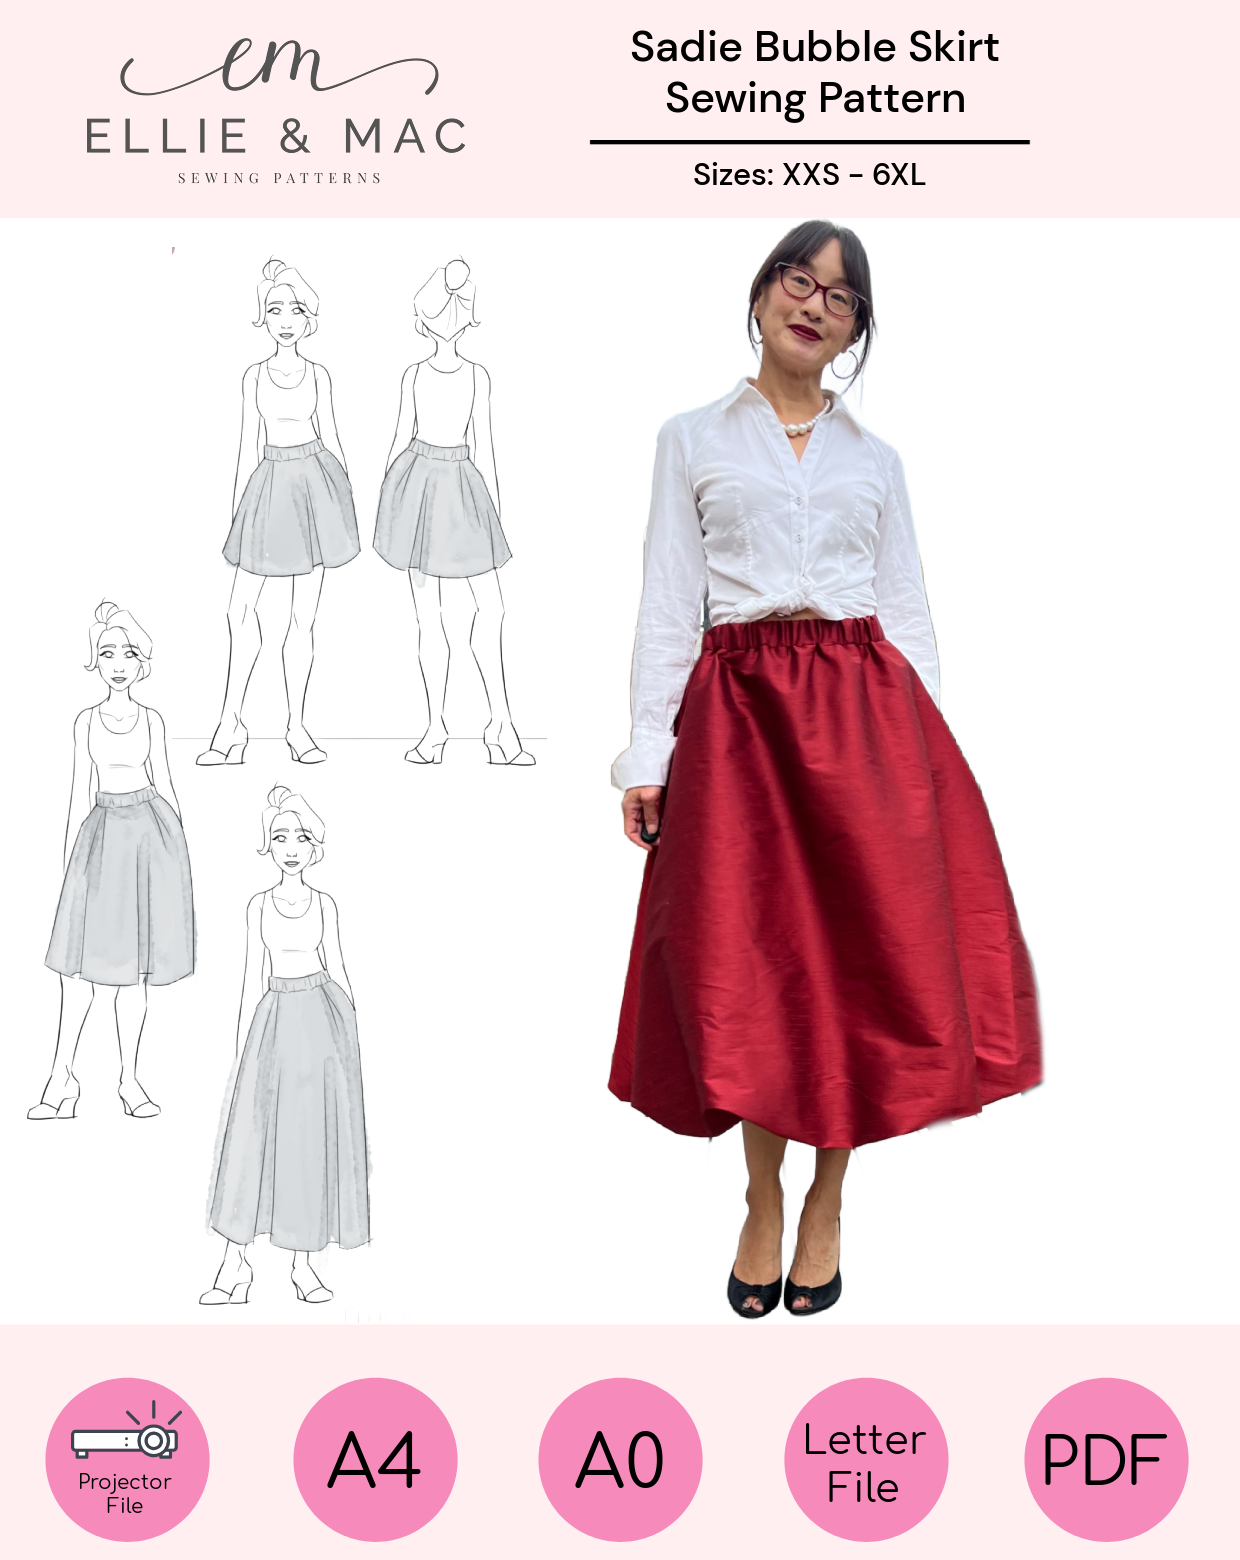
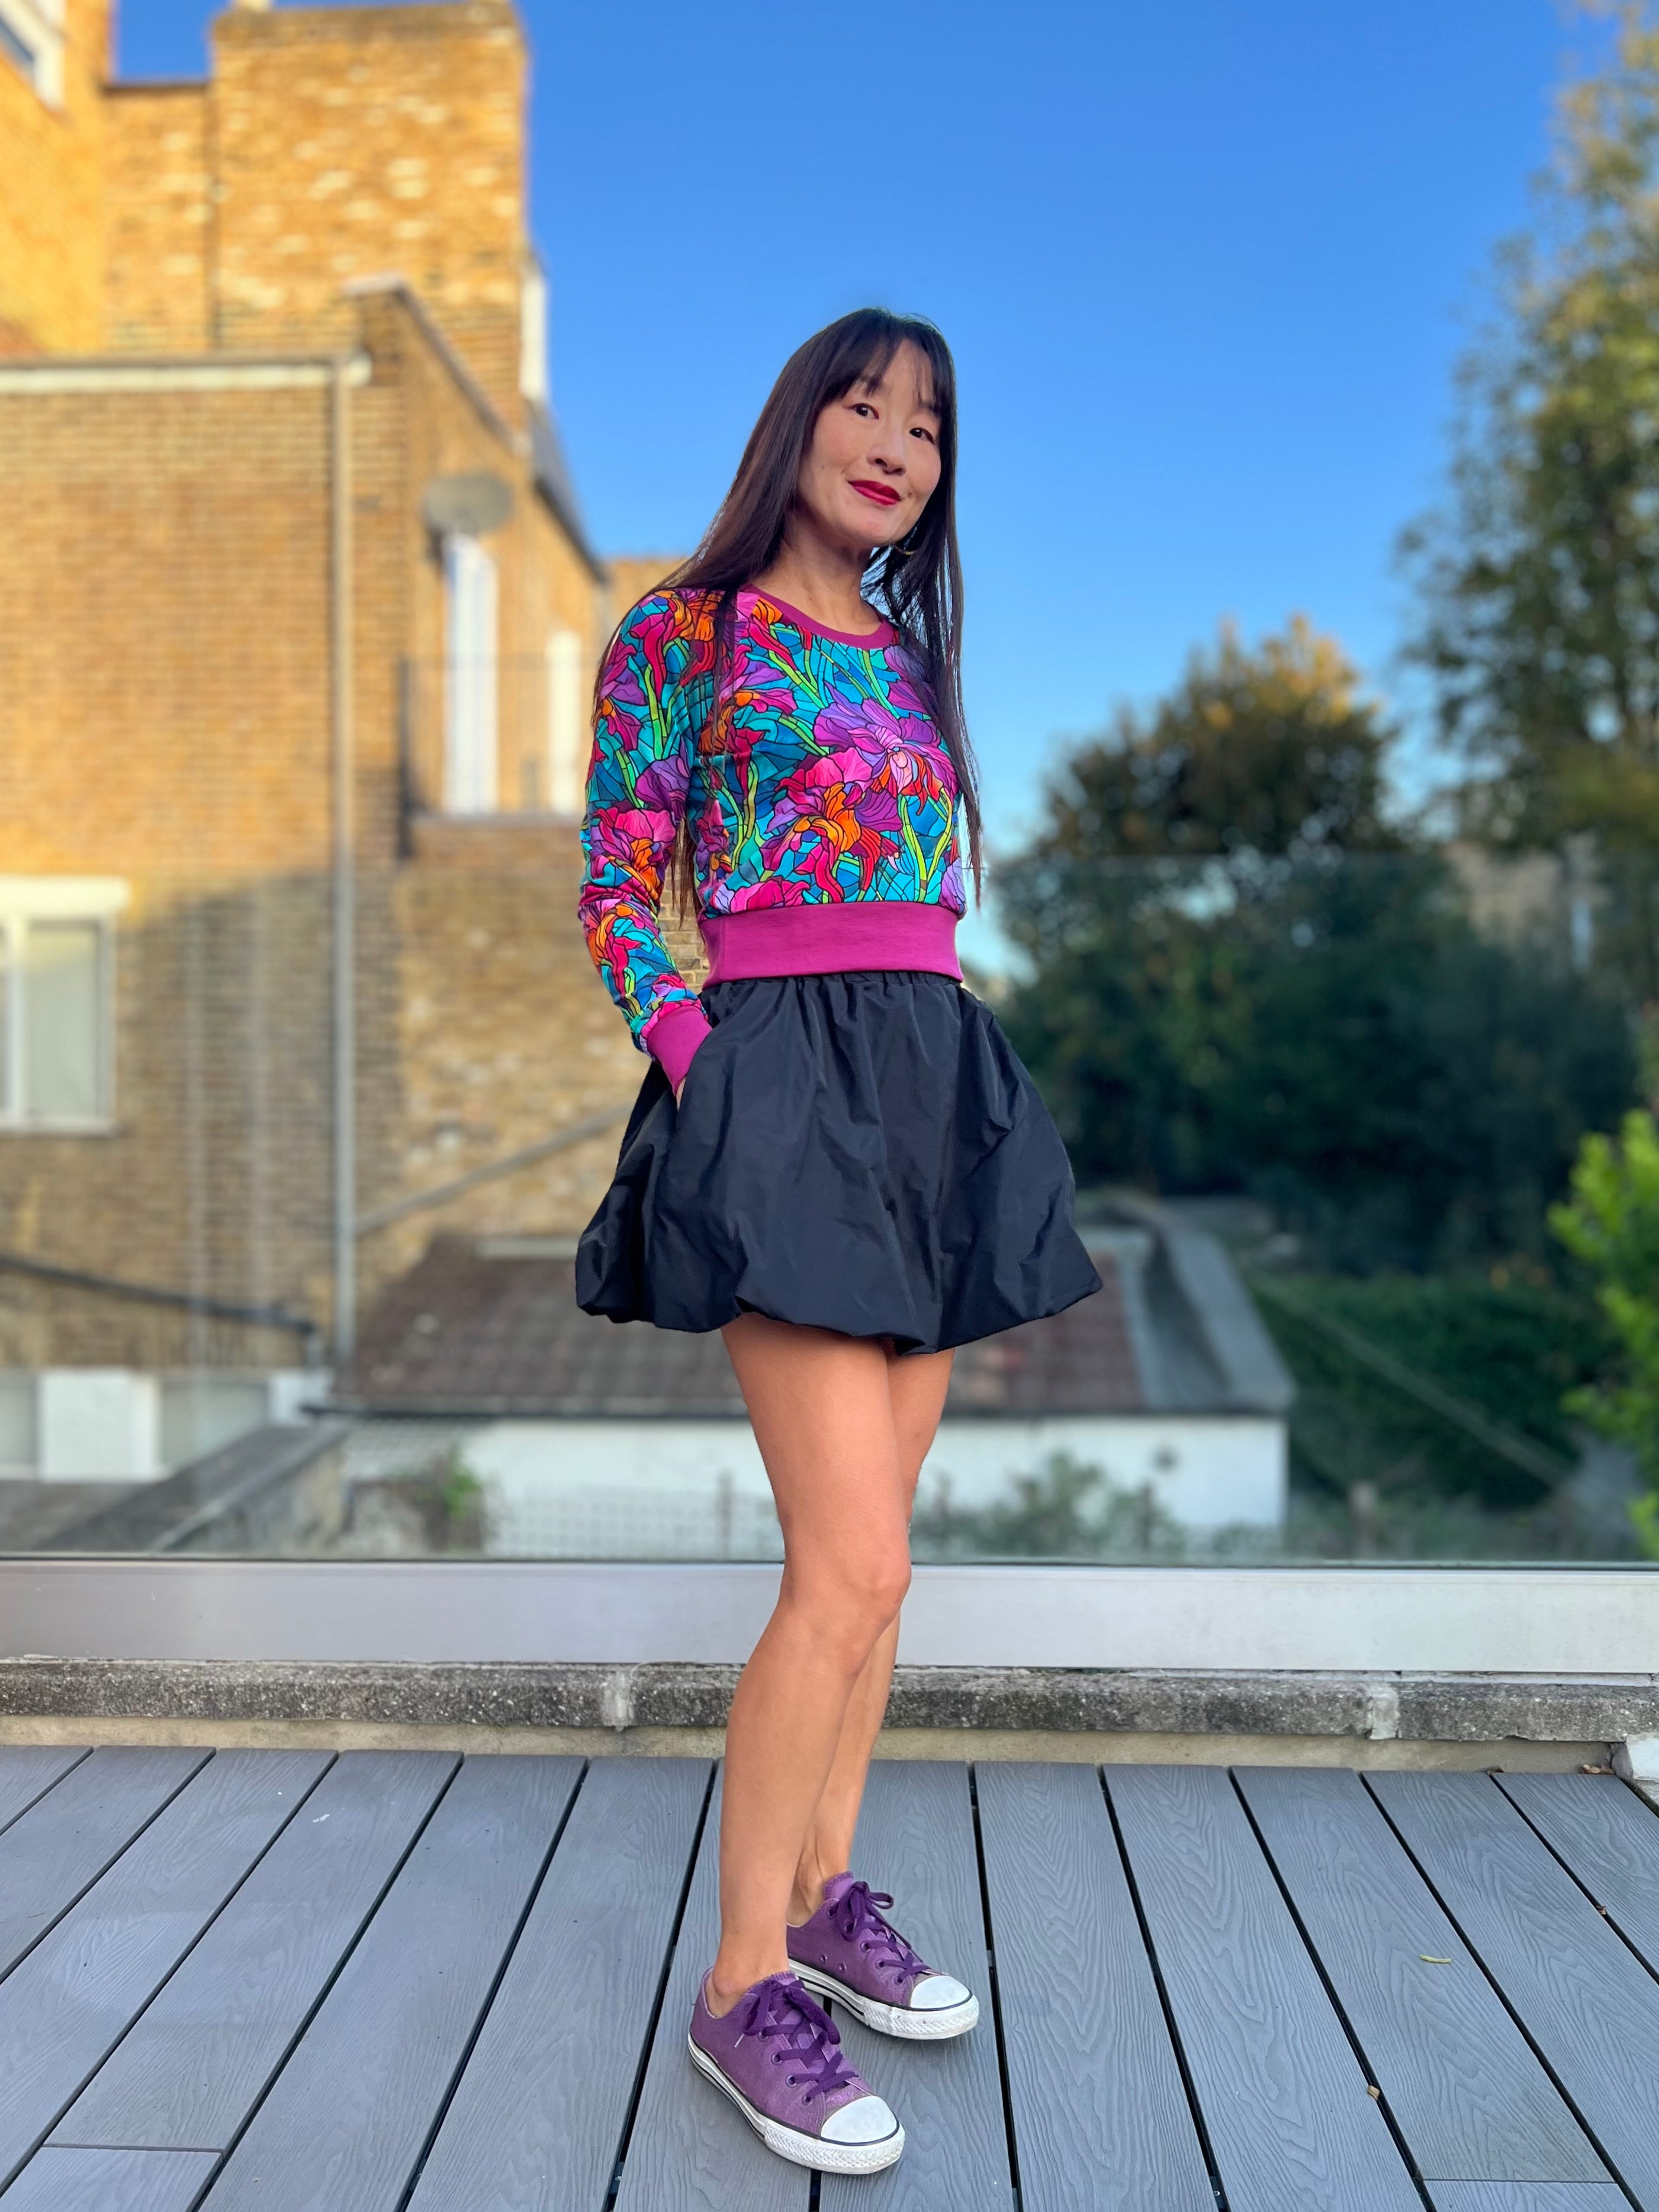
And buttons on a garment don’t actually have to match each other so the possibilities are endless – you can combine different sizes, shapes and colors to create a unique look. Ellie & Mac has some great patterns where you can experiment with buttons. I’m a big fan of the button-down A-line skirt – here is one I made last Fall:

The Class Pajama pattern has buttons too – and did you know you can use the top of this pattern to make a non-pajama blouse? I’m also going to show you how to easily add one or more buttons to a cardigan, even if it’s not part of the design; I’ll be showing you this on one of the many lovely Ellie and Mac cardigan patterns. So let’s get started!
First, let’s talk buttonholes and sewing machines. Most modern sewing machines that come with different stitch options do include a buttonhole stitch setting. If your machine doesn’t include this option, it is possible to create a buttonhole using very short and dense zig zag stitches. That’s a little more involved but you can search around to find a tutorial. However you create the buttonhole, practice is key – make sure you do a test run on a fabric similar to yours so you can get a feel for how it will go with your garment. Your sewing machine may have come with a buttonhole foot; you can also buy a buttonhole foot for most modern sewing machines and they don’t set you back too much. Just in case you have one and may not recognize it, here is a picture of what it may look like. This is the one that came with my Juki:

Here are a few tips I find handy for buttonholes:
-
As I mentioned above, many machines have buttonhole settings. But did you know there are multiple kinds of buttonholes? Until recently, I didn’t! For example, many machines have a setting for doing buttonholes on knit fabrics. Definitely check out your manual to see what your options are. Since learning about the knit buttonhole stitch, my knit buttonholes look a lot better!
-
Definitely do a few test buttonholes to determine if you are happy with the way your machine is sizing the hole for your selected button. The buttonhole foot usually has a little slot in the back where you insert a button, and this then tells the machine how long to make the hole. But I have found I am not always happy with how it works – I often take the button out of the “sizer” and reduce the size of the hole, especially for oversized buttons. So always test your exact button in the buttonhole on a test scrap of fabric before adding any buttonholes to your garment.
-
Here is an important tip so that you DON’T rip a hole in your garment (speaking from experience) – before you cut or seam rip open the buttonhole you sewed, insert a pin across the top and bottom of the buttonhole (see below photo). This will prevent you from ripping right through the edge of the buttonhole and into the main part of your garment!

-
Finally, you can increase the durability of your buttonholes by adding some Fray-check or clear nail polish to the wrong side at both side of the buttonhole. Just make sure your buttonhole is open and doesn’t get glued shut when you do this.
Now let’s move to buttons! Here are a few tips to help you on your button journey:
-
When I first started sewing buttons, I had a really hard time finding buttons I liked. And when I did find them on sewing supply or fabric sites and in stores, the selection wasn’t great and they were oftentimes expensive. I searched Etsy and found some sellers with great selections. One I highly recommend is Mellow Moon Supplies. No affiliation whatsoever – I’ve just been really happy with my orders!
-
Many sewing machines also come with a button foot. The button foot is a small foot which helps to grip the button while you sew on it on, and also contains the space to allow you to zig zag the button onto your garment. Here is what that foot looks like:

-
One challenge I’ve had with attaching buttons to my garments using my sewing machine and a button foot is that it can be hard to hold the button still while you sew it on, even if you have marked exactly the spot you where you want it to go. I used to mess around with glue and glue sticks but it didn’t work all that well. But recently I discovered I could use scotch tape. You just tape your button exactly where you want it to be, sew through the tape, and then remove it when you’re done. It’s magic!

-
One last tip – did you know that the button holes on buttons are incredibly standardized (even for many buttons that are vintage), and that your default zig zag stitch is likely the right width to sew on the button? Definitely test it first using the hand crank (versus the machine pedal) but there’s a very good chance that you can quickly sew buttons using your basic default zig zag stitch. Some machines have button settings (not the buttonhole setting but the actual button sewing on part). Mine does not, so I set my machine to the default zig zag width, then reduce the stitch length to the shortest possible. While sewing on the button, I stabilize and hold the garment still so it doesn’t move. You can also lower your feed dogs to help with this.
So let’s put some of these tips to use! I added a button to my Be Mine cardigan pattern. It doesn’t have buttons but I thought the style would look nice with a single button. Especially for cardigans that have a neckband, you can add one or more buttons and it’s pretty straightforward. Just keep in mind, from a sizing perspective, that you will lose one or more inches in bodice width by overlapping the bands since the pattern wasn’t designed that way. The pattern I used has a lot of ease so it wasn’t an issue. Here is the process I followed to do this hack:
First, especially if you used a lighter weight knit fabric, and especially for the side where you plan to put the buttonhole, you really do need to add some interfacing. The interfacing will stabilize the fabric and provide more structure. The risk of not doing this is that your buttonhole could stretch and degrade over time. If you know you will be adding buttons to a cardigan before you construct it, you can use knit interfacing and attach it to the wrong side of the band before you attach it to the cardigan bodice. In my case, I decided to add a button after the fact so I simply attached a small square of interfacing to the inside of the band at the exact location where I marked to sew my buttonhole.

Next, I marked and sewed my buttonhole (having practiced the same size buttonhole on scrap fabric first!).
Then, I carefully opened my buttonhole (pinning at the top and bottom of the hole to prevent me from cutting too far up or down).
Next step is to overlap the side of the band with the buttonhole with the side where you want to add the button, ensuring you have the bottom hem of the left and right side of the cardigan perfectly aligned so that you mark your button placement spot in the right place.
Then attach your button over this marked spot (using my tape trick to hold the button in place).
And then you’re done!
Here are a few pics of my adapted Be Mine cardigan. I love how it turned out! I just love this design with a single button.


Thanks for reading this post, and please tag me in the Facebook group (Andrea Goltzer Mulford) or on Instagram (@happy.things.here) if you give it a go or if you find this post helpful.
Happy Sewing!
(Written by: Andrea Goltzer Mulford)


