I recently showed you all my summer-inspired (or should I say pinspired?) 24/7 top, but during my searches through web shops I naturally came across more inspiring items of clothing ...
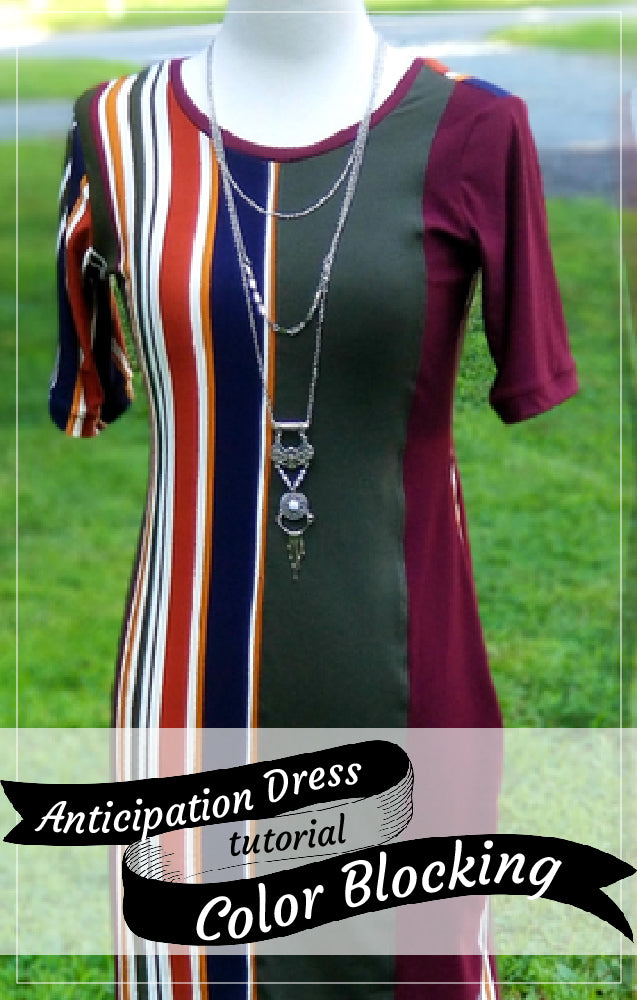
Among other things, this dress immediately reminded me of the Cape Cod pattern by Ellie & Mac, because of the finish on the neckline.
But ... the Cape Cod pattern is a pattern for children up to the age of 14, I don't belong there anymore, and moreover that is the pattern for a swimsuit ...

Still it stuck in my head ... Would it be feasible to make a size S from the largest available size?
Well, you guessed it, I made an effort :)
This is what I did...
TRY-OUT 1
I chose the pattern of the Breezy dress from Ellie & Mac as the basis, and printed the largest size of the Cape Cod pattern. I put that over the pattern part for the top of the Breezy. With some patternpaper I drew the contours of the Breezy dress, but fitted the Cape Cod neckline on the neckline.

Afterwards I did about the same with the back of the torso. I took the top of the Breezy dress as a base, and laid the Cape Cod back over it. Again I followed the contours of the Breezy, and adjusted the neckline, to get an open back.

And then I got to work ... I followed the instructions from the Cape Cod pattern manual for the top, and simply proceeded with the Breezy dress for the skirt part.
This is how my test version came about, and I was already quite satisfied with that.

TRY-OUT 2
The dress I was trying to recreate is short-sleeved. So I decided to attempt a short-sleeved version too. I'll show you with pictures and info how I went about it.


FINALS
Now the time had come to really imitate the dress. Once the fabrics had been chosen, I shortened the bodice a little. I also took it in a little at the waist. To prevent the skirt from pulling the top down, I sewed Framilon tape in the waist seam. This way everything stays in its place. And again I have a successful 'pinspired' dress :)

If you love Ellie & Mac Patterns as much as I do, they give me the feeling I can recreate any look, be sure to take a look on my blog, as I am a regular tester of Ellie&Mac Patterns: https://mijn11jesenik.wordpress.com/ 
You can also find me on:
Instagram: https://www.instagram.com/ingelrelst
Twitter: SeamsLikeD
Pinterest: SeamsLikeD
(written by Deborah Ingelrest)


