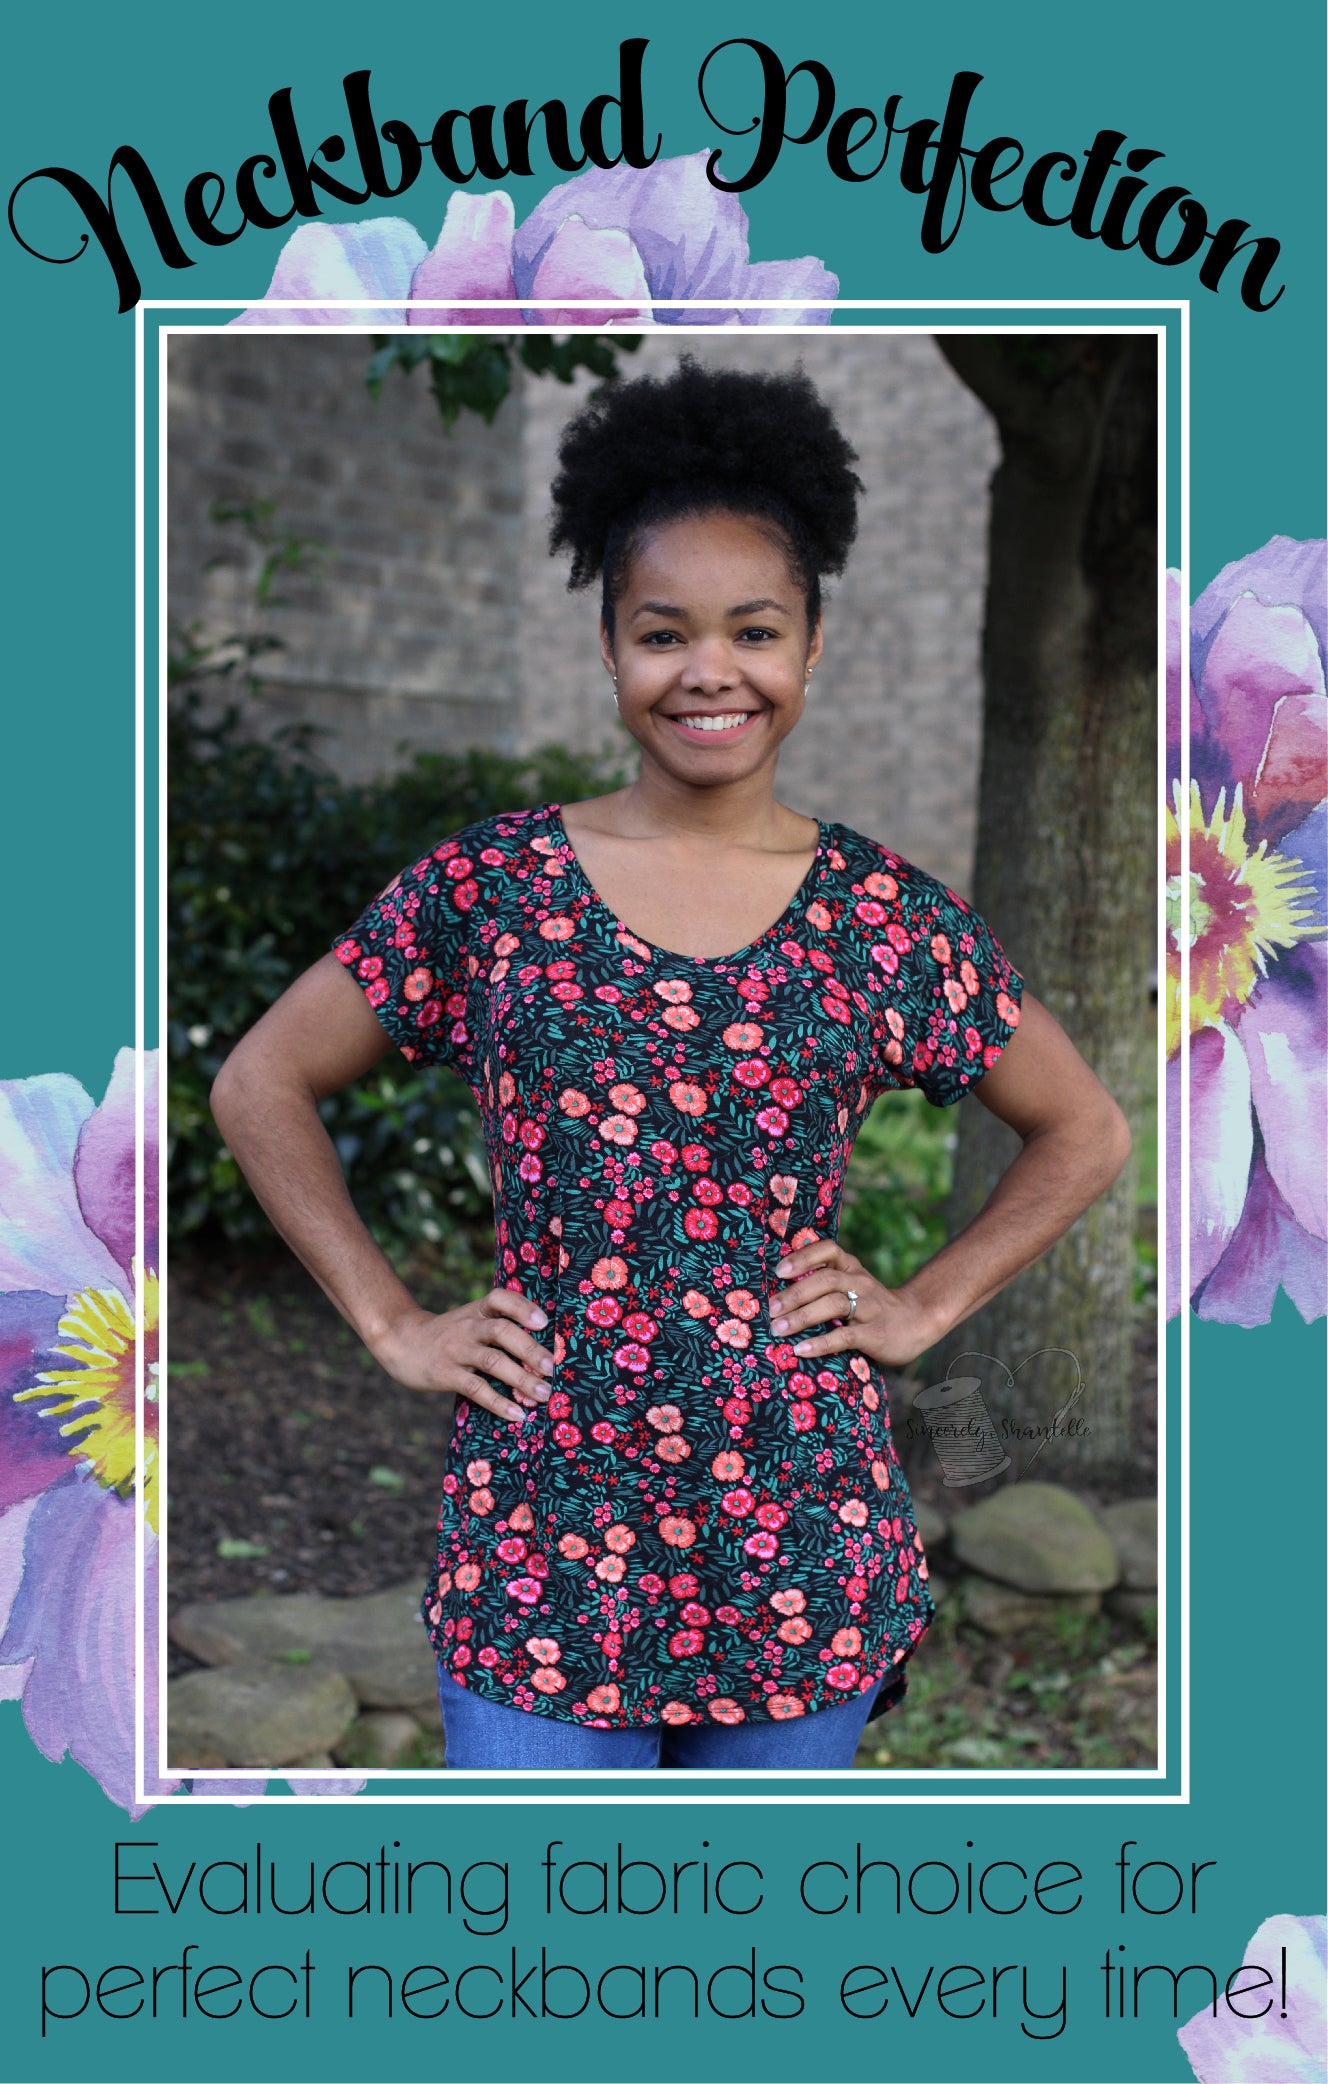
Hi friends! This is Lakeisha from @Sincerely, Shantelle and today we are going to chat about neckbands. All Ellie and Mac patterns come with a pattern piece for the neckbands, but oftentimes we see comments or posts in the Facebook group of members who are less than happy with how their neckbands look after attaching. This happens for a host of reasons. Sometimes, the member is a new sewist, and not familiar with band attachment. Other times, it’s all in the fabric choice. I’m going to attempt to help with both!
For starters, let’s go over the way a band is sewn and prepared for the garment. *Make sure that you are cutting with the stretch parallel to the length of the neckband. I’ve made that mistake a couple times, and that can result in disaster when it comes time to attach.*

When the band is ready, and quarter points are marked, you should find the quarter points of the shirt, also. I find it easiest to find the quarter points of the band this way.

You can sew the neckband into the shirt in one of two ways. 1) Shirt inside out, with the band INside OR 2) shirt right side out, with the band on the OUTside. You just want to be sure that the band is touching the right side of the shirt, regardless of how the shirt is oriented. It is shown both ways throughout Ellie and Mac pattern tutorials. While sewing, be sure that you stretch the band ONLY, and not the neckline of the shirt.
So your neckband is sewn in, and you aren’t happy with how it looks. If it looks puckered, and hitting with a steam iron didn’t get rid of the wrinkles, that could mean that it’s too short. *How’s it too short? I used the pattern piece!!!* Chances are, this happened because you used a fabric with *less* than the recommended stretch for that particular pattern. This is common with two-way stretch fabrics, like many French terries, some cotton Lycras, triblends, and sweater knits. I’ve had bands come out a little more extreme than the example back when I first started sewing. Lesson learned! (Pro tip: if your band has to be stretched a lot to match the quarter points when it’s pinned or clipped in, this is an indication that it’s too short. I recommend moving forward to measuring your own before sewing in.)

What if, instead of being puckered, the front center of the neckband looks floppy, or the band stands up straight? This could mean that it’s too long. *How’s it too long? I used the pattern piece!!!* Chances are, in this instance, you used a fabric with *more* than the recommended stretch for that particular pattern. This is common with rayon spandex, some bamboo Lycra, ITY, and several other drapey fabrics. Some custom quality cotton Lycras will do this, too! (Pro tip: if your band lies relatively flat into the neckline with no stretching required, this is an indication that it is too long. I recommend moving forward to measuring your own before sewing in).

Never fear, though! You can get rid of the puckered or floppy neckband by cutting your own! This requires one additional step, but I believe it’s fully worth it to avoid having to seam rip a band that doesn’t lay properly. In order to do so, you should measure the opening of the shirt, like so.

Take that number and multiply by .85 (which is 85%). Add 1/2” to your measurement to accommodate for the seam allowance. This will give you the length of the new band. You can then use the pattern piece for width or use anywhere between 1.5-2 inches, depending on the pattern look, and if it’s for a child or adult. This length x width will be cut ON THE FOLD. Cut out your new band, and follow the attachment steps above!

*How can I prevent this before sewing?* Stretch test!! Always, with every fabric you are sewing with, until your touch becomes familiar with it. Each Ellie and Mac pattern has a page dedicated to helping you figure out the amount of stretch in your fabric. Doing this often will help ensure that you’re using fabric with the correct amount of stretch, and if you’re a rebel and like to use “non-recommended” fabrics (like many of us), you will know beforehand if you should go ahead and measure and cut your own band instead of using the pattern piece. Also, reflect on the “pro-tips” noted above. A too-short band requires too much stretching. A too-long band lies flat with no stretching needed. These can both be noticed when the band is pinned or clipped into the neck opening, and you can cut a new band before moving on to the sewing stage! I hope this blog is helpful to you in solving those neckband woes. Until next time!!
 (Written by Lakeisha Webb)