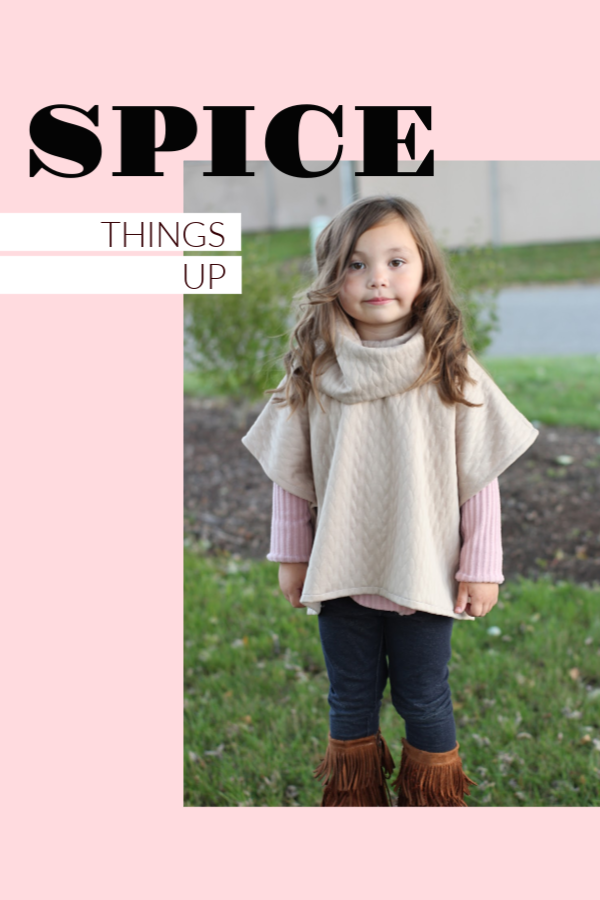
Hello sewing friends! It’s Nellie from https://sewmessy.blogspot.com. I’m here for my very first guest post! Yay!!
One of the perks of sewing your own clothes is getting a custom fit! This is something you can’t get with RTW (Ready To Wear) because it is impossible for clothing manufactures to measure and cut for every single person that will purchase their clothing.
Measuring is the KEY! And accurate measuring is paramount! Inside every Ellie and Mac pattern there is a wonderful, detailed measurement chart and some instructions on how to measure.

There is a good portion of these measurements that you won't even need for some patterns, but the ones you do need are very important to get correct and to know how to use those measurements.
Before we get started you are going to need some supplies. Grab a pencil and paper to record your numbers and some elastic or ribbon in a long enough piece to tie gently around your waist and another for the full hip. The last thing you may want is a full length mirror, or even better, a second set of hands that know how to properly measure. And you’re ready to get started.

Next, we need a body prepared to be measured. The best way to do this is to wear the base garments you would have on underneath the clothing you will be making. For example, if you plan on wearing shapewear under your Tulip Dress, you should have that shapewear on while measuring. This is also true of the bra you wear. If you have a different “around the house” bra from what you wear while “out on the town,” don’t measure yourself in your “around the house” bra if you’re going to make a Tee Dress to wear out on the town.

As much as I want to share with you exactly how to take accurate measurements, I don’t really want pictures of me on the internet in just my bra and undies, so you get to see me in my two sizes too big Urban Legs and a flounceless Day to Night.

Let’s start at the top. Literally! How tall are you? From the crown of your head to the bottoms of your bare feet. If you haven’t had a doctor tell you recently, or you haven’t marked it on the wall and measured lately, you really should measure yourself again. You might be surprised! For example, my best friend recently discovered that she really wasn’t the 5 foot 7 she had claimed for most of her life, she was actually 5 foot 6 ½ and that half inch can make a world of difference when you need to adjust your sewing for height. Which you should be doing. Ellie and Mac patterns are generally labeled with a draft height and have a given lengthen/shorten line on each pattern. Check your pattern before jumping into these changes to make sure you are adjusting correctly for each pattern. A general rule of thumb for height adjustments is to add or subtract ½ inch from the pattern for every inch taller or shorter you are then what the pattern is drafted for.
Upper Bust measurement is next. For this, you will wrap the measuring tape around your back, right under your armpits and above your breasts. Be cautious of not getting any breast tissue into this measurement. When you take this measurement have your arms out to the side, like in the first and third picture. You don’t want to raise your arms like I did in the middle picture I was just trying to show where the measuring tape should lay across your side, also, you don’t have to look confused and concerned like I do either, that look was solely for my husband/photographer.

This is how we can be sure to get the chest, neck and arms of a pattern to fit properly. I’ll explain how to understand how/when to use this measurement after we measure our Full Bust.
Wrap the measuring tape around your body, parallel to the floor at the apex of the breast (that’s the part that sticks out the most). We are wanting to measure the widest part of the bust area. You want the measuring tape to be taught, but not tight. If the tape is too loose or too tight you might measure into a size that is either too big or too small for you. Also, don’t take this measurement with your arms up like in the middle picture. I was just trying to show where the measuring tape should fall.

The Upper Bust and Full Bust measurements are usually the most important measurements for a shirt/dress pattern. WAIT!! What if there is no Upper Bust measurement given! How do you find it on the pattern? How is it even used?
Answer: the Upper Bust measurement isn’t as important as the difference BETWEEN the Upper Bust and Full Bust. EAM patterns are drafted to be able to accommodate a larger bust size then most RTW clothes, meaning that if you have 2-4 inch difference between your Upper Bust and Full Bust you should be able to move on to the next measurement without needing to do anything else. If your difference is less than 1 inch, you may need to do a small bust adjustment to achieve the custom fit feeling while staying true to the intended fit. If you have more than 4 inches of difference between Upper Bust and Full Bust you may need a full bust adjustment to feel like you have achieved that custom fit for the pattern. I won’t be going into the details of sba/fba right now, but just know that you will be using the Upper Bust measurement in place of the Full Bust to ensure that the neckline, upper chest and arms fit properly and then adjust for the Full/Small Bust size.
Moving on!
The Waist measurement is next. Tie your elastic, or ribbon, around your natural waist, lose enough that it isn’t pinching or pulling, but tight enough that it doesn’t slip up or down. Now wiggle around. Bend, twist and dance around so the ribbon settles right into the smallest part of your waist.

Also note how my ribbon isn’t parallel to the floor across the side? That’s because my waist isn’t parallel. This is the one measurement that doesn’t need to be parallel to the floor thanks to things like a tilted pelvis and mum tum. Use a measuring tape over the ribbon/elastic to get the measurement of the right place on your Waist.
Side Waist is the next measurement we are going to take. We will start at the armpit. Not all the way up in the armpit, but where you like the bottom of the arm scythe to reach. You may need to keep that in mind if you are measuring in just your bra (which you should be) that your bra should be lower than your arm scythe. I’m wearing a shirt that fits me well, so I’ll just aline the bottom of my armscyth at my armpit for this measurement. And then go down to the ribbon at your waist.

The average side waist length is 8 inches. And most patterns are drafted around this number. If your side waist is a different length then you will need to adjust your pattern to reflect your side waist. For example, my side waist is 8 ½ inches, so I will need to add half an inch above my waist to make the waist of the pattern fall on my waist where it’s intended. This is most important in fitted and semi-fitted patterns. A relaxed fit or straight cut patterns won't be affected by this nearly as much.
To determine the location of waist on a pattern you begin at the bottom of the arm scythe, mark the seam allowance and start measuring 8 inches down from there. It should bring you to approximately the narrowest part of the pattern, depending on how the pattern is drafted. For example, the Fall In Love has a slightly dropped waist at 8 ½ inches, so to keep with the pattern’s intended fit I need to add ½ inch of length above the waist to bring the side waist to 9 inches to be half an inch below my natural waist, right where the pattern was drafted to be, staying true to the intended fit of the pattern.

Now to measure the High Hip. This measurement is usually not as important when making a shirt or tunic and is usually more important for pants and skirts, because most people like their waistbands to come across their High Hip. Wrap the measuring tape around your middle, below your belly button and above you tush. Keep the tape parallel to the floor. This can be really difficult if you’re measuring on your own, be sure to use a mirror or a helper so you can see.

Full Hip is next. It’s a pretty easy place to find. Just wrap the measuring tape around the largest part of your tush. I know, I know, no one really wants to know that number, but you’ve got to do it to make sure there is plenty of room in your makes to feel comfortable and not pull and ride while you move. This is especially important when making pants, tunics and dresses.

Tie more ribbon around your Full Hip. We are going to get the Hip Depth measurement next. You are going to measure from your natural waist (where the first ribbon is) to the Full Hip (where the second ribbon is). I just tucked the measuing tape in my ribbon, not super scientific, but it held the measuring tape so my hands weren’t in the way for the pictures.

This measurement is your Hip Depth. Basically, you are finding out how much room there needs to be between the waist and the hip on your pattern. This is especially useful if you find that you are getting fabric pooling at the small of your back that a sway back adjustment isn’t helping or you are finding mysterious draglines at your sides. It is not uncommon to have two different Hip Depth lengths, but the amount of difference on each side in my photos above is a bit dramatic. In this case I was more worried about the photos than I was about the numbers. If something similar should happen to you, double check that your ribbons are in the correct locations and parallel to the ground and sitting where they should and then remeasure, making sure you are measuring from the same point on each ribbon.
The Inseam is next, and we are almost done. For this measurement, it is really important to get a second set of hands because it’s just too hard to get this number accurately by yourself! Start the measuring at the crotch, not right up there all tight, give your bits some room to breathe. Just like when measuring our Side Waist Length. Think of about where your favorite pair of pants sit and measure from there.

When I measured myself, my short little legs come up with 24 ¼ inch and yet when my daughter helps me, her measurement is 25 ¾, that’s HUGE! No wonder none of the pants I was making were long enough! Get help with this measurement, it really will make a big difference. And then there is the complication of shoes. If you want your pants/dress to go to the ground, you really need to take the measurement with the shoes that you will be wearing. For example, I like my pants to brush the ground when I’m wearing my tennis shoes, so I need to put my tennis shoes on before taking the measurement. And then don’t forget the hem allowance!
Last, but not least, you need to take your arm measurement. You will probably want a second person for this one too because it’s really hard to read the numbers on the outside of your arm without letting the measuring tape slide, you’ll see that in the pictures. Begin with bending your arm at a 90 degree angle, with the end of the measuring tape right at the edge curve of your shoulder and trace it down to your elbow. Hold it in place and trace it out to your hand. Decide where you want the end of your sleeve to hit (I like my long sleeves to hit right at the second knuckle of my thumb, or longer) and that’s your sleeve length. You can do the same for short, elbow and three-quarter sleeve lengths, you will just need to record all the lengths you want and when you adjust your patterns, don’t forget about the hem allowance. Also, this kind of measurement wont work with raglan or dolman sleeves because they are measured from a different spot on the shoulder.