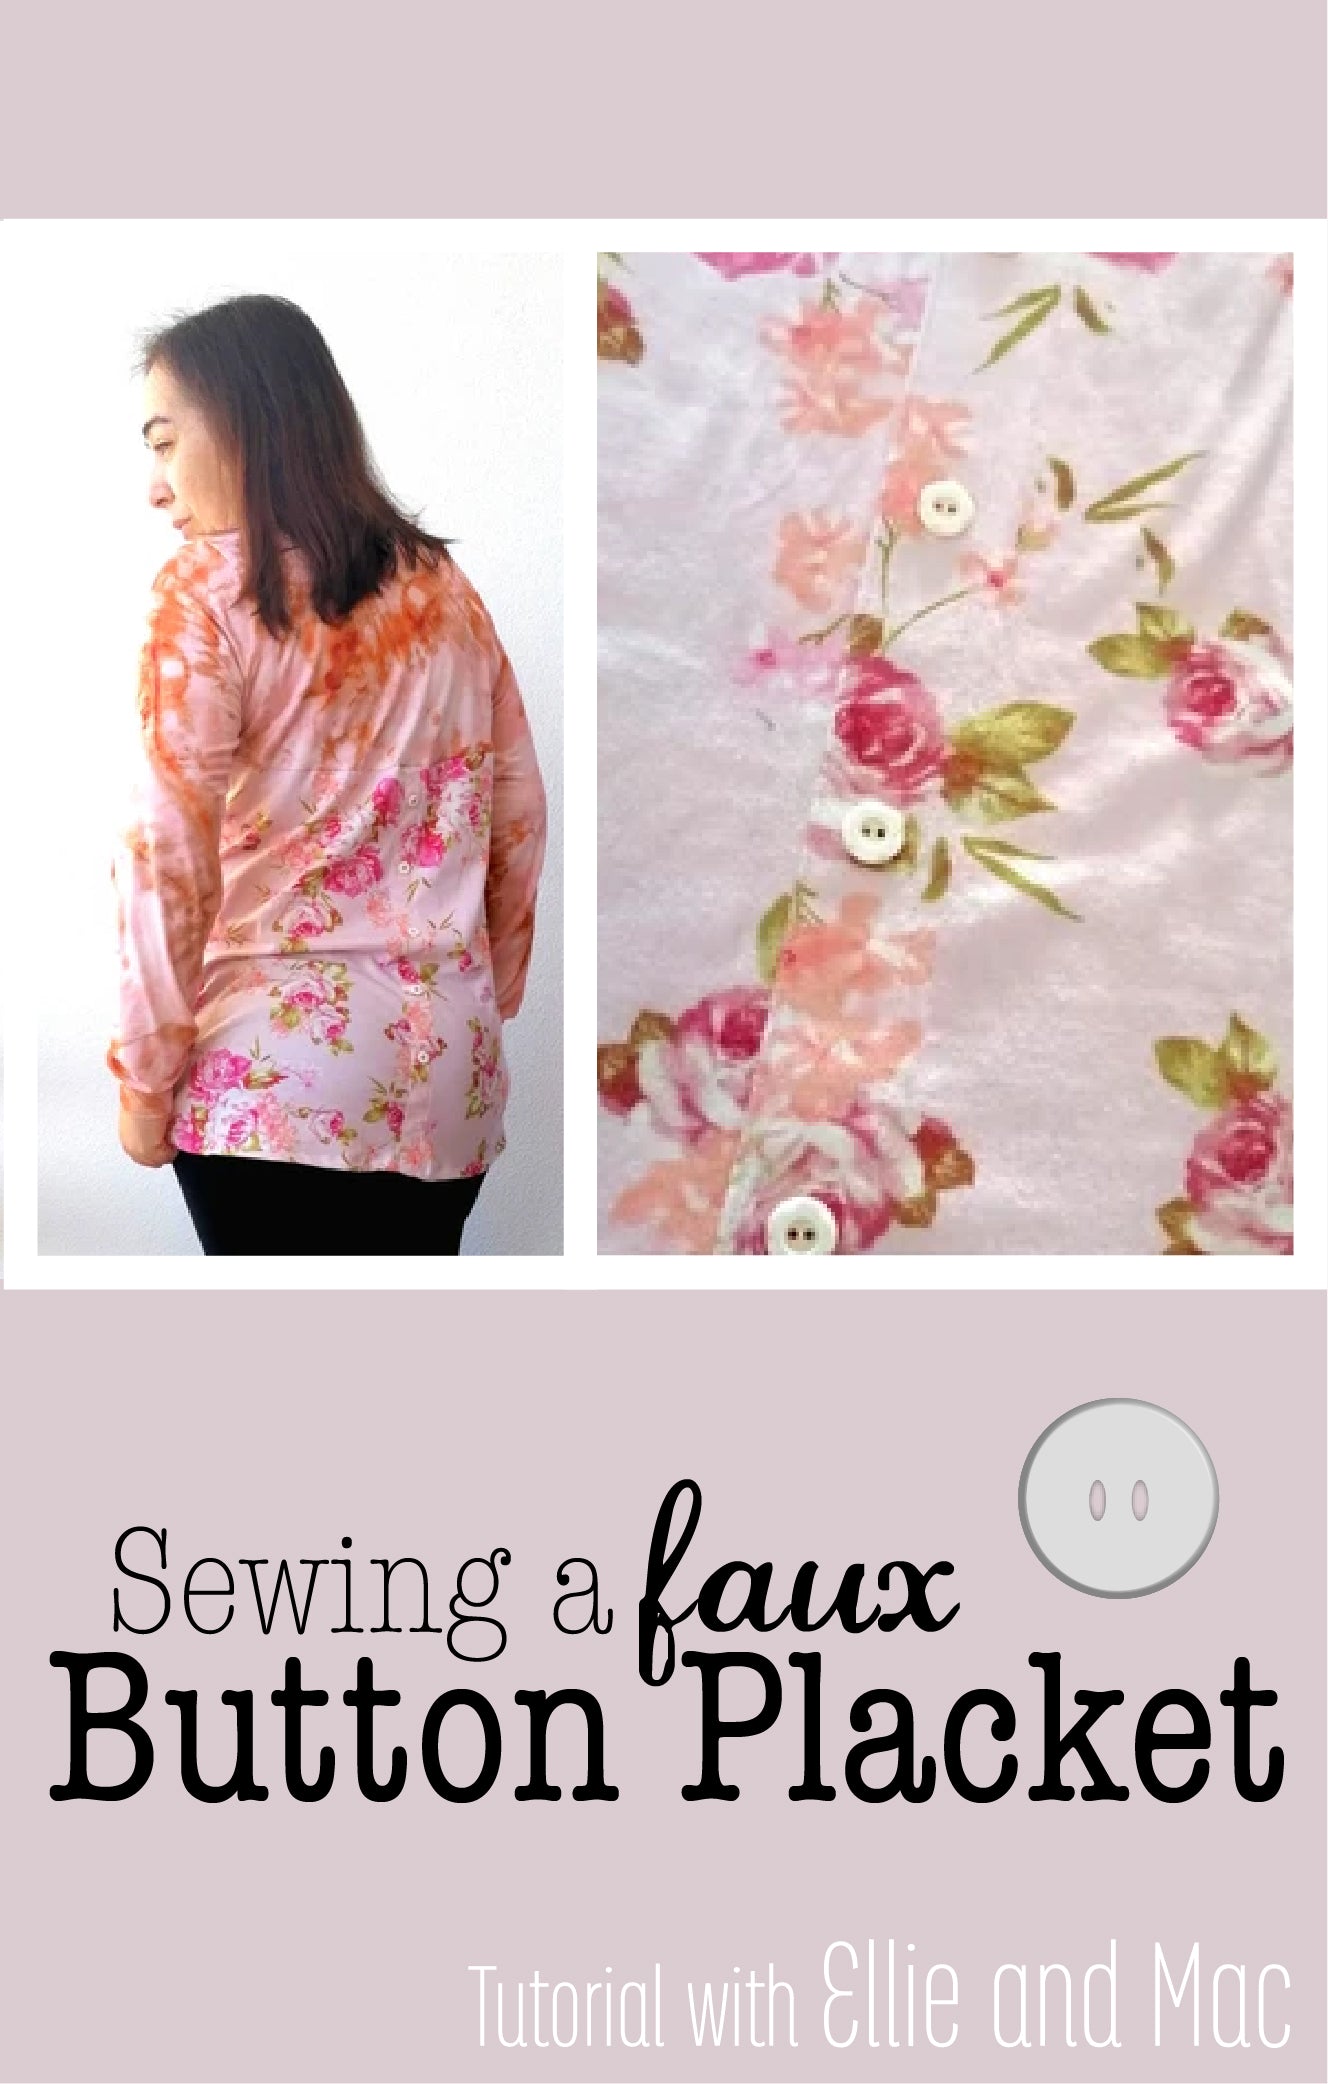
The High Hopes Dolman Pattern is one of my new favorites! I’ll be honest, I always thought it was too “big” for my taste as I typically like more fitted things. Yep, I was wrong! This pattern is so flattering on everyone! I have now made it 3 times. However, I do size down on the sides but leave the sleeve length and neck opening my regular size. It just takes some of the blousyness out of it, but that’s just me.
How did this mash up happen? Well, when making my holiday outfit this year, I choose the High Hopes Dolman. But I wanted a short, fitted skirt to offset this more blousy top. You will find that mixing a blousier top with a slim bottom helps make us look slimmer; so there is the real reason for this whole mash up.
I was fortunate to have access to the Crossover Top & Dress Pattern prior to release; this skirt was perfect! I have been keeping quiet about this awesome mash up until now! It’s been hard since this dress is so awesome!
The Crossover Top & Dress is an amazing pattern by itself; but if you are looking for something different or maybe you prefer more coverage than a Crossover top provides-here is your answer!
Let’s get started!
You will need both patterns:
High Hopes Dolman Pattern
Crossover Top & Dress Pattern
(#affiliate)
High Hopes Dolman
- No bottom band needed.
- Otherwise, follow the pattern as written.
- Depending on how much you want the top to blouse over the skirt will determine the length of your HHD. Or you can make it the same length as the Cross Over top.

Crossover Skirt
- Make the skirt as pattern is written.
- I did shorten the waist area of the skirt some as I wanted it to be a bit lower on my waist. But that’s personal preference.

Attaching the Two Pieces
- Turn the top inside out so the wrong side of the fabric is out.
- Keep skirt right side out.
- Slide skirt into the top where top waistband and skirt waistband will match (they are right sides together). This is also in the pattern.
- Attach the 2 using your preferred sewing method.
Done! Easy Peasy!
Notes:
I bet you have noticed that cool lace accent on the sleeves. Well, another Easy Peasy trick!
It is lace (not stretch lace) from my local fabric shop. I think it is by Simplicity and is sold on a roll by the yard in the ribbon department.
Sew the shoulder seams together as pattern calls for. Then attach the lace. I held mine down with Dritz Double-Sided Wonder Tape to help keep it in place until I sewed it down. Then used clear thread and a zip zag stitch on my regular machine to attach it. Do this before neckband and cuffs and they will hide the ending and beginning points of the lace.
I love adding details like this! That makes such a difference.
Enjoy! Happy Sewing!
(Written by: Suzanne Todd Giles)