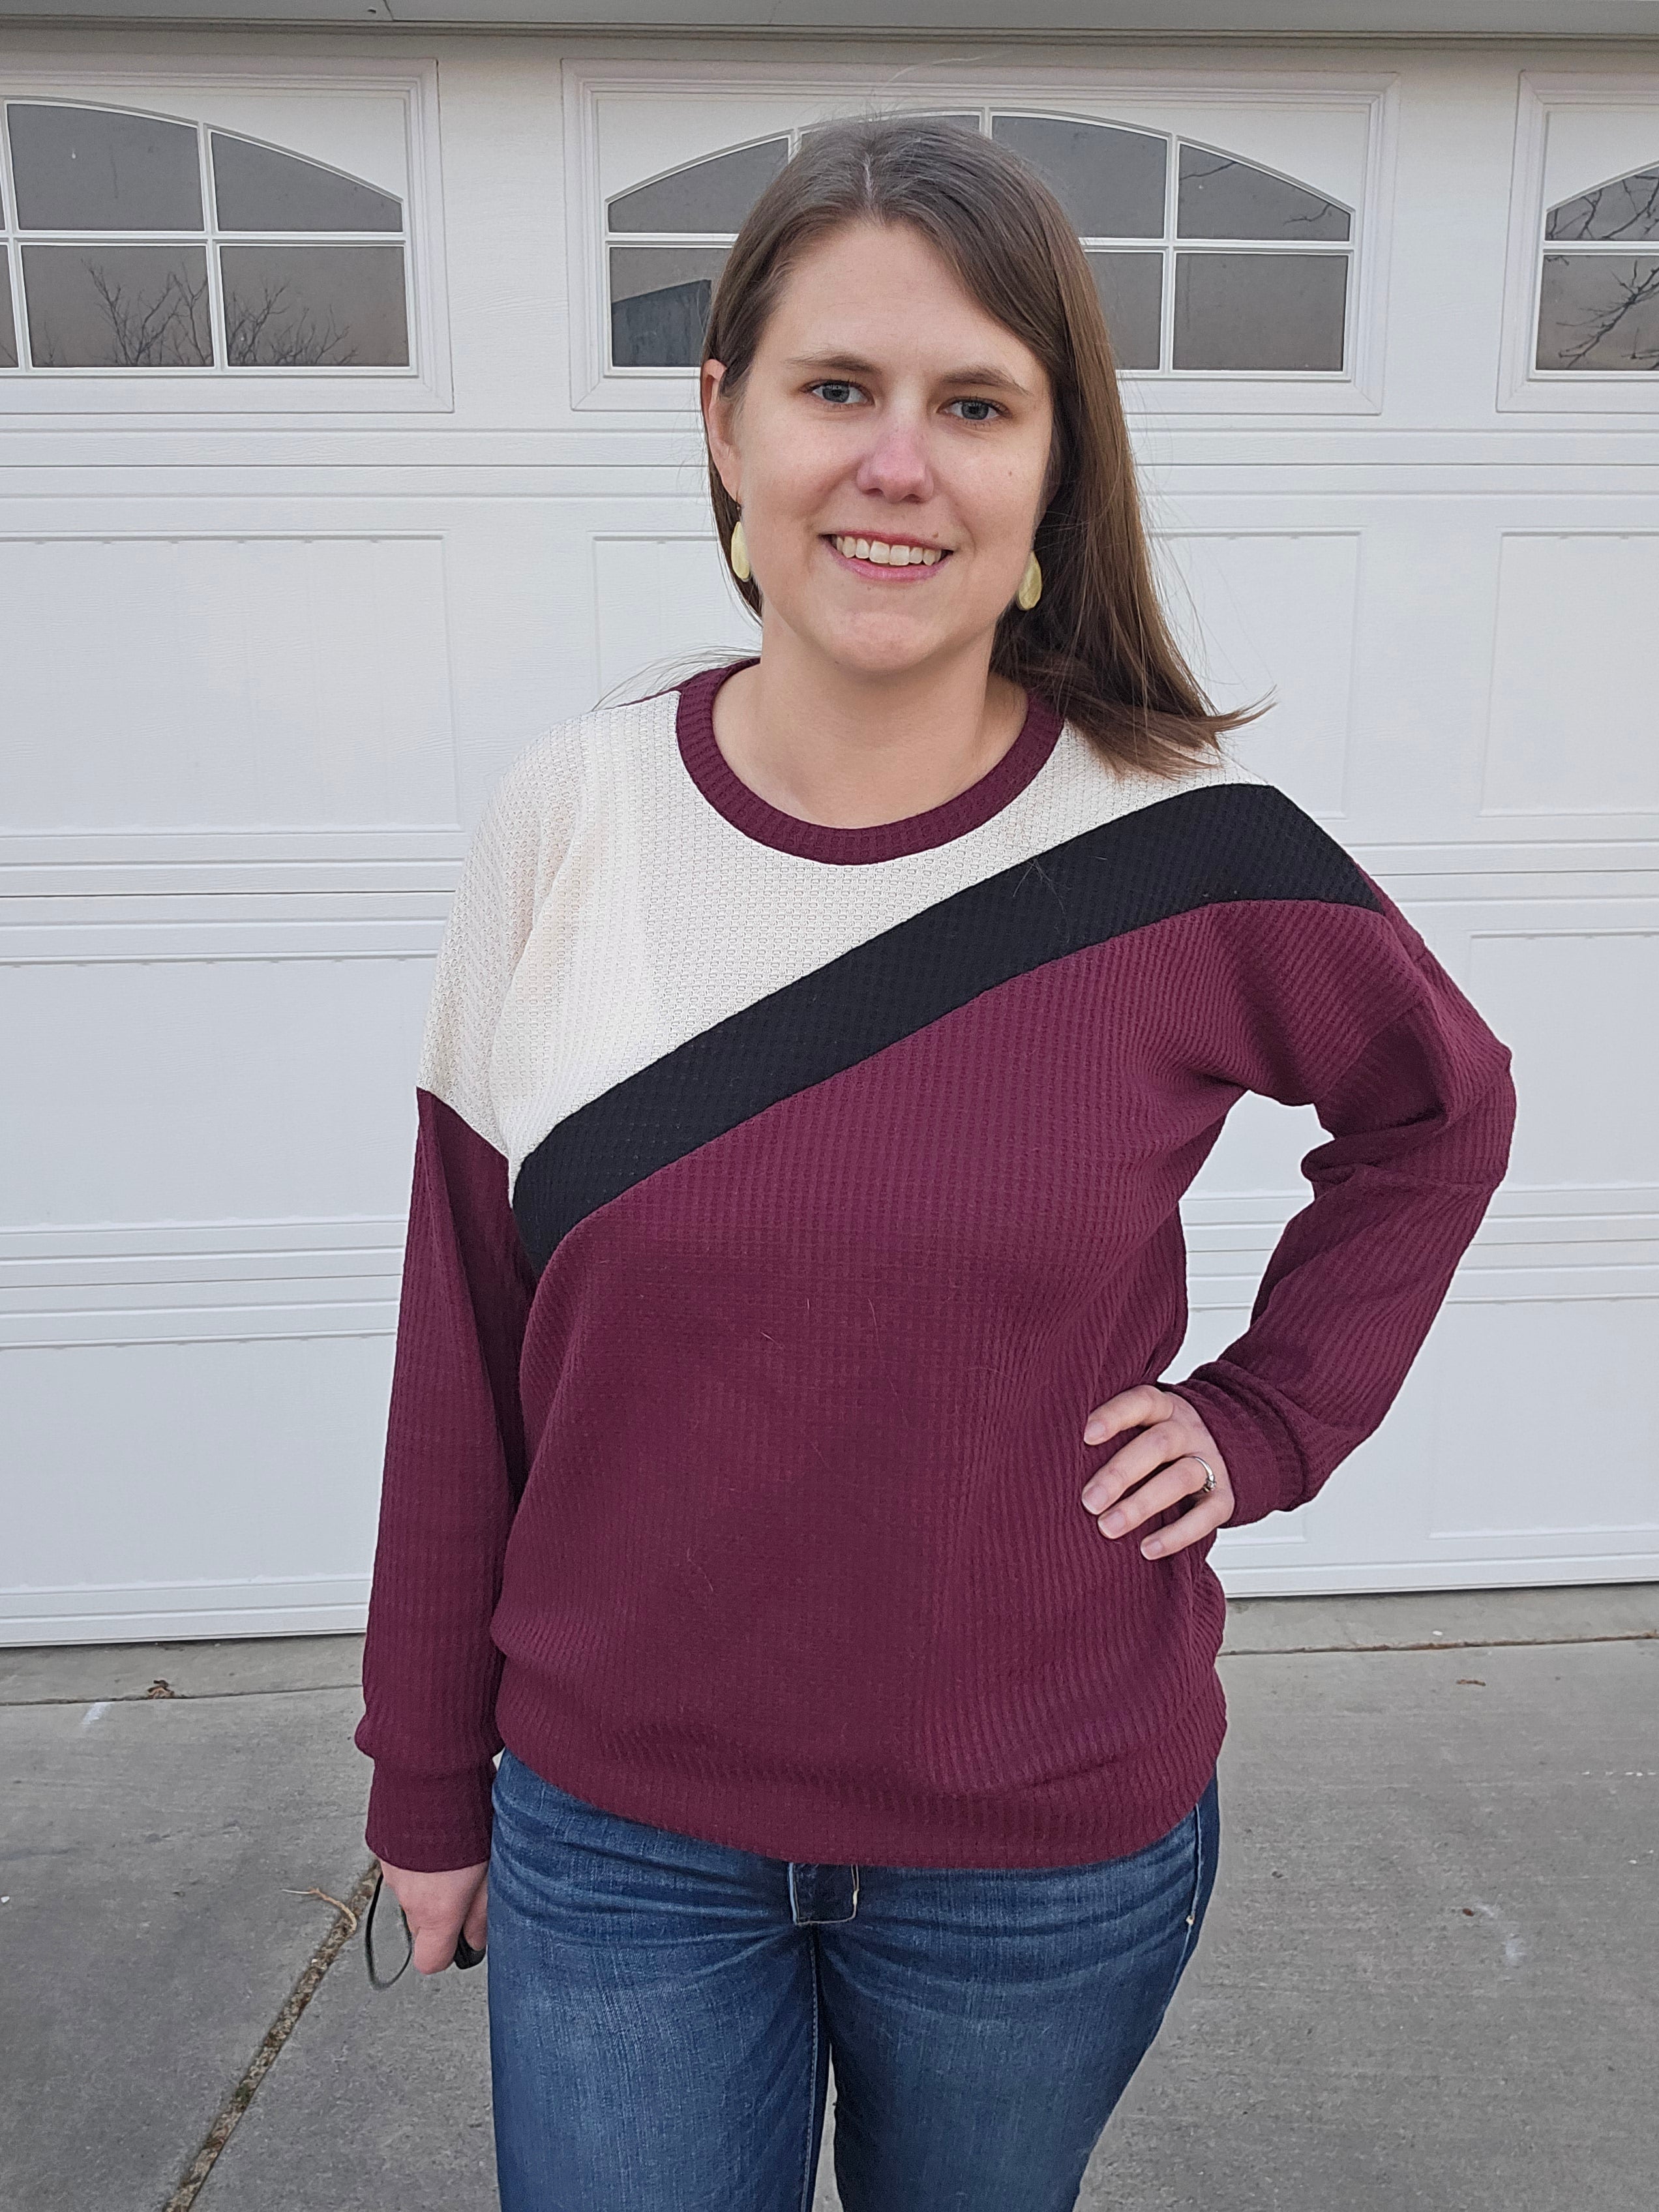
Hi, it’s Lakeisha! I like banded hems on most of my projects, but with a recent make, I was looking to do something a little more. On a whim, I made this up and really liked how it turned out, so I figured I’d share. With this little tweak, you’re well on your way to a super easy, cute, & fun hem detail!
This can be done on ANY pattern that has a hem band on the bottom, though I am using the Going Home Sweater in this post. You can prepare your entire top, according to the pattern, but DO NOT cut your band pattern piece yet! When you are down to only attaching the hem band, this is where you’ll begin.
The first step will be to measure the bodice hem opening. In my example, I am sewing a size XS Going Home Sweater. Finished opening was 18”, which is multiplied by 2 for the front and back bodice to get 36”. Since we will be overlapping the hem band, add 1”. Final measurement for the band length is 37”. I used the height from the pattern piece, which was 6”. You may choose to add more or less height, depending on the look you are going for!
After the band is cut, fold it RIGHT SIDES TOGETHER so that both ends are visible and easy to make sure they’re even. You’ll need tailors chalk or washable marker and a curved edge of some sort (you can eyeball it if you want…this step is really easy to achieve with minimal tools). Make a mark about 1.5-2” from the edge on the FOLDED side. This is important so that your curve goes in the right direction. Draw a line from the corner (top unfolded edge) down to the mark using your curved edge. Try your best to make sure both curves match.
Pin along the curved edge. Using a straight stitch on a sewing machine, sew along your mark. Make sure to backstitch, particularly near the bottom curved edge. You may also sew past the fabric and just tie your threads the same way you would for a dart. You need to ensure this spot does not unravel.
At this point, you can turn it right side out and inspect. If it doesn’t look as curved as you’d like or the curves aren’t equal, you can adjust or sew a new line until it’s to your liking. Once you’re happy with the curve, trim away your excess fabric. Turn band Right Side Out and press well.
Mark 1” from the top open edge with a pin or clip on each side of the band. Overlap them and pin or clip together. Using a sewing machine, baste the overlap for easier handling.
Place your bodice Right Side up and Place your band underneath it. You can decide where you want the overlapped portion to be visible. I placed mine 4” from the side seam so that it would fall on my thigh. This is purely personal preference, so feel free to place it wherever you’d like :)
Place Band onto Bodice with Right Sides together and pin or clip band to hem.
Sew the band to the bodice, turn it Right Side Out and press.

You’re all done! Admire your super cute hem and enjoy wearing your new top! I hope this tutorial was super easy to follow and that you’ll love adding this detail to your future creations. I’d love to see them in the Facebook Ellie and Mac sewing group! Until next time…


