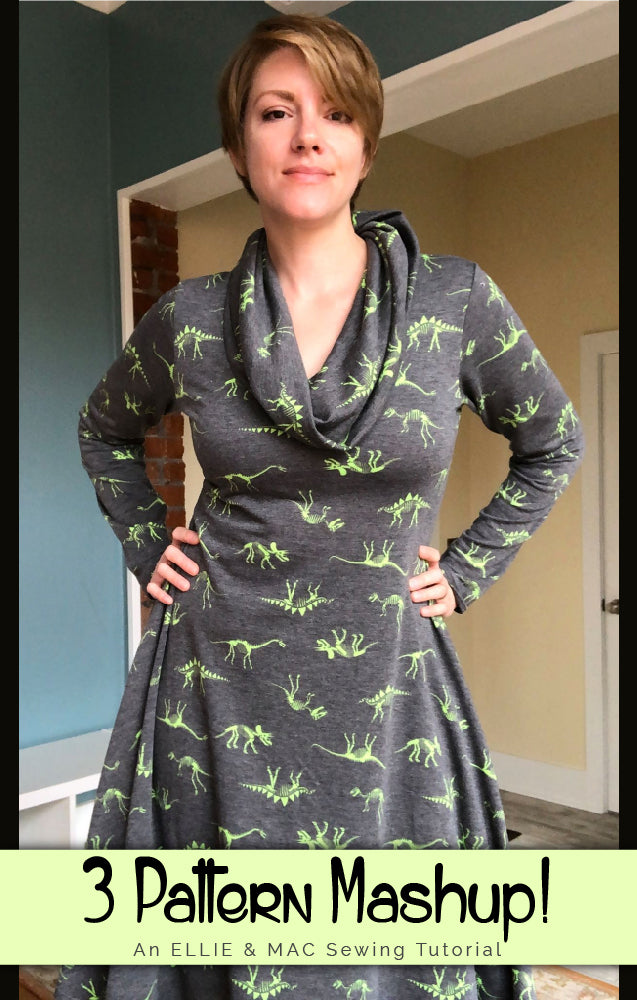
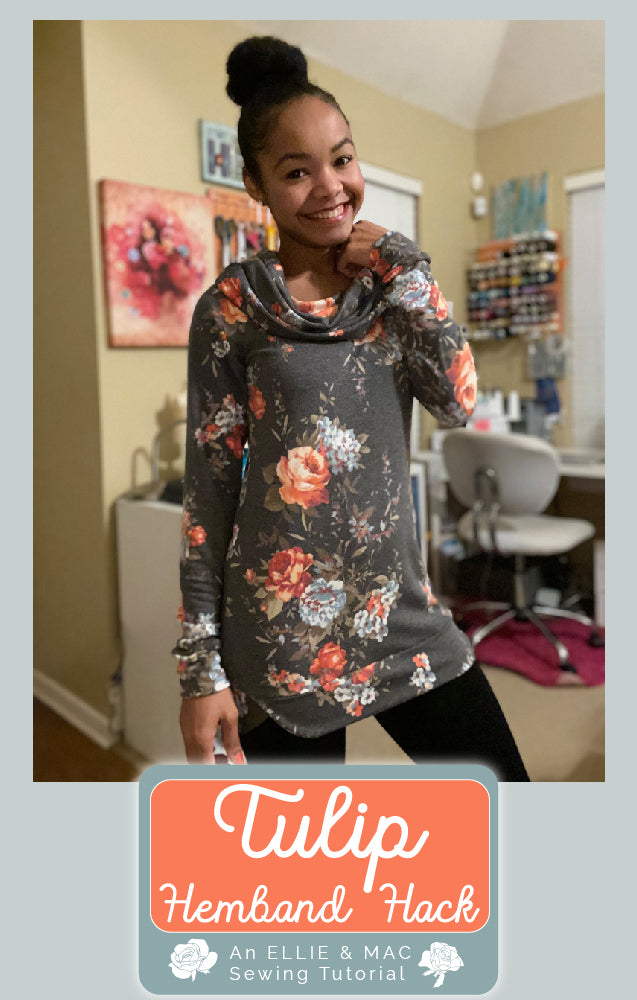
I was searching the other day for casual t-shirt dresses on pinterest, and I came across this cute but casual t shirt dress with the exact same skirt than the tulip bodice. I immediately thought: “I can make that” with Ellie and Mac Patterns!!! 
If you would want to transform the tulip dress then this tutorial is for you! Let’s get started. You will need:
-EveryDay Tee Pattern (we will refer to ET on the rest of the blog)
- Tulip dress pattern (we will refer to TD on the rest of the blog)
- tracing paper (I used inexpensive parchment paper from Costco)
-pencil, crayon, pen or your marking of choice to draw on the tracing paper
- French ruler and ruler (optional)
-paper scissors
- rotary cutter or fabric scissors
-your choice of pattern weights
Let’s start making the BACK dress pattern:
- Start by laying down your ET pattern
- Separately take your TD pattern and lay it on top of the ET pattern.

You want to match the patterns at the armpit level. We are just trying to copy the upper part of the of the ET top.
The ET pattern will be wider than the TD pattern on the center seam. - Take your tracing paper and lay it on the top of both patterns (ET and TD) carefully.

I recommend to use your patterns weight or tape to keep everything together and avoid the tracing paper to move around. I prefer to begin by tracing the, neckline, shoulder, armhole (remember to trace the ET pattern only), then going down on the underarms (this is when you will start tracing the TD pattern)
- For the center seam you will trace the TD pattern. We want the fit to be very similar to the TD pattern.
To create the FRONT dress pattern:
- You will lay down the front of the ET pattern and then TD. The TD will match the ET pattern the corner the top of the shoulder, and the under arm.

- Place tracing paper on the top (use pattern weights to hold everything down.)

- We will be tracing from ET pattern (neckline, shoulder, armhole, and go down to the underarm using the TD pattern only.

- For the center fold seam use the higher neck line (ET pattern) and go down to meat the center fold seam of the TD pattern.

To sew this dress, follow the sewing instructions on the Tulip Dress pattern until the neckband. NOTE: I decided not to hem the dress. I used cotton lycra to create the dress and I was looking for the hem to curl up like cotton lycra edges. If you choose to do the same I advised you to gather the side of the dress until the bottom. 
You will need to create a new neckband. Once the front and back are stitched at the shoulder seam. Begin to measure the neck opening. 

My neck opening measured 22 inches. I multiply that amount by .85 and got 18.7 inches. I used the ET neckband pattern piece for the width and reduced the length by 9.35” and cut on fold. I continued to create and stitched the neckband using the ET instructions.
It is my preference to hemmed the armholes of the ET before stitched the front and back of the dress at the side seams. 
The last steps are the side seams and you are done!! Please if you follow this tutorial share in any of the Ellie and Mac social media and tag my Instagram @queenbeesew. I would love to see!


