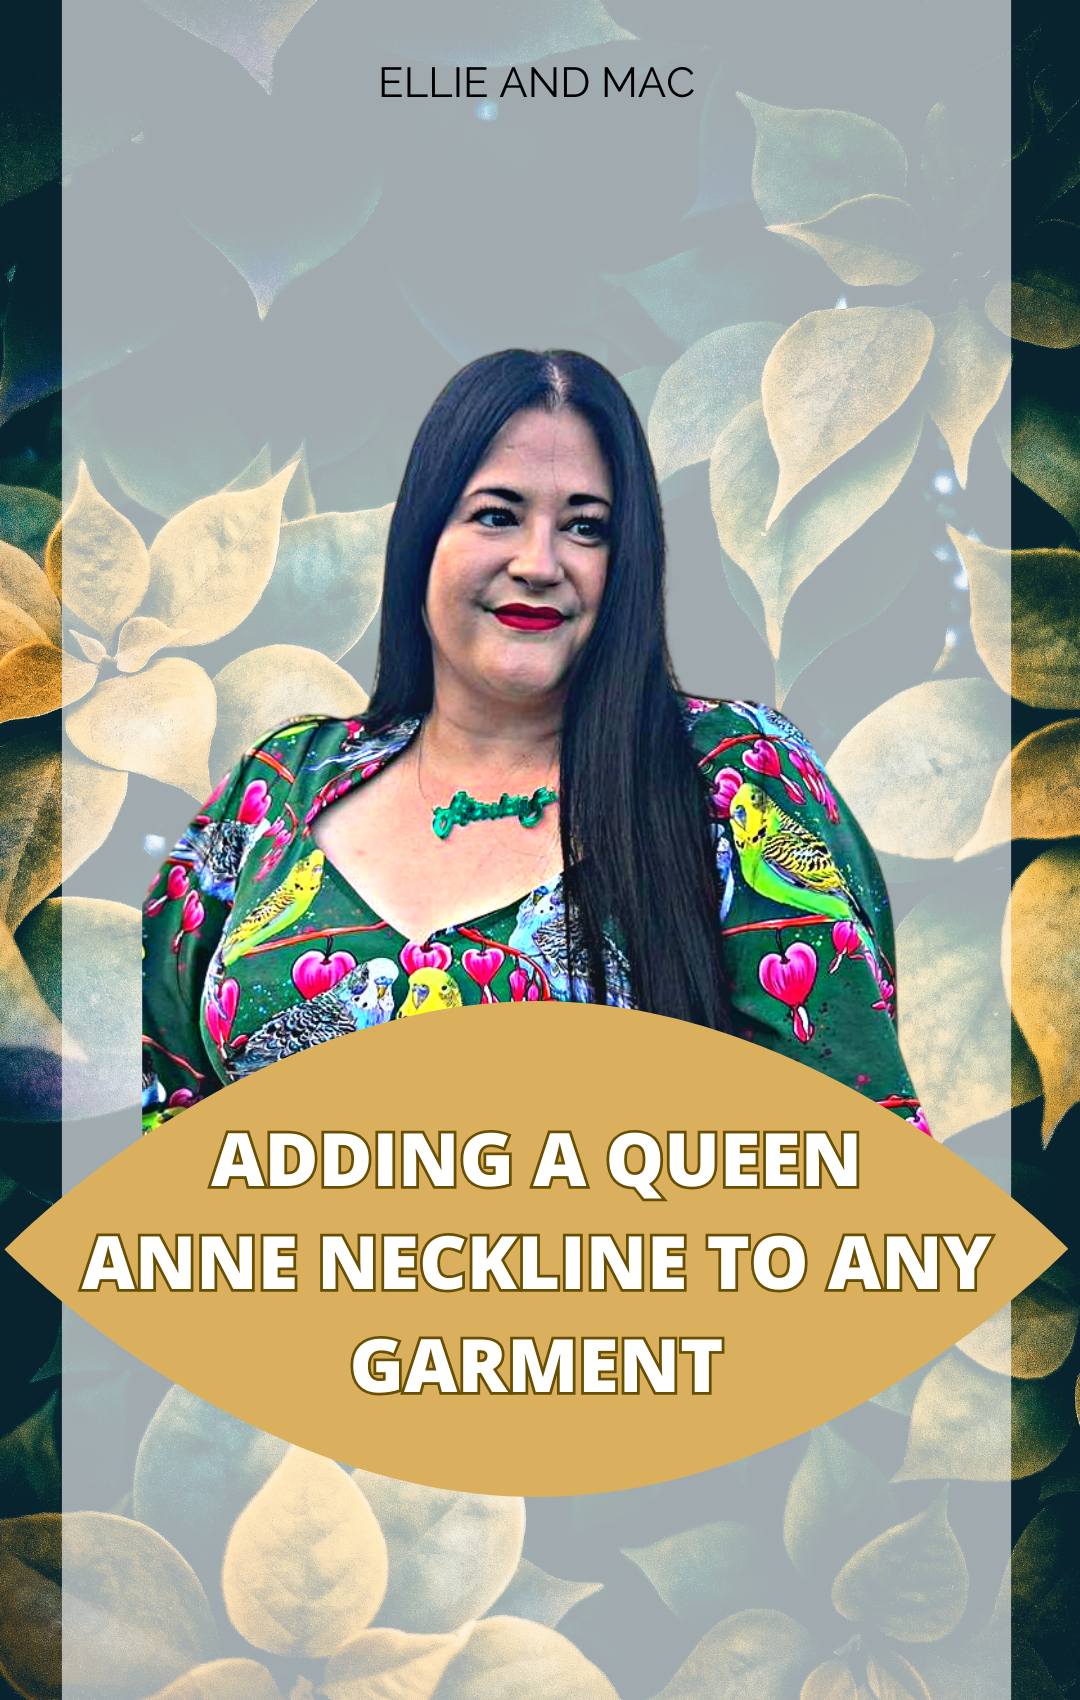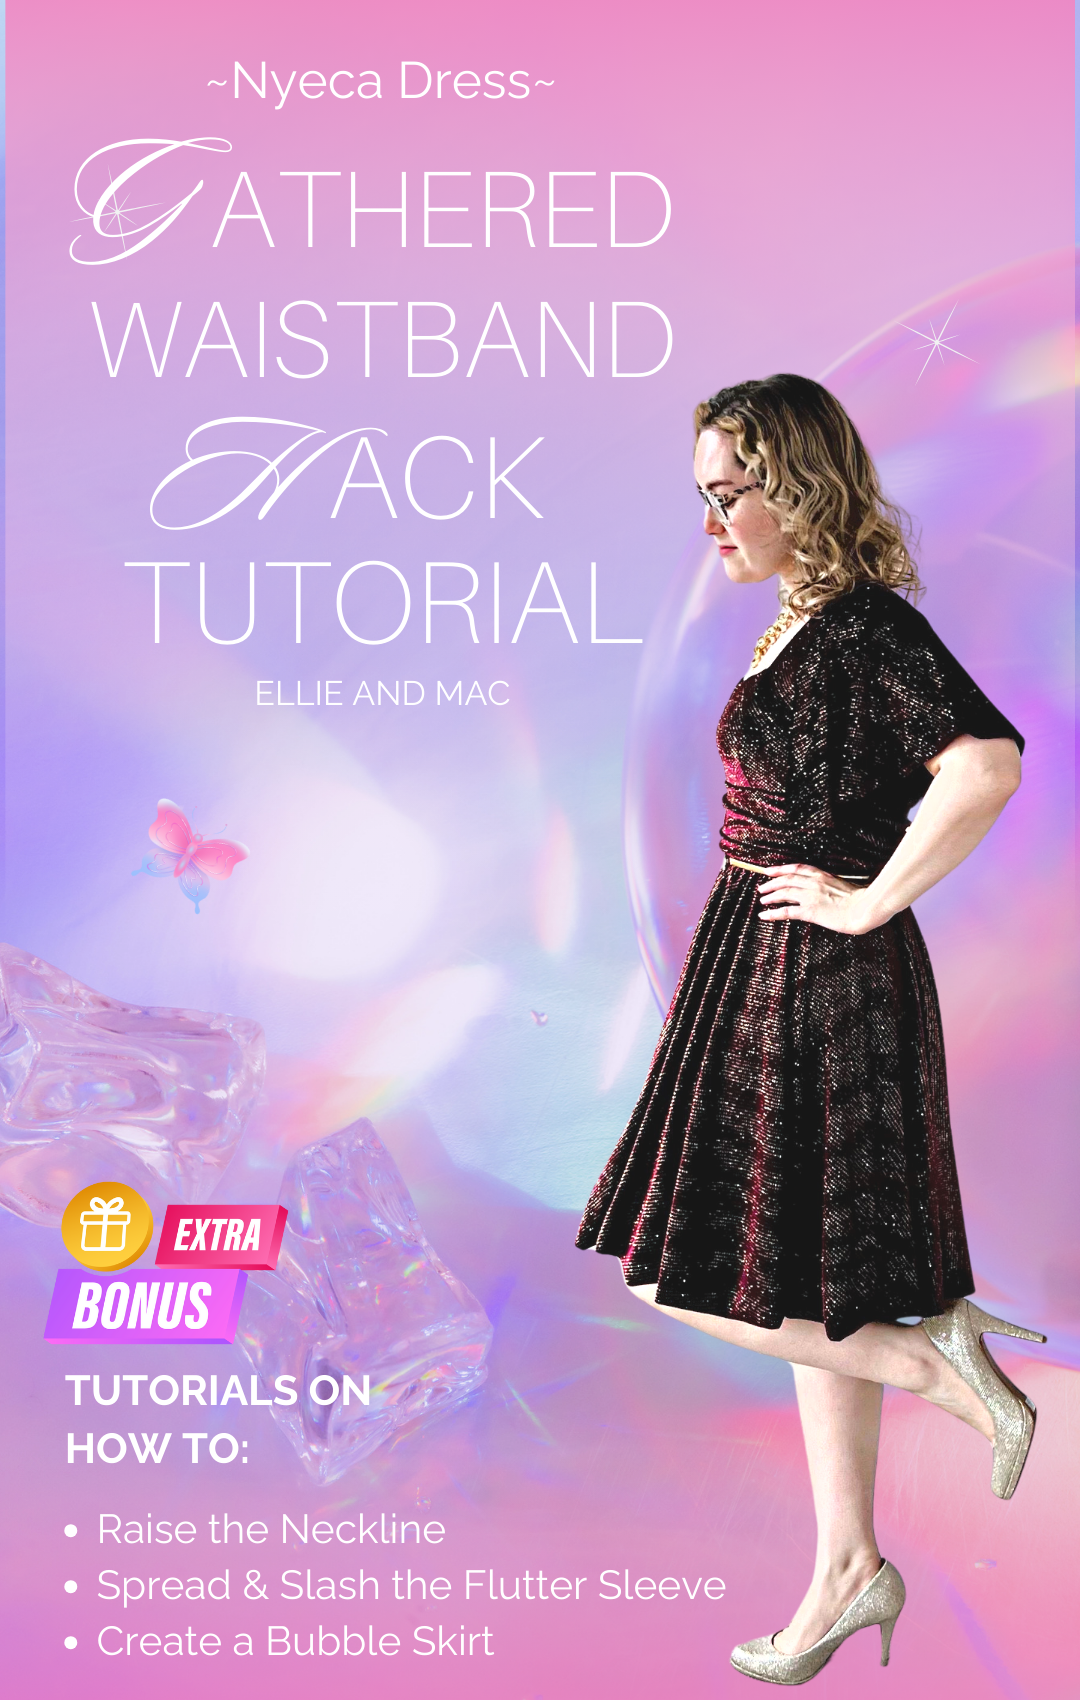

Hi everyone! Amy here today to show you some hacks for the lovely new Nyeca pattern. The main focus of the tutorial is going to be how to add a gathered waistband and how to make a bubble skirt (with a cameo from the Tres Belle full circle skirt), but I have seen a lot of people asking how to raise the neckline so I will be addressing that as well, along with a little bonus hack showing how to make a more dramatic version of the flutter sleeve using the slash and spread method.

Fabrics I have used in this project:
-Wine stretch velvet with gold glitter dots from Knighton Fabrics (Facebook group)
-Soft touch black lycra from Tia Knight
THINGS YOU WILL NEED:
-
Pencil/pen
-
Ruler
-
Paper
-
Scissors/rotary cutter
-
Ellie and Mac patterns – Nyeca and Tres Belle
-
Pins or clips
Optional but useful:
-
Pattern weights
-
Heat erase/wash away pen or dressmakers’ chalk etc.
-
Carbon paper and tracing wheel
-
scotch/washi tape
-
Pencil eraser/rubber
If you don’t yet have the patterns needed for this tutorial, you can find them here (these are my afflinks):
Nyeca:
https://www.ellieandmac.com/products/nyeca-sweetheart-peplum-and-dress-pattern?aff=3401
Tres Belle:
Please note I use a projector rather than paper patterns now so all my pattern alterations take place digitally rather than on paper, but you can follow my instructions just the same using paper.
So on to the first part of the tutorial…
HOW TO RAISE THE NECKLINE
I should start by saying, I had never made Nyeca before making these alterations, so I placed the Nyeca bodice (digitally) over the Diana square neck bodice in order to compare the necklines. That showed me that the Nyeca neckline would end up a bit lower than the Diana square neck (with elastic ruching), and since the Diana neckline is about my lowest comfortable limit, I decided to raise the Nyeca by 1”. Looking at the dress now it is finished, this was spot on and the perfect amount to raise it by for me.
I am making the Nyeca with sleeves version but I will show how to do this for the sleeveless bodice as well.
Sleeved bodice first:
First, draw around your Central front bodice piece on to a new piece of paper so you have a copy and any alterations you make don’t affect the original pattern piece. Cut your new piece out. Cut along the line marked ‘Bust’.

Position your pattern pieces over a new piece of paper, and spread them apart by the amount that you want to raise the neckline by – 1” for me.

(Please note, if you try to raise the neckline by a significant amount you may need to also take in the princess seams at the new neckline because your body will likely be smaller in this area than lower down where the pattern is meant to fit. I can’t get into this too much here because it will depend on your individual body shape, but ultimately you can always do a toile without a lining with the neckline in the position you want, try it on inside out and pin at the princess seams if you need to take it in in this area, and then you can measure how much you need to take it in by and adjust your pattern pieces as necessary.)
Stick your pattern pieces down to your new piece of paper and draw lines to connect the pieces together where you have spread them apart.

You can now cut this out and this is your new Central bodice piece for both sleeve and strap style.
The sleeve style front side bodice does not need any pattern adjustments, the only thing you need to do to this pattern piece is mark a new line to indicate where to align the top of the front centre bodice to – for me, 1” higher than the original line.

And that is it for the sleeved style bodice, the back bodice does not need any adjustment.
For the sleeveless/straps bodice:
For the strap style front side bodice we cannot just do what we did for the Centre front bodice, as this would also raise the position of the armpit – if this is what you want then you can go ahead and do that method, and raise the back bodice in the same way.
However assuming it is only the neckline you want to raise, draw a line vertically up from the highest point of the side bodice piece (1” for me):

Redraw the lines either side of your vertical line to meet the new high point of the side bodice:

Now your armpit position is exactly as it was before, and only the neckline has changed. Because of this, the back bodice piece needs no alteration.
Again, when you are raising the neckline in this way, you may need to do an unlined toile to check your princess seams, and as above you may find you need to take your princess seams in where you have raised the neckline. If this is the case, try your toile on inside out and pin along the princess seams where they need taking in, measure how much needs removing, and alter your pattern piece accordingly.
Moving on to the second part of today’s tutorial!
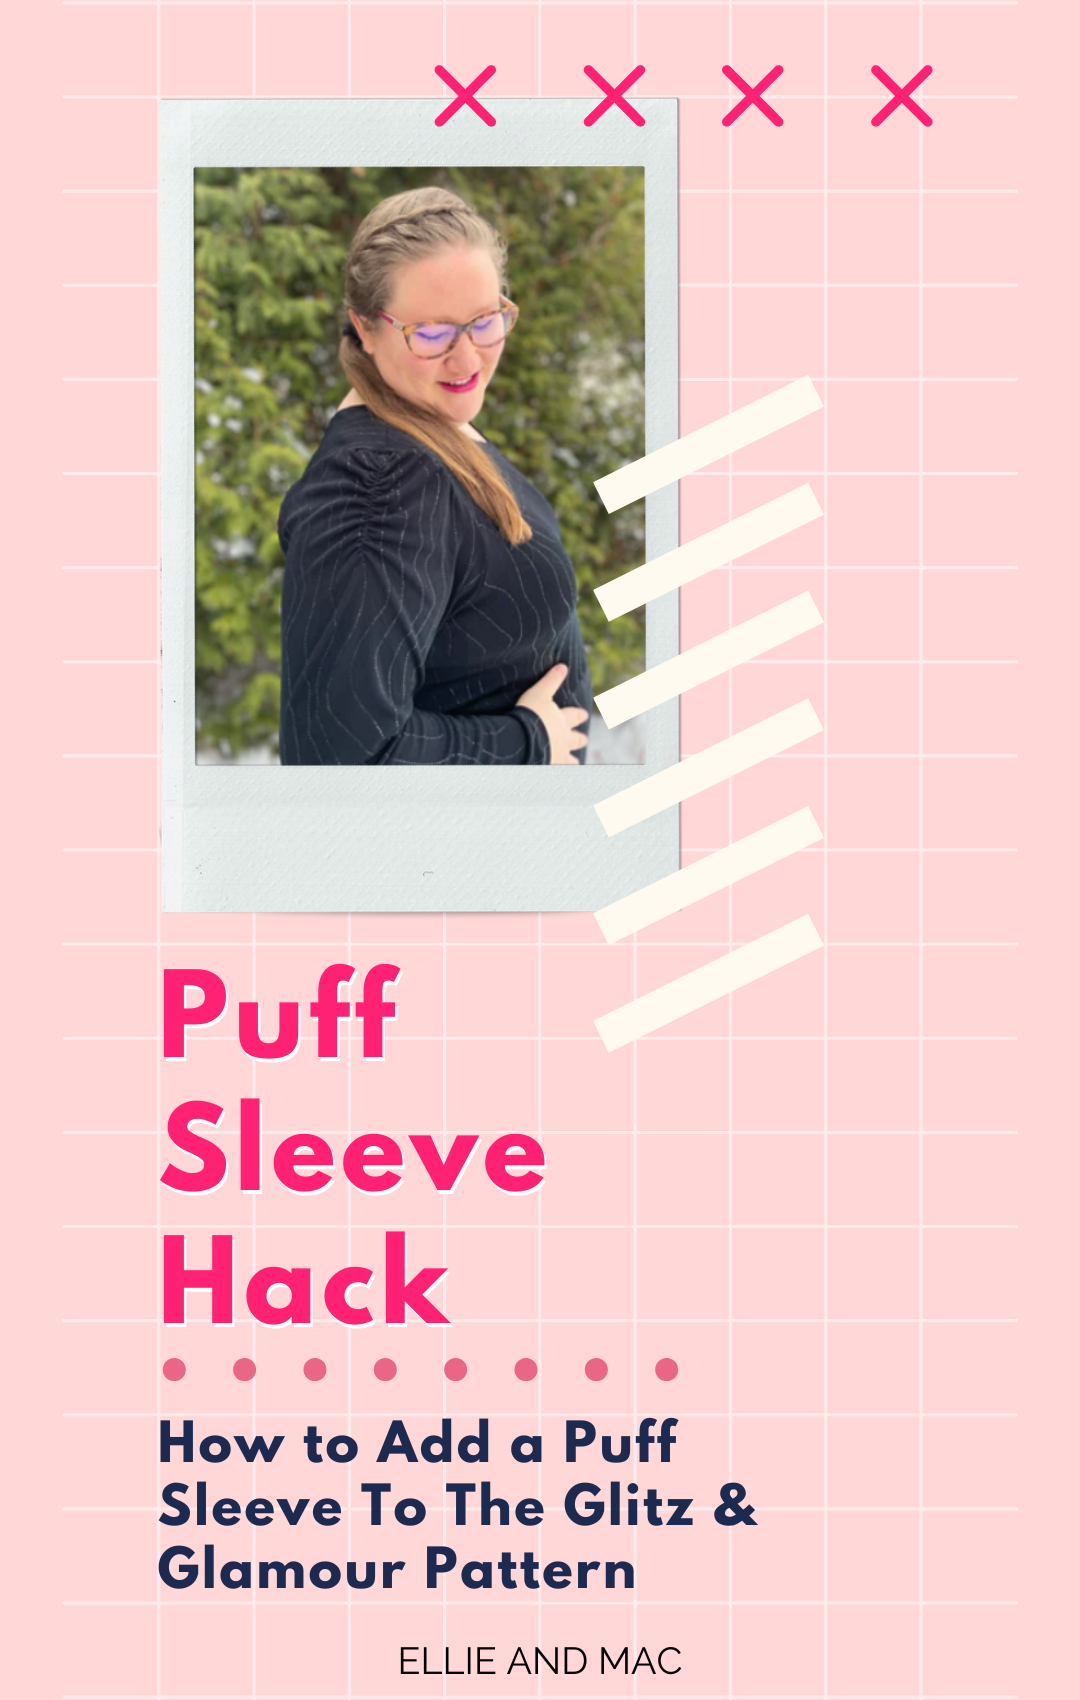
HOW TO CREATE A MORE DRAMATIC FLUTTER SLEEVE
Take your Flutter sleeve pattern piece and draw it out on a new piece of paper, and cut it out so you aren’t making adjustments to your original pattern piece. Draw vertical lines across the whole pattern piece, you can space them out as you like, I spaced them out by about 1.5-2”.
You can do this neater than me, it’s one of the few things that is harder to do digitally than on paper, at least for me! ;)

Next, cut through each vertical line you made being sure the leave the bit at the very top edge attached, so it can act as a hinge and you can spread the pieces apart around the hinge to increase the size of the pattern piece.
Spread the pieces apart like this, over a new piece of paper, you can spread them as much or as little as you want depending on the size sleeve you want to create, like so:

On average I have spread each of my pieces about 3 inches apart for a good amount of drama ;)
Now stick your spread out pattern pieces down to your new piece of paper to hold them in the position you want, and draw around them – you will need to redraw lines a little bit to make sure the edges of the pattern are smooth, like this:

I also wanted my sleeves to be a little bit longer, so I added an inch in length all round. If you want to do this, before you cut out the pattern piece you drew in the last step, measure and draw 1” lines (or however much longer you want to make it) periodically around the outer edge of the sleeve and then connect them with a smooth line, like this:

Now you have a sleeve that is fuller and longer, but still have the same armscye size so you can still attach it to your bodice in the same way as the Nyeca tutorial describes.
That’s the sleeves done! Moving on to the next section….
ADDING A GATHERED WAISTBAND
The method is the same to do this to the sleeve and straps versions of the bodice, so I will just demonstrate this on the sleeve bodice.
First, if you need to make any adjustments to your side waist do that first according to the Nyeca tutorial instructions.
Next, make copies of your front, side, and back bodice pieces, and decide what depth you want your finished waistband to be. My waistband is a little over 3” but you can make it whatever size you prefer.
Draw a horizontal line where you want your waistband to finish across all bodice pieces at the same height, like this:

Cut all pattern pieces along the lines you have drawn. You will now have pieces that look like this:

Now you need to add seam allowance to the bottom edge of the top parts of your bodice pieces. Add ¼” strips of paper and stick them to the bottom of your bodice pieces, or redraw your bodice pieces with an extra ¼” on the bottom edge, like this:

Moving on to creating the base of the waistband itself. Take your front and side bodice pieces. Draw lines ¼” in from the pattern piece edges to show where the seam allowances are on each lower side and front bodice piece as shown here:

Do the same for the lower back bodice pieces:

Cut off the seam allowances you have drawn on all the pattern pieces. Your pieces will now look like this:
Front and side bodice pieces:

Back bodice pieces:

Now you can butt the pieces together to create your waistband, they should sit together fairly well, but you may need to overlap the pieces a tiny bit for the front bodice. It’s such a small amount that it shouldn’t make a difference to the final fit.
Stick your butted up pattern pieces together and you will have something like this:

Finally, add a ¼” strip along the top of each waistband for seam allowance.

That is your basic waistband completed. You can leave it at that if you like, or if you want to make a gathered waistband like mine, continue reading.
You will need to draw a whole new pattern piece for the gathered section. Measure the height of your basic waistband, and also measure the width at the top and bottom of the piece. Draw a new piece the same width top and bottom, but twice the height. Do this for both front and back waistbands. That’s it!

At this point you can start sewing your Nyeca bodice and sleeves together according to the instructions or your preferred method, you can cut the linings shorter to the same length as your new upper centre and side front bodice pieces and upper back pieces.
I prefer to attach my sleeves before closing the side seams but its personal preference. Here you can see how easily the slashed and spread sleeve fits to the bodice with no stretching needed:

And here is how it looks once the sleeves are attached:

Now it’s time to add the waistband. Take your back basic and gathered waistband pieces.

Gather the sides of your gathered waistband piece to match the size of the basic waistband, like this:

Adjust the gathers so the height of the gathered piece matches the height of the basic waistband both sides. Pin or clip the gathered waistband to the basic waistband, matching the edges all round, and baste the two pieces together.


Follow the same steps for the front bodice waistband.
This is what your finished waistbands will look like:

Now to attach them to your bodice. You may wish to baste your lining to your outer fabric on the front and back bodice bottom edges to make sure it stays in place while you attach your waistbands.
Pin or clip the top edge of your back waistband to the bottom edge of your back bodice, right sides together. Do the same for your front bodice.

Sew these pieces together using your overlocker or a stretch stitch.

Now you can close the side seams and sleeve seams. Fold your bodice right sides together and pin or clip these edges together and serge or use a stretch stitch to sew them closed.


You can hem your sleeves at this point of leave them raw depending on your preference. Now your bodice is finished and you are ready to move on to your skirt!

CREATE A BUBBLE SKIRT
There are two main methods for creating a bubble skirt, using either circle based skirts, or gathered skirts. The method I am going to show you is using circle skirts, but you can apply the same principles to rectangular pieces of fabric to make gathered skirts instead if you prefer.
If you want to only use the skirts from the Nyeca pattern, you would use the ¾ circle skirt as your outer, and the A line skirt as your liner. If you do this, it will just make your bubble skirt a bit less full at the bottom than mine.
However, I wanted a little more drama, so I have used the full circle skirt from the Tres Belle pattern, with the Nyeca A line skirt for the lining.
Firstly you need to decide on your skirt length. Remember whatever your outer skirt length starts off at, it will end up a few inches shorter as the lining skirt is shorter and will pull the outer skirt up inside the skirt by a few inches. Let’s say you are happy with the Tres Belle circle skirt the length it’s drafted at, a little over 23” in my size. You now need your lining skirt to be 5-6” shorter than the outer skirt.
The Nyeca A line skirt isn’t quite the right length as it is drafted so we need to alter it. Measure the drafted mid thigh length, it’s a bit too long at nearly 21”, we need it to be 17-18” long to pair it with the Tres Belle circle skirt, so measure in 3-4” in from the outer edge in multiple places around the skirt edge and draw in a new line, like this:

If you did want to alter the length of the Tres Belle full circle skirt you can do it in the same way, but be aware that you are limited by the width of your fabric.
Now to construct the skirt! First serge or sew with a stretch stitch the side seams of your lining skirt – I would recommend using a fabric with good recovery for your skirt lining so it doesn’t get stretched out of shape by the weight of the outer skirt – having a lycra component is advisable.
Next make a small notch at the quarter points of the waist and hemline of both outer and liner skirts. Sew two rows of basting stitches close to the edge of your outer skirt hemline, stop and start your basting stitches each time you reach a notch so that you can gather each quarter of the skirt separately. Pin the quarter points of the liner and outer skirt together at the hemline.

Gather each quarter down so that it matches the bottom edge of your lining skirt and pin or clip outer to liner all the way around the hemline


Serge or sew the edges together:

Turn right sides out and it will now look like this:

Push the skirt lining up inside the outer skirt and pin or clip them together at the waistline, matching the notches.
If you wish, you can stuff the inside of the skirt with tulle at this point to create more volume.
Next, pin or clip the top edges of outer and lining skirts together, you may wish to baste them together at this point so they are easier to handle when attaching to your bodice.

Finally!! Pin or clip your skirt to the bottom edge of your bodice (waistband) right sides together and attach as per the Nyeca instructions.
You are done!!!! I hope you enjoyed this tutorial, and I’m looking forward to seeing your makes soon on the Ellie and Mac facebook page!


(Written by: Amy Day)