(This guest blog is written by Sarah Saunders)

Hi it’s Sarah here, I hope you enjoy my blog of how to hack a new neckline for your Ellie and Mac make. The principles of how to sew this neckline are similar to lots of different shaped necklines so be creative!
You will need:
-
Your favourite Ellie and Mac back bodice/dress back
-
An iron
-
Tape measure
-
Scissors
-
Tracing paper
-
Matching thread
-
Sewing machine
-
A bowl/large cup/french curve/ruler
-
Tailors ham or rolled up towel
Step 1

Im using the Breezy dress back bodice today as it fits me well. You can use your choice of bodice. I have also achieved this look with the Sweetie Pie dress. As this is a neckline you could use this hack for a top, peplum, or dress.
Trace your back bodice to make your pattern piece.
Step 2

Once you have your bodice traced you will need to mark your centre point. I have used the back bodice, as this gives you more space to trace your shape. From the shoulder, the point closest to the neck line, measure how far down you would like the centre of your neckline to finish. Remember there is no neckband and you will need to include a seam allowance. You can also hold your traced pattern piece against the front of you to help visualise. I went with 8.5 inches. Mark that point on your traced pattern. Draw a line from that centre point across the pattern. Then draw line from the shoulder down to the centre point line. This gives you an apex, to help with your new neck line shape.
Step 3

You are going to use your bowl, large cup, french curved ruler to draw the arcs of the neckline. I have used a dessert bowl. Take your choice of arc maker and place it by the centre point you marked earlier. Draw an arc finishing 1.5 inches from the armscye. If you don’t want your neckline to be as open then finish your arc further from the armscye.
Step 4


Now you have your bust curve, you need to make the curve up to your shoulder. Take your arc maker and place it at the end of the bust curve you have drawn in the previous step, and position it so it arcs from the end of the bust curve up to the should point. Trace around your arc maker.
Step 5

You have now drawn your pattern. Cut out the necklines along the lines you have drawn. It is a good idea at this point to hold the pattern piece against you and see if you want to make any adjustments.
Step 6

Now you have your pattern piece for the front of your bodice/dress. Cut out your front bodice from your fabric. Use the same pattern piece to cut out a matching front facing. Your facing will need to have the shoulders in full. For the front part of the neckline make sure your facing is at least 2 inches deep. If you want to make a sleeveless dress you will need to cut a second front bodice to use as a liner.
Step 7

Now use your regular pattern piece to cut a back bodice and matching facing. The facing will need the shoulders in full and be at least 2 inches deep. If you are making a sleeveless dress you will need to cut a second back bodice as a liner.
Step 8


Clip/pin your shoulder of the front and back bodice. Join your front and back bodice at the shoulders with a stretch stitch or serger. You can now pop your bodice on you to see if you need to make any final adjustments. Remember if you adjust the main bodice you will need to adjust the facing. Sew the shoulders of your facing or liner pieces.
Step 9

Put your bodice and facings/lining right sides together matching the shoulders and clip/pin in place around the neckline.
The following steps you will need to use a sewing machine to avoid bulky seams. The steps are the same if you have a full lining.
Step 10


Sew around the neckline. When you get to the points, keep your needle down, lift your presser foot, and swivel the fabric. Put your presser foot back down and continue to sew. This will give you sharp points.
Step 11


( see pic 18, 19, and 20) (couldn't find pic19 in dropbox)
Your bodice will now have the facing/liner attached to the neckline. At the points snip towards the stitches being careful not to cut through your stitches. This will help with a tucking the facing/lining in and keeping your neckline points sharp.
Step 12

Press your seam allowance towards the facing/lining. Using a tailors ham or a rolled up towel will help you press around the curves. I have used a rolled up towel.
Step 13


To make sure your facing/lining stays neatly inside your bodice you will need to understitch. This is an important step that will give a great clean finish to your neckline. Make sure your seam allowance is towards your facing/lining. Sew on the facing/lining side as close to your stitching as possible without going on the right side. Make sure the fabric is taut when sewing, without stretching it. This will catch the seam allowance and make sure it’s sewn to your facing/lining.
Step 14

You are now ready to flip your facing/lining inside your bodice. Turn the facing to the inside of the bodice. Press well using lots of steam. Make sure your facing/lining isn’t visible from the right side. This step is important to ensure that the neckline sits flat to your body when finished. Using lots of steam will ensure that if your fabric has stretched a little when sewing, the fabric will shrink back.
Step 15

To finish the neckline, top stitch the facing/lining inside the bodice. Set your stitch length to a long stitch. From the right side sew around the neckline. I find that using my presser foot is a good guide to keep my stitches spaced evenly around the neckline. At the points, remember to keep your needles in, lift your presser foot, swivel the fabric and put the presser foot back down.
Step 16


Now press your bodice well again, using lots of steam. Your bodice will look like this from the from the right side. On the wrong side you will see your topstitching and the row of understitching and will look like this.
If you are making a sleeveless option with a full lining, this is where you will burrito role and sew side seams as you have finished your neckline!
Step 17

Line up the shoulder edges of the facings and bodice outer. Clip/pin the ends of the shoulders by the armscye. Clip/pin your facing to the armscye as far as your facing goes. Baste the facing and bodice armscye together. This will make sure that you catch the facing when you attach your sleeves.
Step 18

Your bodice will now look like this! You have made a beautiful neckline. Now insert your chosen sleeves, and sew your side seams according to your regular pattern instructions. If you adding a skirt or peplum do this according to the regular pattern instructions.
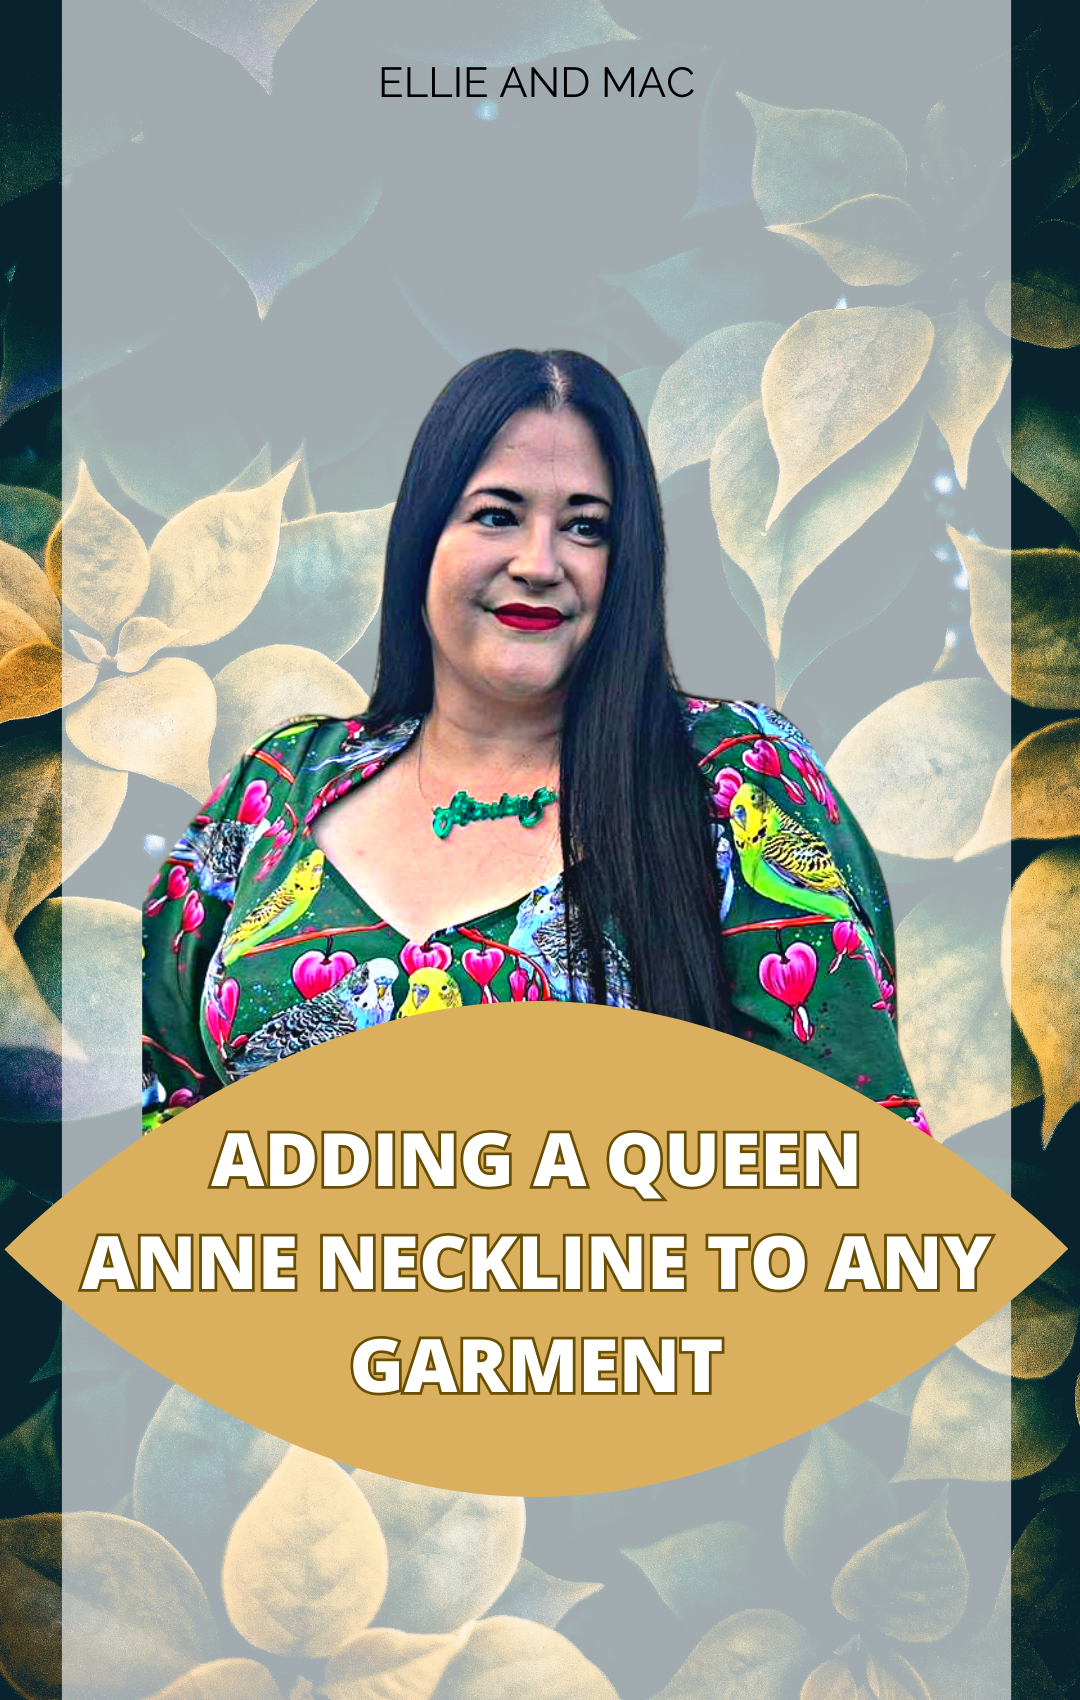
Here is my final dress! Queen Anne neckline using a breezy bodice, trumpet sleeves from the hourglass dress, and a half circle skirt from the tres belle!

