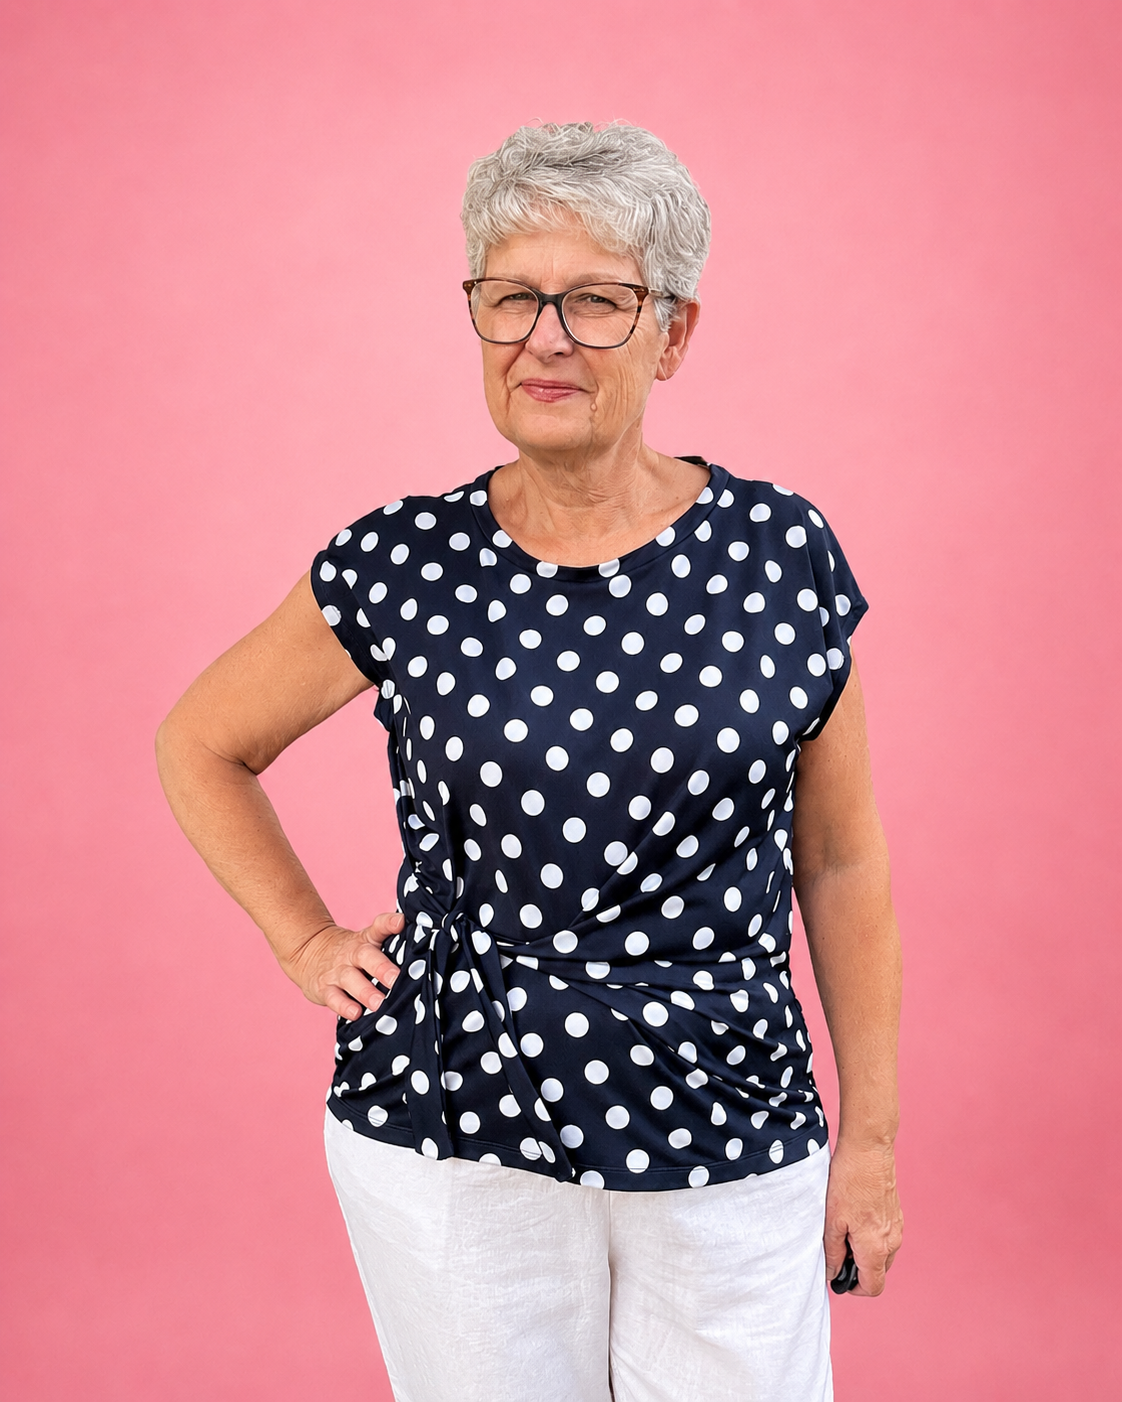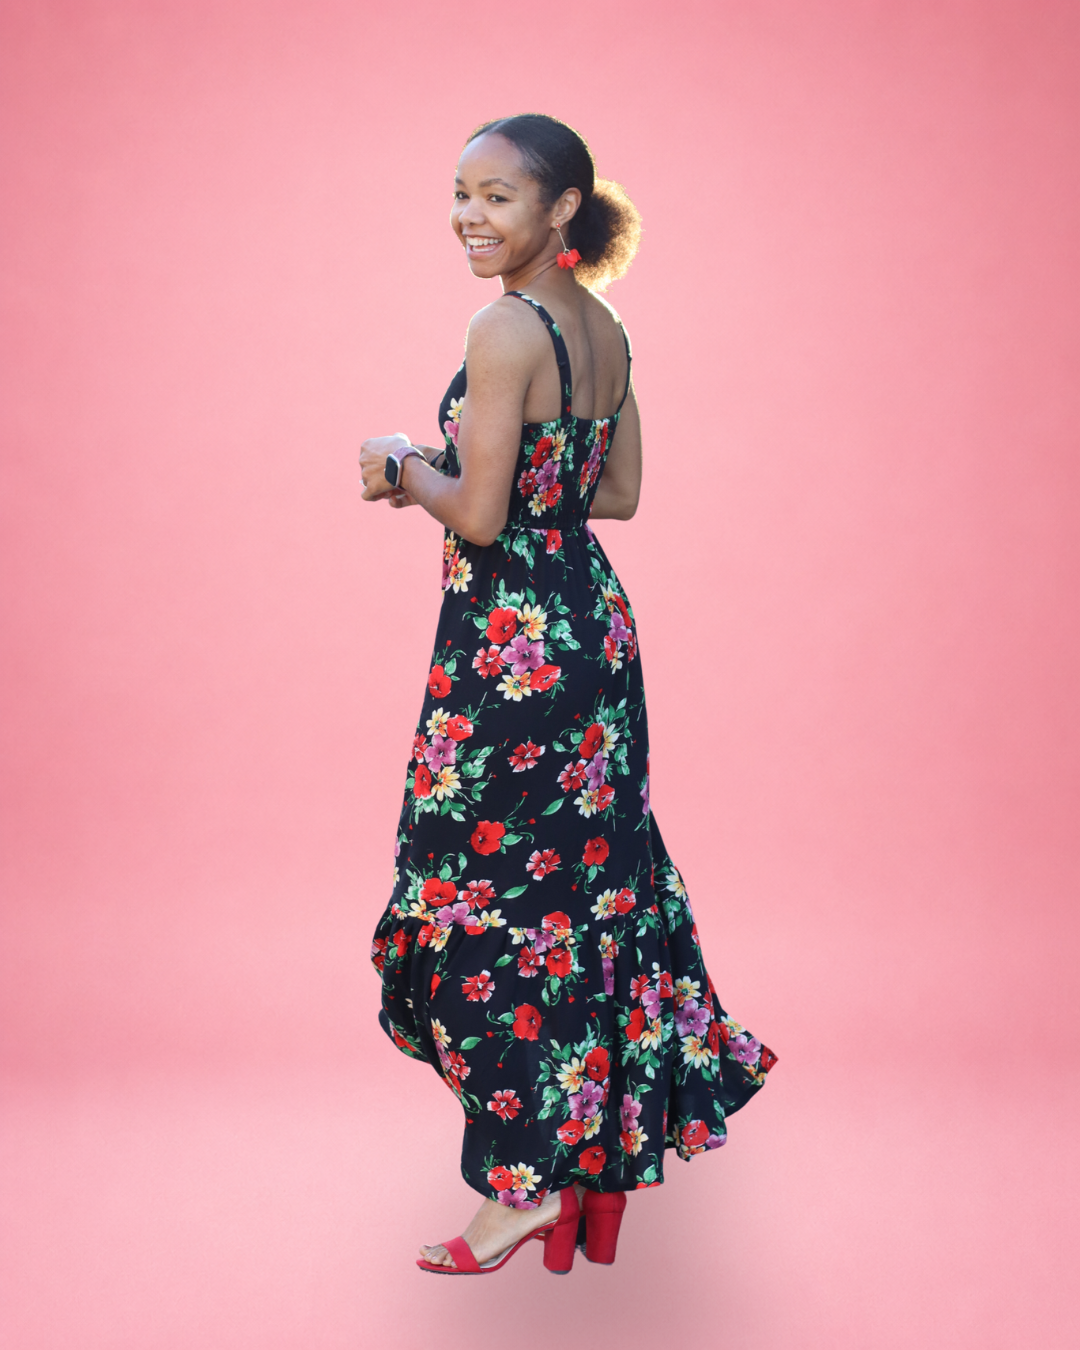

Hi everyone, it’s Amy here and I’m really excited to share this fun hack with you today. The simplest option is how to turn the Everywhere Dress Pattern into a faux pinafore dress – it’s SO effective and incredibly straightforward. I’m also going to show how to change up the neckline and sleeves and how to add a collar and faux button placket amongst other things. What I love about sewing is it really is a pick your own adventure – you can choose as many or as few elements to make your dress as you like!

Fabrics I have used:
-
Black and white houndstooth and black rib fabric from ABC Fabrics
THINGS YOU WILL NEED:
-
Pencil/pen
-
Ruler/french curve ruler
-
Paper
-
Scissors/rotary cutter
-
Ellie and Mac patterns – Everywhere Dress pattern (I also used sleeves from Leonie woven wrap top and dress, and the neckline from Sarah wide sleeve sweater pattern)
-
Pins or clips
Optional but useful:
-
Pattern weights
-
scotch/washi tape
-
Pencil eraser/rubber
-
Software like Affinity Designer/Inkscape if you want to make digital alterations like I am instead of on paper
If you don’t yet have the patterns needed for this tutorial, you can find it here (afflink):
Everywhere Dress Pattern:
https://www.ellieandmac.com/products/adults-everywhere-tunic-dress-pattern?aff=3401
Sarah Wide Sleeve Sweater Pattern:
https://www.ellieandmac.com/products/sarah-wide-sleeve-sweater-pattern?aff=3401
Please note I use a projector rather than paper patterns so all my pattern alterations take place digitally, but you can follow my instructions just the same using paper.
MAKING THE PATTERN ALTERATIONS
I am going to show how to make the pattern alterations for changing neckline and adding the blouse details, if you only want to do the faux pinafore element then all you need to do is make straps. The info for that step is right at the end of the pattern alternations bit so feel free to skip down.
So, for my black and white dress I wanted to create a kind of semi smart work appropriate dress that looked like a pinafore dress over a blouse. I wanted my ‘blouse’ to have a collar, so to do that I firstly had to raise the front neckline.
If you want to change your neckline, use this method whatever neckline you want. For my rust dress I changed the neckline in the same way but I used Sarah mock neck instead of adding a collar. So you can use the method with any neckline you like. If you are using a different neckline then change the back neckline using the same method.
So, have your Everywhere front bodice piece and Sarah front bodice pattern pieces in front of you:

Draw around the Everywhere front bodice on a new piece of paper. Lay the Sarah front bodice piece over the top, matching the neckline edge of the shoulder. Sometimes the neckline widths will be different, in which case match them at the centreline and you may need to redraw the shoulder line to meet the new neckline. In this instance the neckline width is very similar to the original neckline so I just redrew it a tiny bit width wise so I didn’t need to alter the shoulders.


Cut out this new pattern piece.
Next I am doing the alteration to the back bodice piece to add the split back neck with a button fastening. This isn’t necessary to actually take the dress off, it’s a design feature only so you can skip this if you wish. Take the back bodice piece, fold it in half and draw around it on a new piece of paper.

Add a 0.25” seam allowance to what was previously the fold line:

That’s your new back bodice piece, you will need another piece facing the other way to make the full bodice but you can use the same bodice piece and just place it face down for the other side.
Next you need the new front and new back bodice pieces in front of you, on top of some fresh paper. Rotate the back bodice piece to align one shoulder, and overlap the shoulders by 0.5” (two seam allowances).

You might want to use a little washi tape or pattern weights to hold the pattern pieces together in this position.
Draw around the neckline from 0.25” to the left of the front centre neckline, right around to the back bodice centre (red line on the next picture)

You can take the pattern pieces away now and your outline should be like this:

Next draw a few lines 3” long as right angles from the line you currently have drawn, like this

Connect these lines in a curve, ideally using a French Curve ruler

If you want a squared off collar you can stop there, but I wanted mine to be rounded so I curved the corners. I would also suggest the French curve ruler for this, or you could use any round thing to draw around.


And you will need a symmetrical pair but you can just use the same pattern piece face up and face down to get all the pieces cut out that you need.

Next we are going to draft the faux flap pockets. I used the square pocket from the Everywhere dress to base my pattern piece on. I kept the width the same, with the centre point about 3” down from the top, and the side edges just over 2” down from the top.


Then I added 0.5” to the top edge

That’s it for the flap pocket, you can cut that out and set it to one side.
Then it’s the faux button placket. This is just a rectangle 1.5” wide by whatever the length of your bodice (this will vary depending on if you are using the straight or curved edge bodice version).

Next we have the faux pinafore straps. Overlap your front and back bodice pieces like before, and take a measurement roughly in this position (at curved or straight line as per your chosen option)


Add 4” to that measurement and draw a rectangle that number long by 4.5” wide. Cut out the rectangle, and that’s your faux pinafore strap.
That’s all the pattern alterations done, next we are going to move on to construction.
CONSTRUCTION
Cut out four pocket flap pieces. There will be two pockets, place two pattern pieces right sides together, and serge or sew the edges, leaving the top edge open. Then snip off the corner points making sure not to cut through the stitch line.

Do the same for your collar pieces. Make sure you cut two symmetrical pairs (two with the pattern piece facing up and two with it facing down). Note: I didn’t use interfacing but it would probably be a good idea to make your collar look a little crisper.

Turn the collar and pockets right side out and press well

Next we are going to add the pocket pieces to the dress front piece. Align the straight raw edge of the pocket to the positioning line for the top edge of the pocket from the everywhere dress pattern piece. Note, at this stage your pocket is upside down with the point facing upwards. Attach your pockets to your dress with a 0.5” seam allowance.

Then you can flip the pockets down and press well

If you wish you can topstitch the pocket down to the dress. I did not do this, I just sewed buttons on to attach the pocket flaps to the dress.

You will need to cut two front bodice pieces and four back bodice pieces (for main and lining). Attach the shoulders of the front to back bodice pieces for both main and lining.

Ever wondered what to do with your spare covid masks? Well, crafty thing that I am I like to cut them up to use the elastic for my button loops! You can use any thin elastic for this I guess, but mask loops are perfect. I cut a piece 1.25” long but measure against your button to work out what size you need (my button was pretty small).

Fold your elastic piece in half and tie a piece of thread round the ends to hold them together, then place the elastic piece at the edge of your back bodice piece half an inch down from the top like this:

Baste this in place.
Cut one faux button placket piece, and fold it in half along the long edge, right sides together, and serge or sew. Turn right side out and press.


Pin along the centre of your front bodice

Topstitch in place. Pin your collar in place around the neckline. Note it should finish 0.25” away from the centre back both sides.

Baste in place.

Place your bodice lining right side down on top of the main and serge or sew all round the back bodice and neckline edges shown:

Trim a little off the corner points, but don’t but through the needle stitches

Turn right side out and press. Understitch if you wish (I didn’t).

At this point I added my buttons to my centre front and back bodice centre (opposite side to the elastic loop). It worked out ok for me but I would suggest you don’t add your buttons til the end as it may get in the way when you are sewing your bodice to the ‘pinafore’ piece later.

Next we are going to sew the bottom of the back bodice centrelines together. I think the pictures show this better than I can explain it but I will try! Open up the centre back bodice pieces and place them right sides together. Sew along the existing seam line by however much you want, I did about 1”


Next attach the main dress/skirt piece to the bodice pieces as per the Everywhere dress instructions and sew the side seams closed. Press.

Attach your sleeves. You can use the original sleeves, or any other sleeves you like. I used the Leonie sleeves, which is a woven pattern. The thing is, knit fabric is very forgiving due to the stretch, so I tend to play it fast and loose when it comes to switching up sleeves. The Leonie sleeve has gathering anyway, so I just gathered it as much as needed to fit the Everywhere armscye. Super easy. For my rust dress, I used the sleeve hack featured on my previous blog that you can see here: Add a Pussycat Bow Tie To The Neckline Of Any Dress!

Finally, we are going to make the Pinafore straps. You need to cut out two strap pieces. Fold in half along the long edge and sew with a 0.25” seam allowance, leaving a gap for turning somewhere along the long edge:

Turn right side out, press and topstitch the opening closed, or handstitch.

The best way to get the straps positioned is to try the dress on (or put it on a mannequin) and pin the straps in place where they look and feel right. I placed mine so they overlapped the horizontal bodice seam by about 1.75” in the front and 2” in the back.


Pin the straps in place. Sew buttons on through the strap and dress to anchor the straps in place. I would also suggest tacking the straps in place at the shoulder seam to keep them in place.


You did it! How cool is this dress? I love two versions I made, and I hope you love yours too. I can’t believe it’s such a simple change to make the Everywhere dress a faux pinafore dress and I never thought of it til now!


- Written by Amy Day