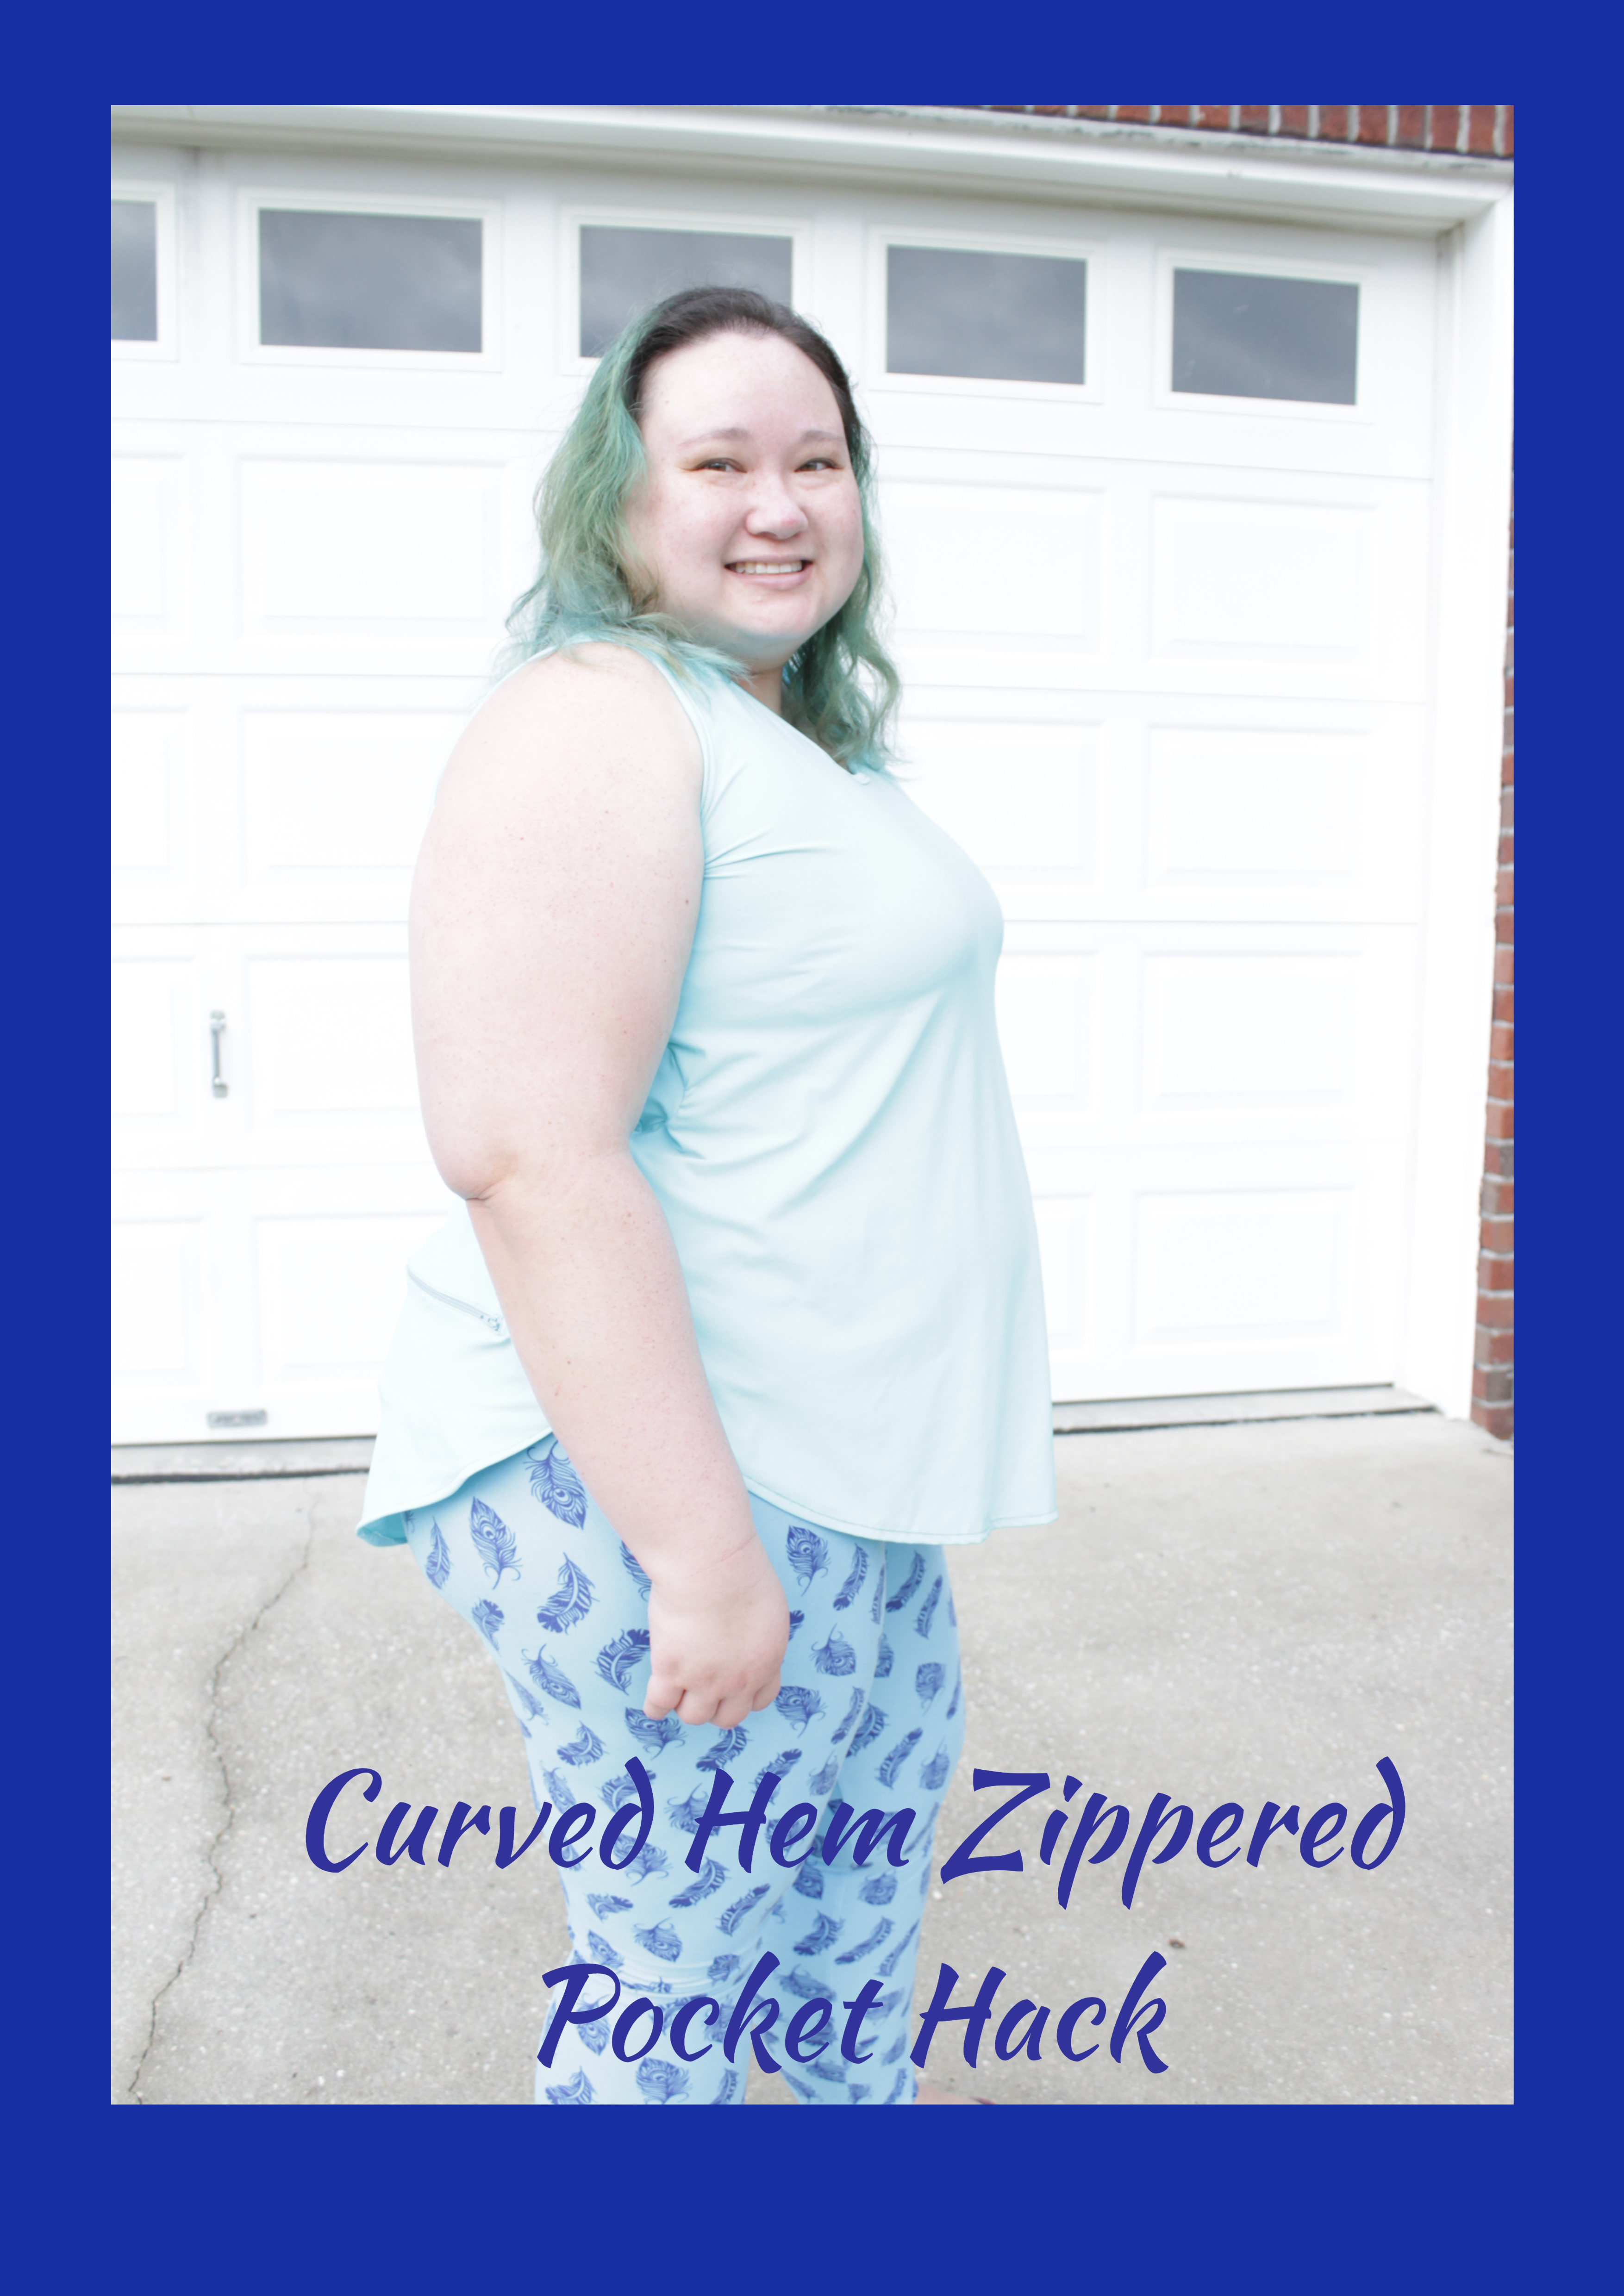
Hi gang! I’m Sequoia, from SequoiaLynn Sews and today I am sharing my brand new (and possibly my favorite) Ellie and Mac pattern hack to date! My plan was to scroll through my lengthy list of EAM patterns and come up with a creative idea for a pattern I hadn’t sewn up yet. At the last minute, I decided to use two patterns from my stash. I decided to give the Be Graceful Maxi and the Jersey Skirt a slight makeover and add a beautiful summer tunic to my closet! Here we go!
I printed off the entire skirt pattern and only the bodice portion of the maxi. Assemble your patterns as usual and we will be ready to start! This is your chance to make any pattern adjustments. In my case, I knew I would need a bicep adjustment. This is typical for me, but I found I needed to make a very large adjustment to this sleeve. In addition to cutting one size larger, I also added about an inch to the pattern. You can see where I taped in the triangle sliver of fabric in the photo below. If you don’t need this adjustment, just keep on reading.
Now let’s work on the Jersey Skirt pattern. I followed the directions included in the pattern and shortened the skirt by 4 inches. This will leave you with some extra paper on the right side. I just trimmed it off even with the top corner point. If you want a long dress, by all means, leave it long. I was working with a 2 yard cut of fabric, so I needed shorten it to make this work. I didn’t make any length adjustments to the bodice.
Ok, once all your adjustments are made, you can start cutting. I knew I was only make a single layer for “the skirts”, so I cut 2. If you want to double up, Do It! It will be beautiful either way. Next, I cut my front bodice and finally I needed to make the back bodice happen from the scraps. Oh man! My first thought was just added a back seam, but that left me about 1.5 inches short on one sleeve. That wouldn’t work for me, so I added a 4 inch panel down the center back. This gave me the width I needed to cut the back bodice. I was careful to center the “patched in” panel so it doesn’t look wonky. Don’t forget to cut a neckband. I also measured and cut bands for my sleeves because I really hate hemming. ☺
Time to assemble. I serged my shoulder seams first and then I attached my neck band. While you are in the mood (or not) to sew bands, let’s go ahead and finish the sleeves too. Now sew the bodice side seams and the skirt side seams. I decided not to hem the bottom of my skirt because I didn’t want to mess with the beautiful drape of this fabric. Now follow the Be Graceful pattern directions putting the bodice and skirt together. I serged clear elastic into this seam to reinforce it so it will look fab forever!!
Now you can put on your gorgeous wardrobe addition and feel amazing! I adore this fabric and when it was offered up to the Stitchin’ Pretties strike team, I jumped up on super fast!! I had to have it! The name of the fabric is Tiffany and it is a beautiful and vivid ITY! As you can see these colors are beautiful. This fabric can be purchased from Stitchin’ Pretties using this link. If you don’t know about ITY, it is cool to the touch, lightweight and feel silky smooth against your skin. Stitchin’ Pretties is still running their “Buy 2 yards of the same fabric and they will send you a bonus yard of something” deal!
Thanks for reading along with my blog post and pattern hack. If you enjoyed my blog, I would love it if you used my #Afflinks to pick up the patterns.
I hope this inspires you to see your patterns in a new way. If you create your own Be Graceful/Jersey skirt mash up, be sure to tag me on social media. #Sequoialynnsews
(Written by: Sequoia Bond)


