Hi! I’m Elliott from The Little Robin’s Nest! A lot of y’all have seen my post about beginning my journey transitioning from female to male, if you haven’t, then welcome! The cool thing about this transition is that it means I’m going to be experimenting with a lot of the things I’ve been doing for the last five years as a sewist. I’d like to share that part of my journey with my Ellie and Mac family through this series of blogs.
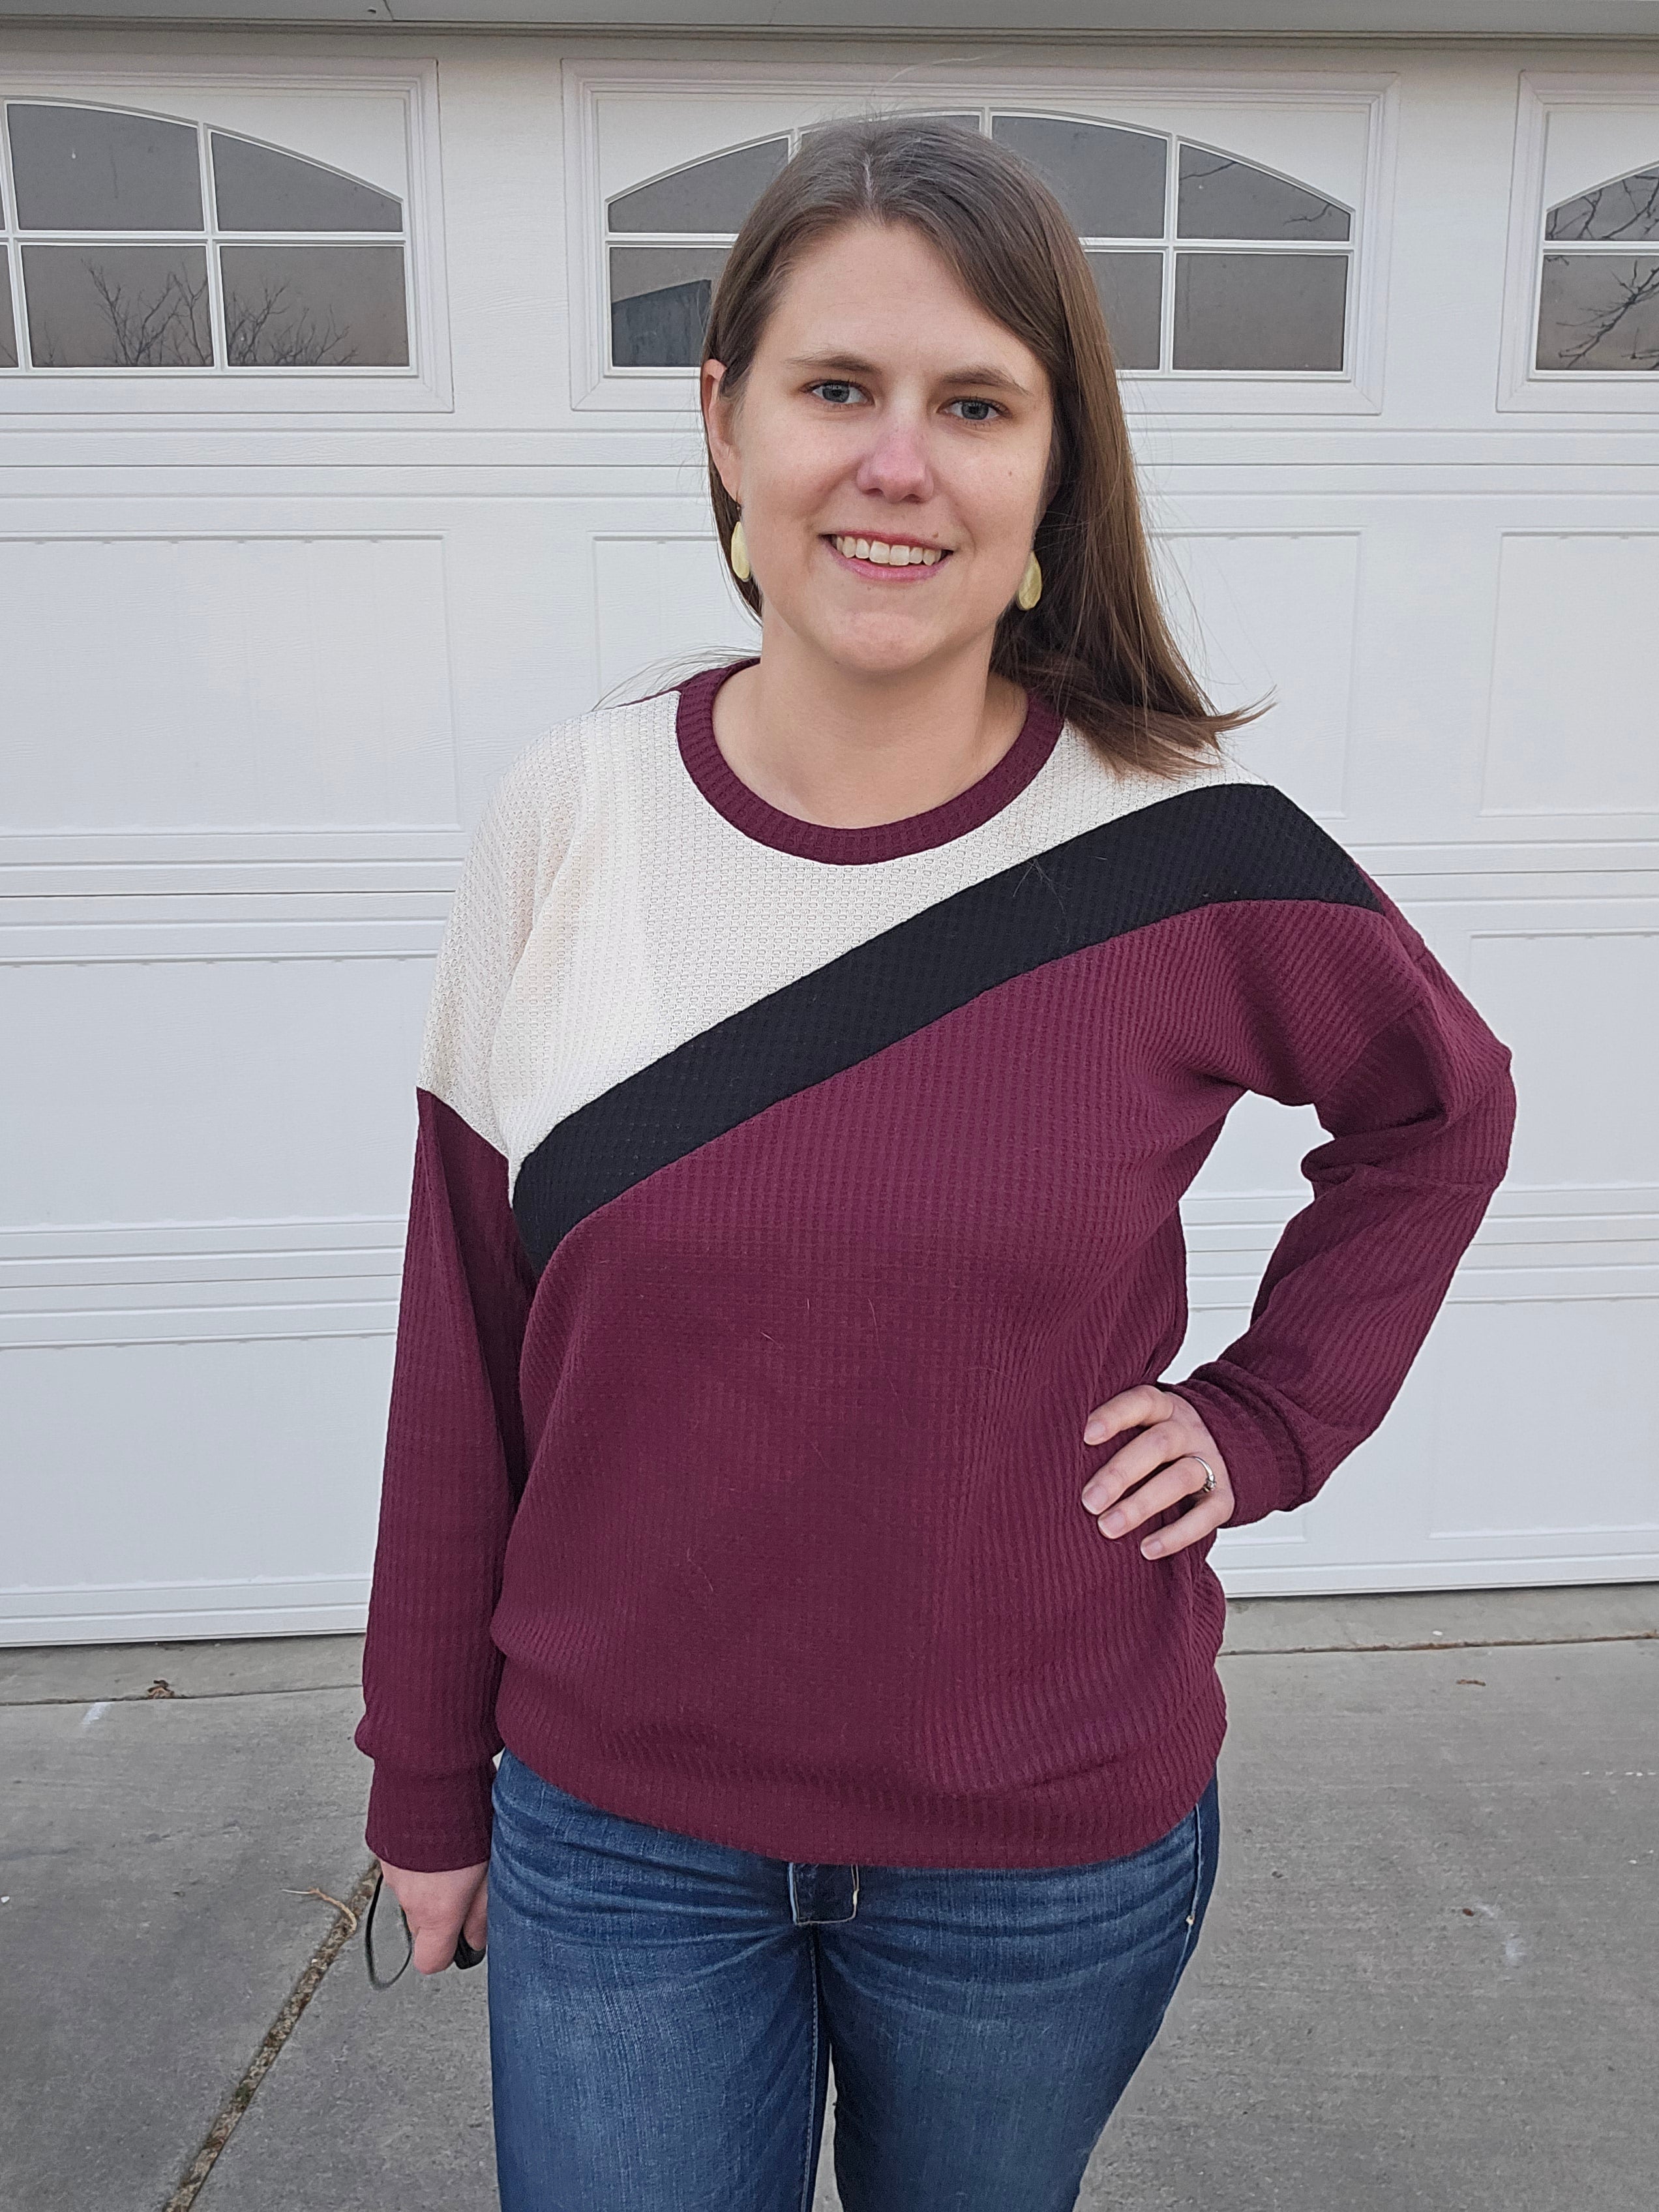
Since many of you got to know me first through my initial post of a Pixar inspired around the block hoodie that I had modified for a more relaxed, straight fit, that’s where I’m going to start. I’ve been testing Ellie and Mac patterns for a little over a year and sewing Wacky Wednesday pattern promotions just as long, but that’s the first post I’ve ever made that really took off.
There’s no way I can possibly thank all of you for the love and support you showed me while I was coming out before my whole family even knew-hundreds of comments and responses and not a single negative anything. I am so blessed by the sewing community that I choose to call home, and to have the opportunity to say thank you for that!
A whoooole lot of you had a question for me as fellow sewists though - how? How did I make one of the fitted curvy patterns into a more relaxed straighter fit that was more comfortable for me during this time of transition? Many of you were curious as you were looking to be able to make it for members of your family who also prefer straighter more relaxed fits, or, who, like myself, have broader shoulders. At first it was determination to keep my absolute favorite Ellie and Mac pattern in my life! But I have simplified the alterations into a guide that I am excited to share with everyone, and I hope that you can use it to keep making some awesome Around the Block Hoodies (ATB) for the people in your lives.
Of course the first thing you do with any pattern is take measurements, and for someone with broader shoulders, like myself, you’ll want to take the chest measurement and go another size up (for me this means going from an XL to an XXL). Then of course you need to take the waist and hip measurements, for me these are respectively an XXL and an XL. The two sizes I printed were XXL and XL, you may need to print three. Assemble the pattern and get ready to adjust!
The key to straightening the body of the ATB, or any curvy pattern, is to pull out the waist and pull in the hips. For most patterns this seems a lot more straightforward (forgive the pun) than it does with the ATB because of the colorblocking. These are the steps I came up with for the ATB.
Step 1: Before you cut out the middle and bottom pieces of the bodice, line the top piece up like this on the right side of the pattern so that you have all the parts from the bottom of the armscye to the bottom of the bodice. I outlined the top piece in red and the bottom pieces in purple so you could tell them apart.
Step 2: Pull the waist out. Measure out from the waist 5/8” and draw a line from the bottom of the armscye. Repeat for the left side. 
Step 3: Pull the hips in. On the bottom line of the pattern piece, measure 1/2” in from your HIP measurement (my original one is traced in blue). Then draw a line from your new waist point to the new hip point.
Step 4: Take your back top pattern piece and make the armscye side match the front top pattern piece. Do this by adding some extra paper to it and tracing the additional section.This one is hard to explain in words but here’s some pictures:
Step 5: Adjust the pattern for height, and adjust the waistband to personal taste, I like mine loose so even though the hips are almost at a size L, I kept the waistband at XXL. Finally you get to cut the pieces out! Here’s what the edges of my altered pieces looked like, and my cut out pattern!
What’s great about this pattern for transitioning: The colorblocking in the ATB hoodie can be used to distract from your chest. In my case, even wearing a binder my chest is still large, so I want to downplay that. Straightening the curves and using a bold pattern for the middle stripe helps me do that. Below is a picture of my first ATB, made a year and a half ago strictly following the pattern, well before beginning to transition, versus the one I just made. As a point, although I am wearing a chest binder, as many trans men do, it only reduces my total chest size by 3.75”.
A last note - both of my altered hoodies ended up with over large hoods for my taste. Some people will like this, some people won’t. My plan to fix it in the future is to keep the larger size for the shoulders and use the original measured size, XL in my case, for the neckline and hood. This should make the shoulders wider still, bring in the neckline, and decrease the size of the hood. 
(Written by: Elliott Gray McGraw)
If you're a beginner, check out our free sewing patterns here.
See our video tutorials for beginners here.


