









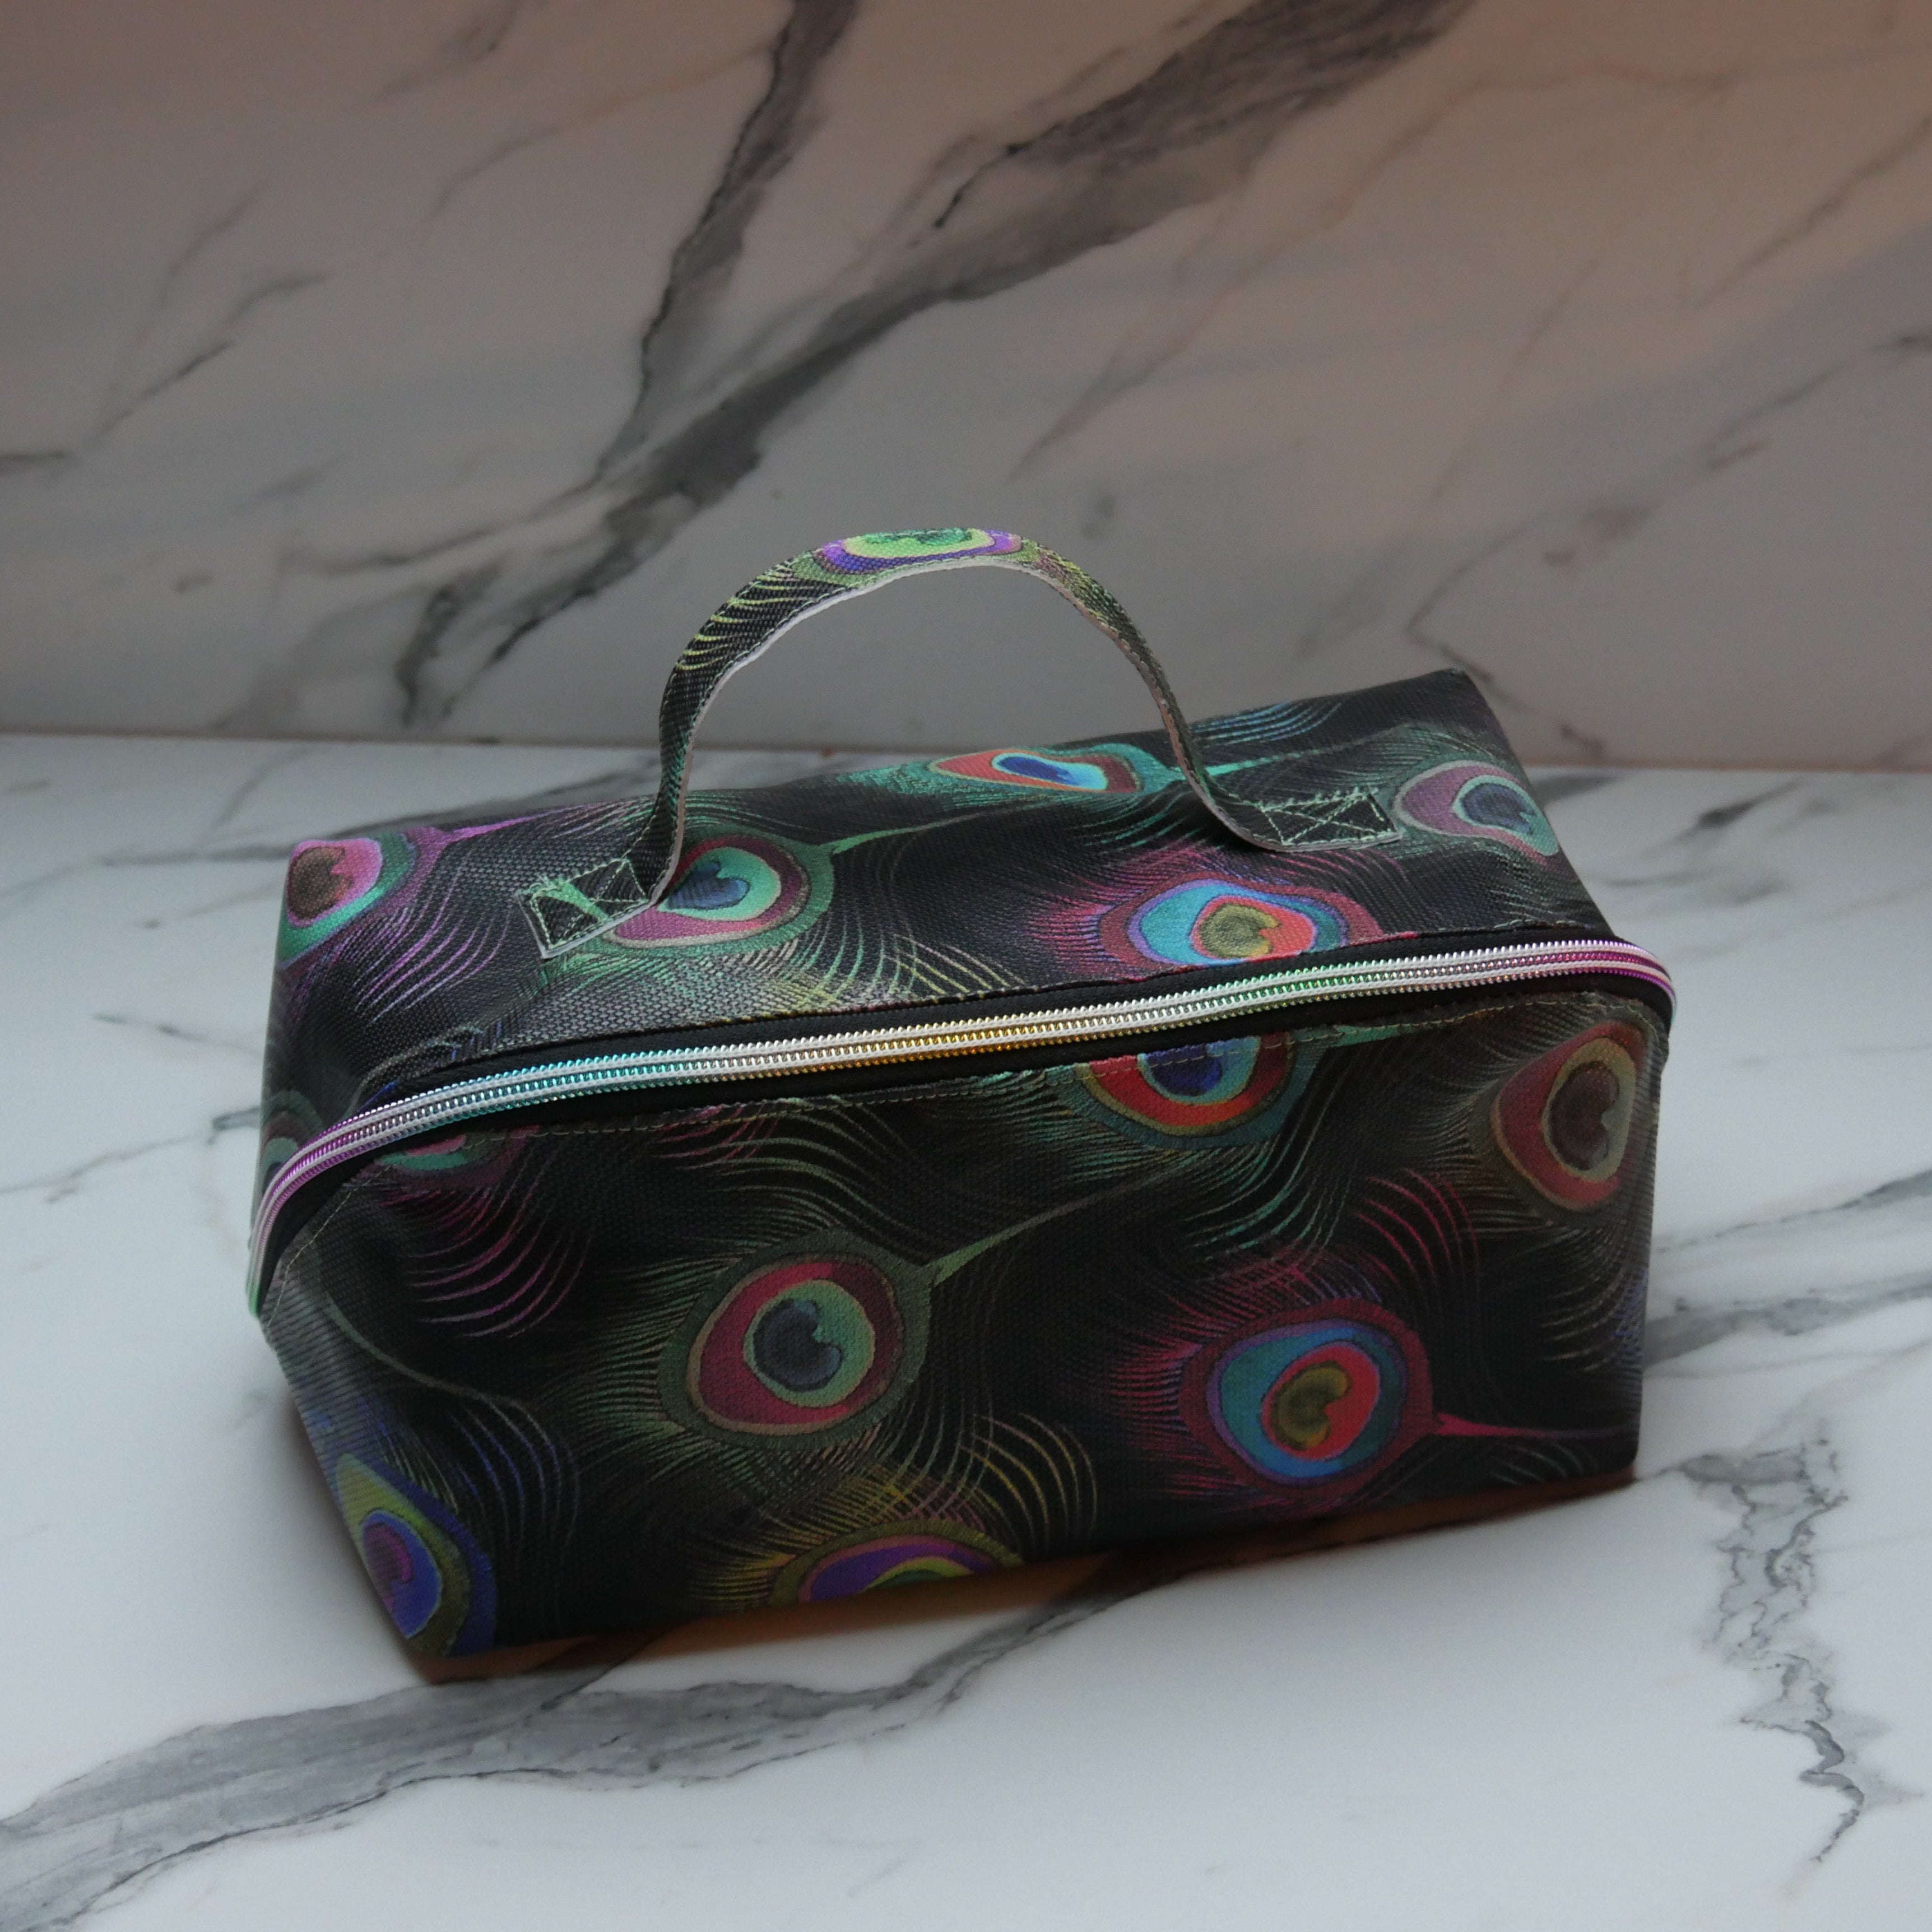
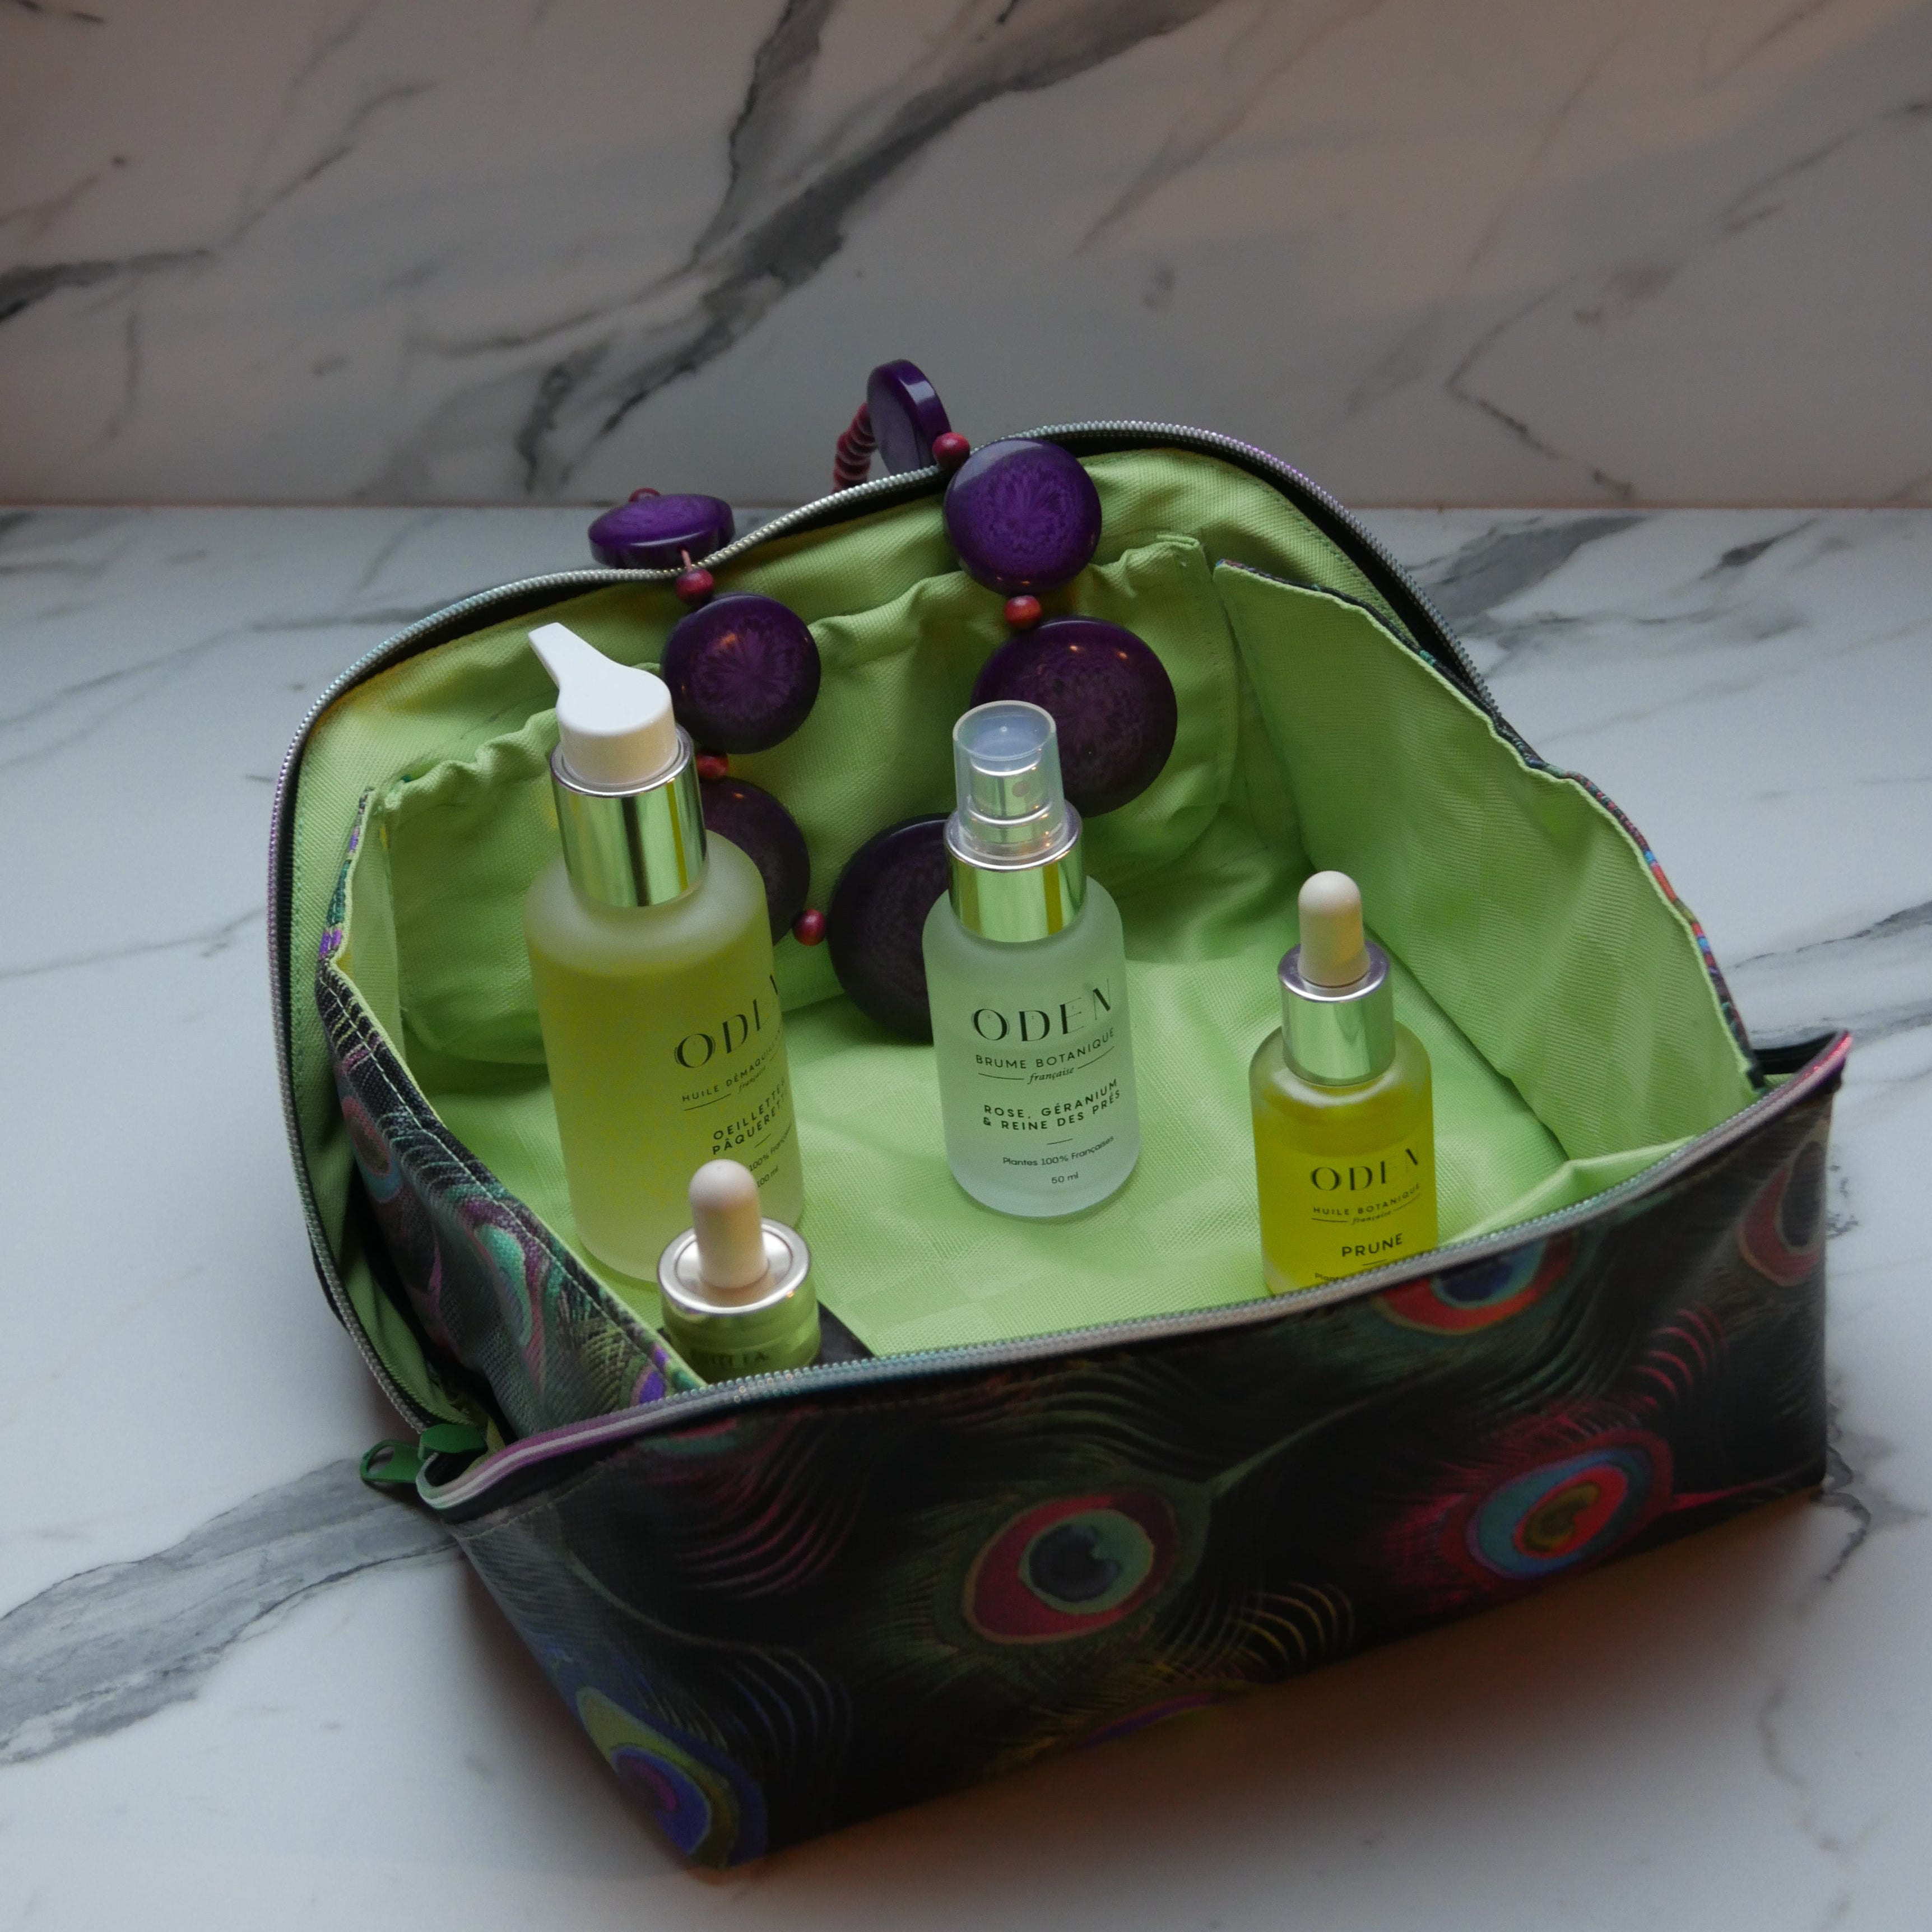


Claudia Cubic Bag Sewing Pattern
Summer Savings: 30% Off
Free Patterns When You Bundle
Stylish, beginner-friendly sewing patterns with step-by-step videos and a fit you’ll actually love wearing.
Included With This Pattern
Over 3,000,000 patterns sold since 2012 • 16,000+ verified 5★ reviews
We accept:
Choose options
Summer Savings: 30% Off
Free Patterns When You Bundle
Stylish, beginner-friendly sewing patterns with step-by-step videos and a fit you’ll actually love wearing.
Included With This Pattern
Over 3,000,000 patterns sold since 2012 • 16,000+ verified 5★ reviews
We accept:
Summer Savings: 30% Off
Free Patterns When You Bundle
Stylish, beginner-friendly sewing patterns with step-by-step videos and a fit you’ll actually love wearing.
Included With This Pattern
Over 3,000,000 patterns sold since 2012 • 16,000+ verified 5★ reviews
We accept:
Summer Kickoff Bundle Bonus
Buy 2, Get 1 Free
Stock up on patterns you love. Your free patterns unlock automatically when you bundle.
30-Day Money-Back Guarantee
If you experience a technical issue with your file — or find an error we can’t resolve — we’ll issue a full refund within 30 days of purchase.

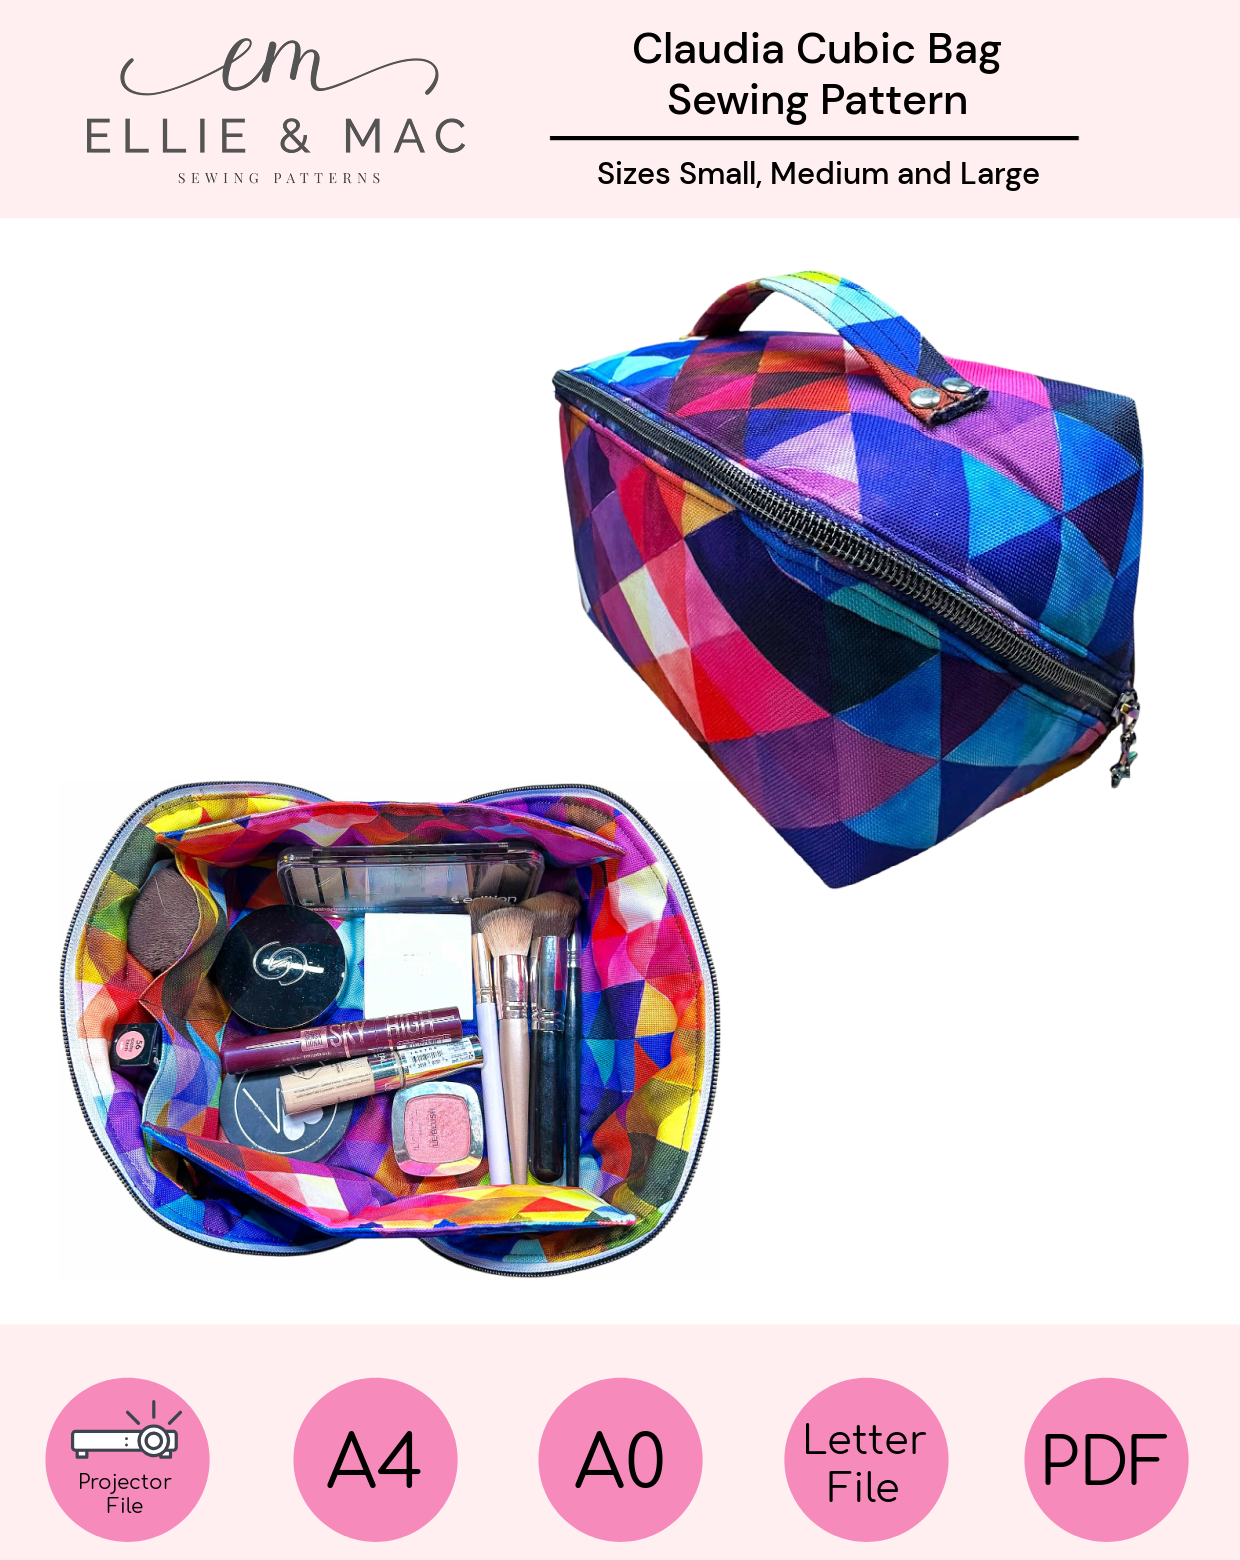
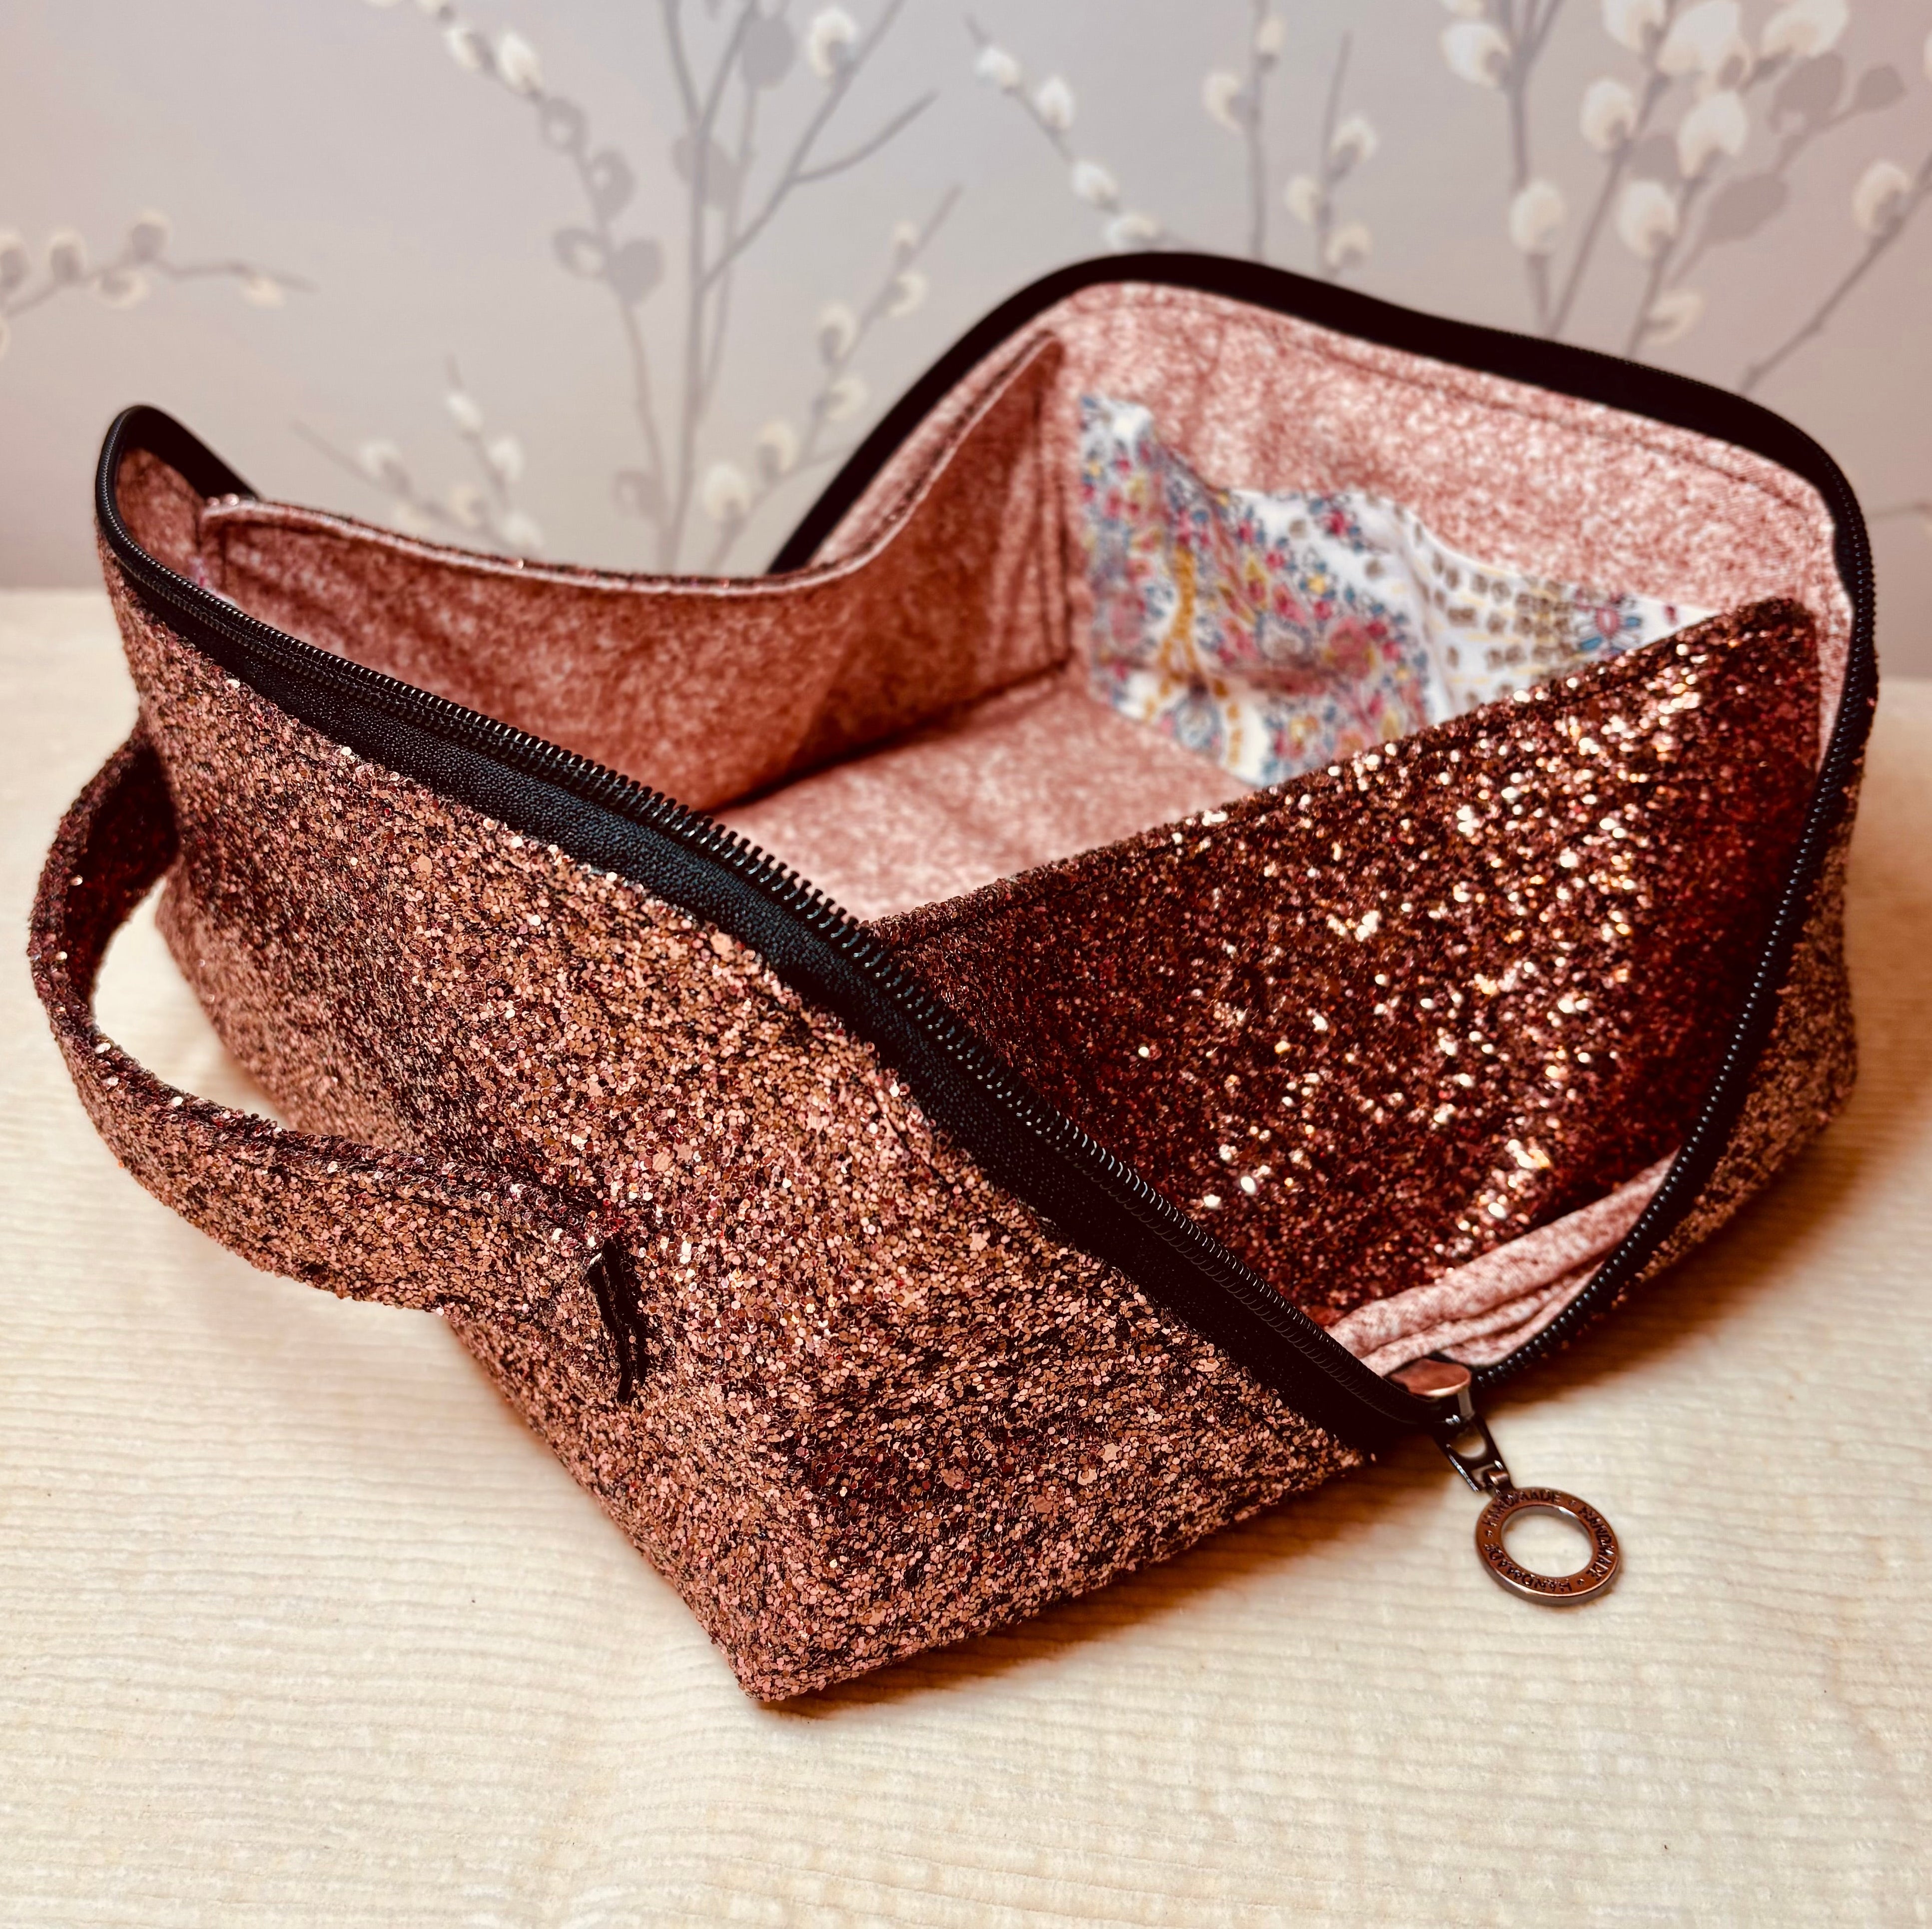
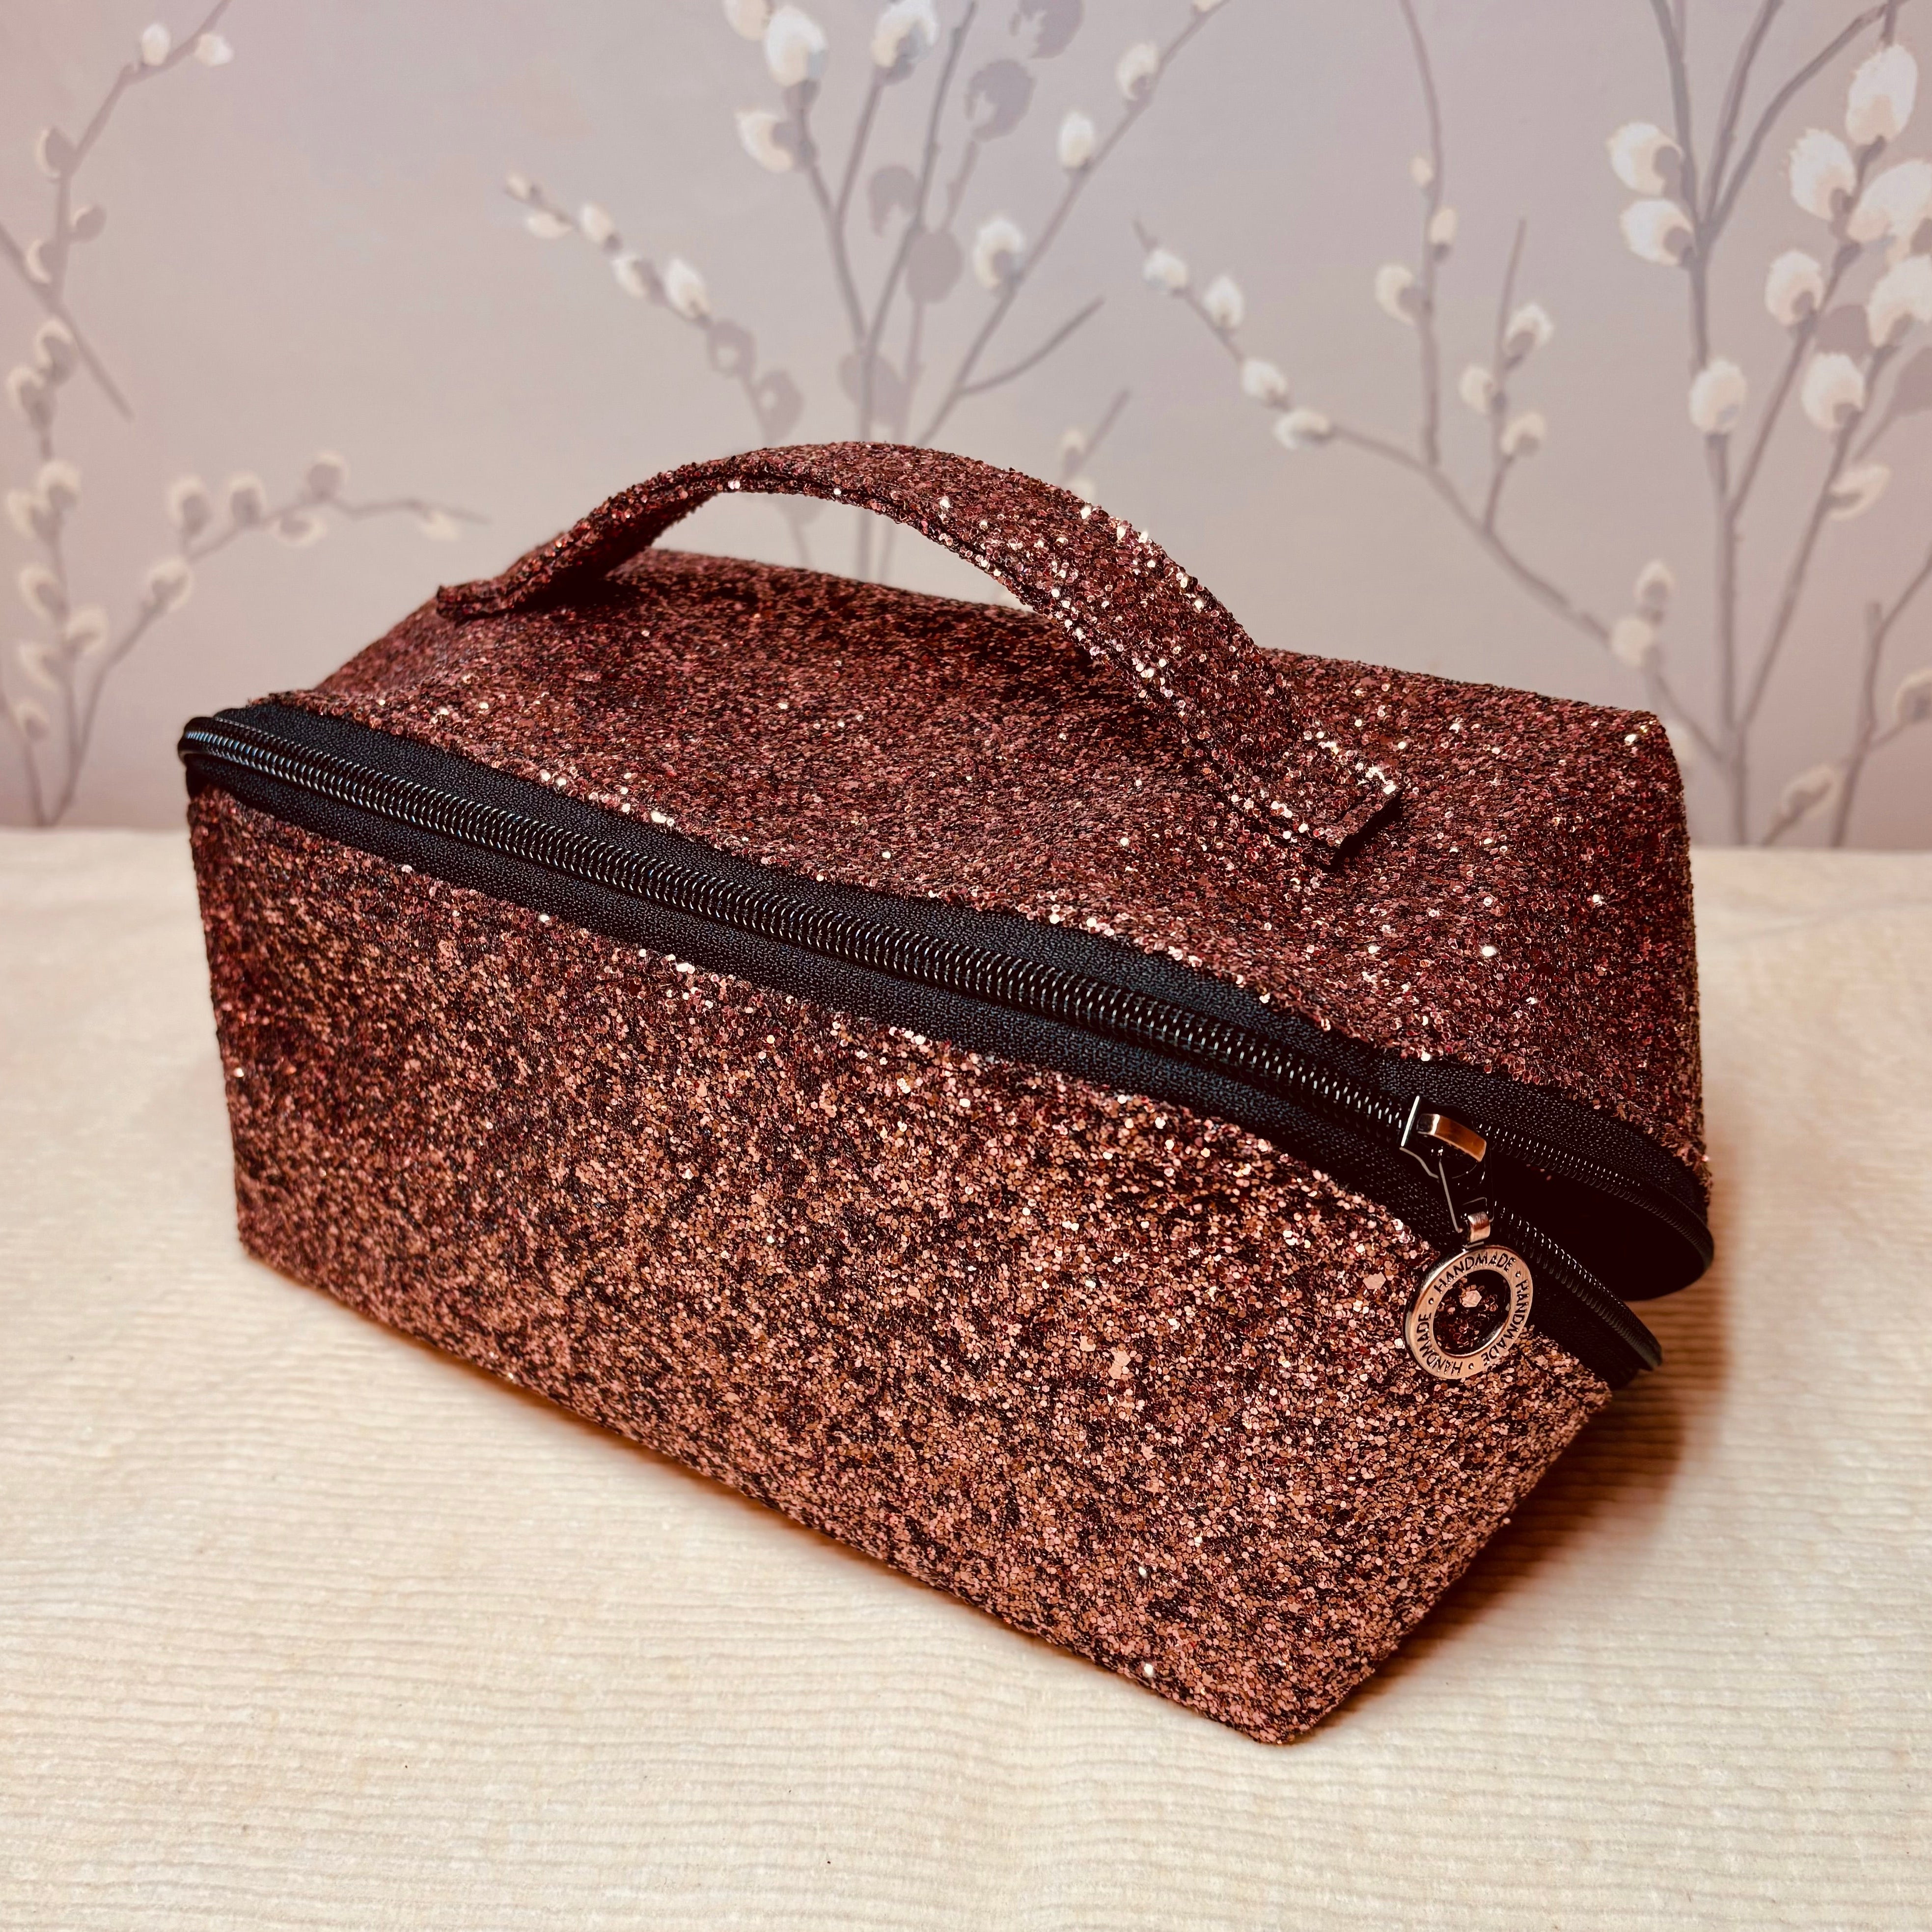
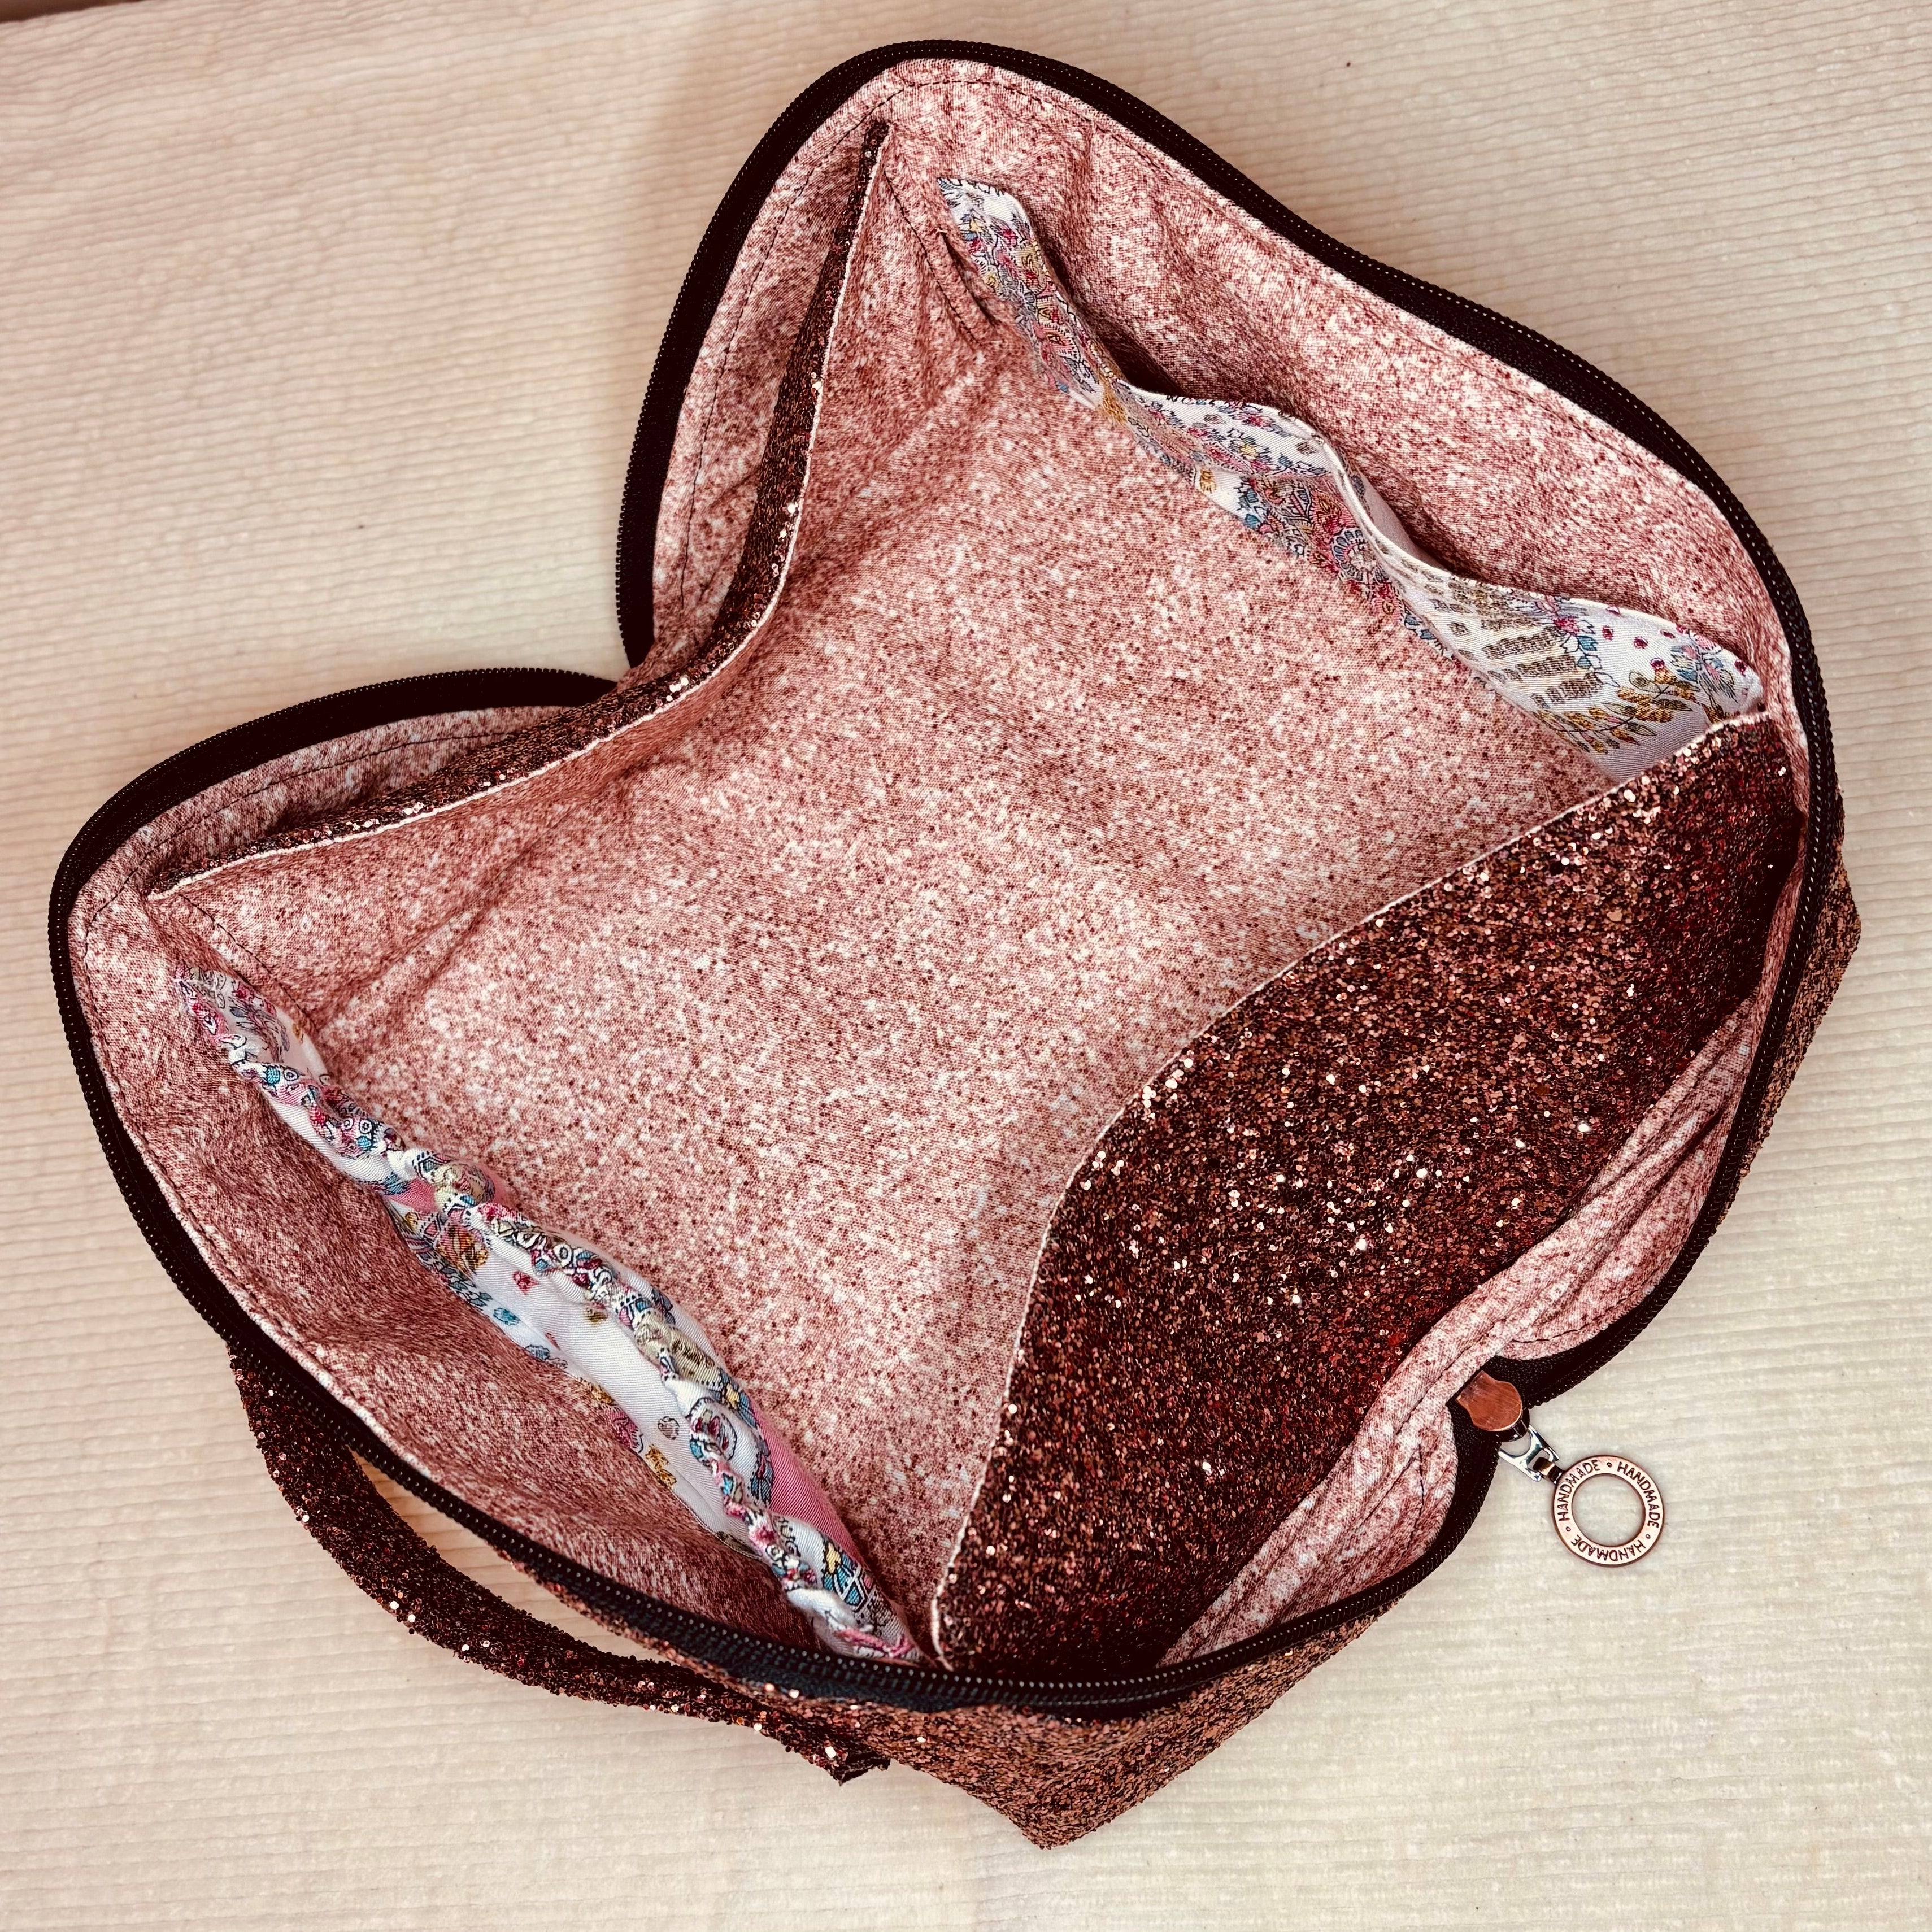
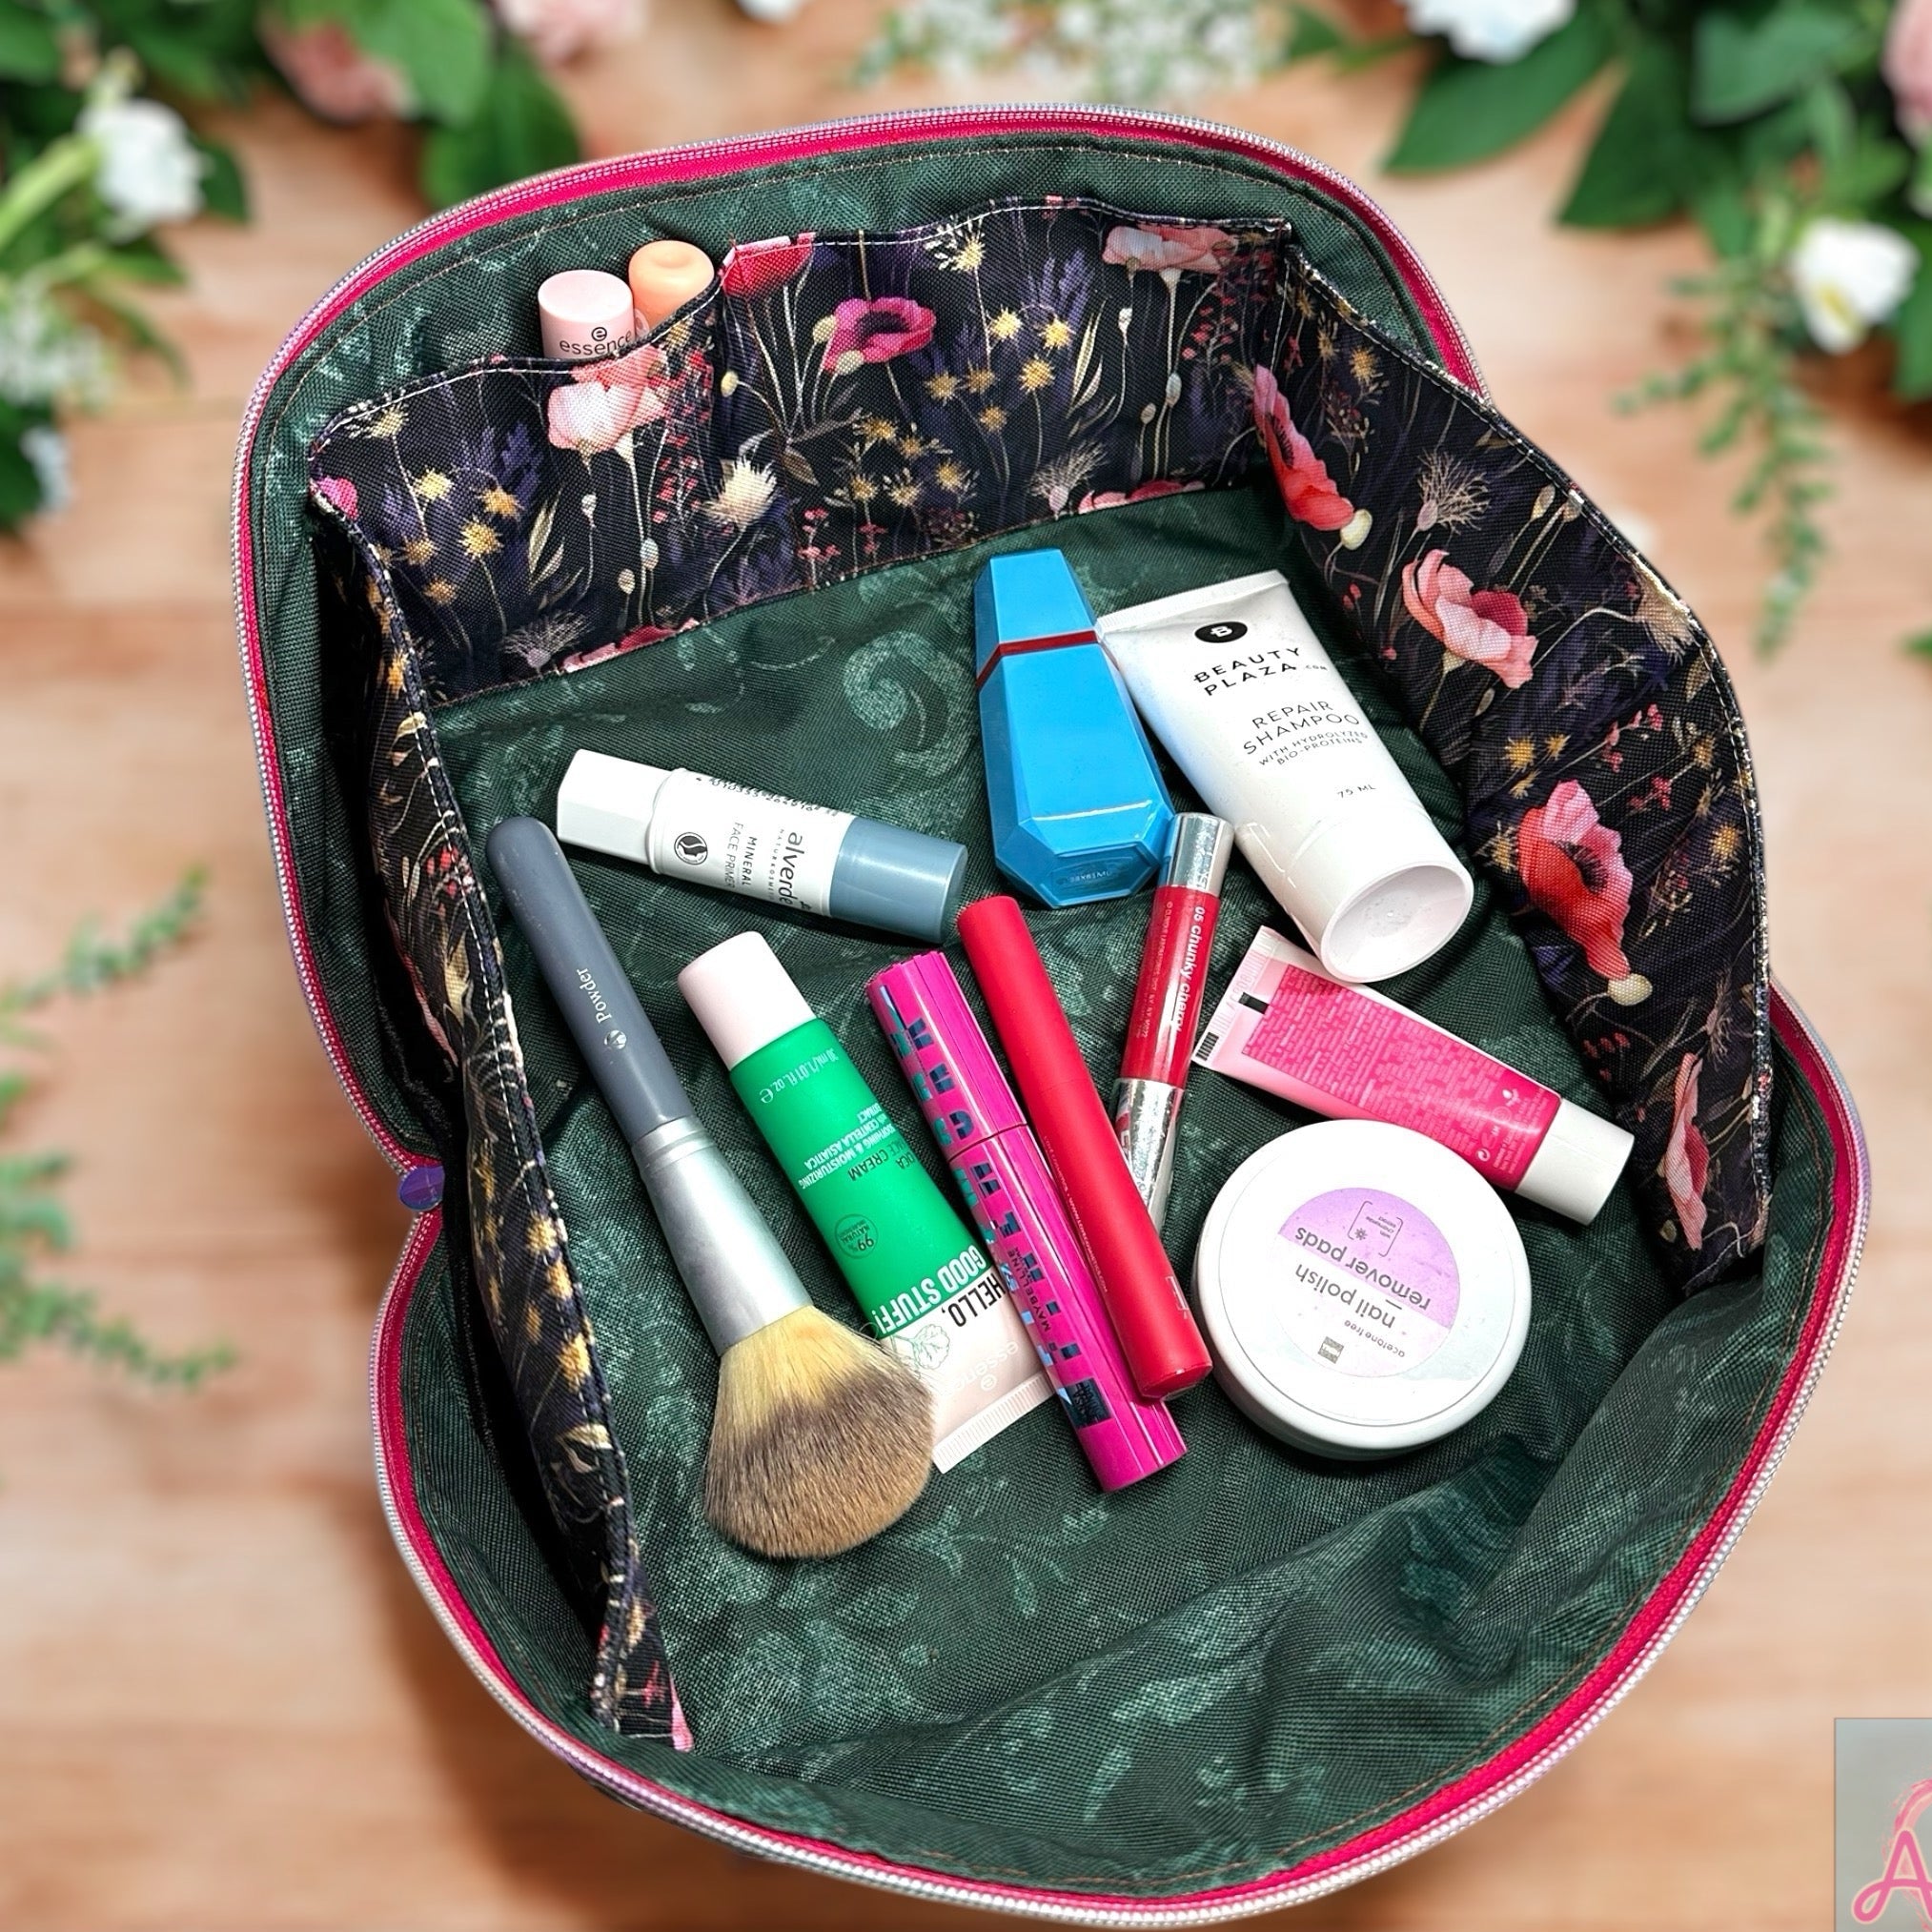
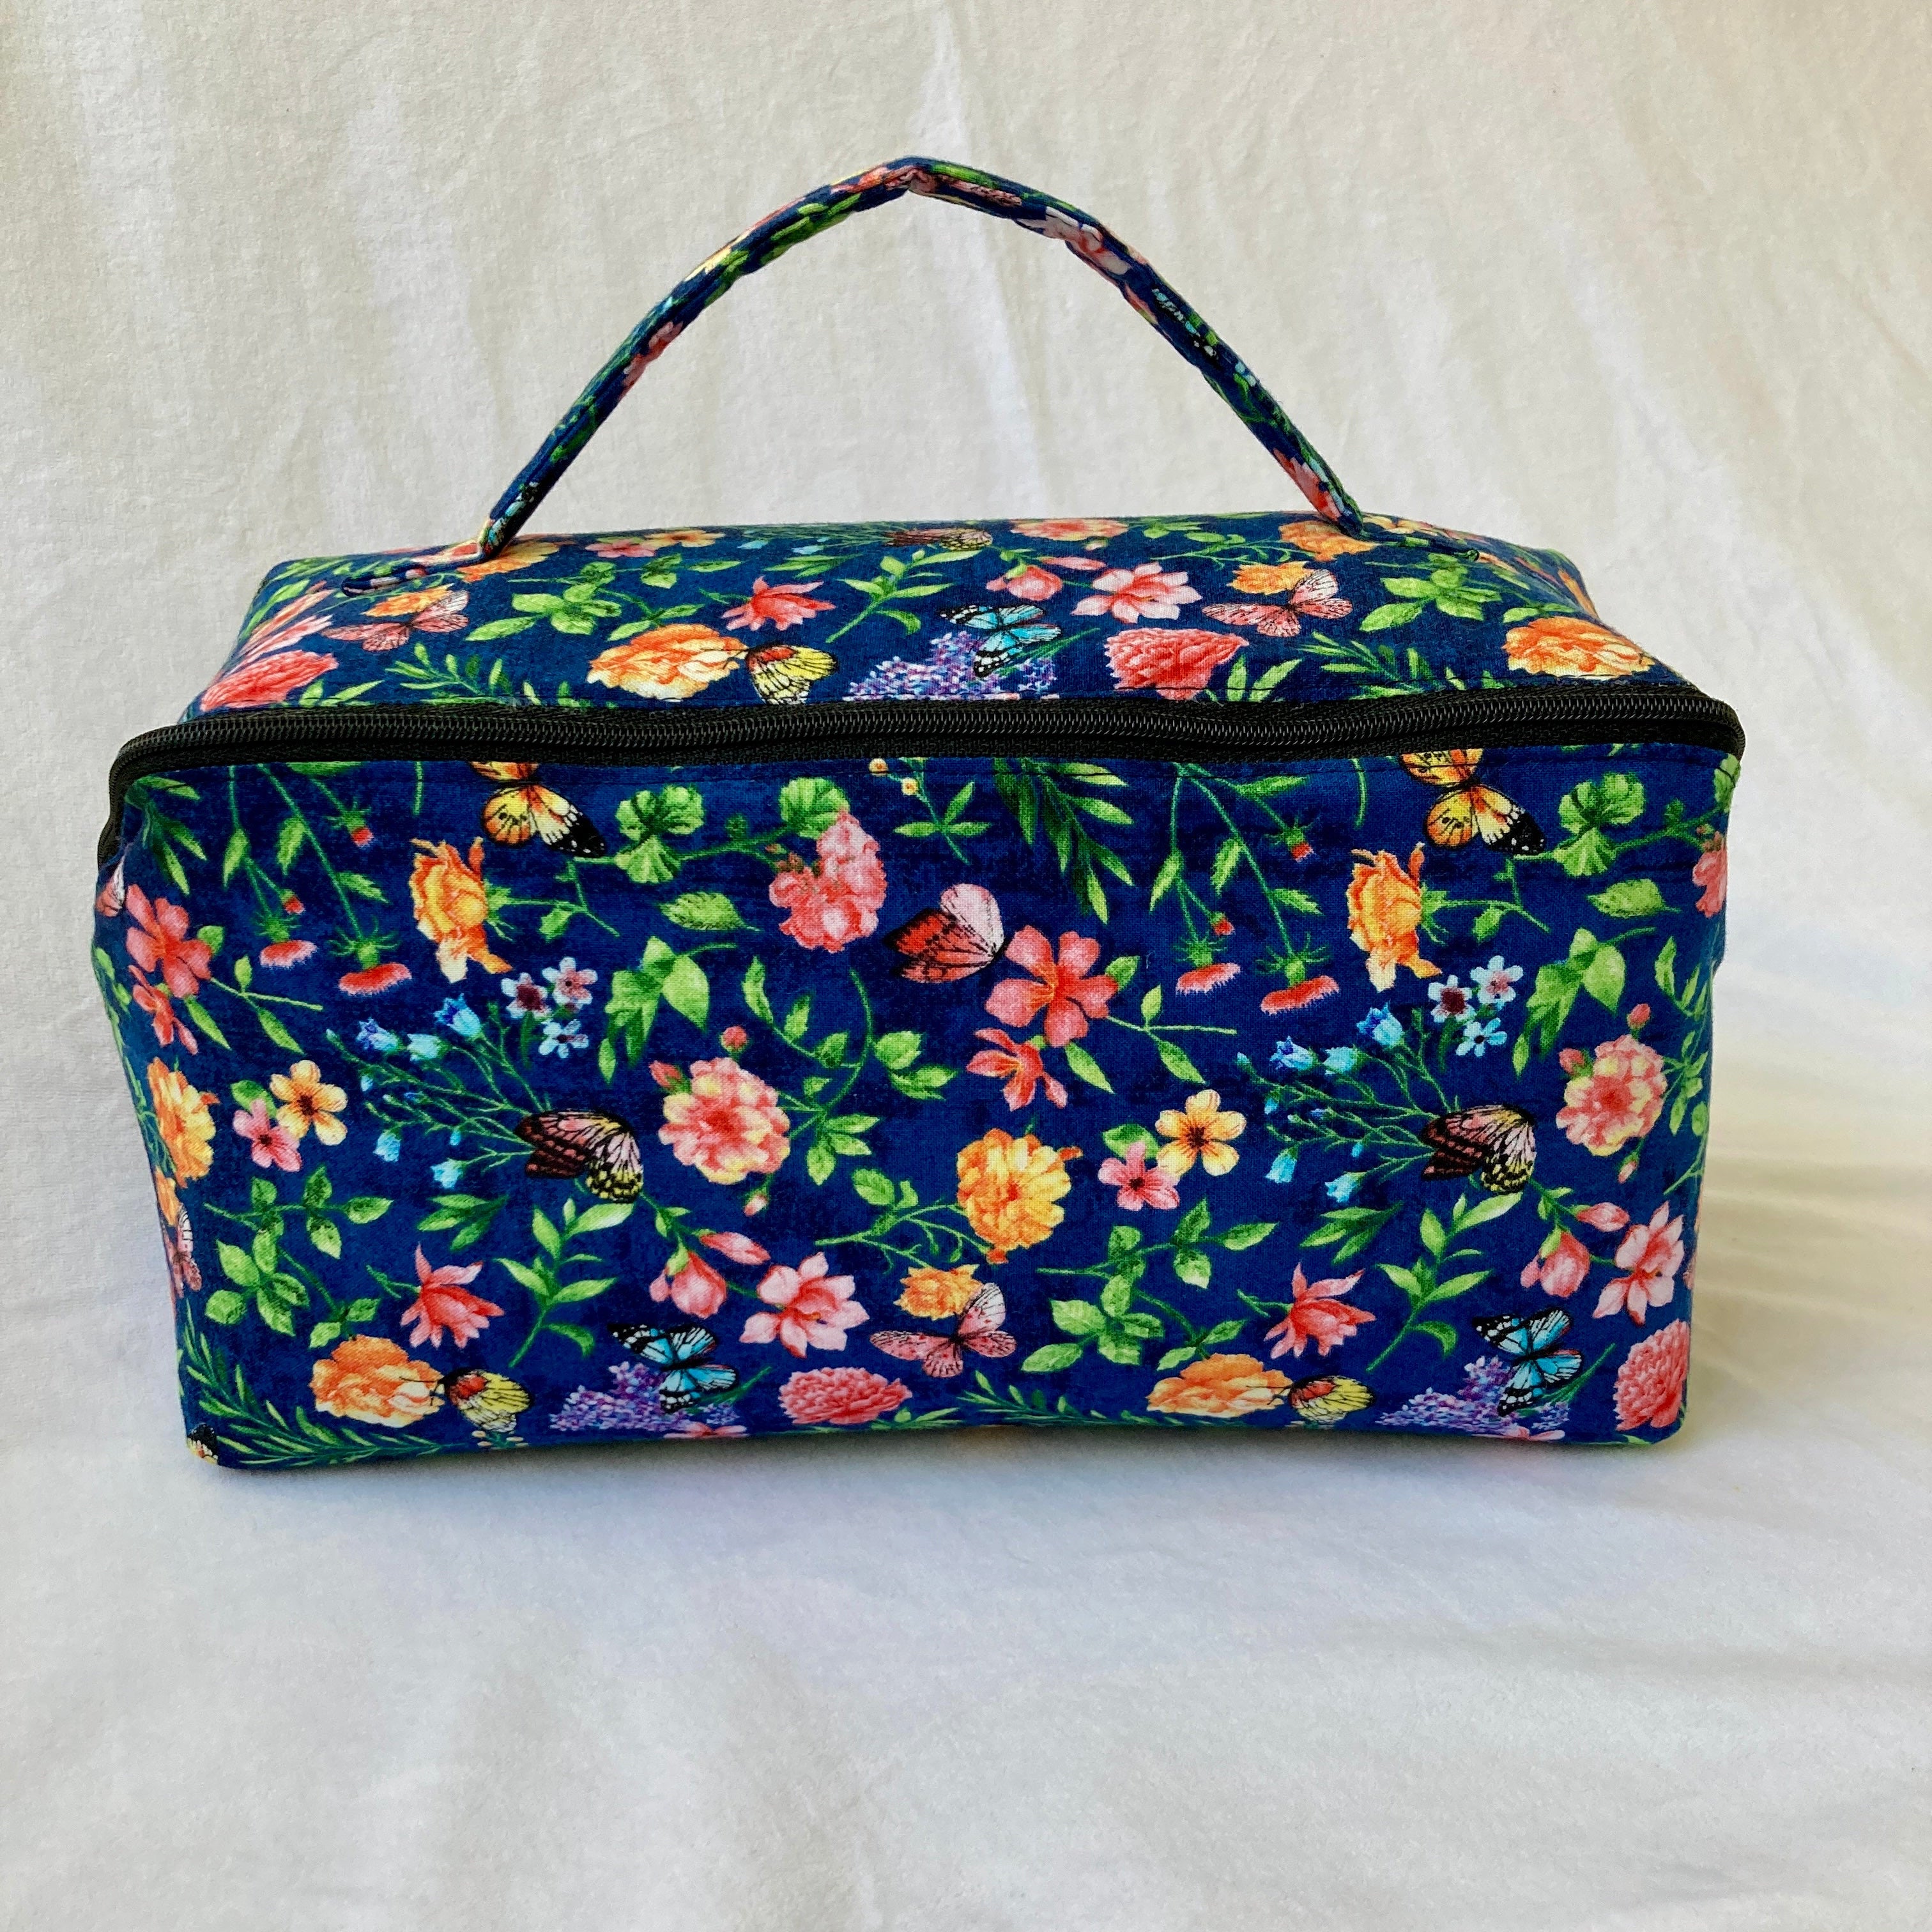
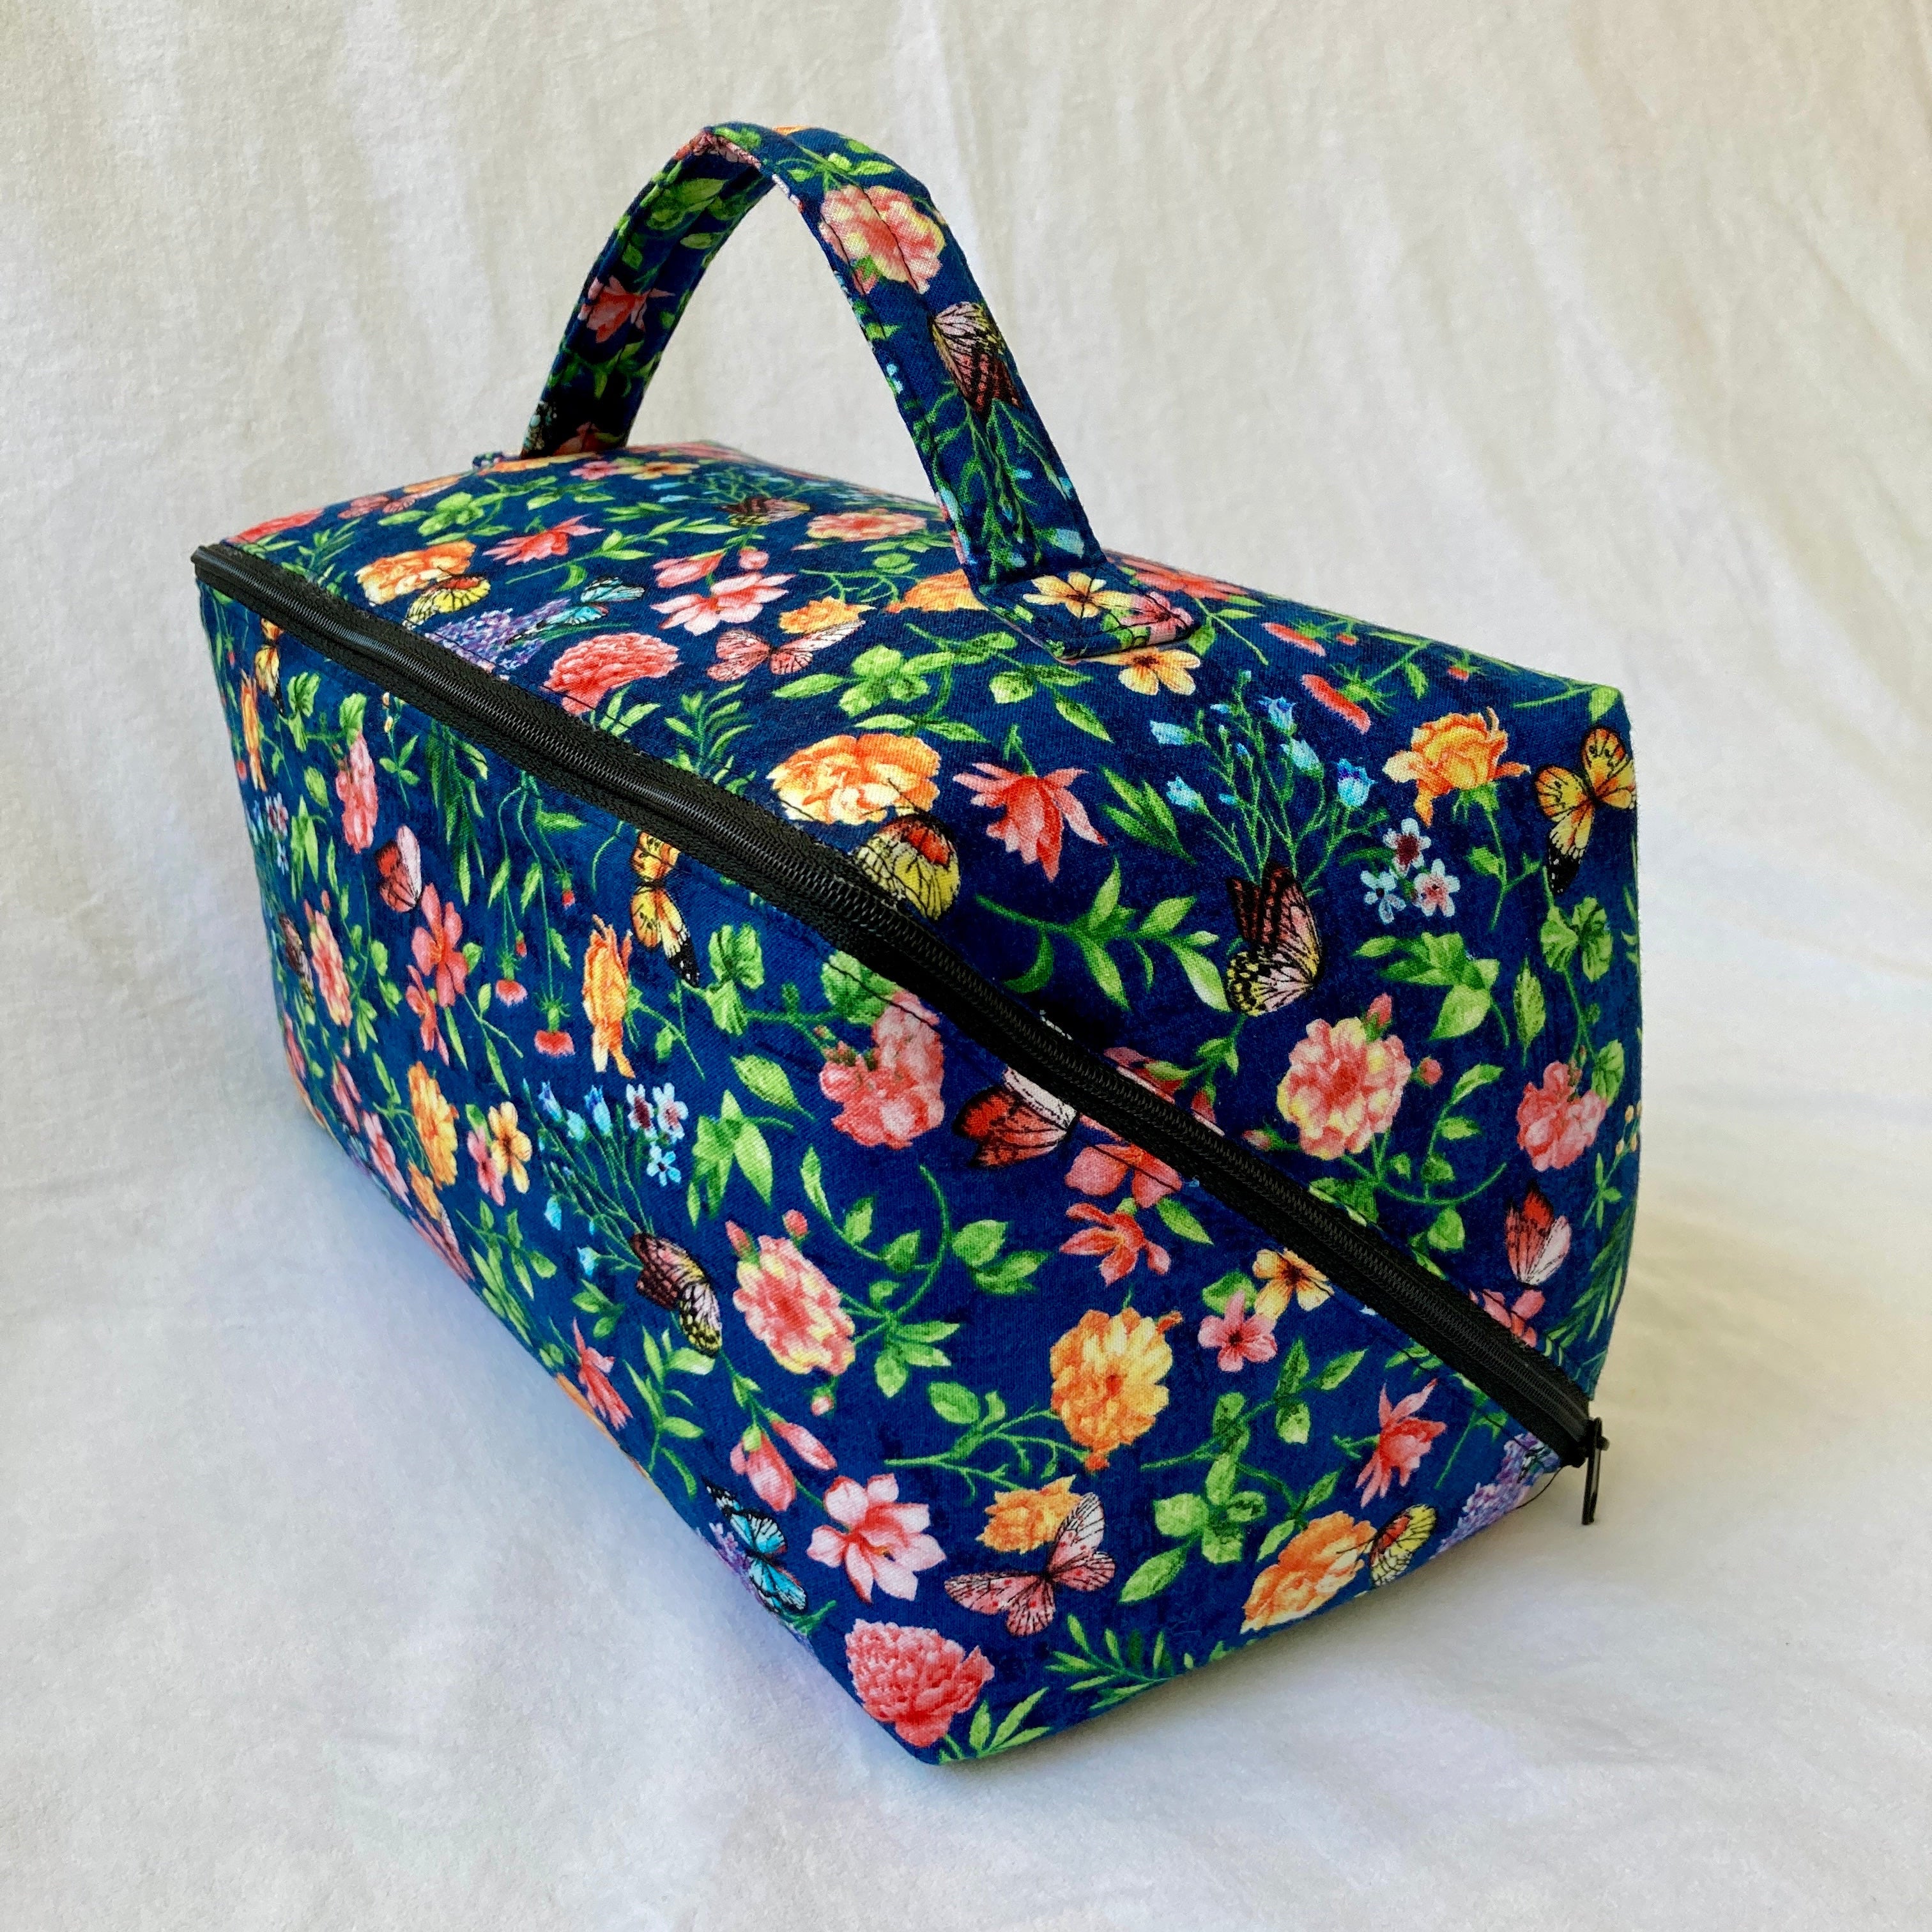
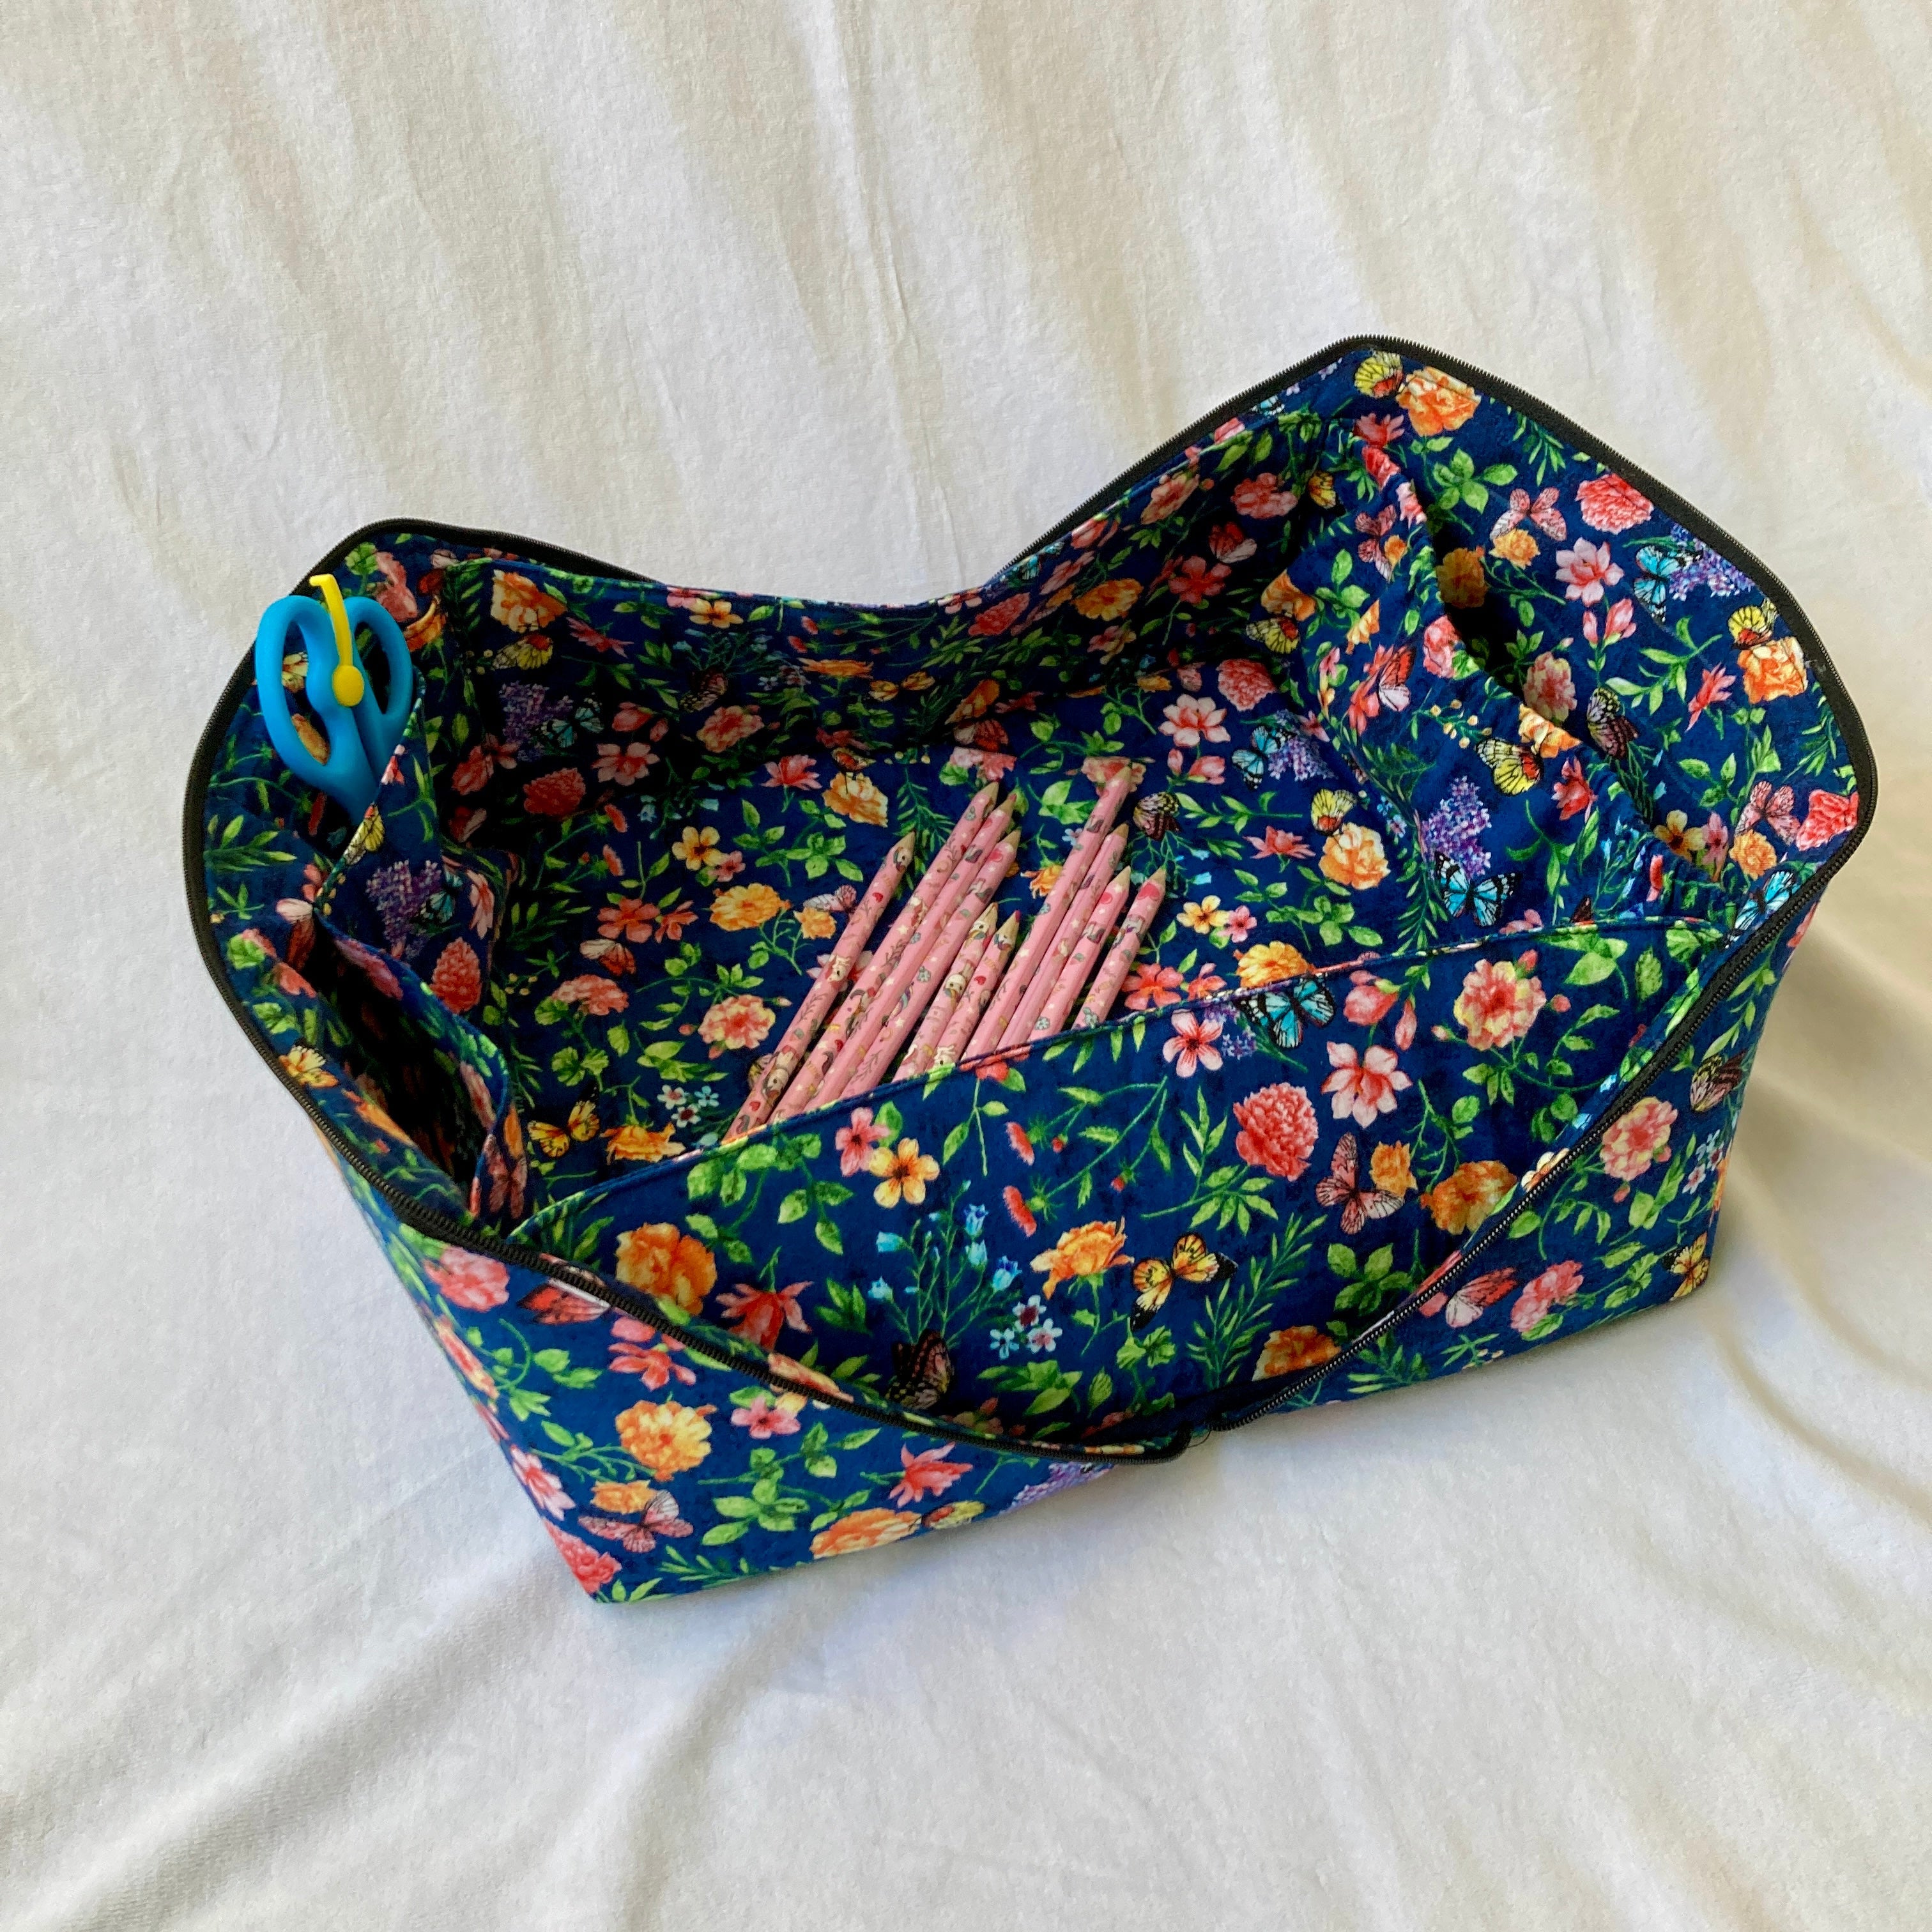
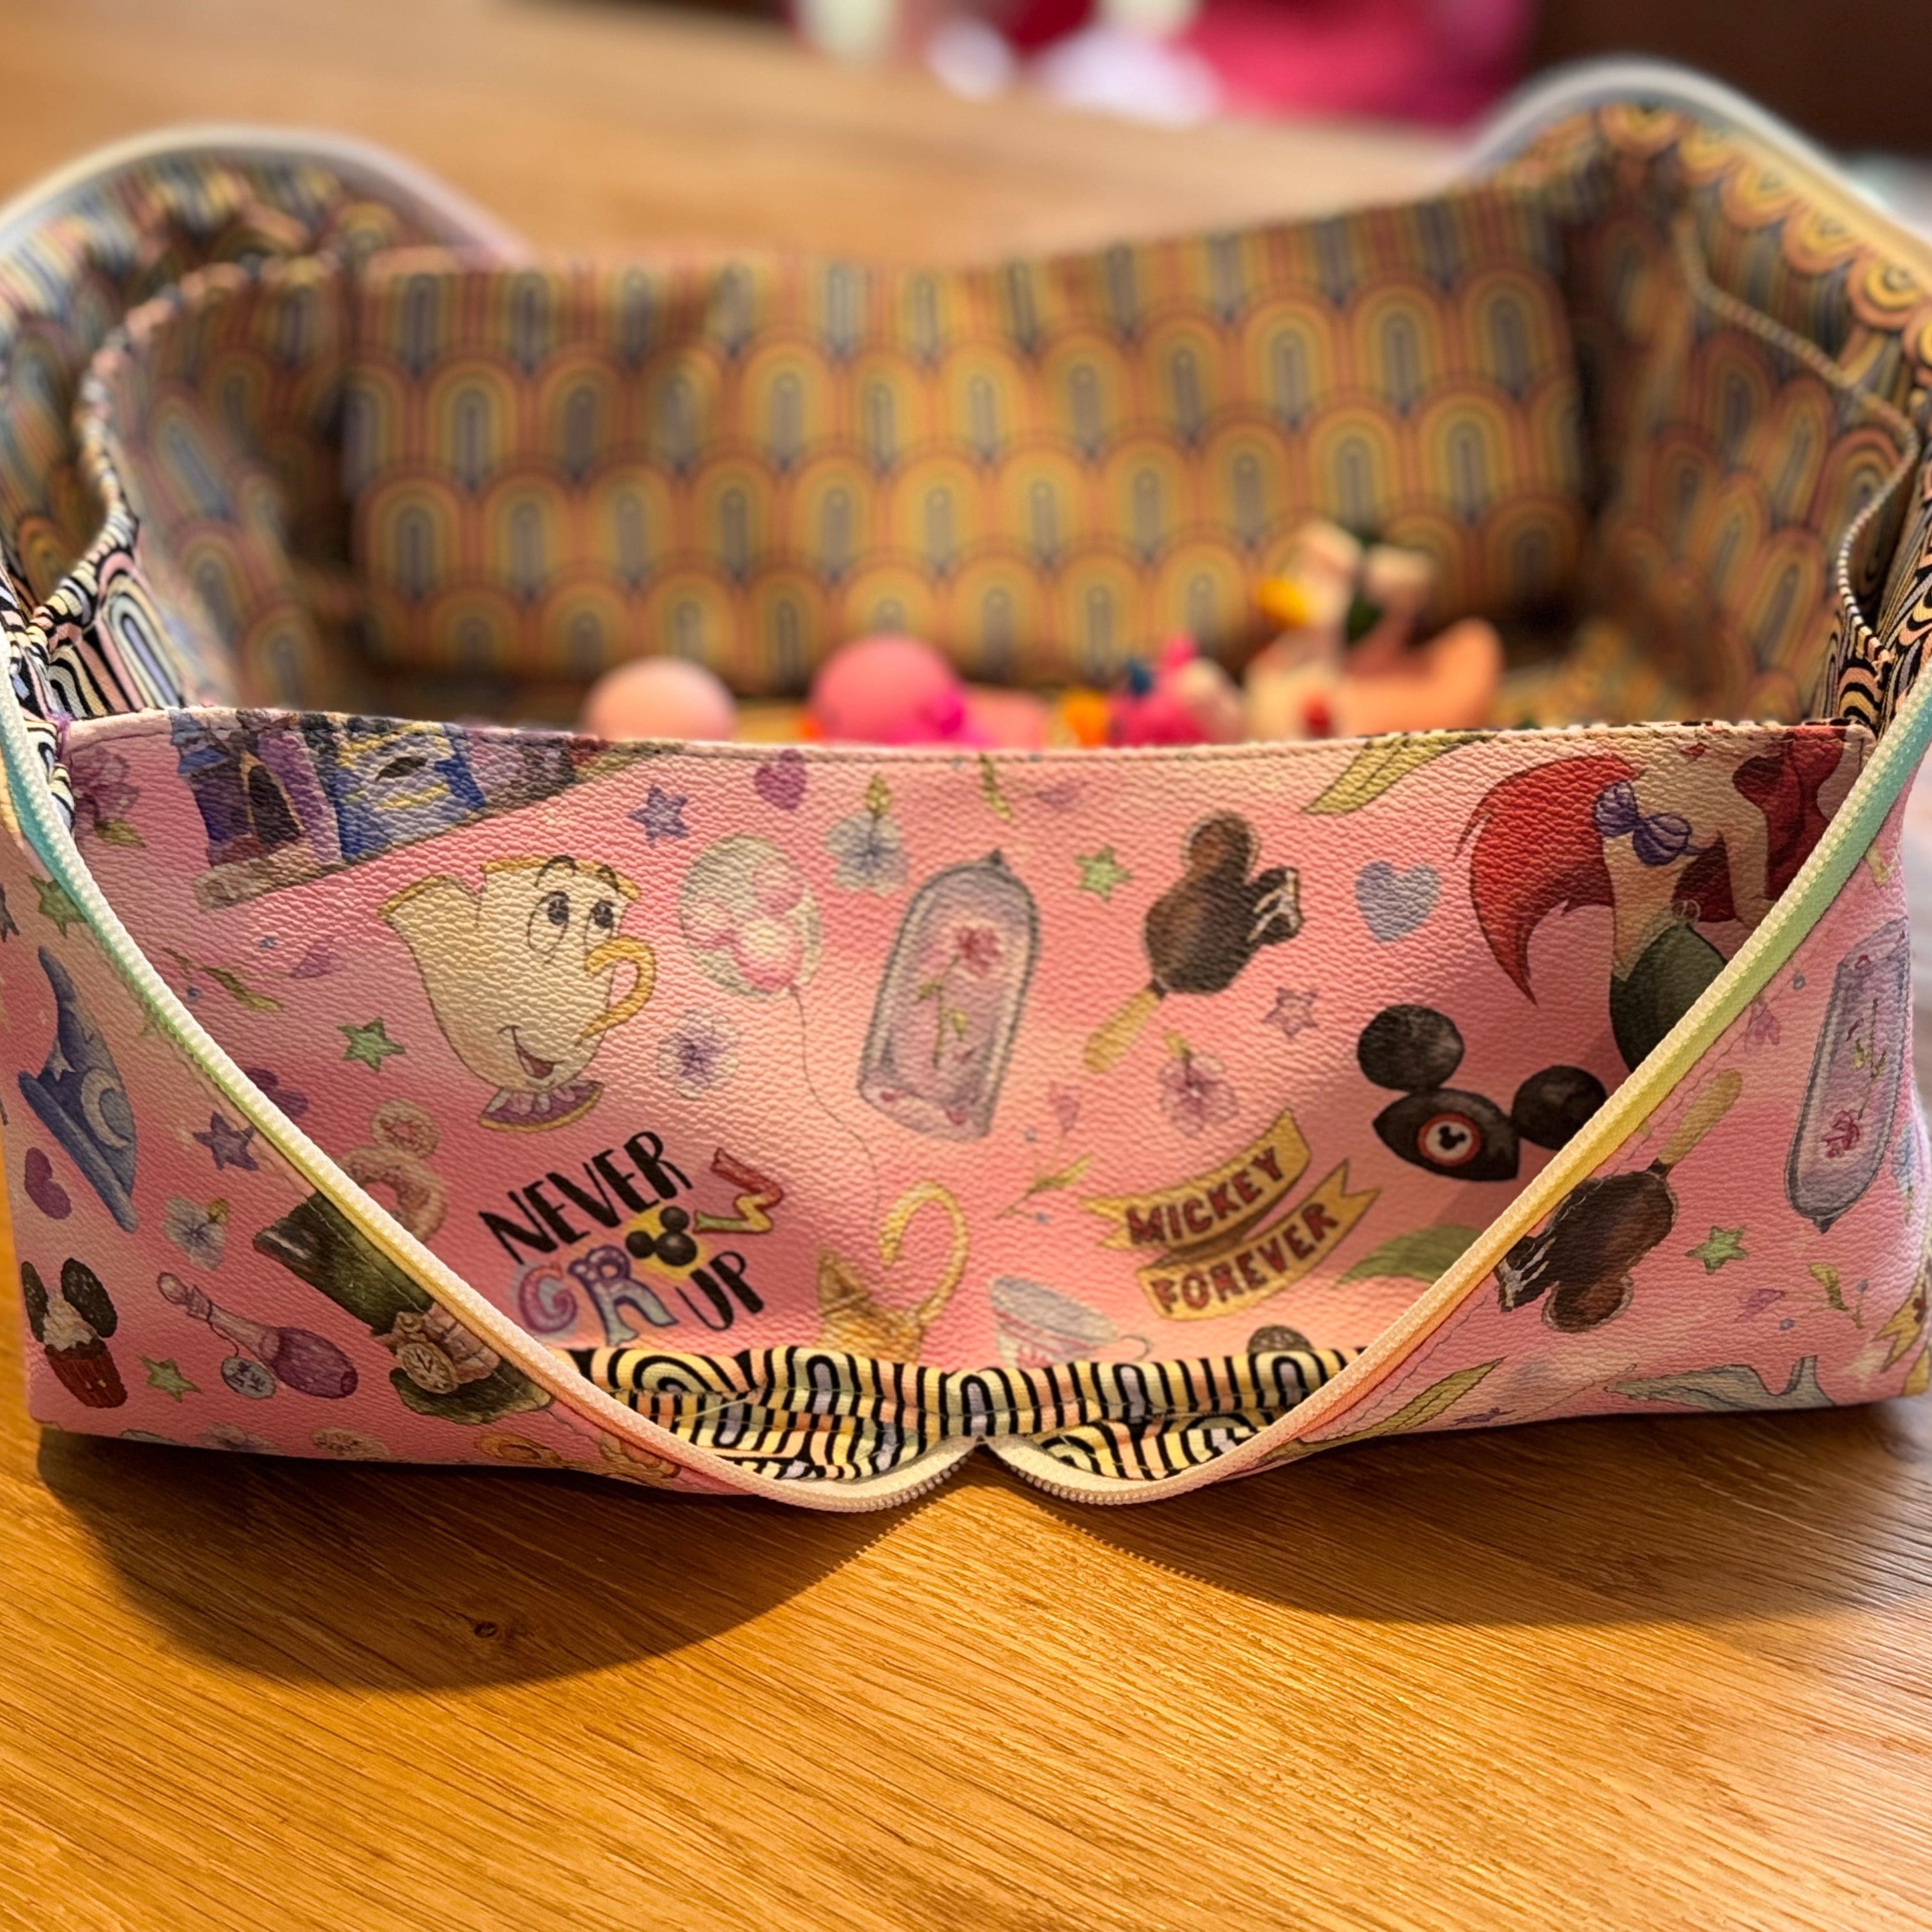
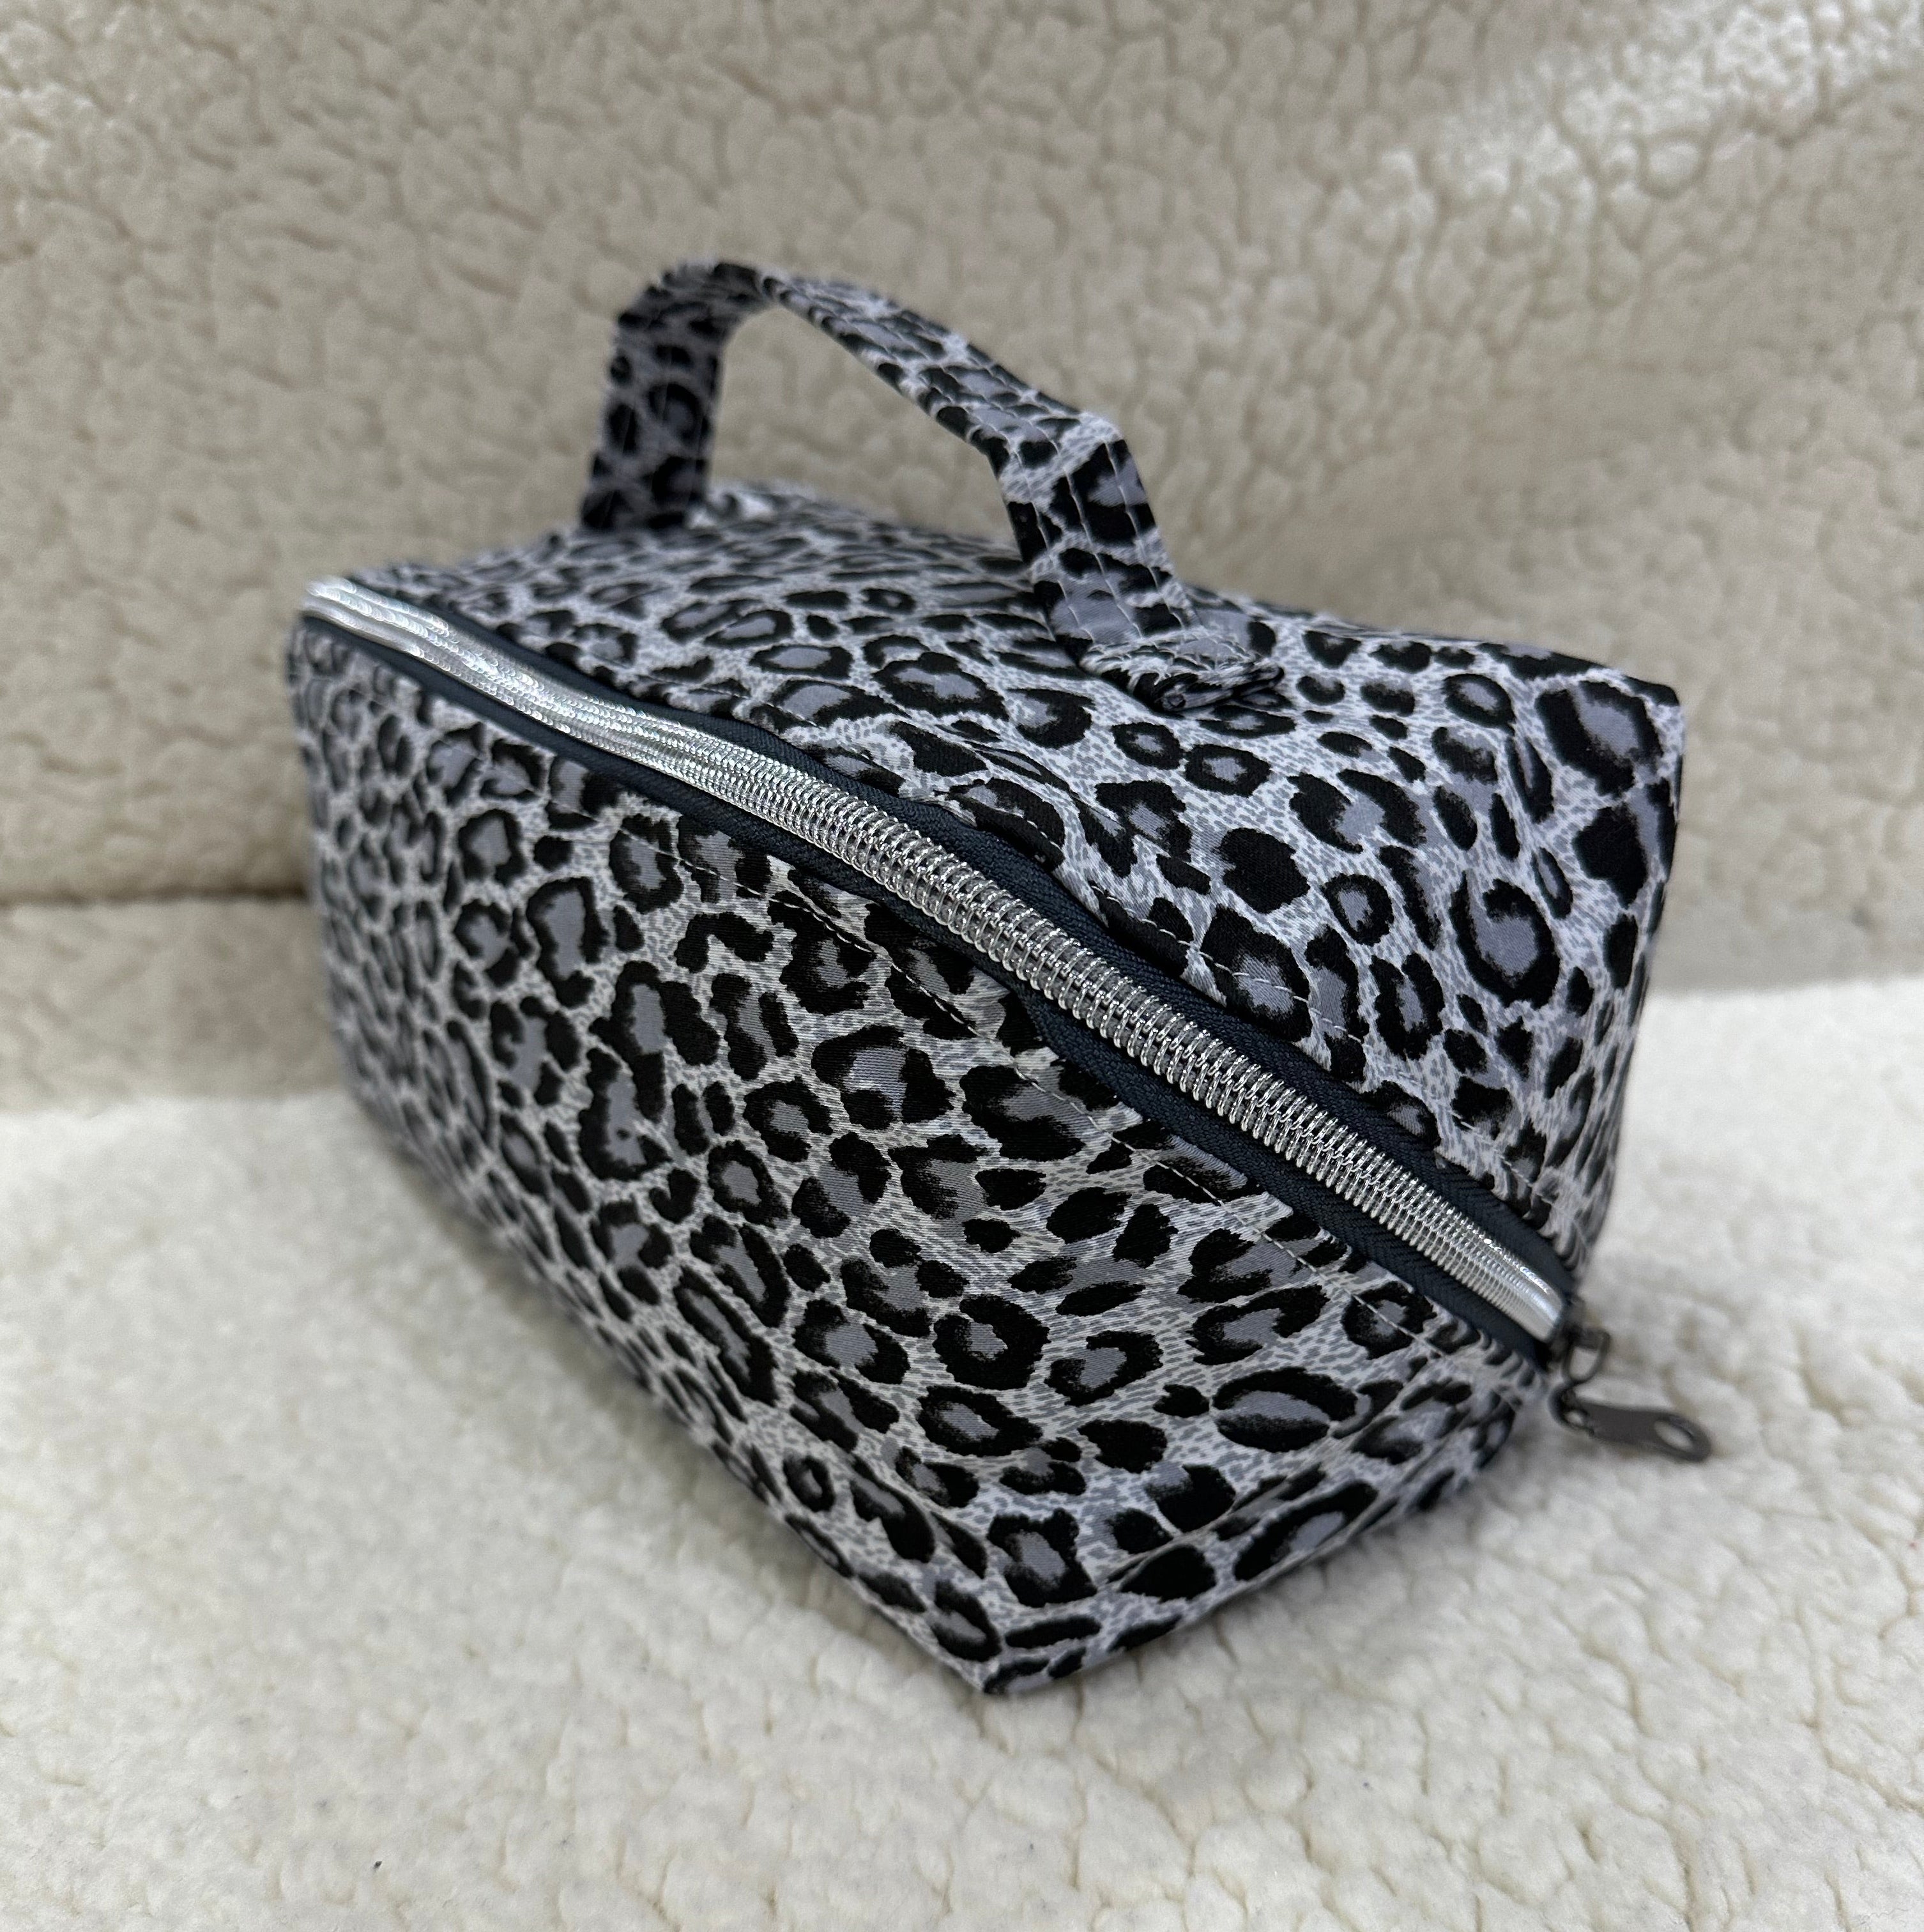
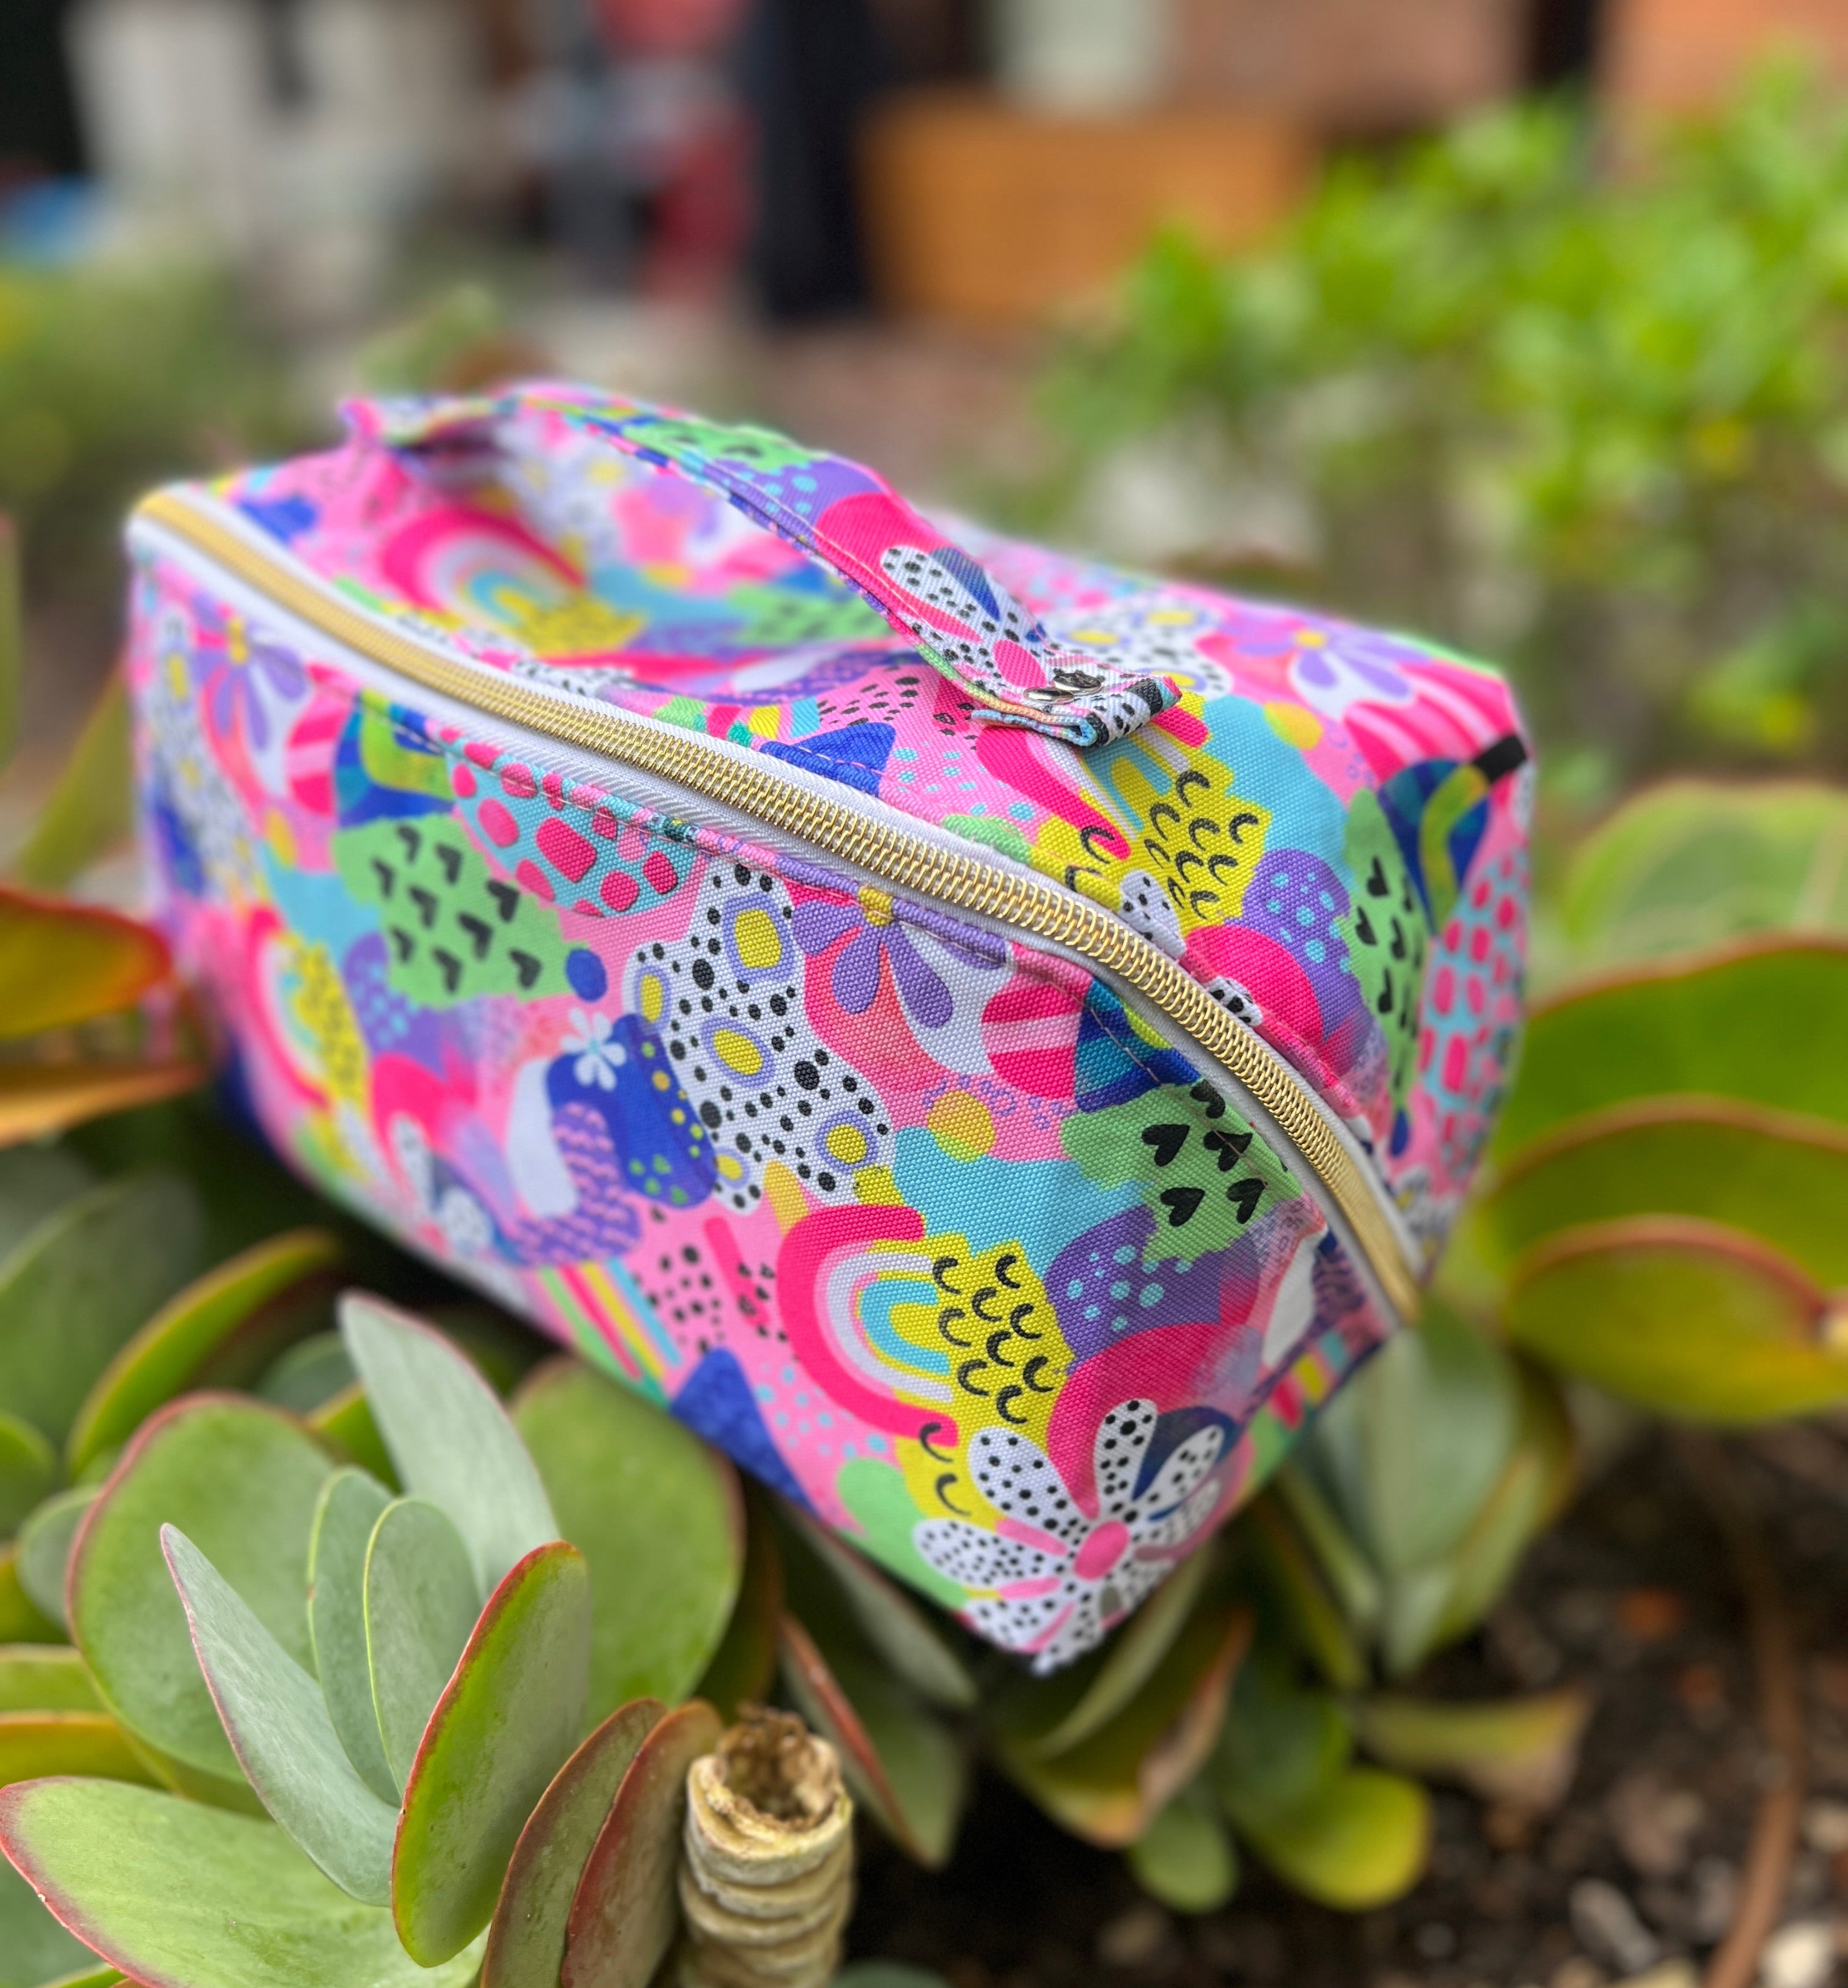
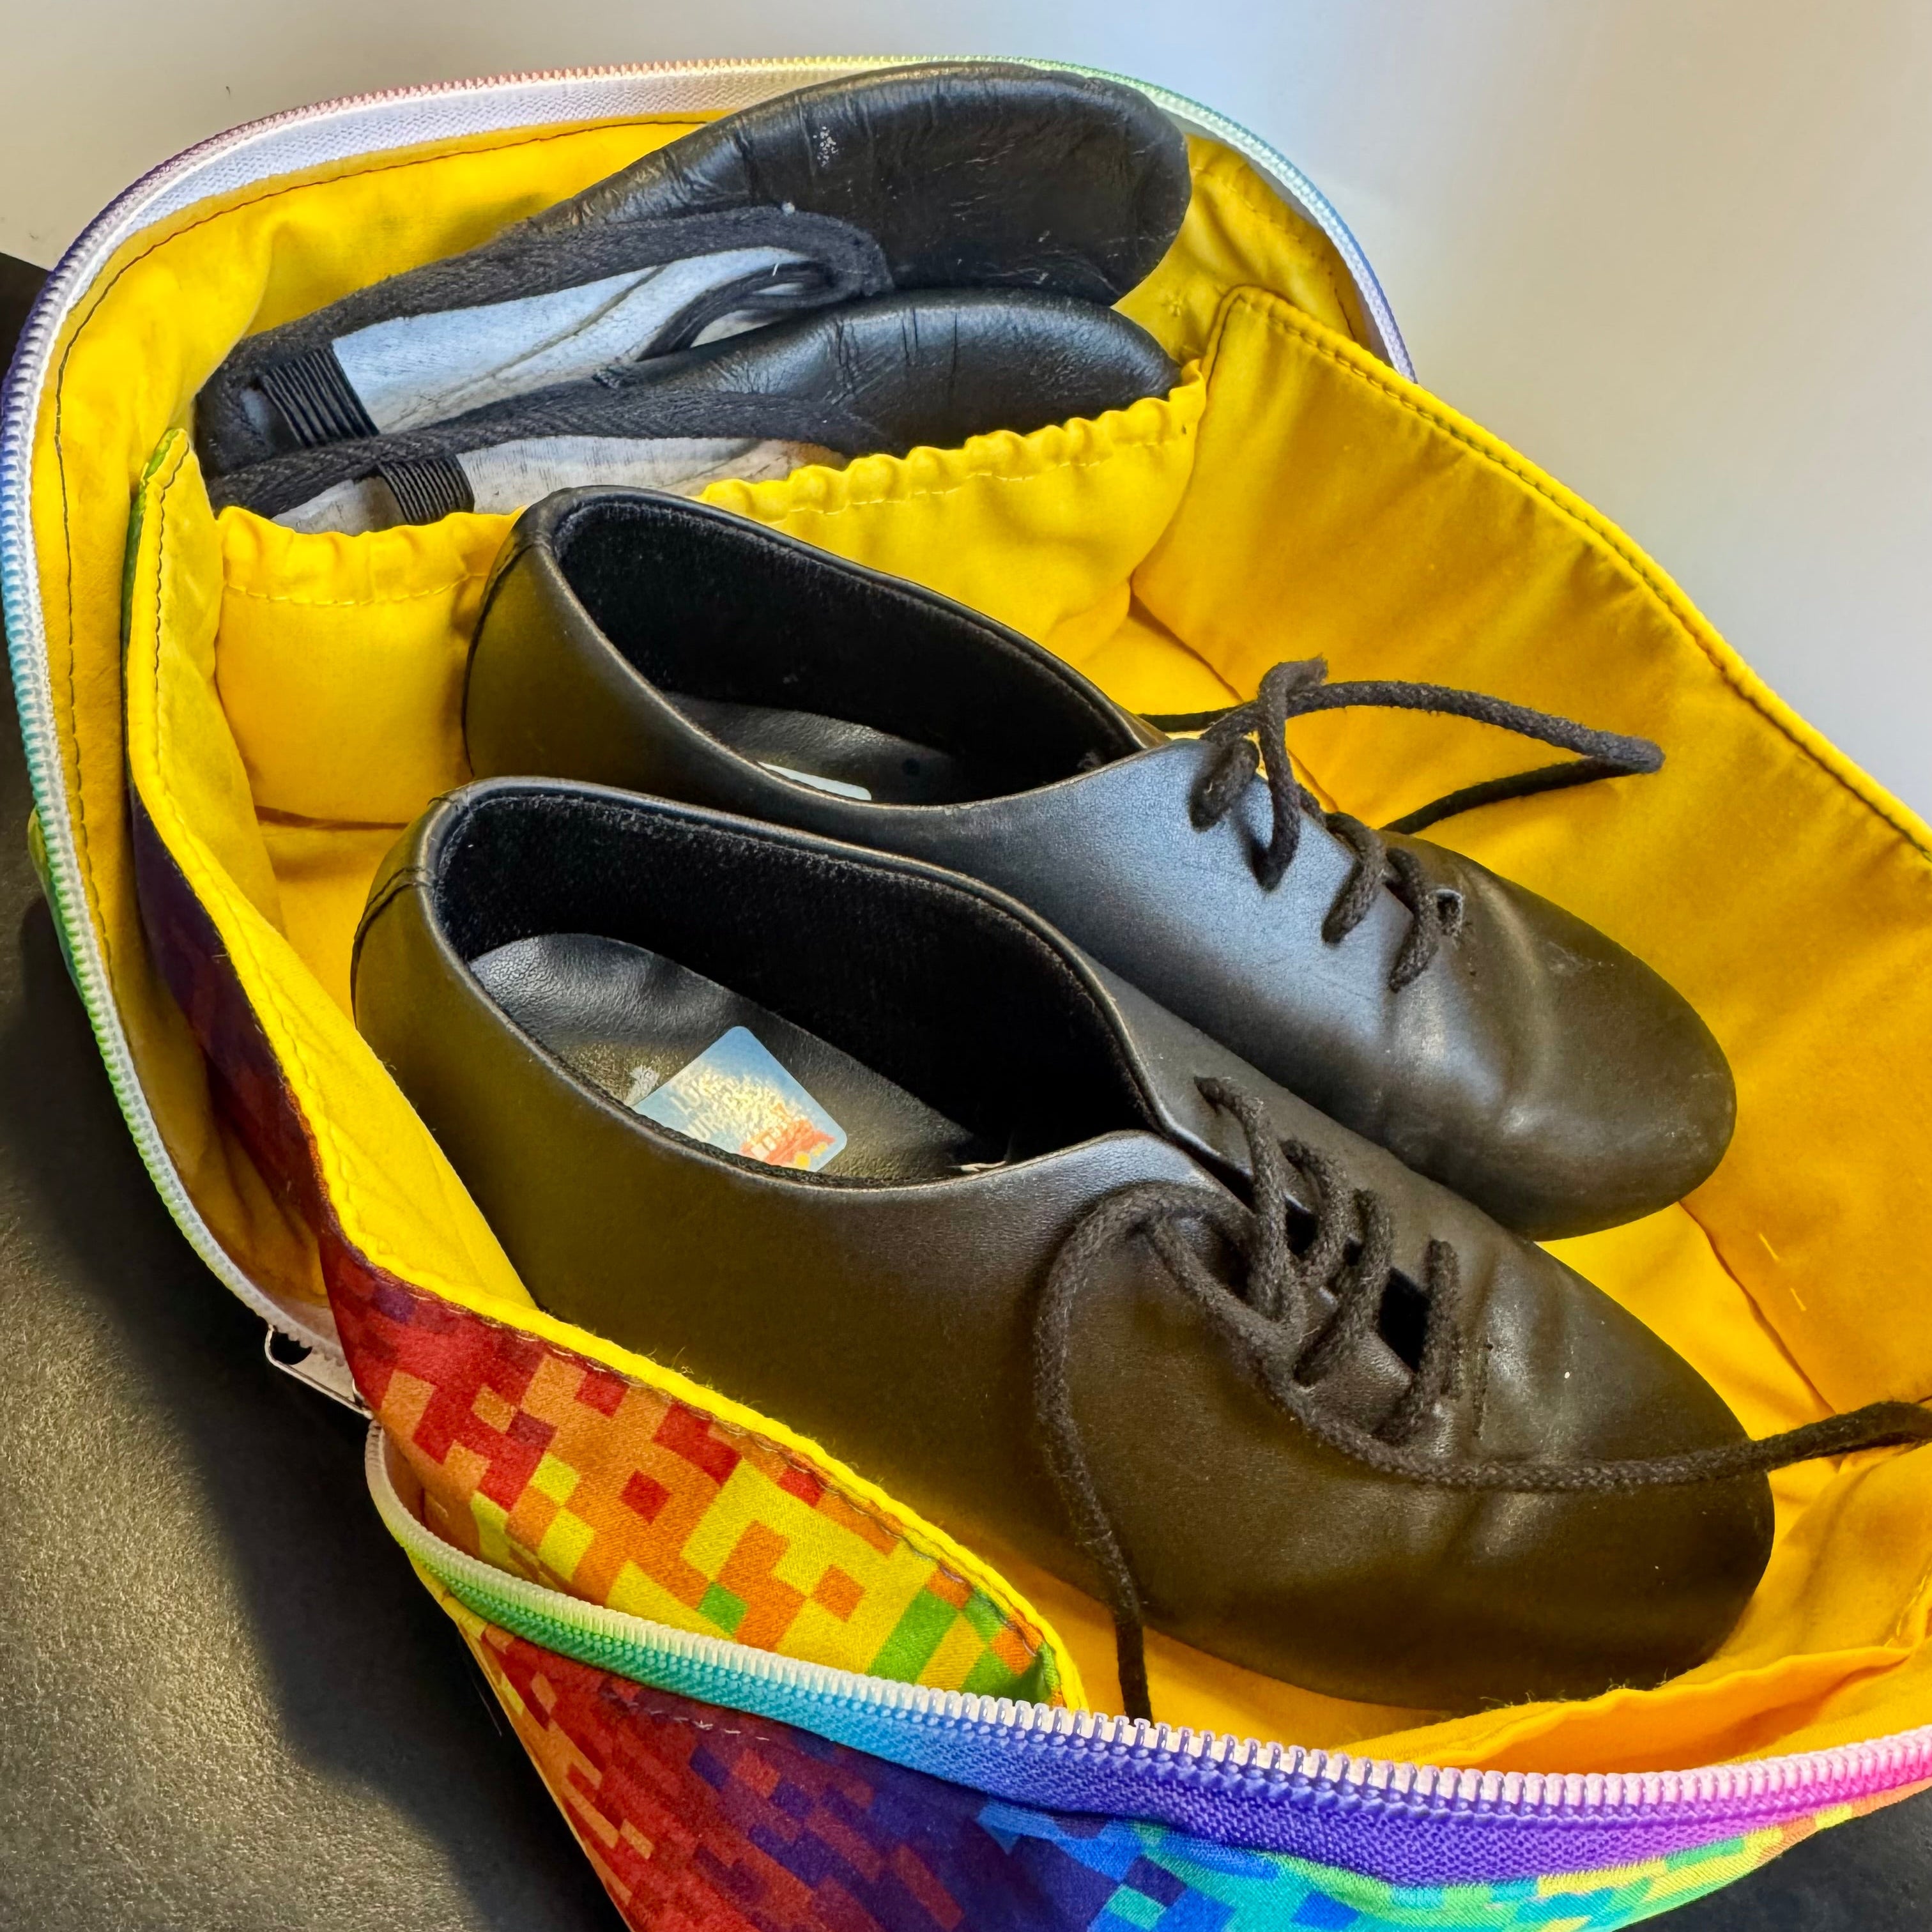
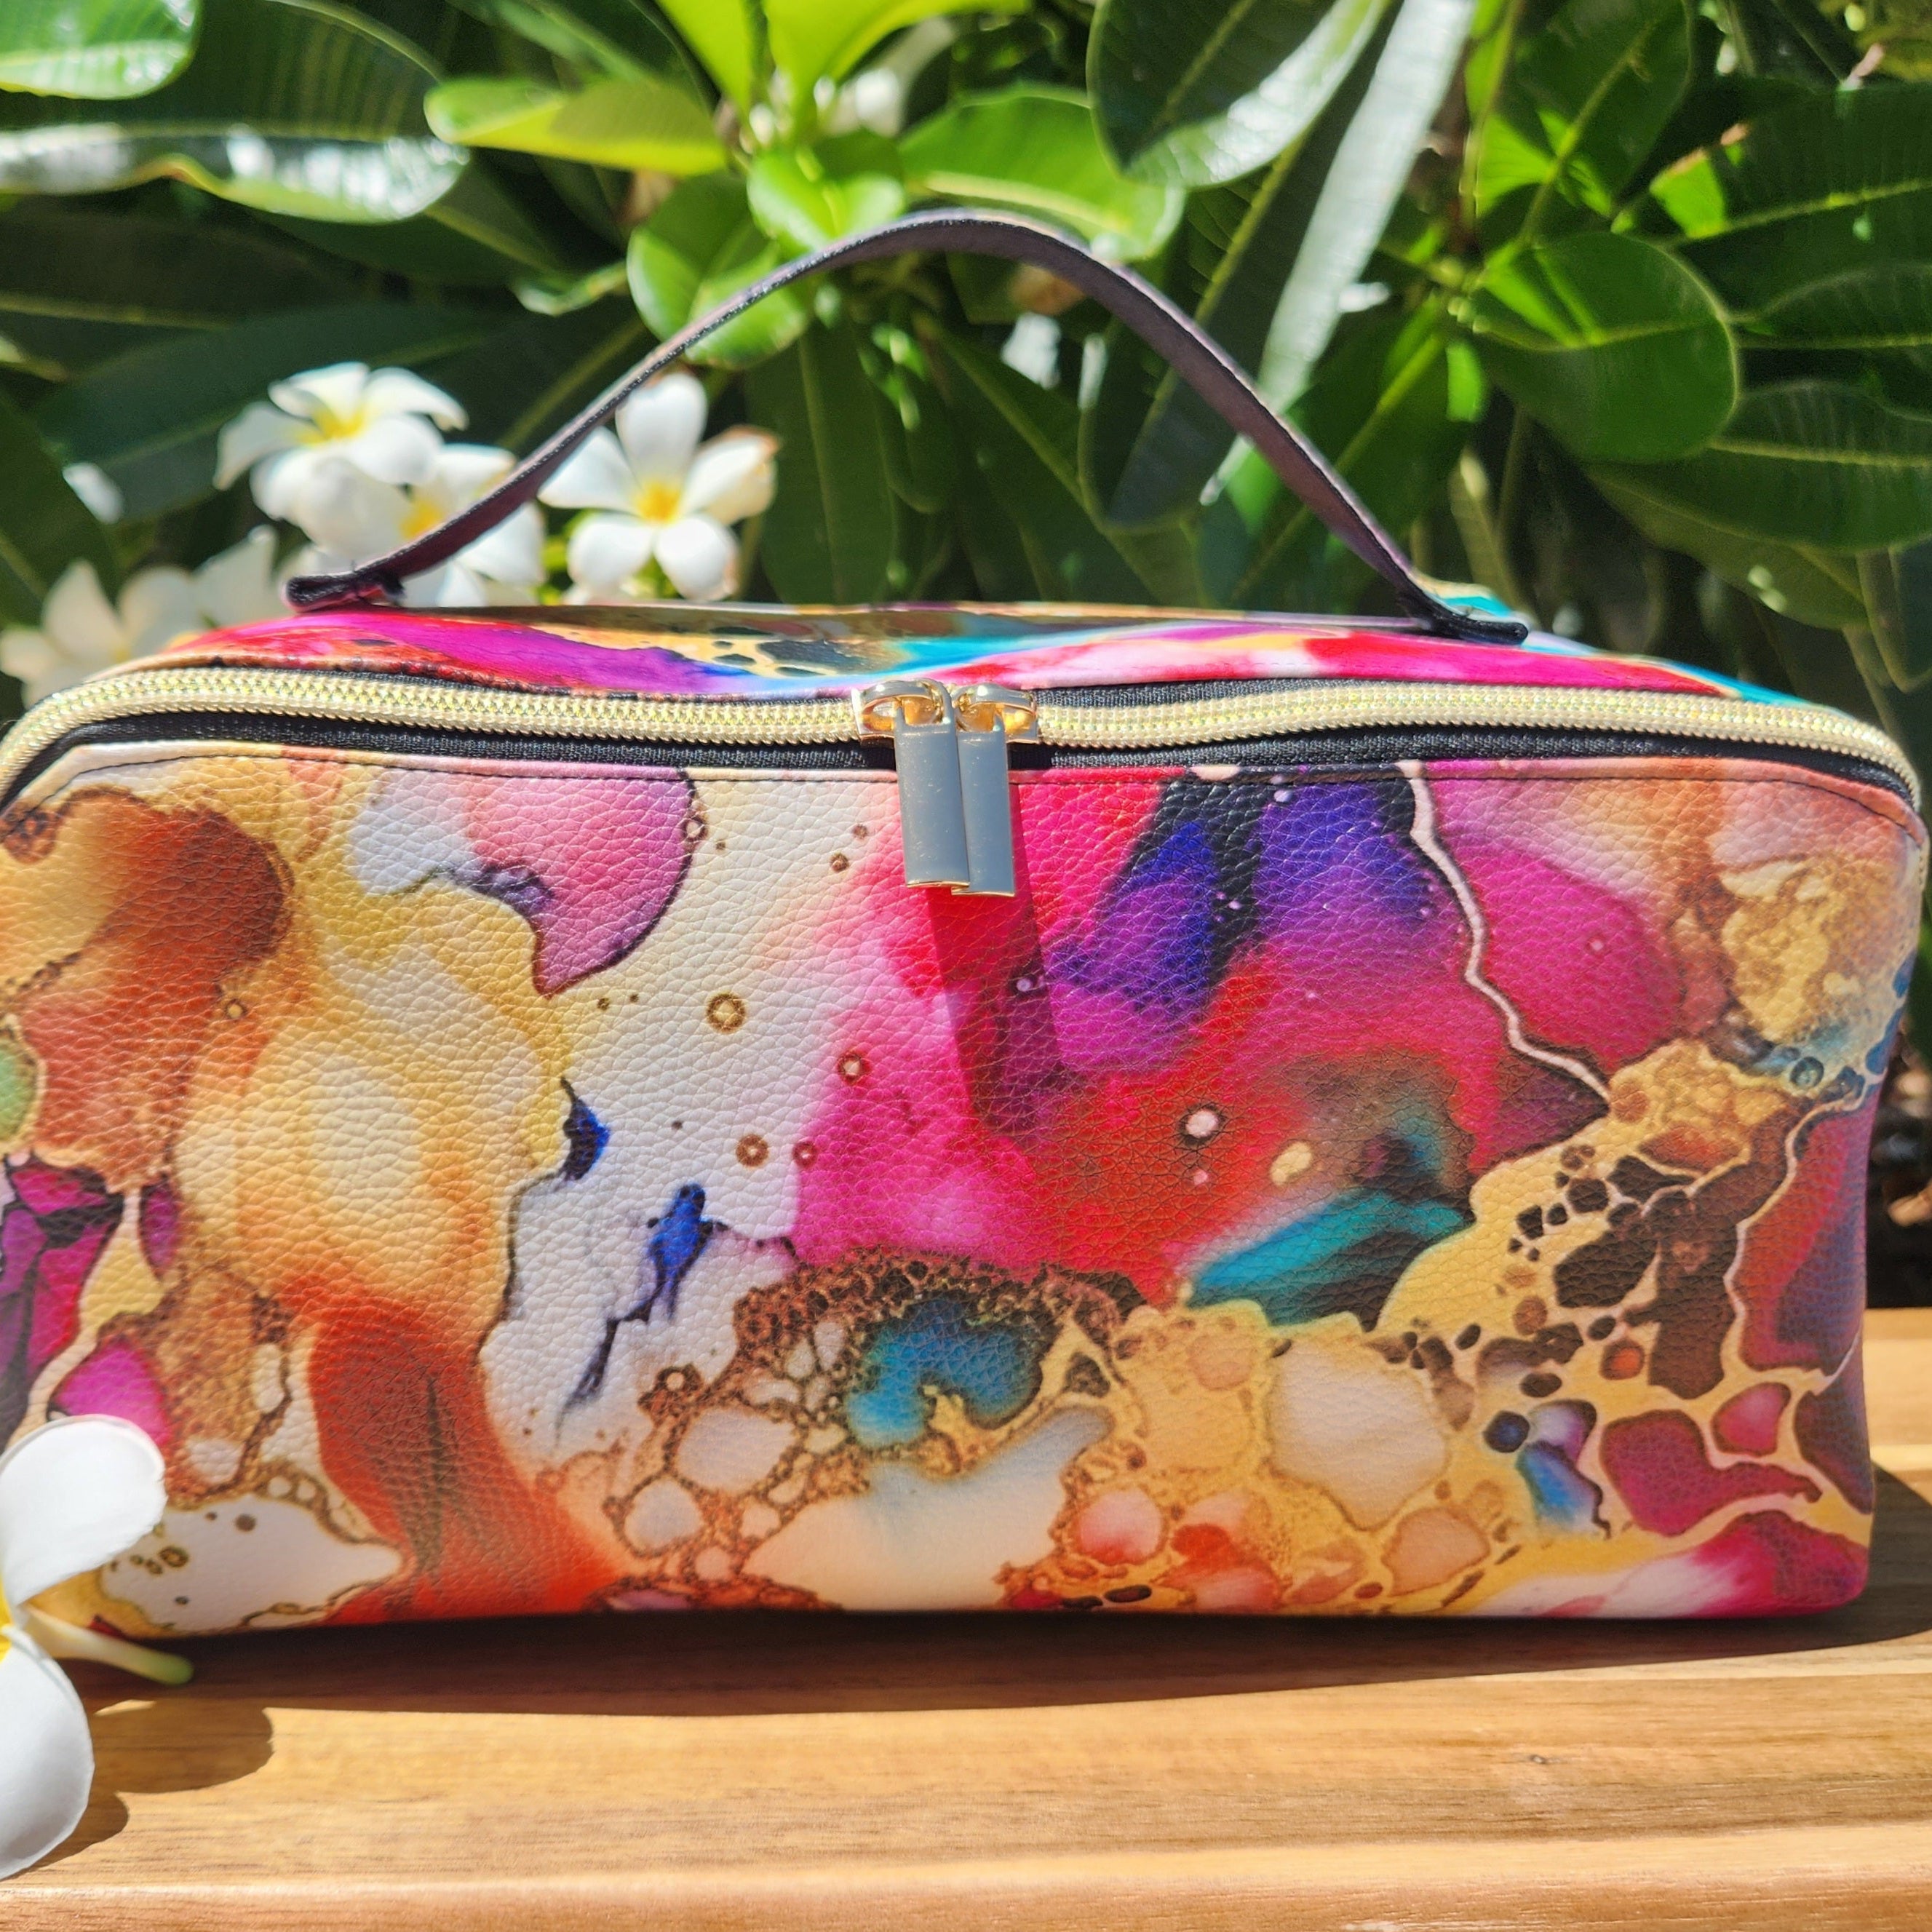
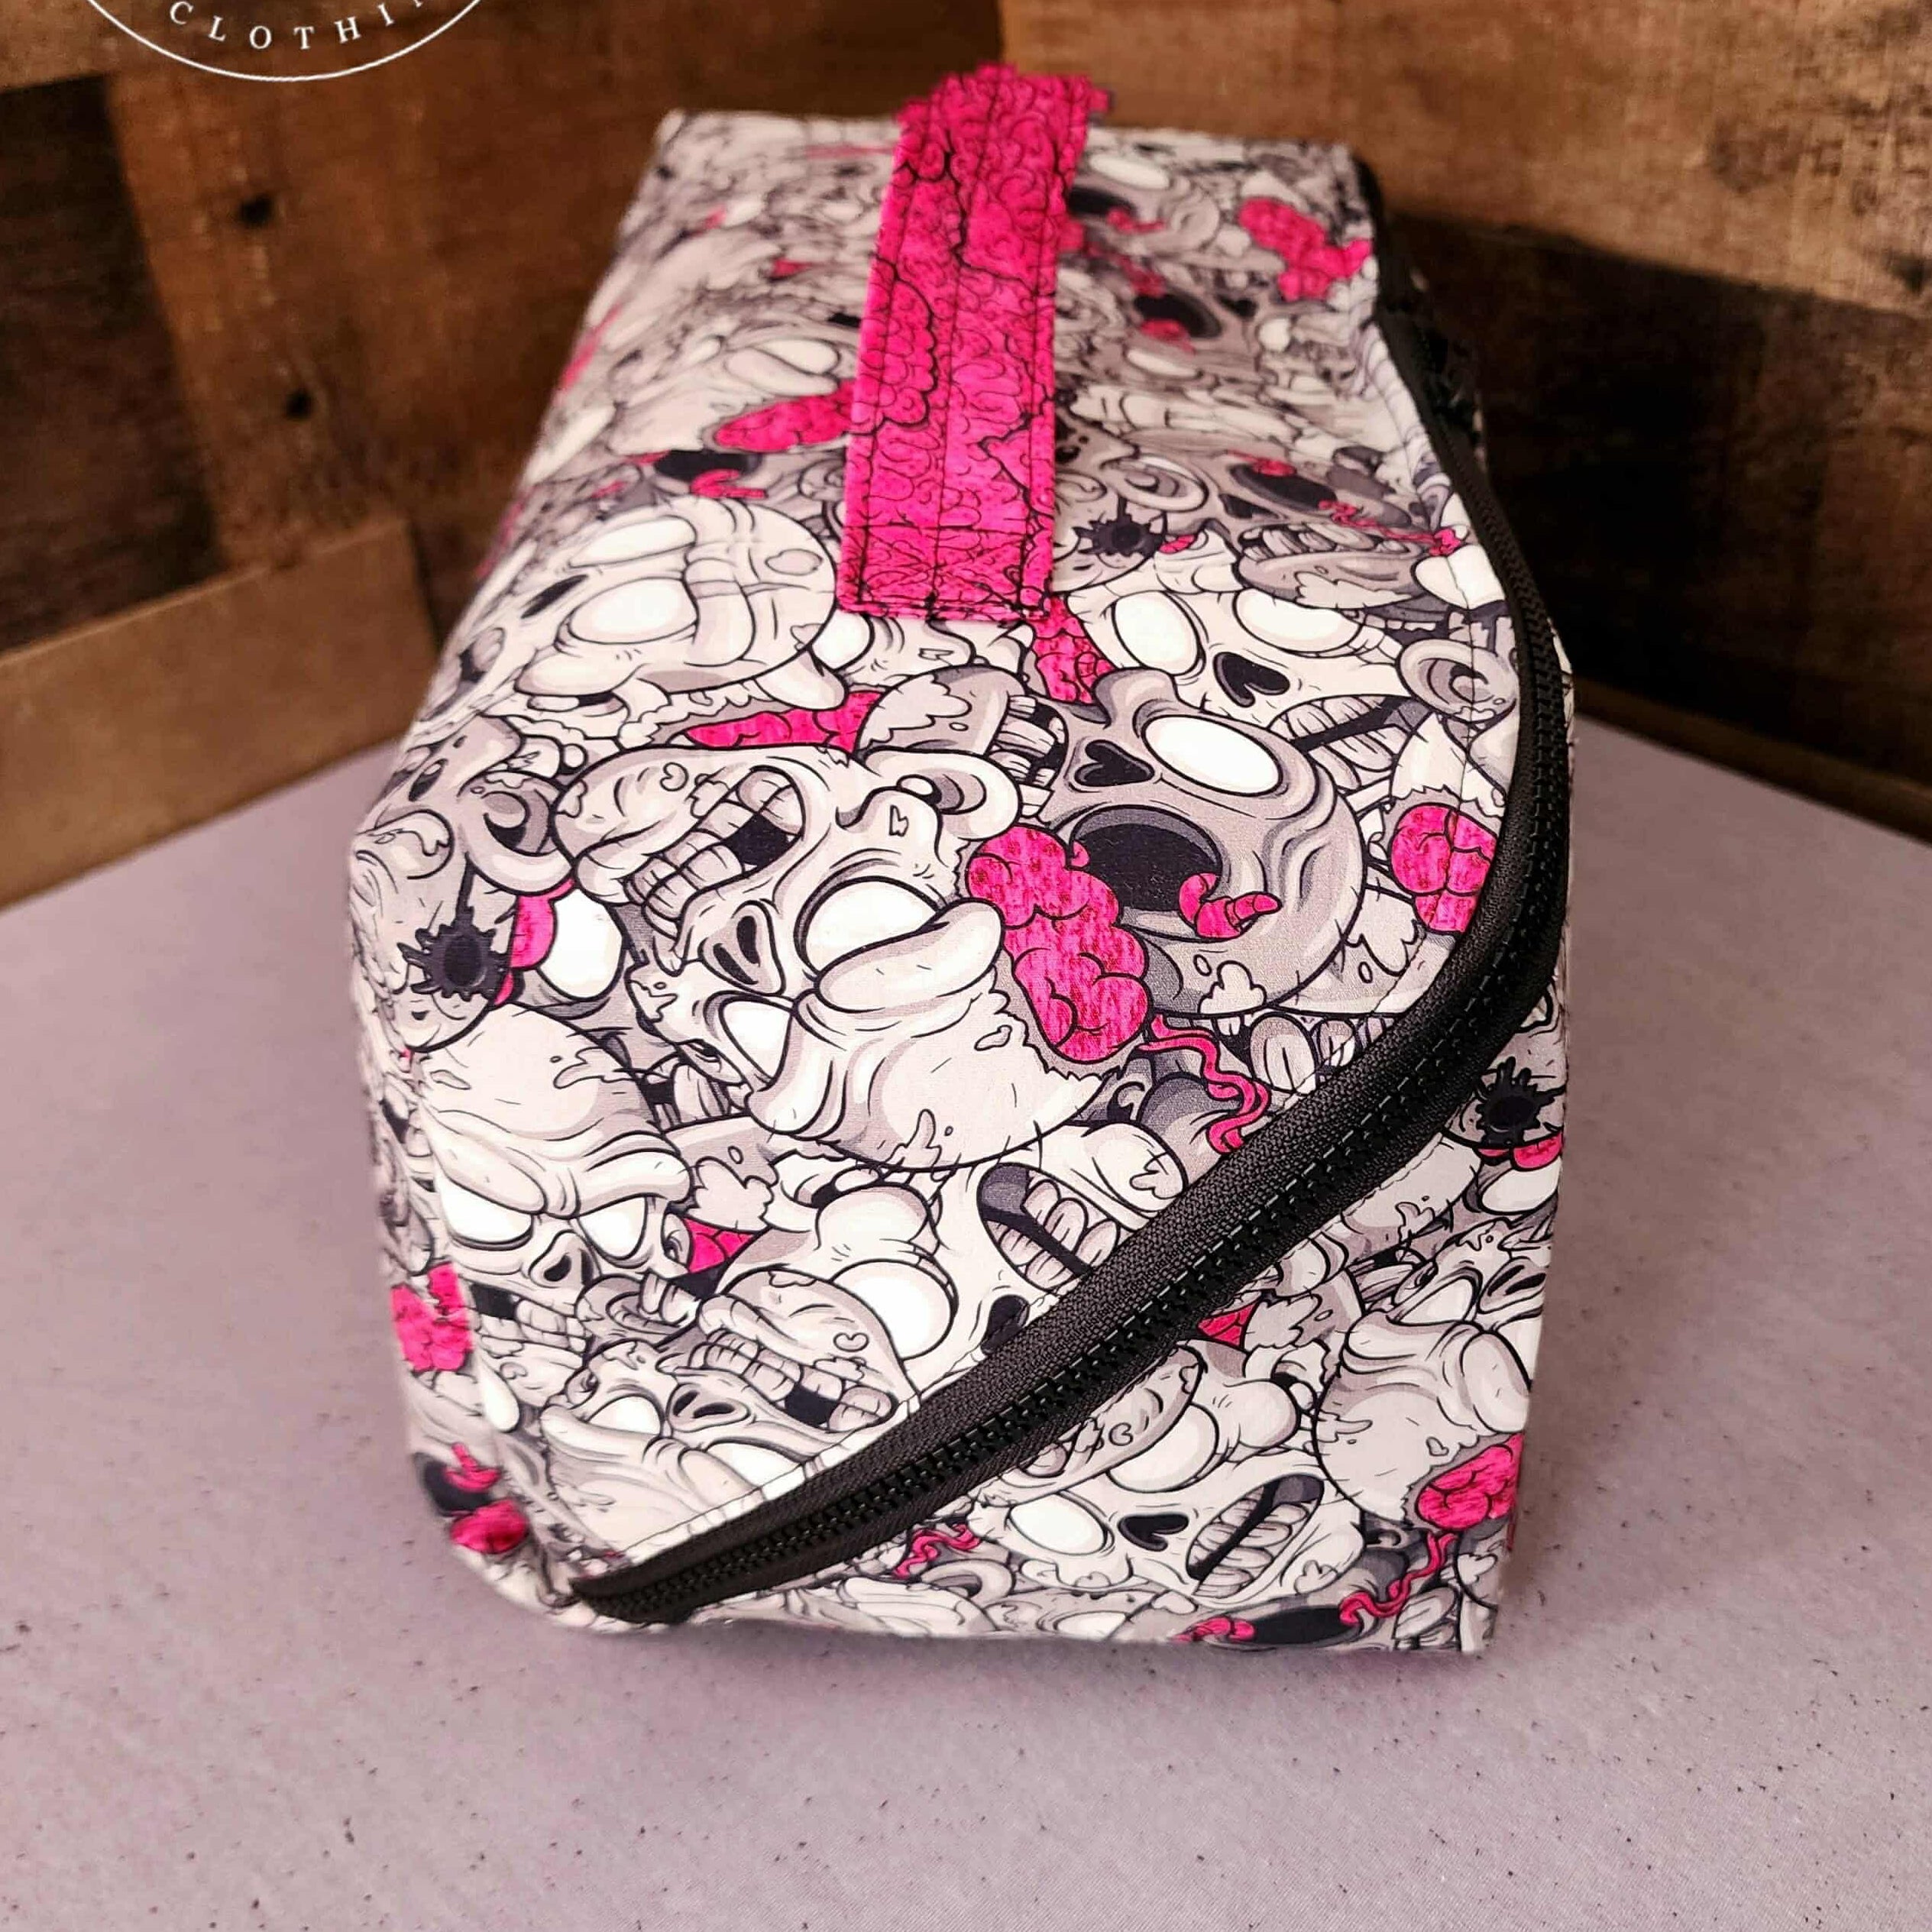
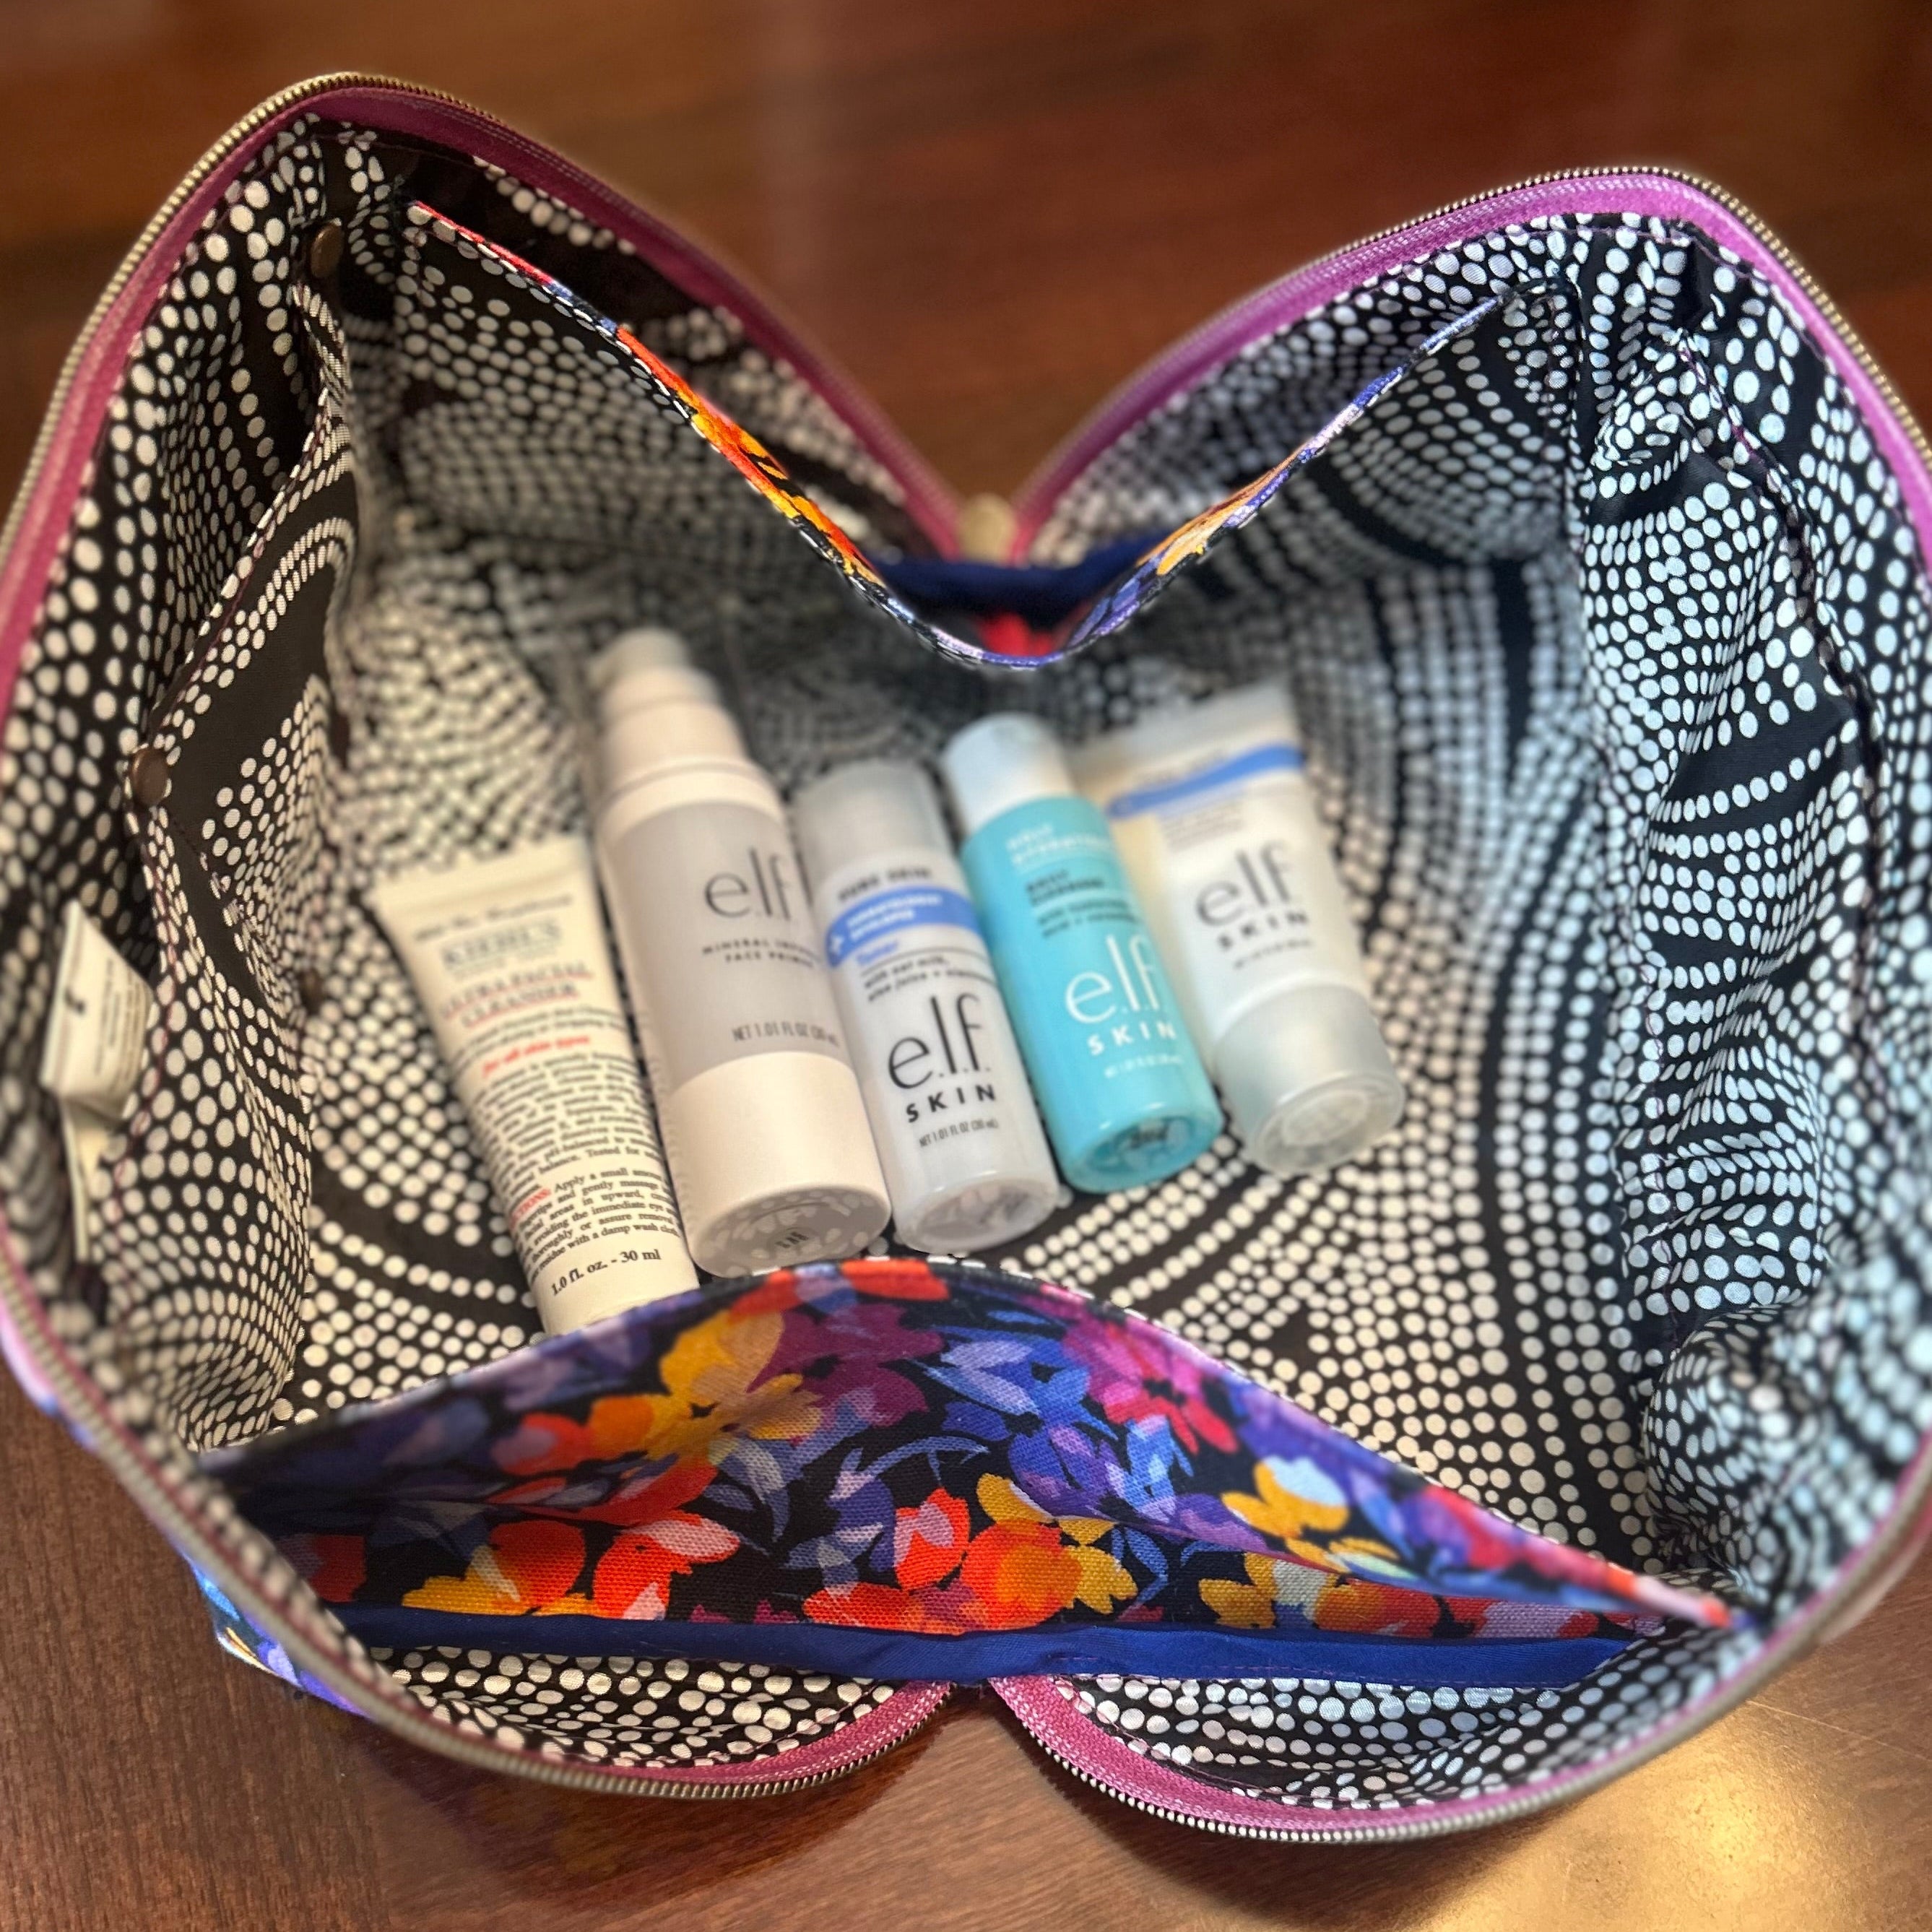
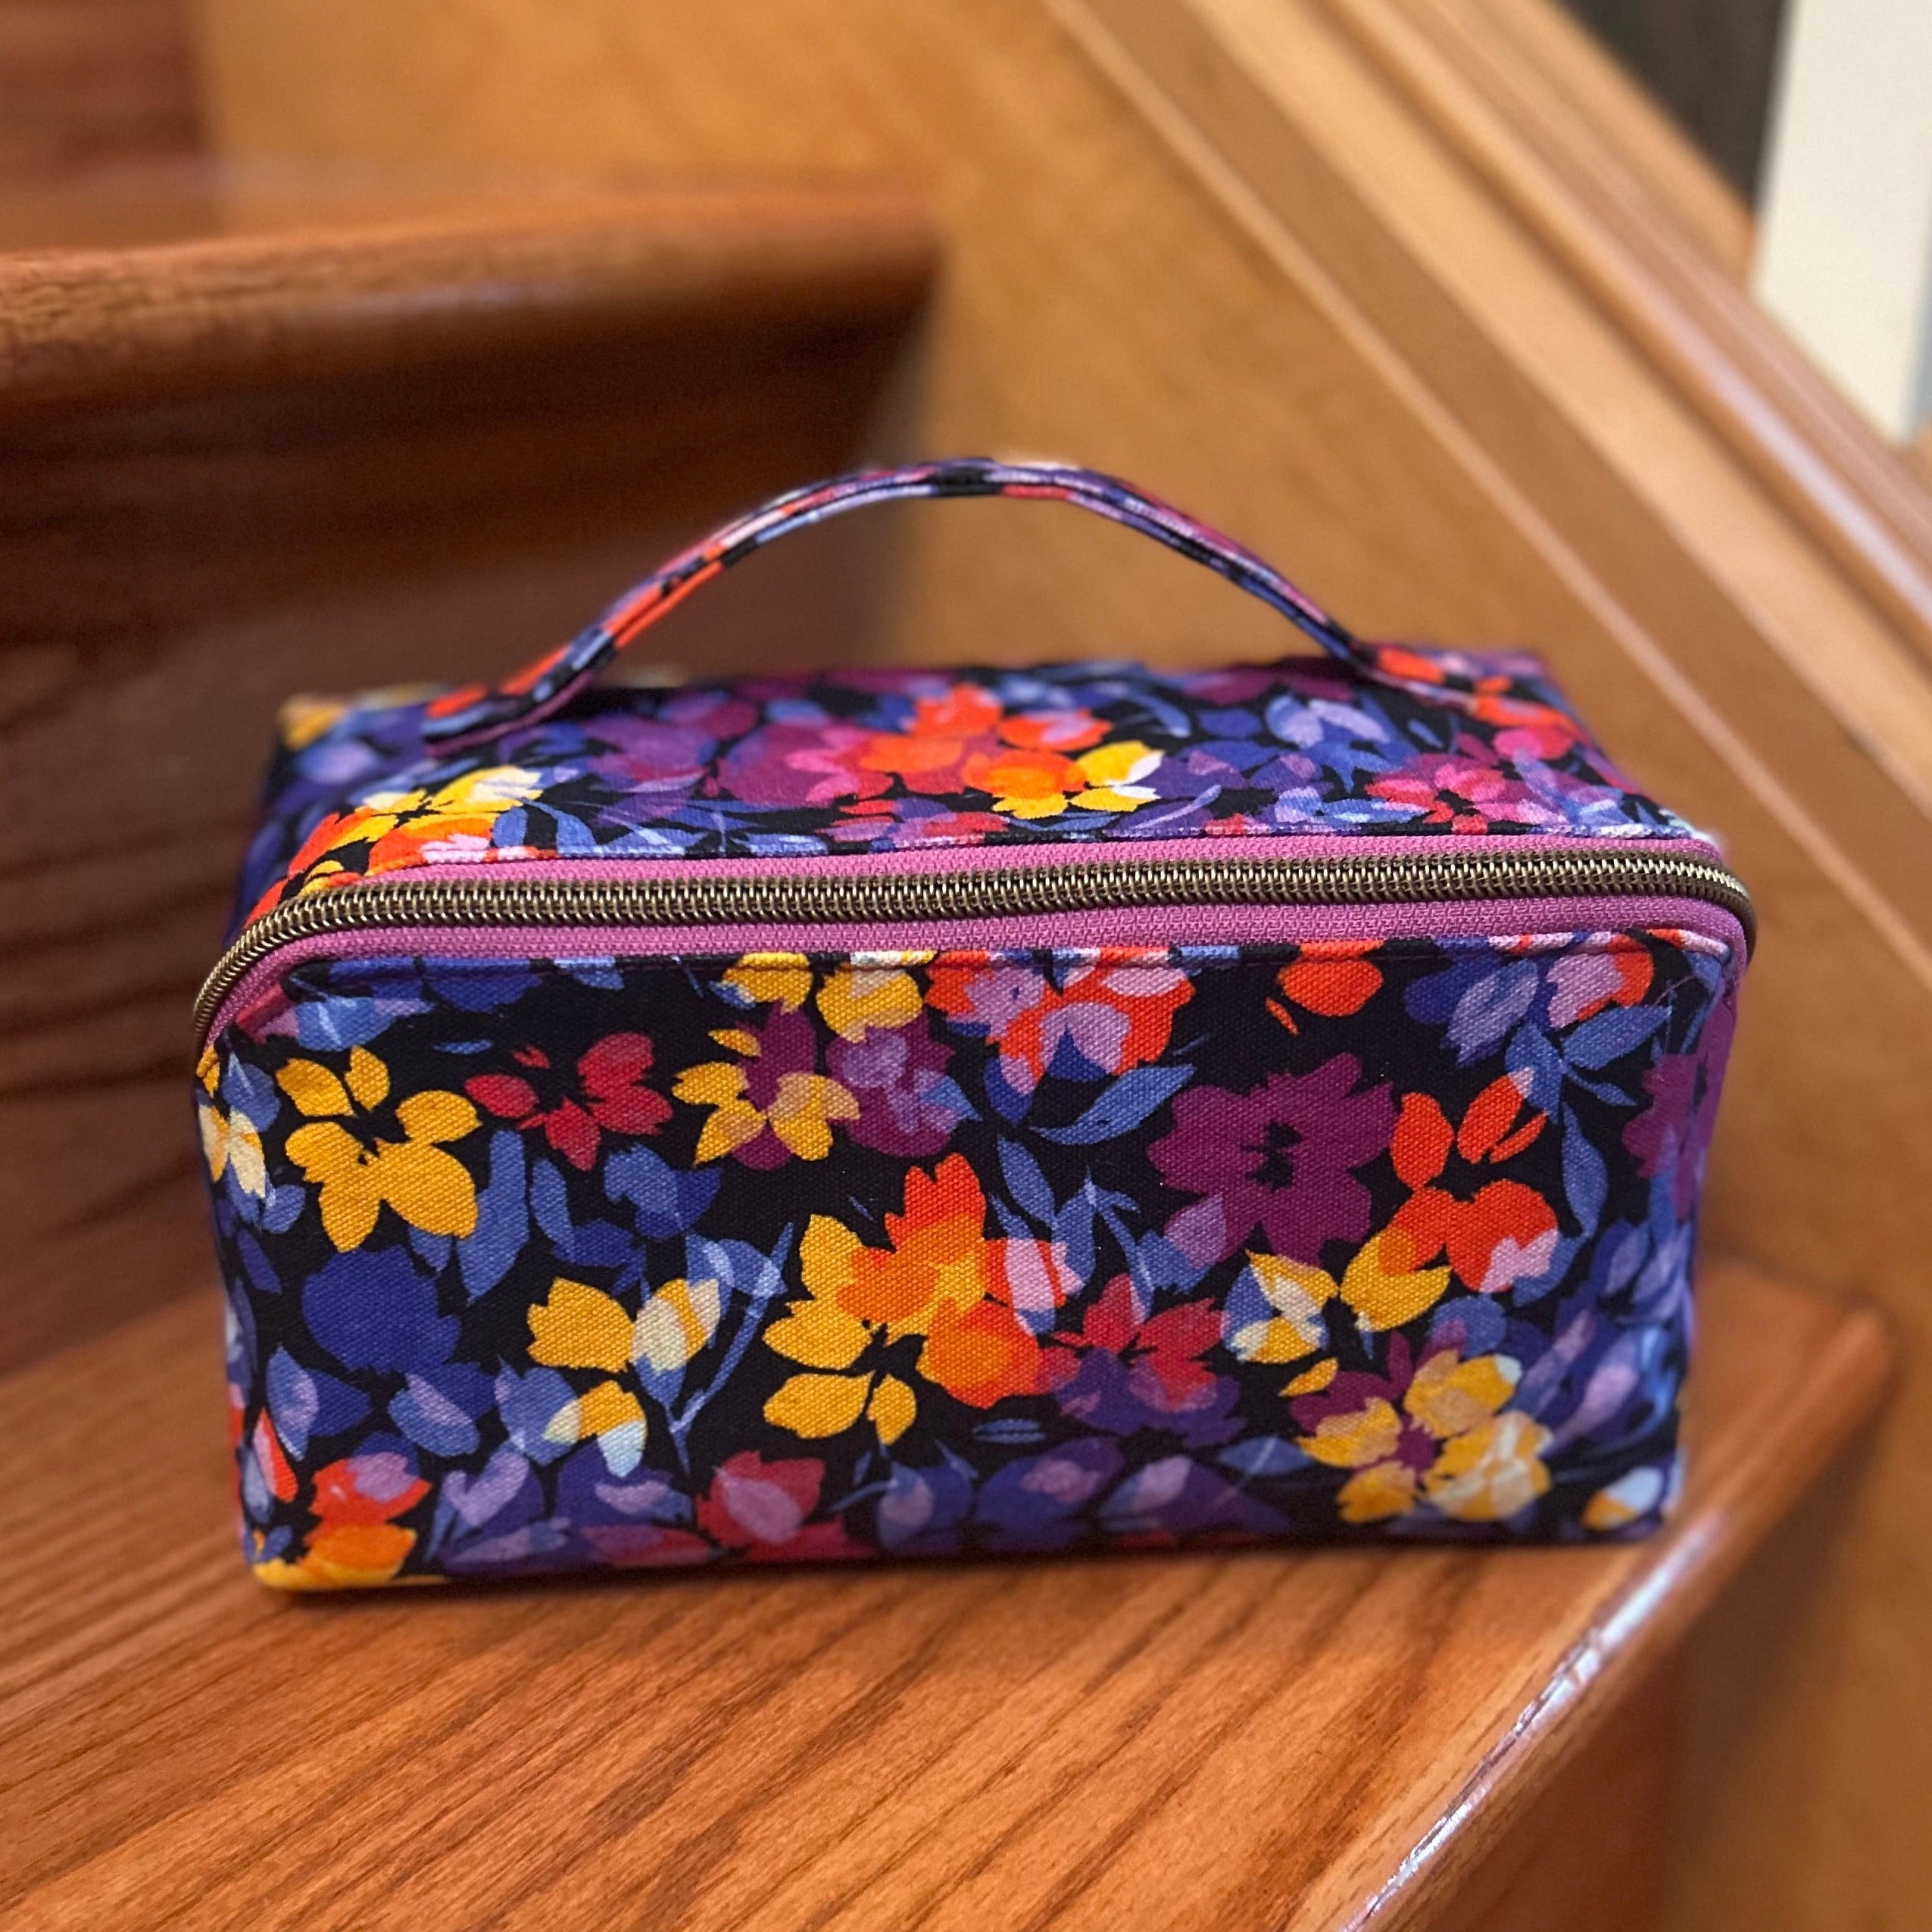
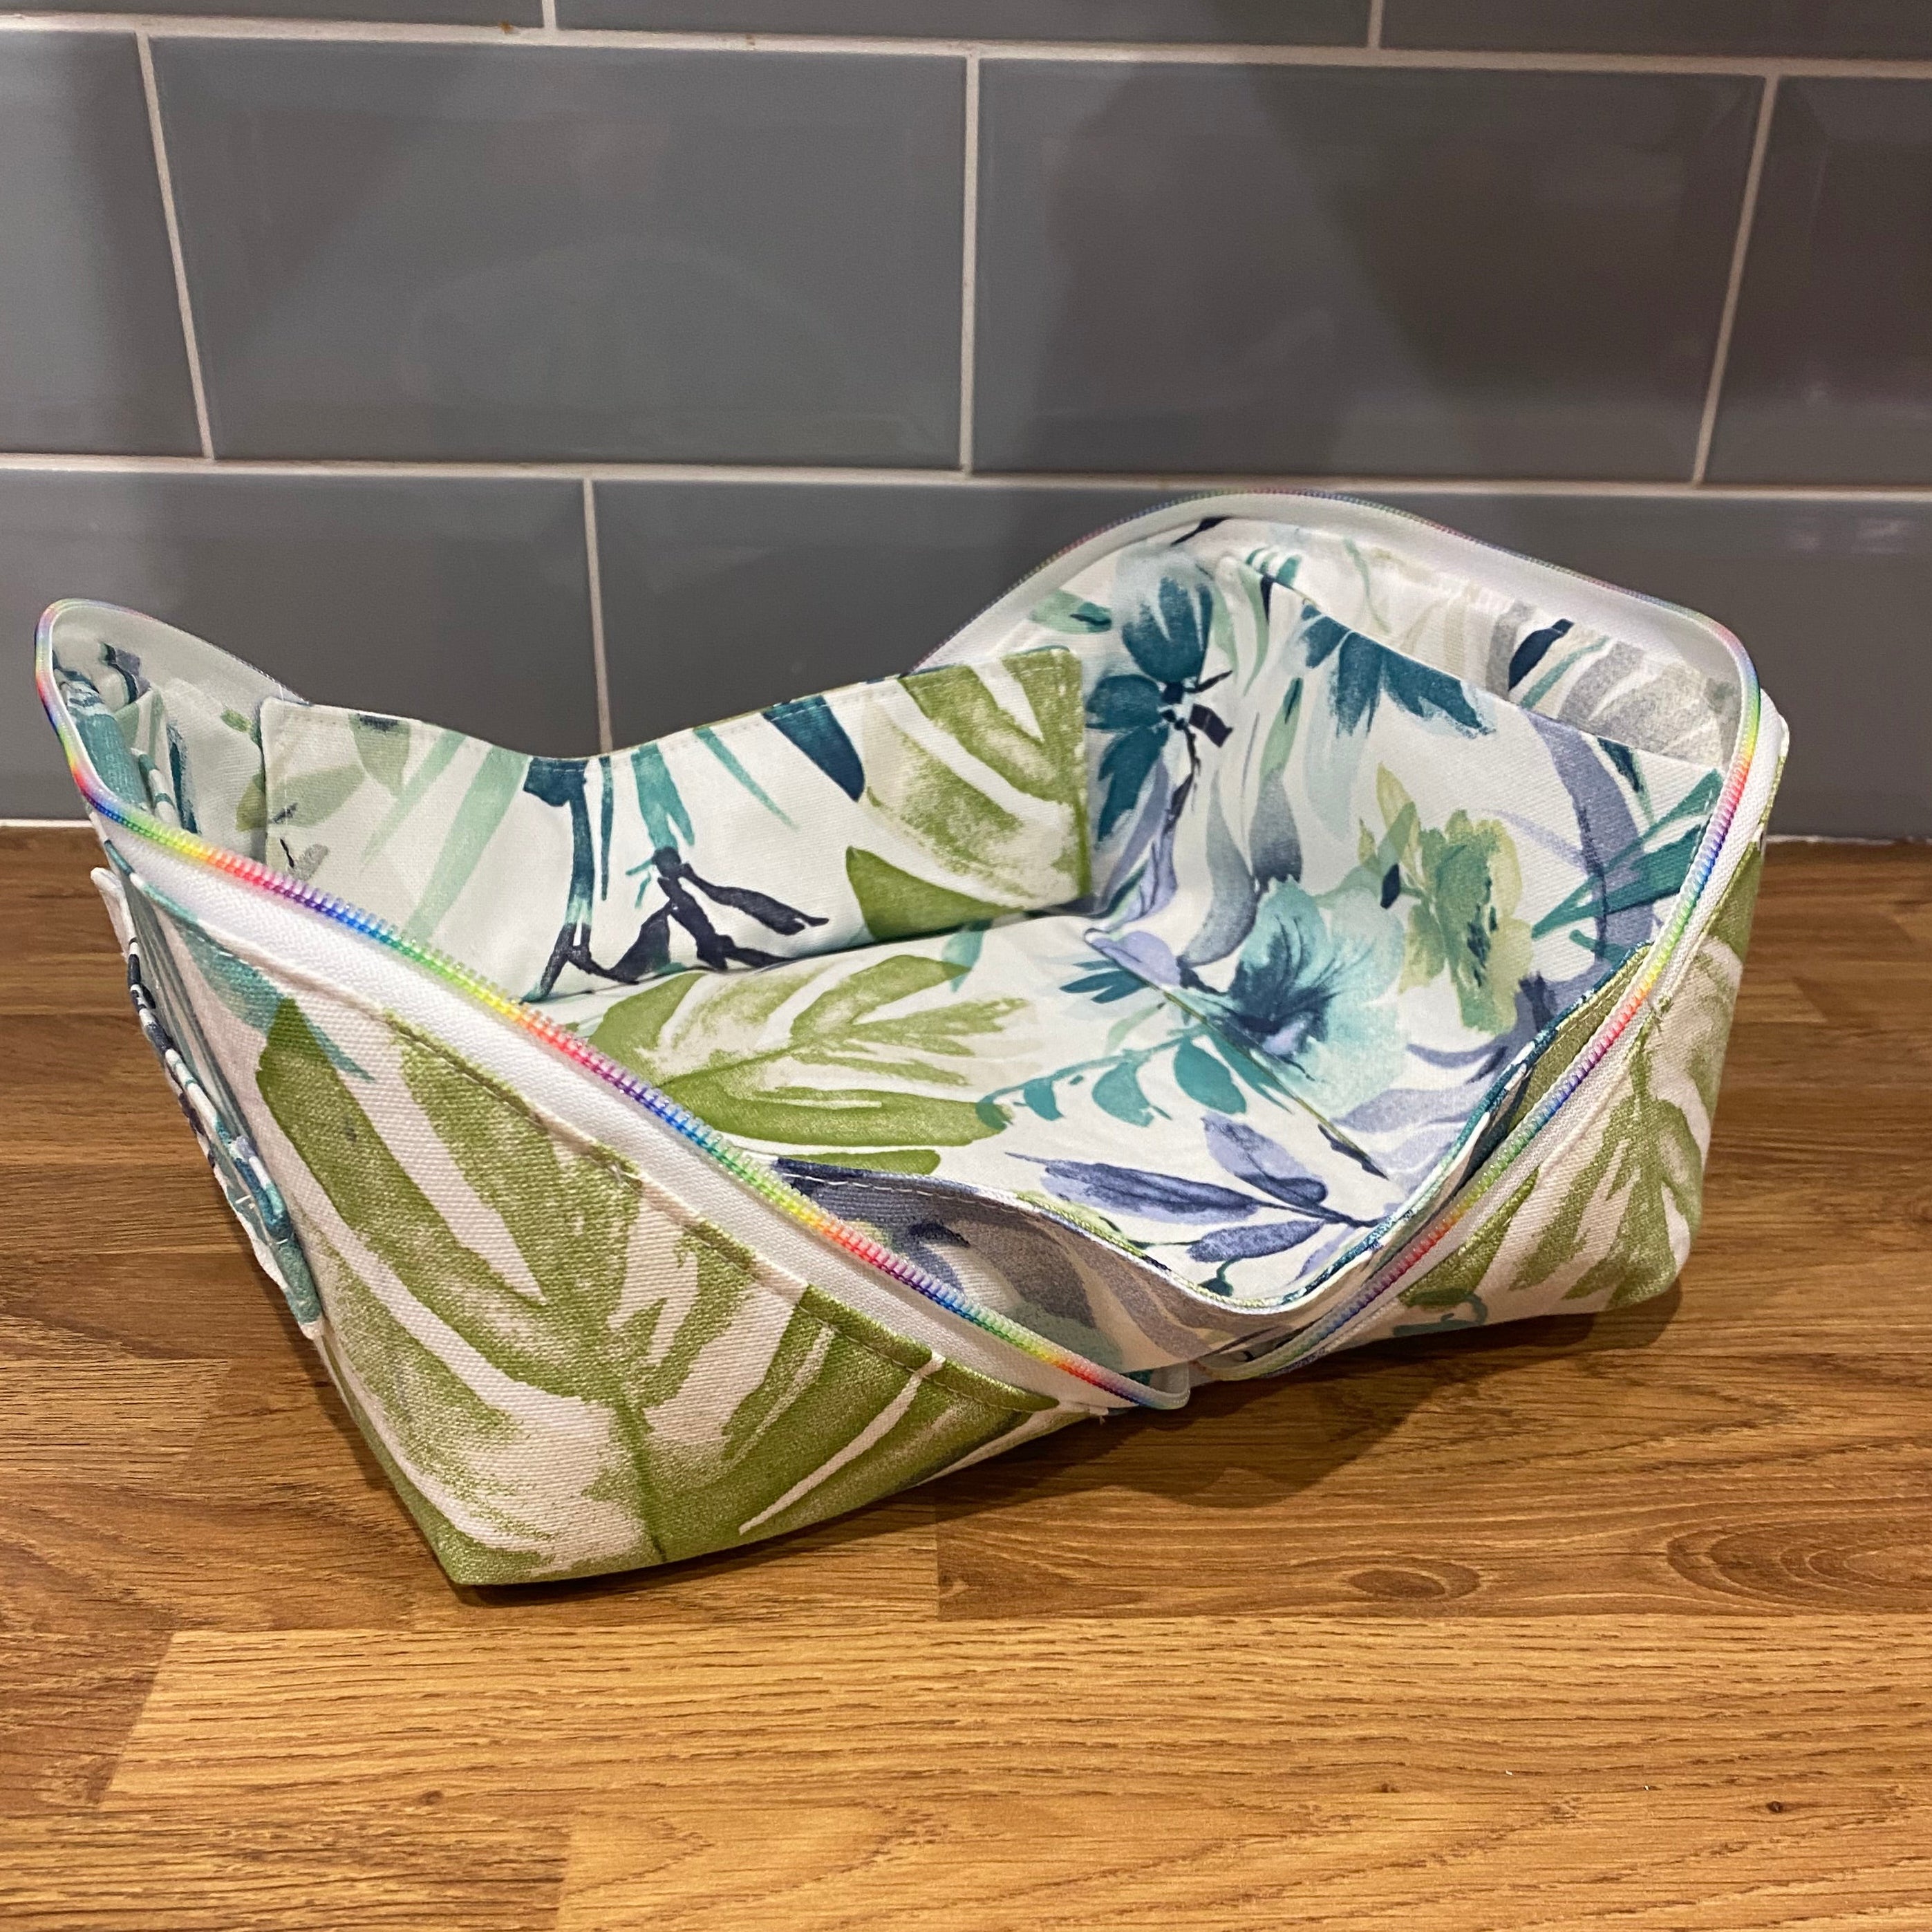
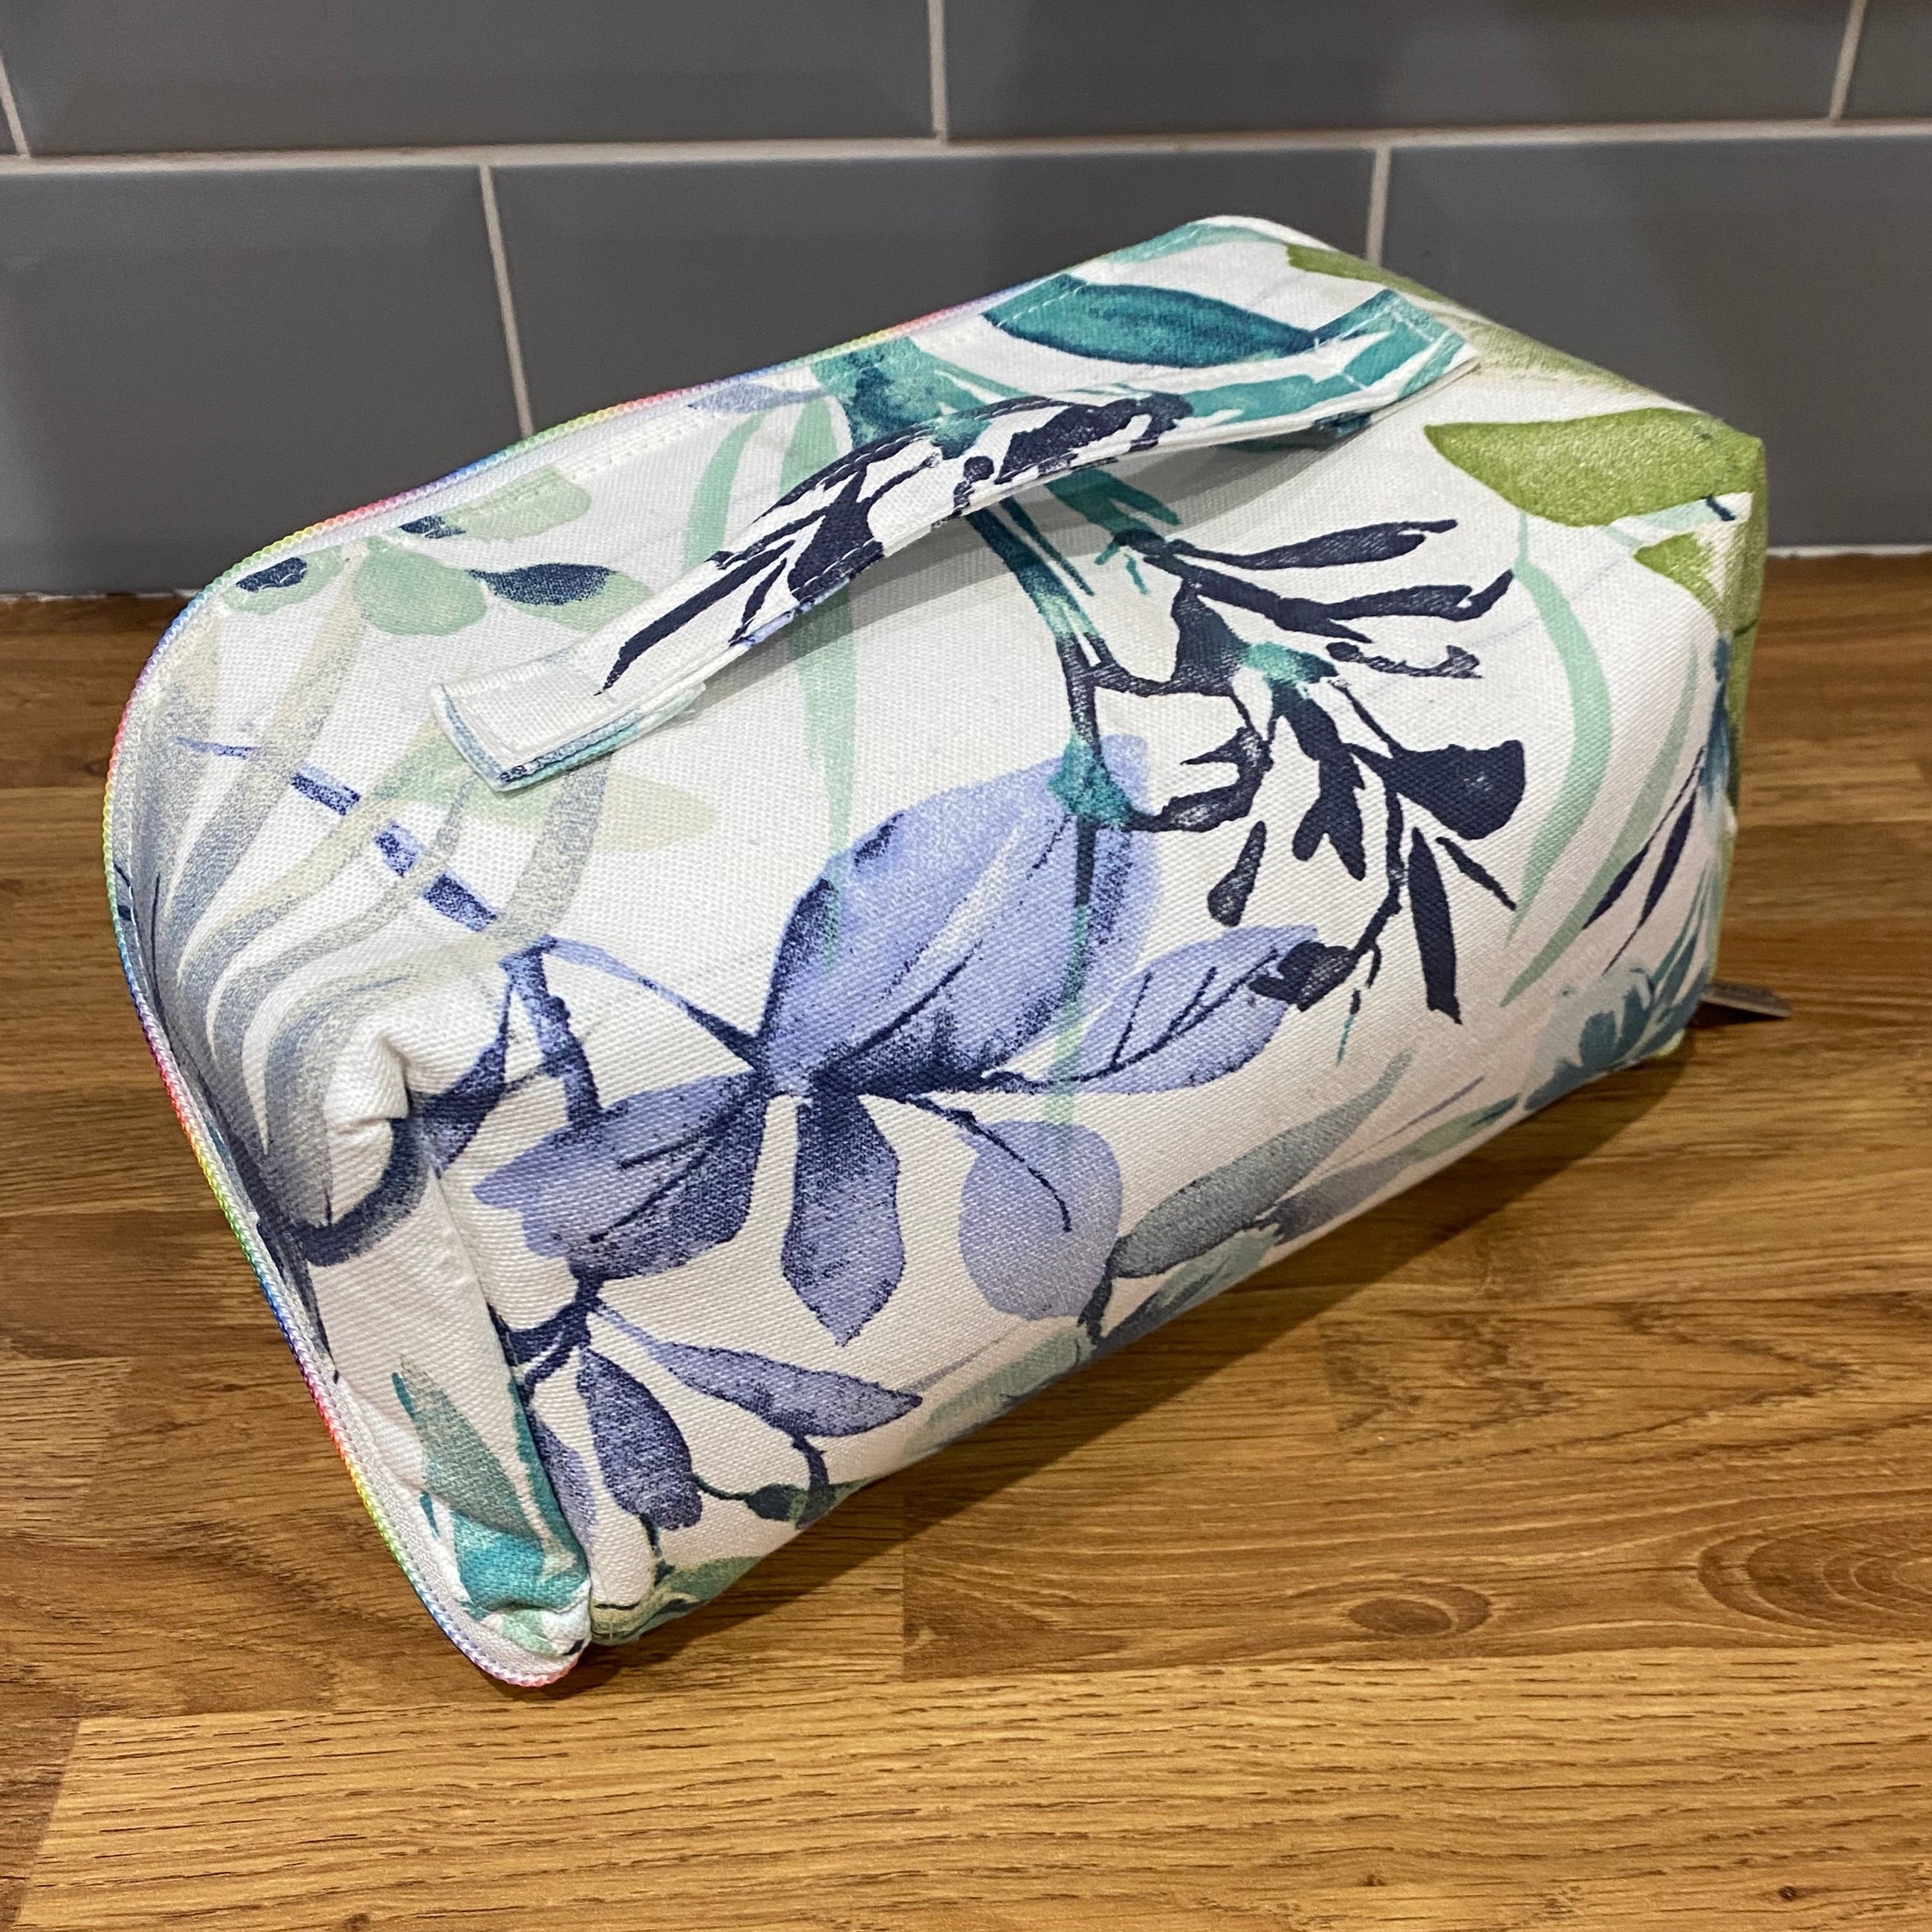
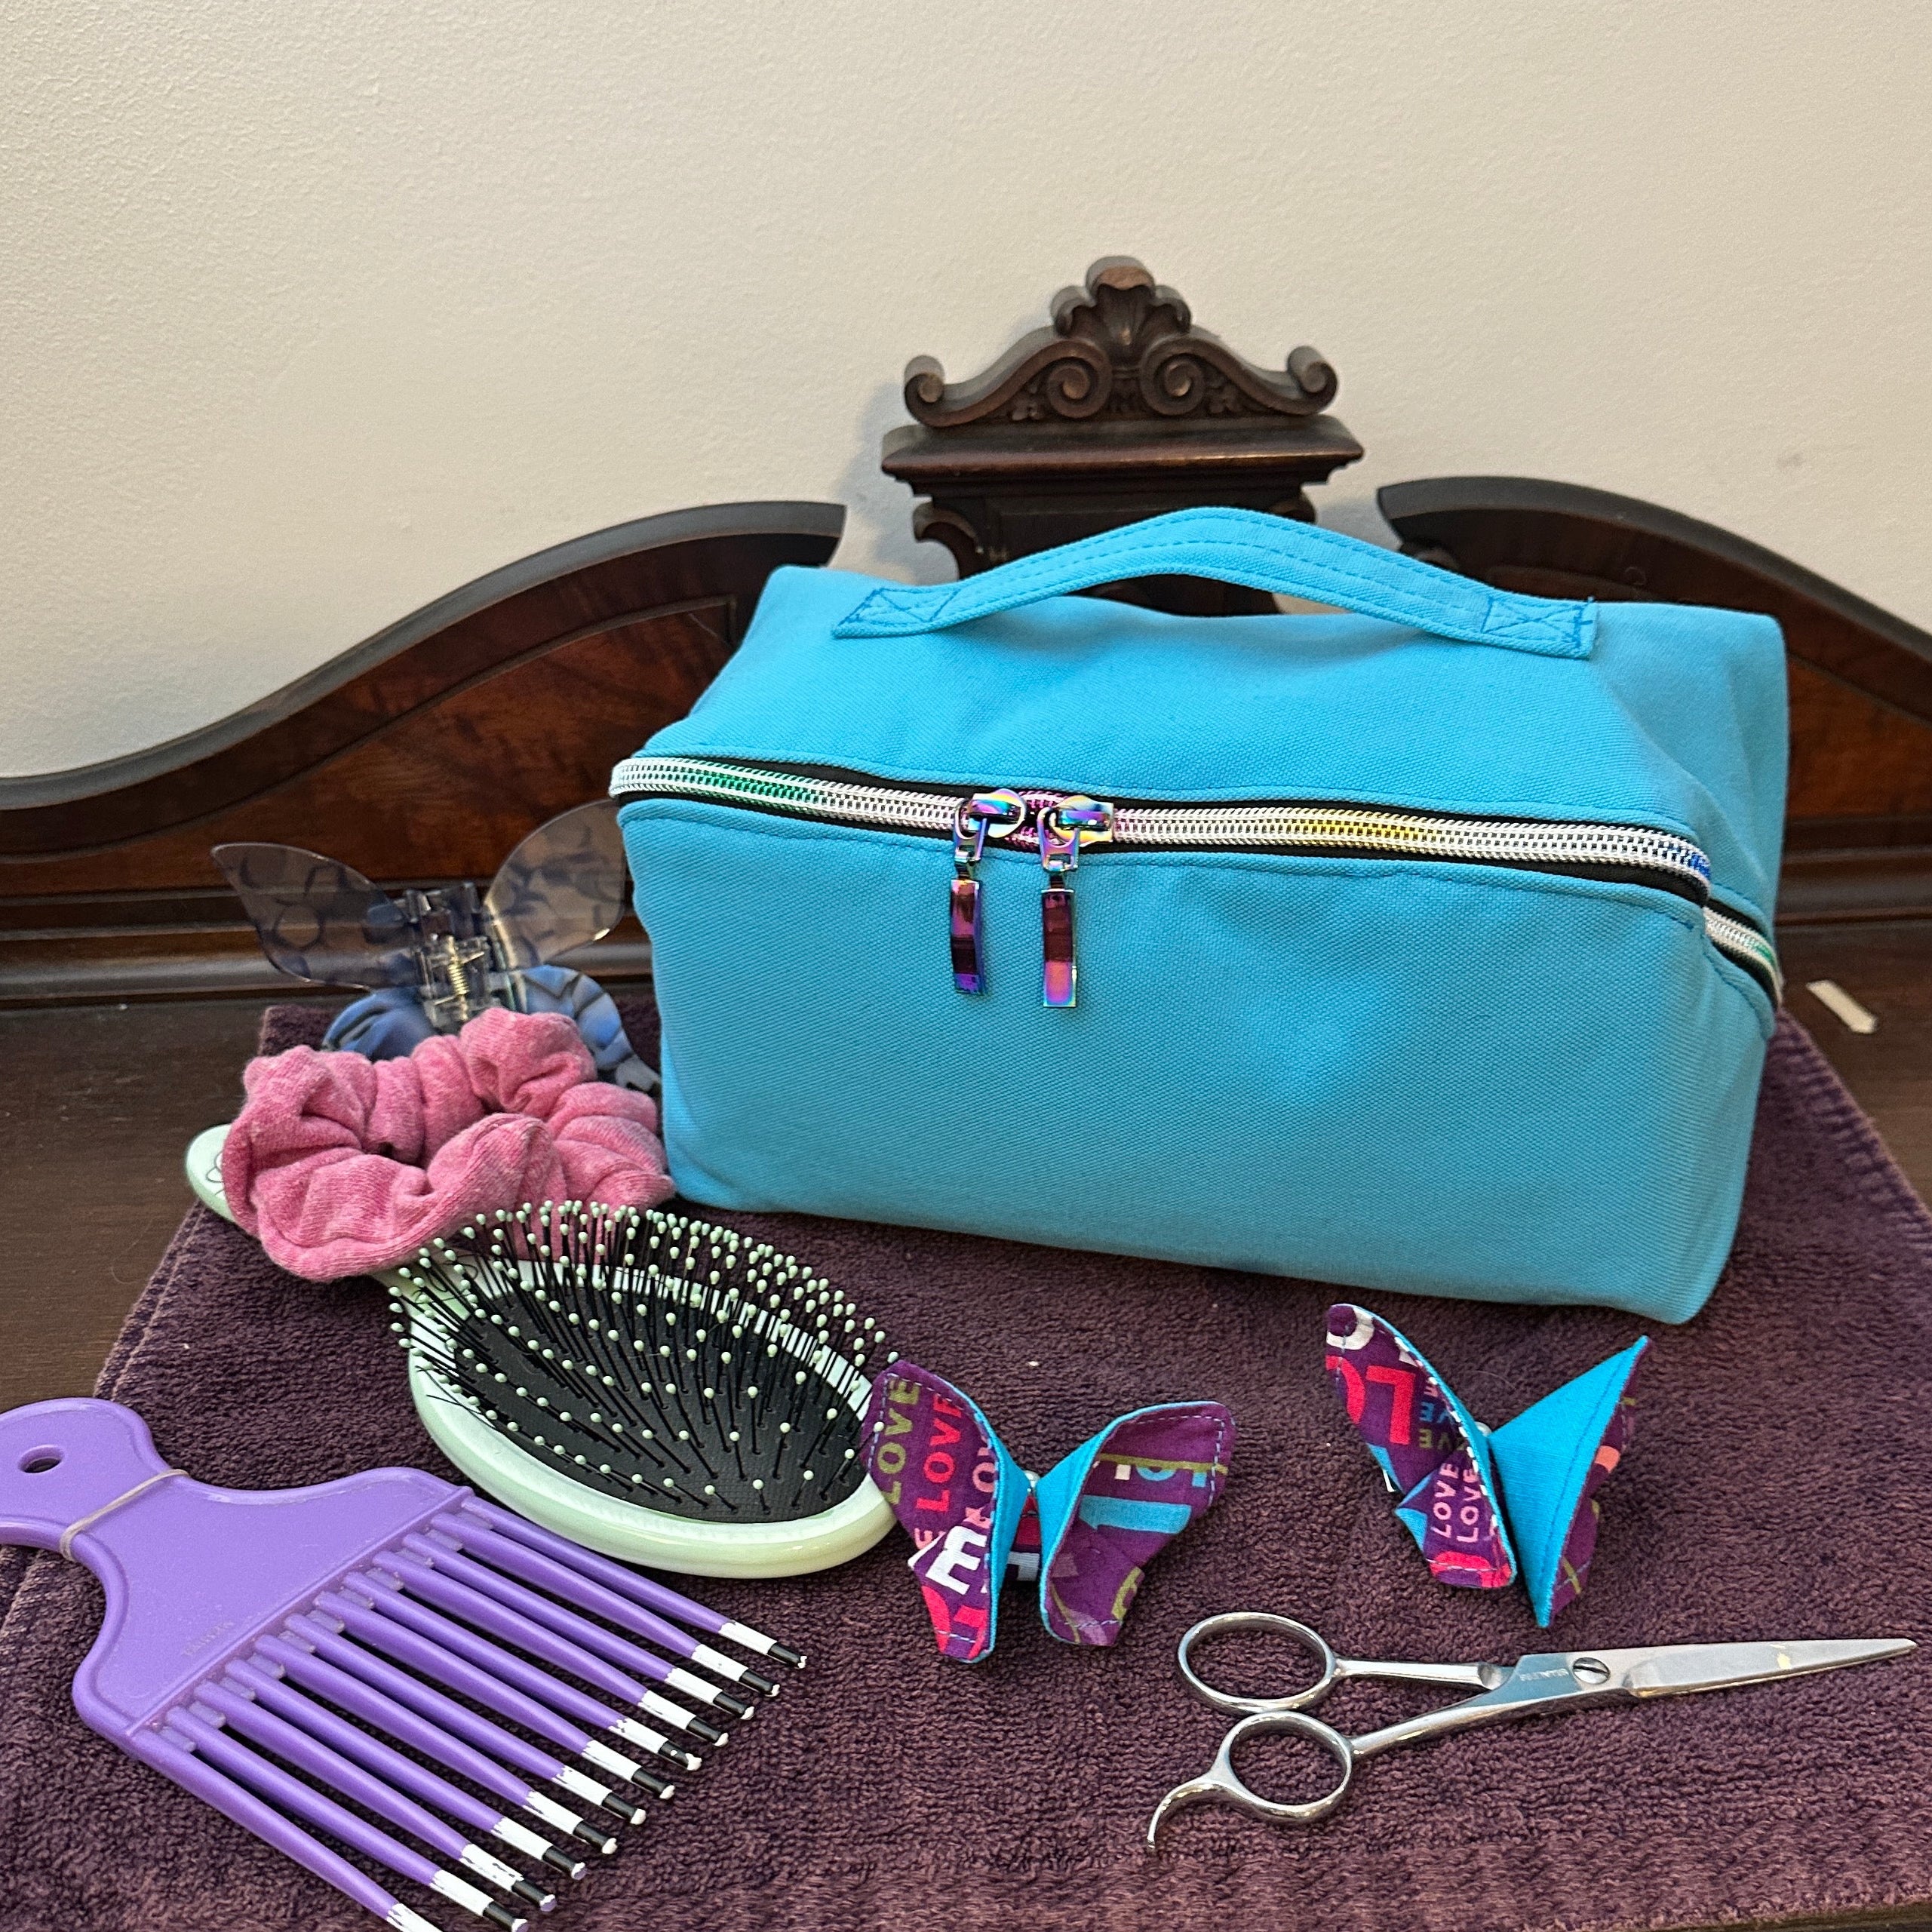
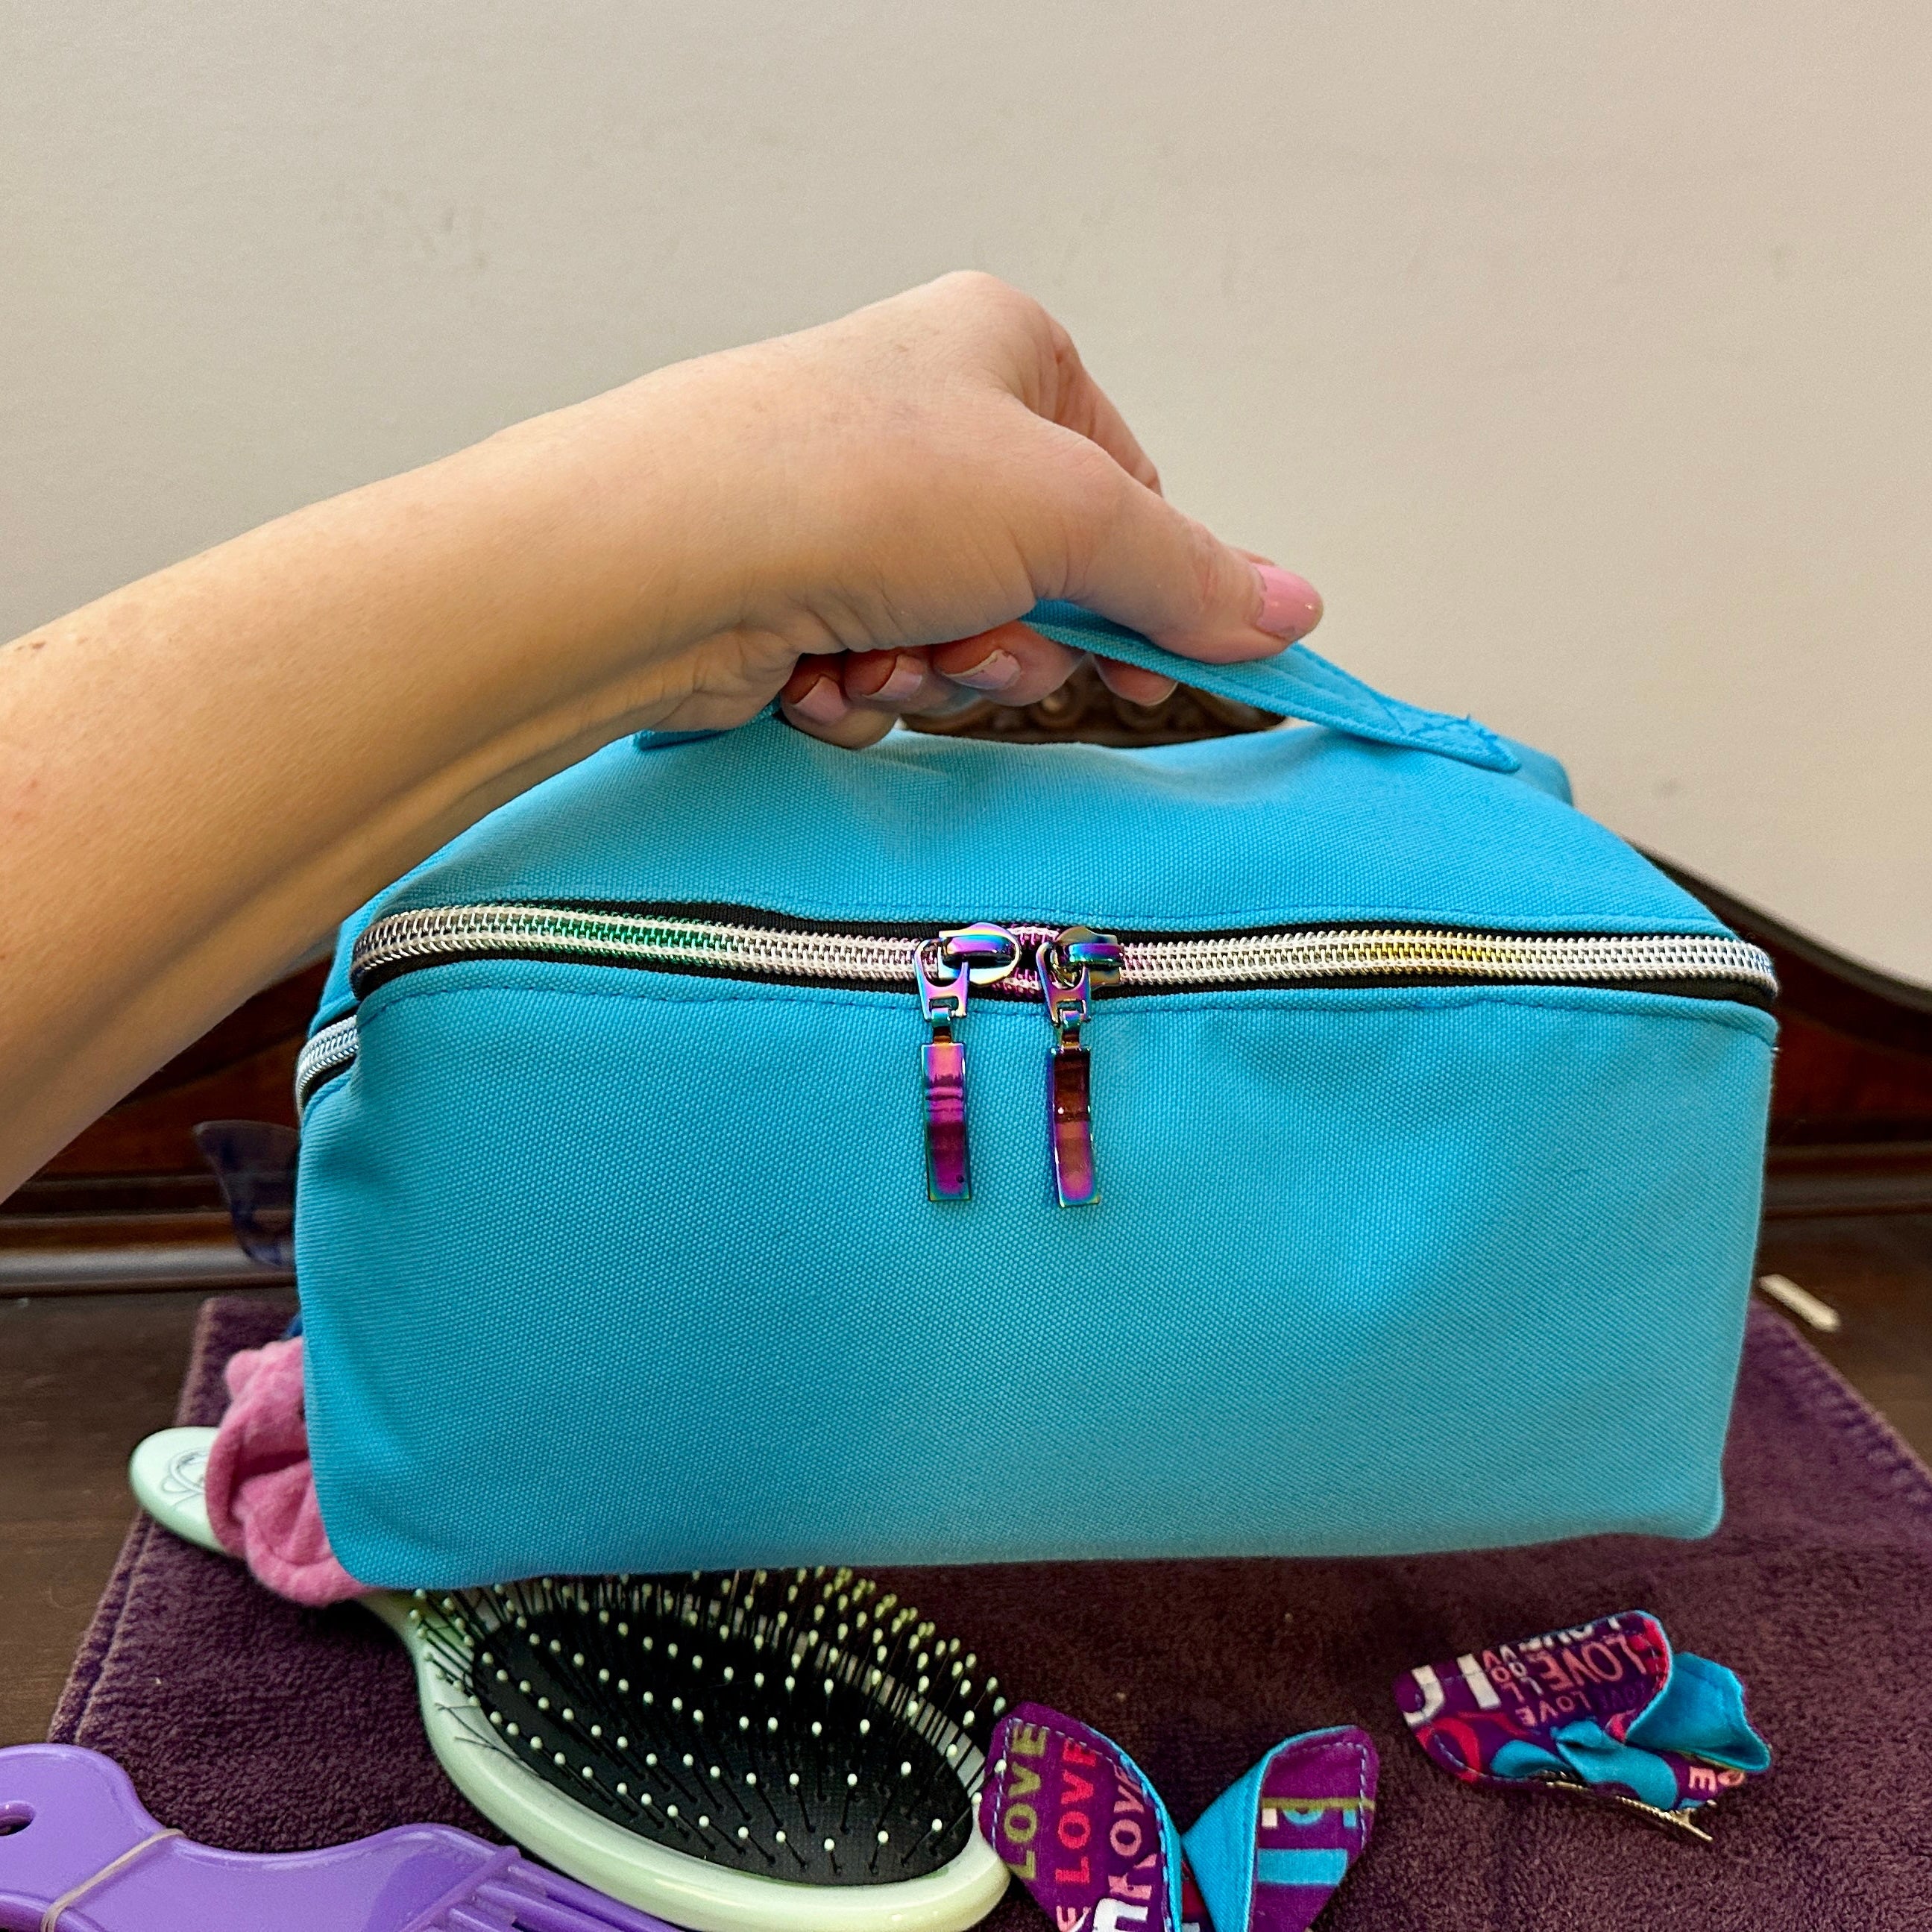
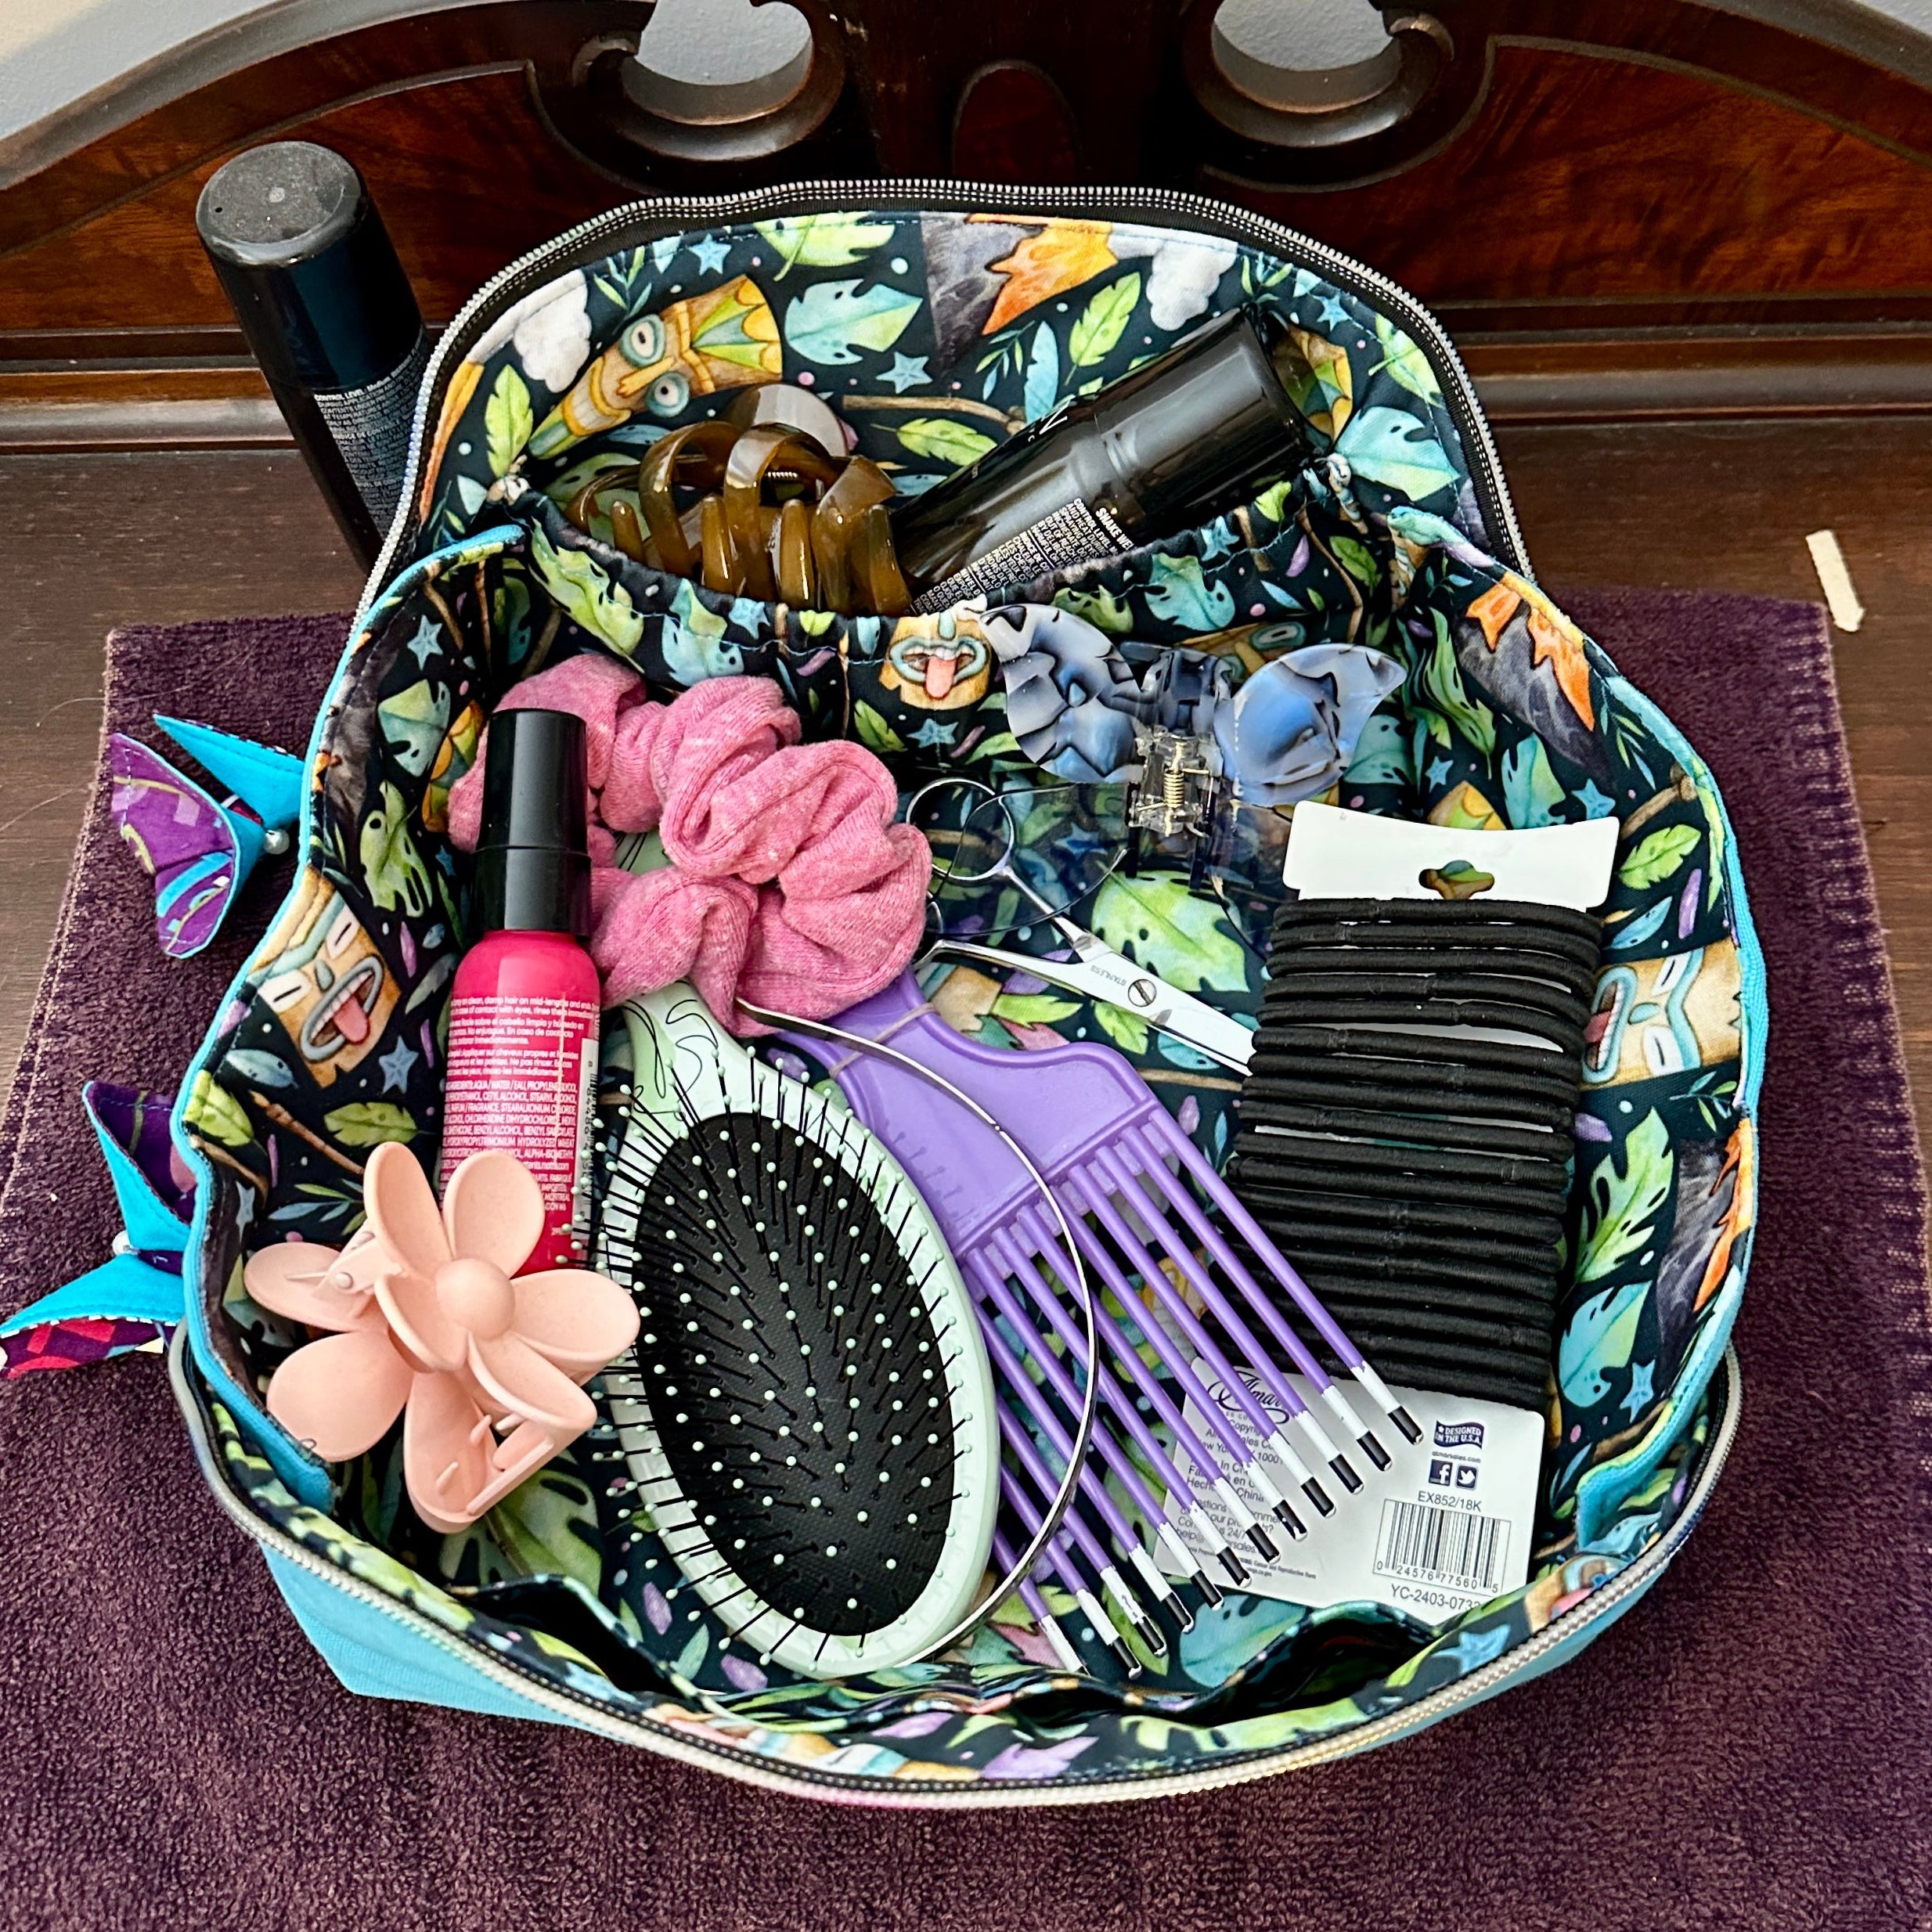
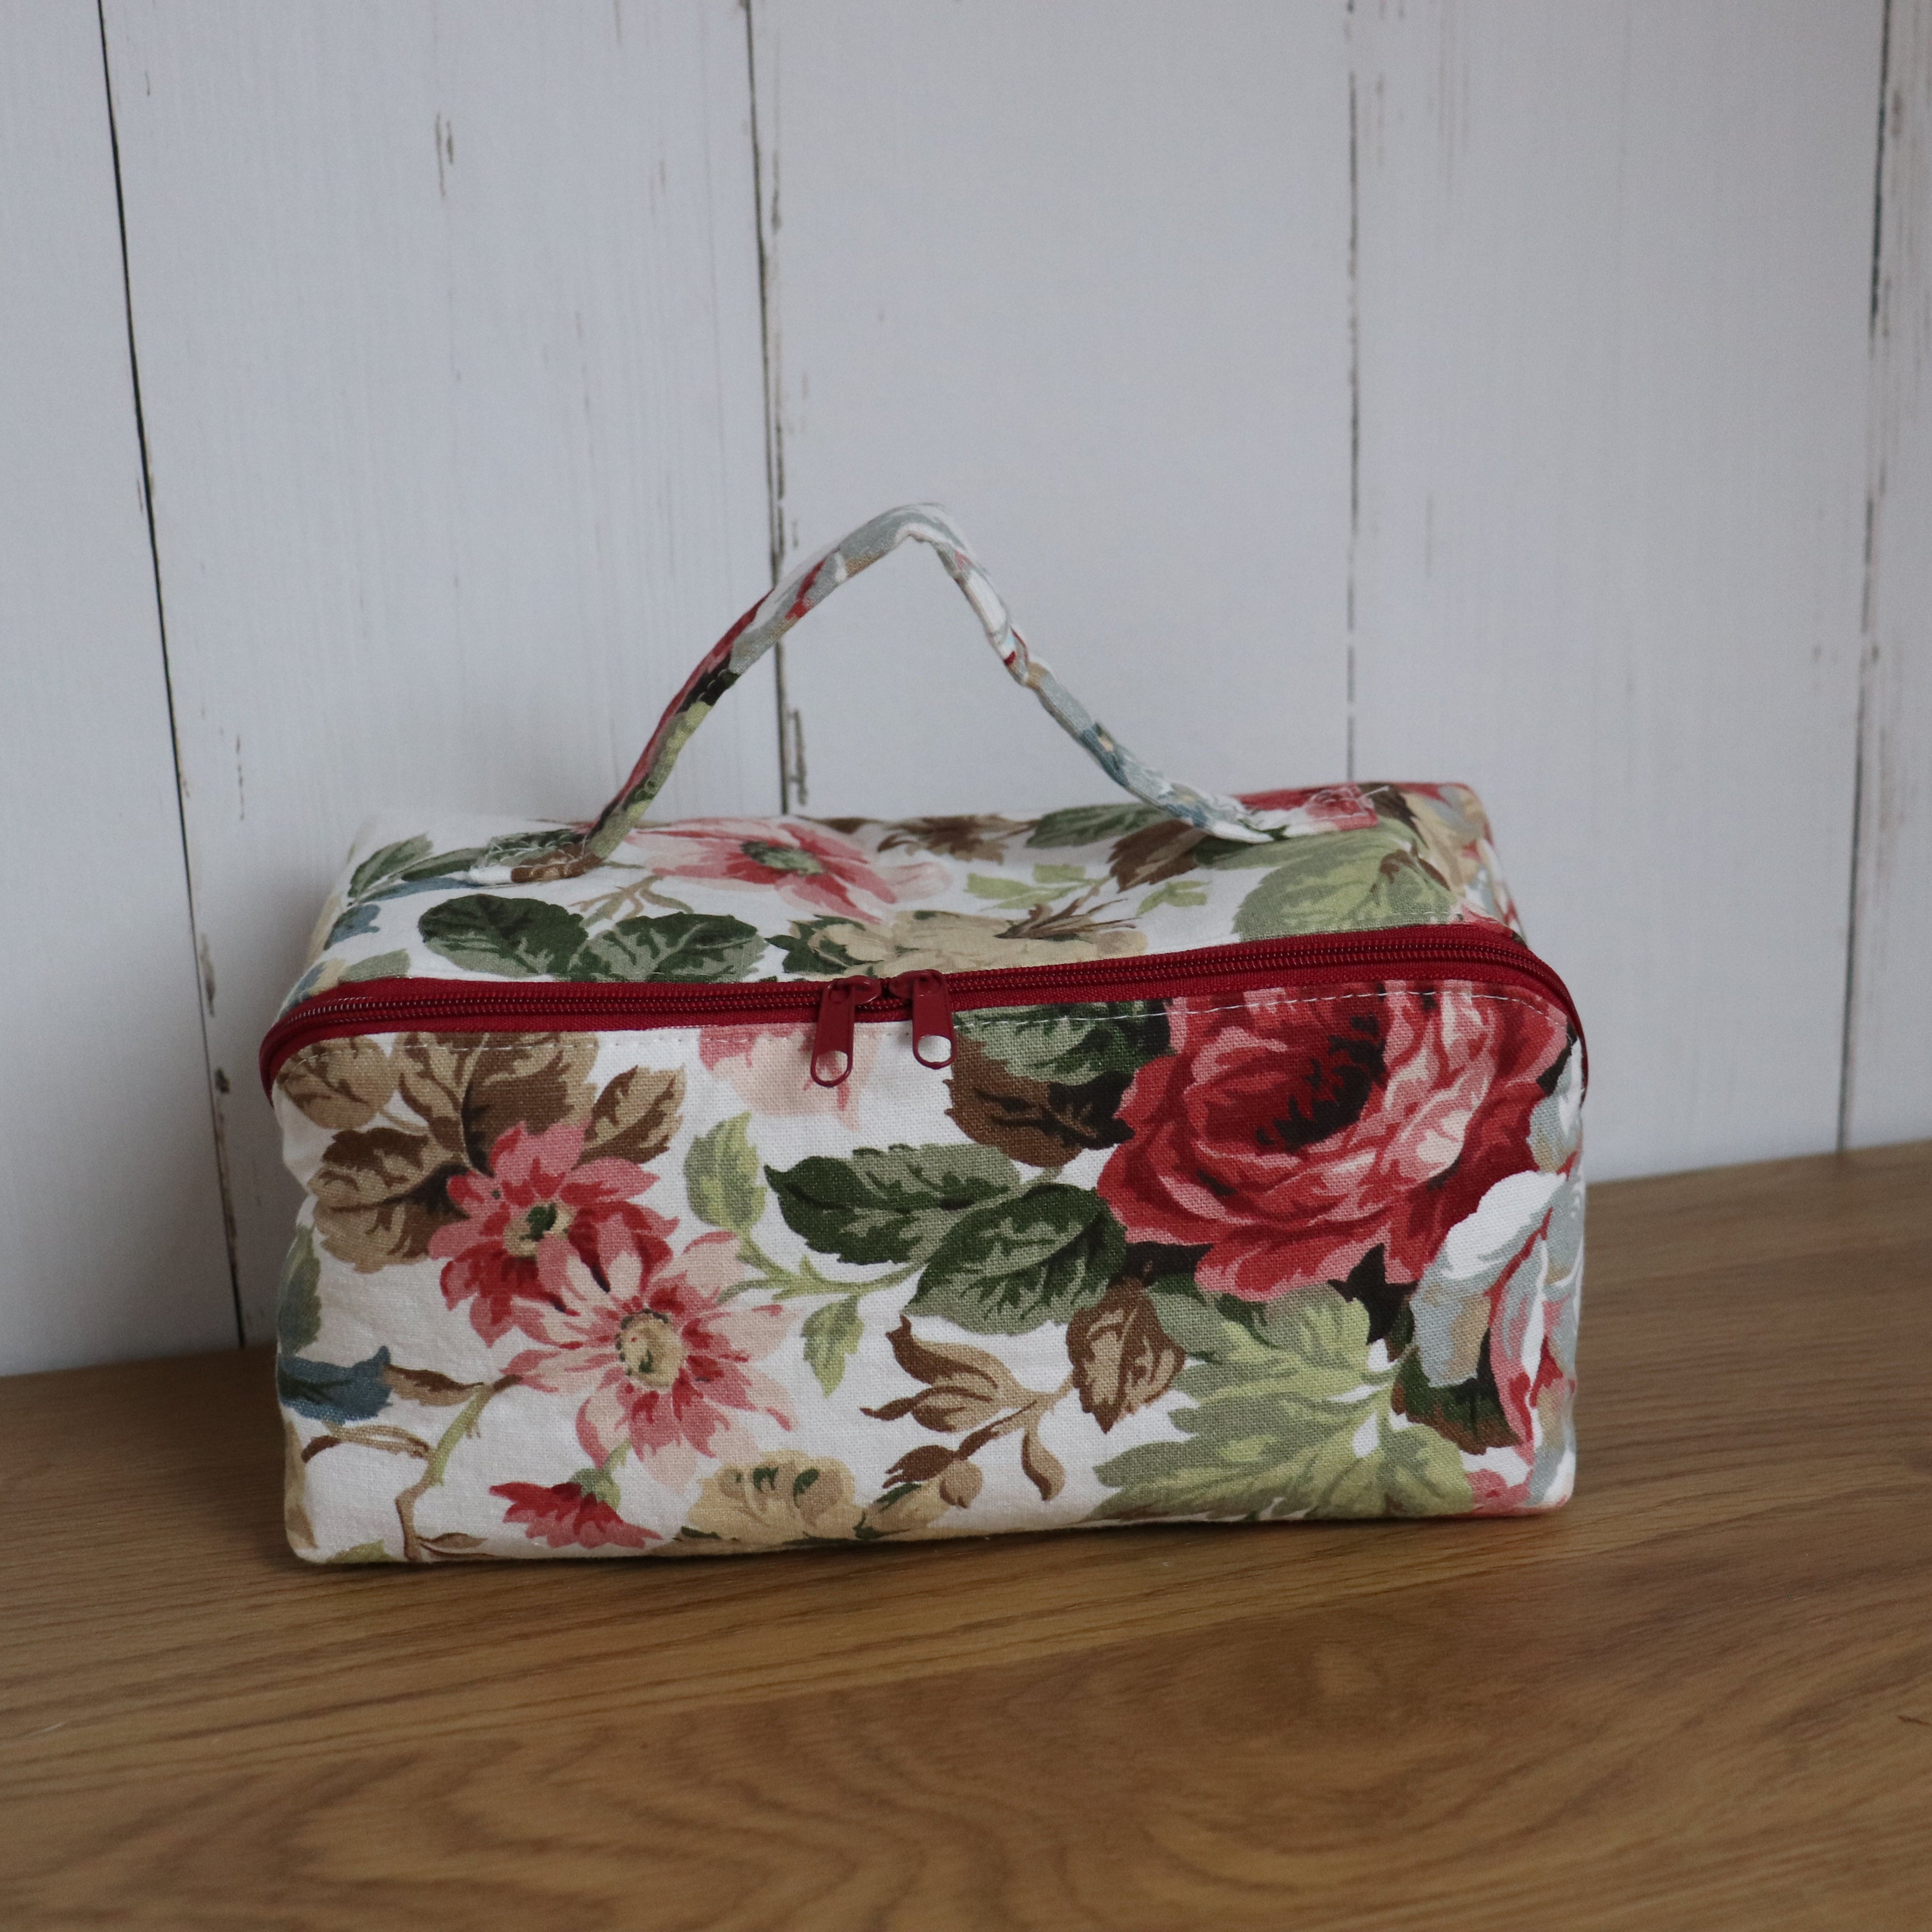
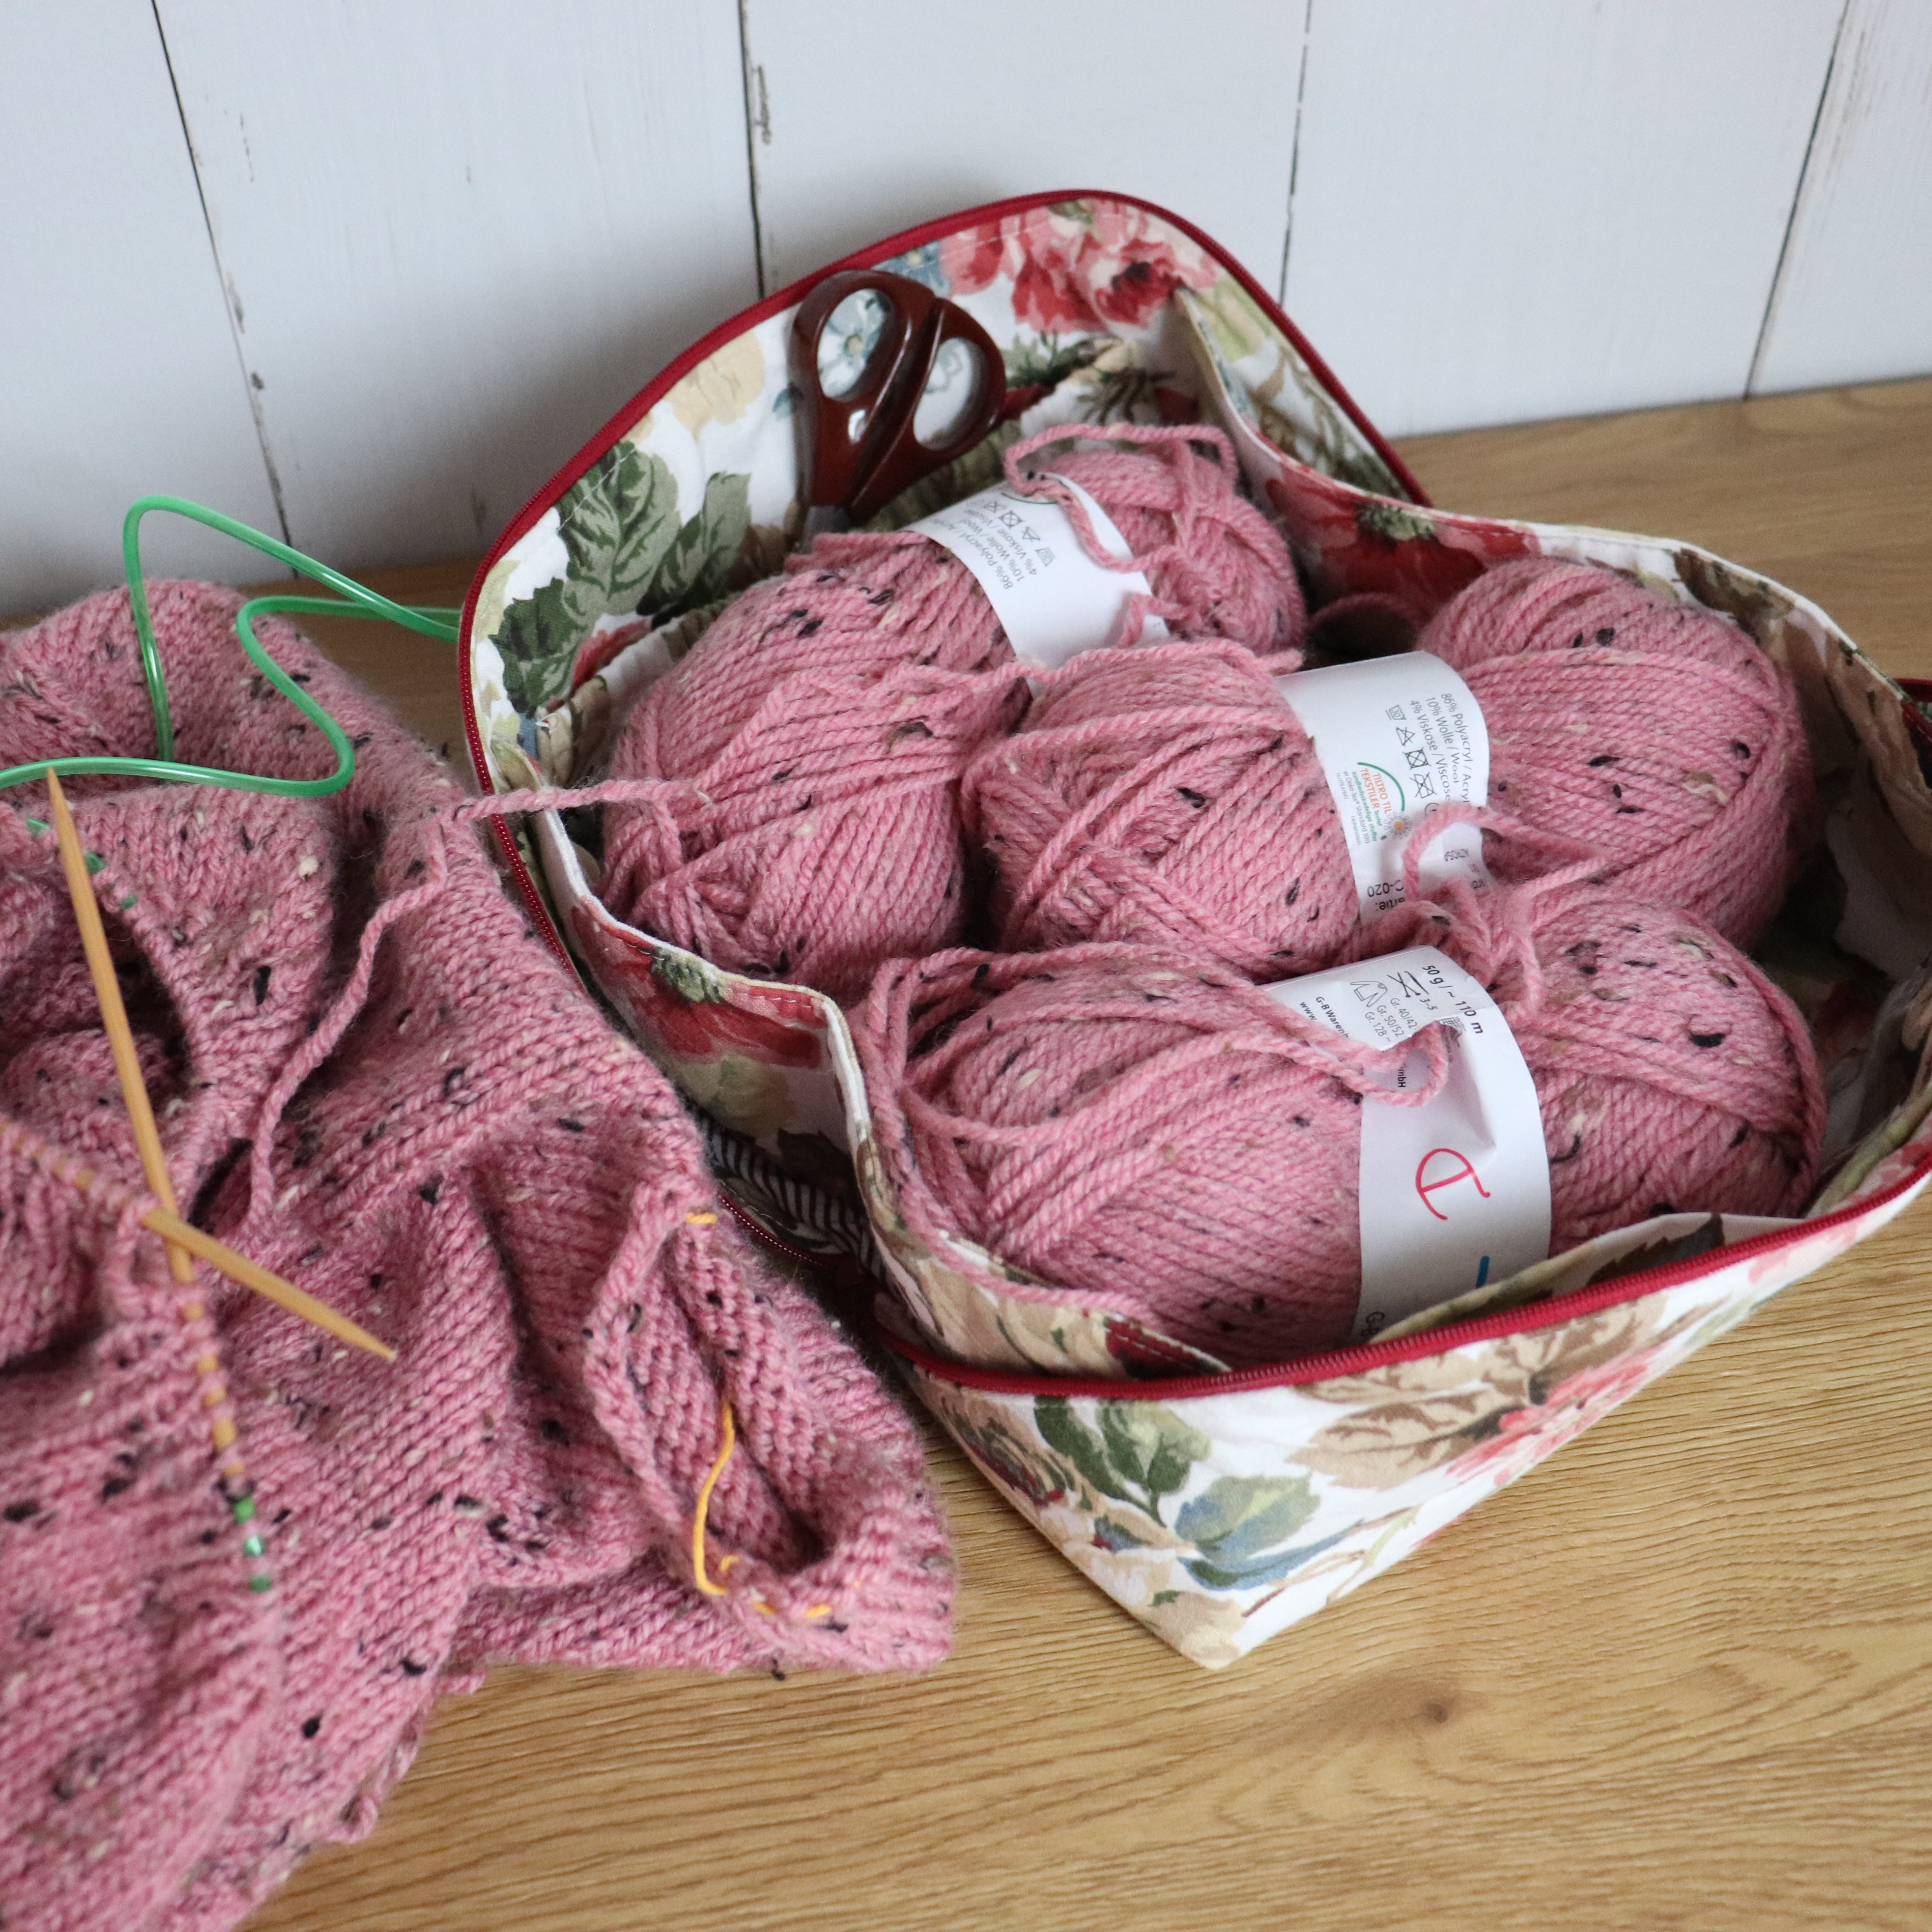
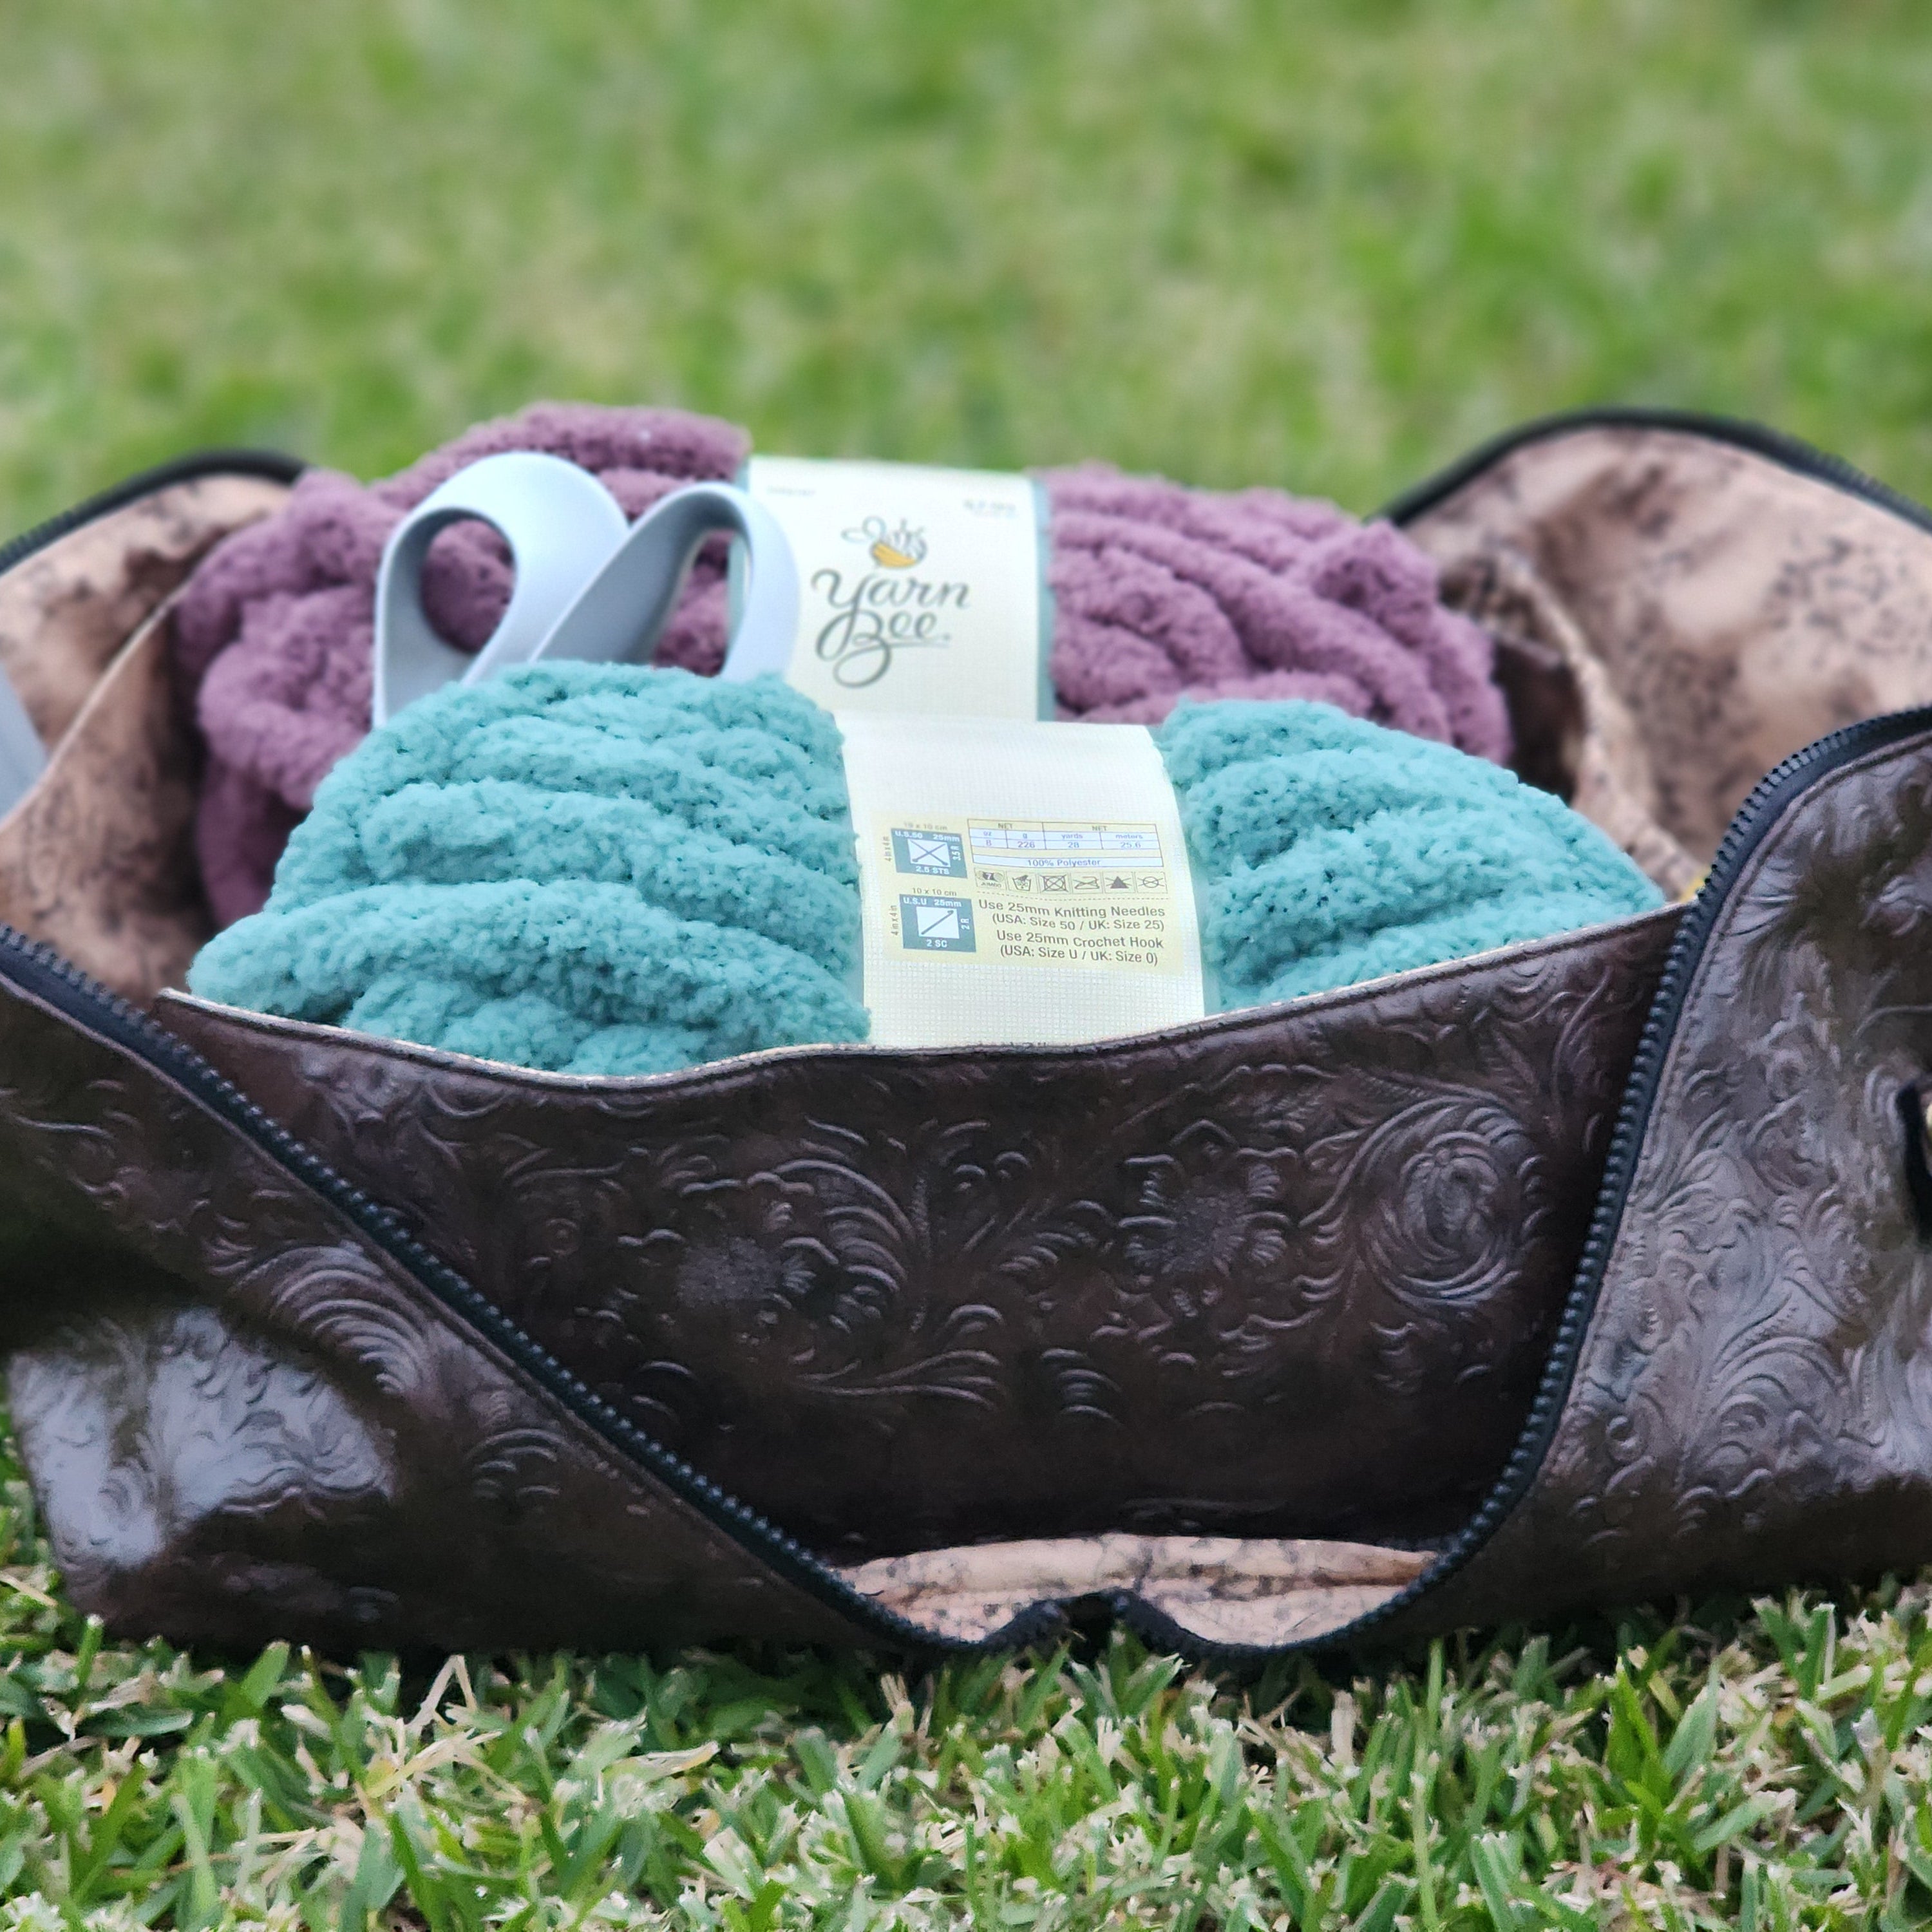
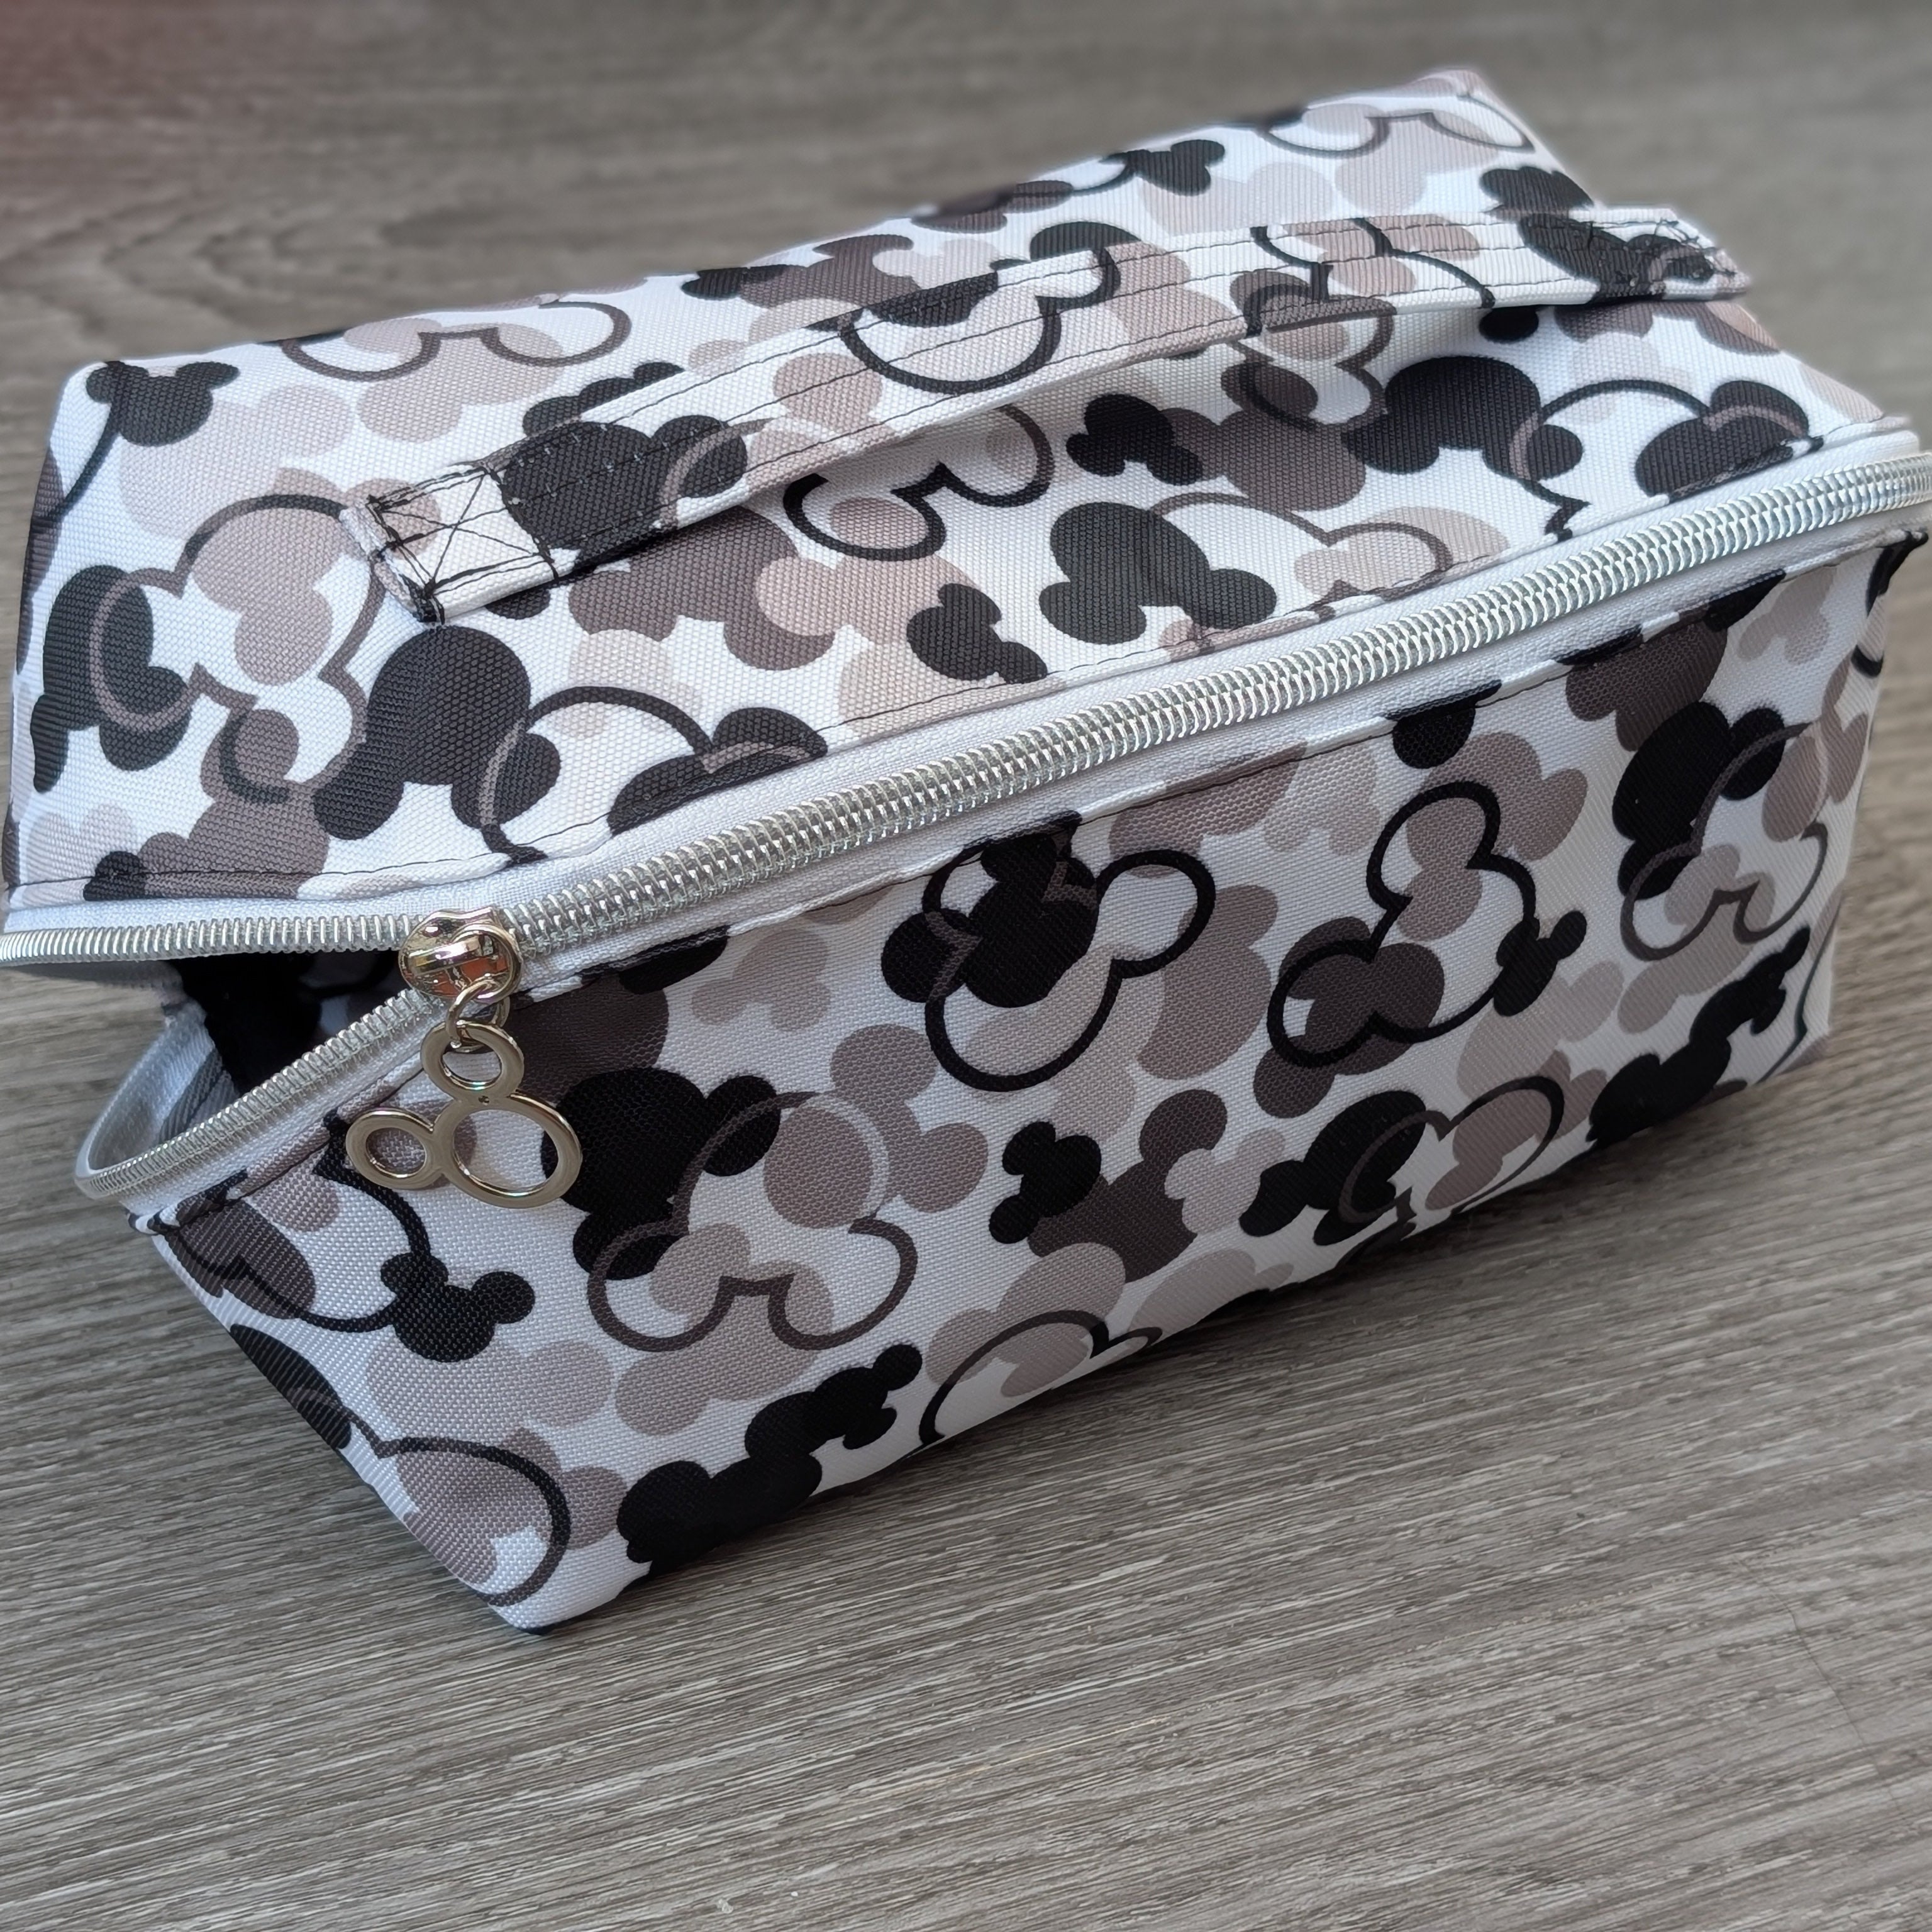
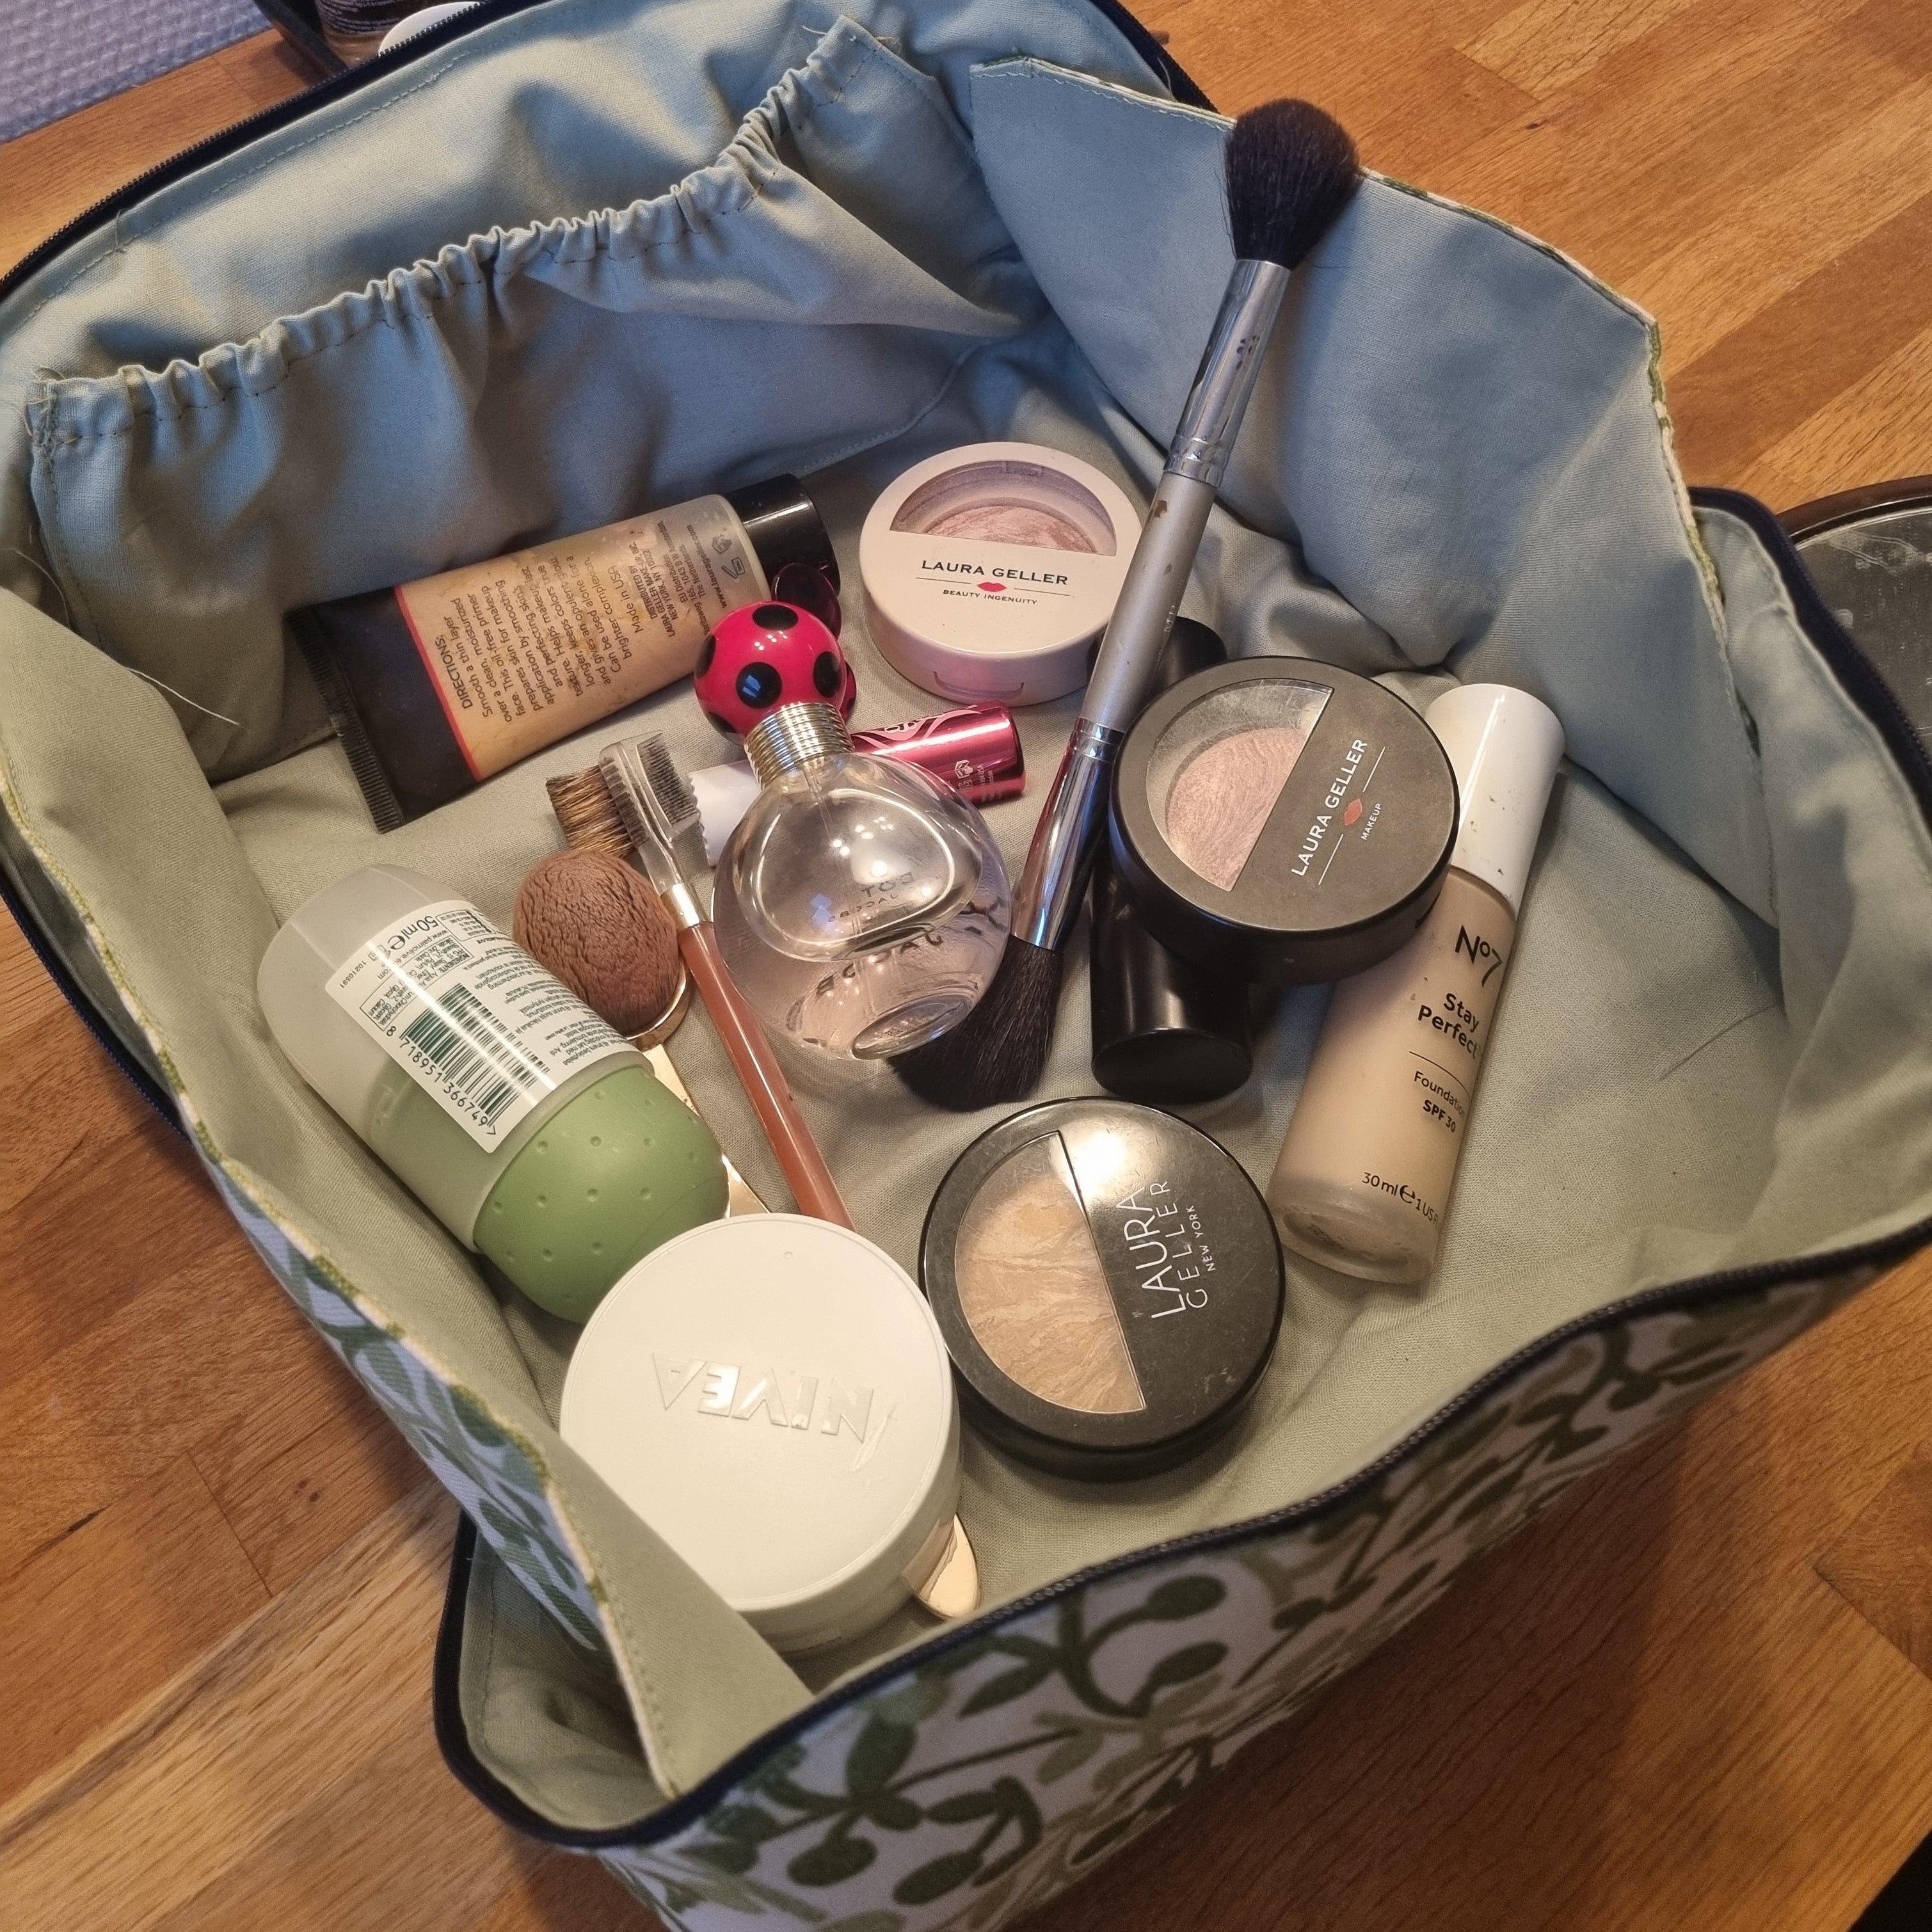
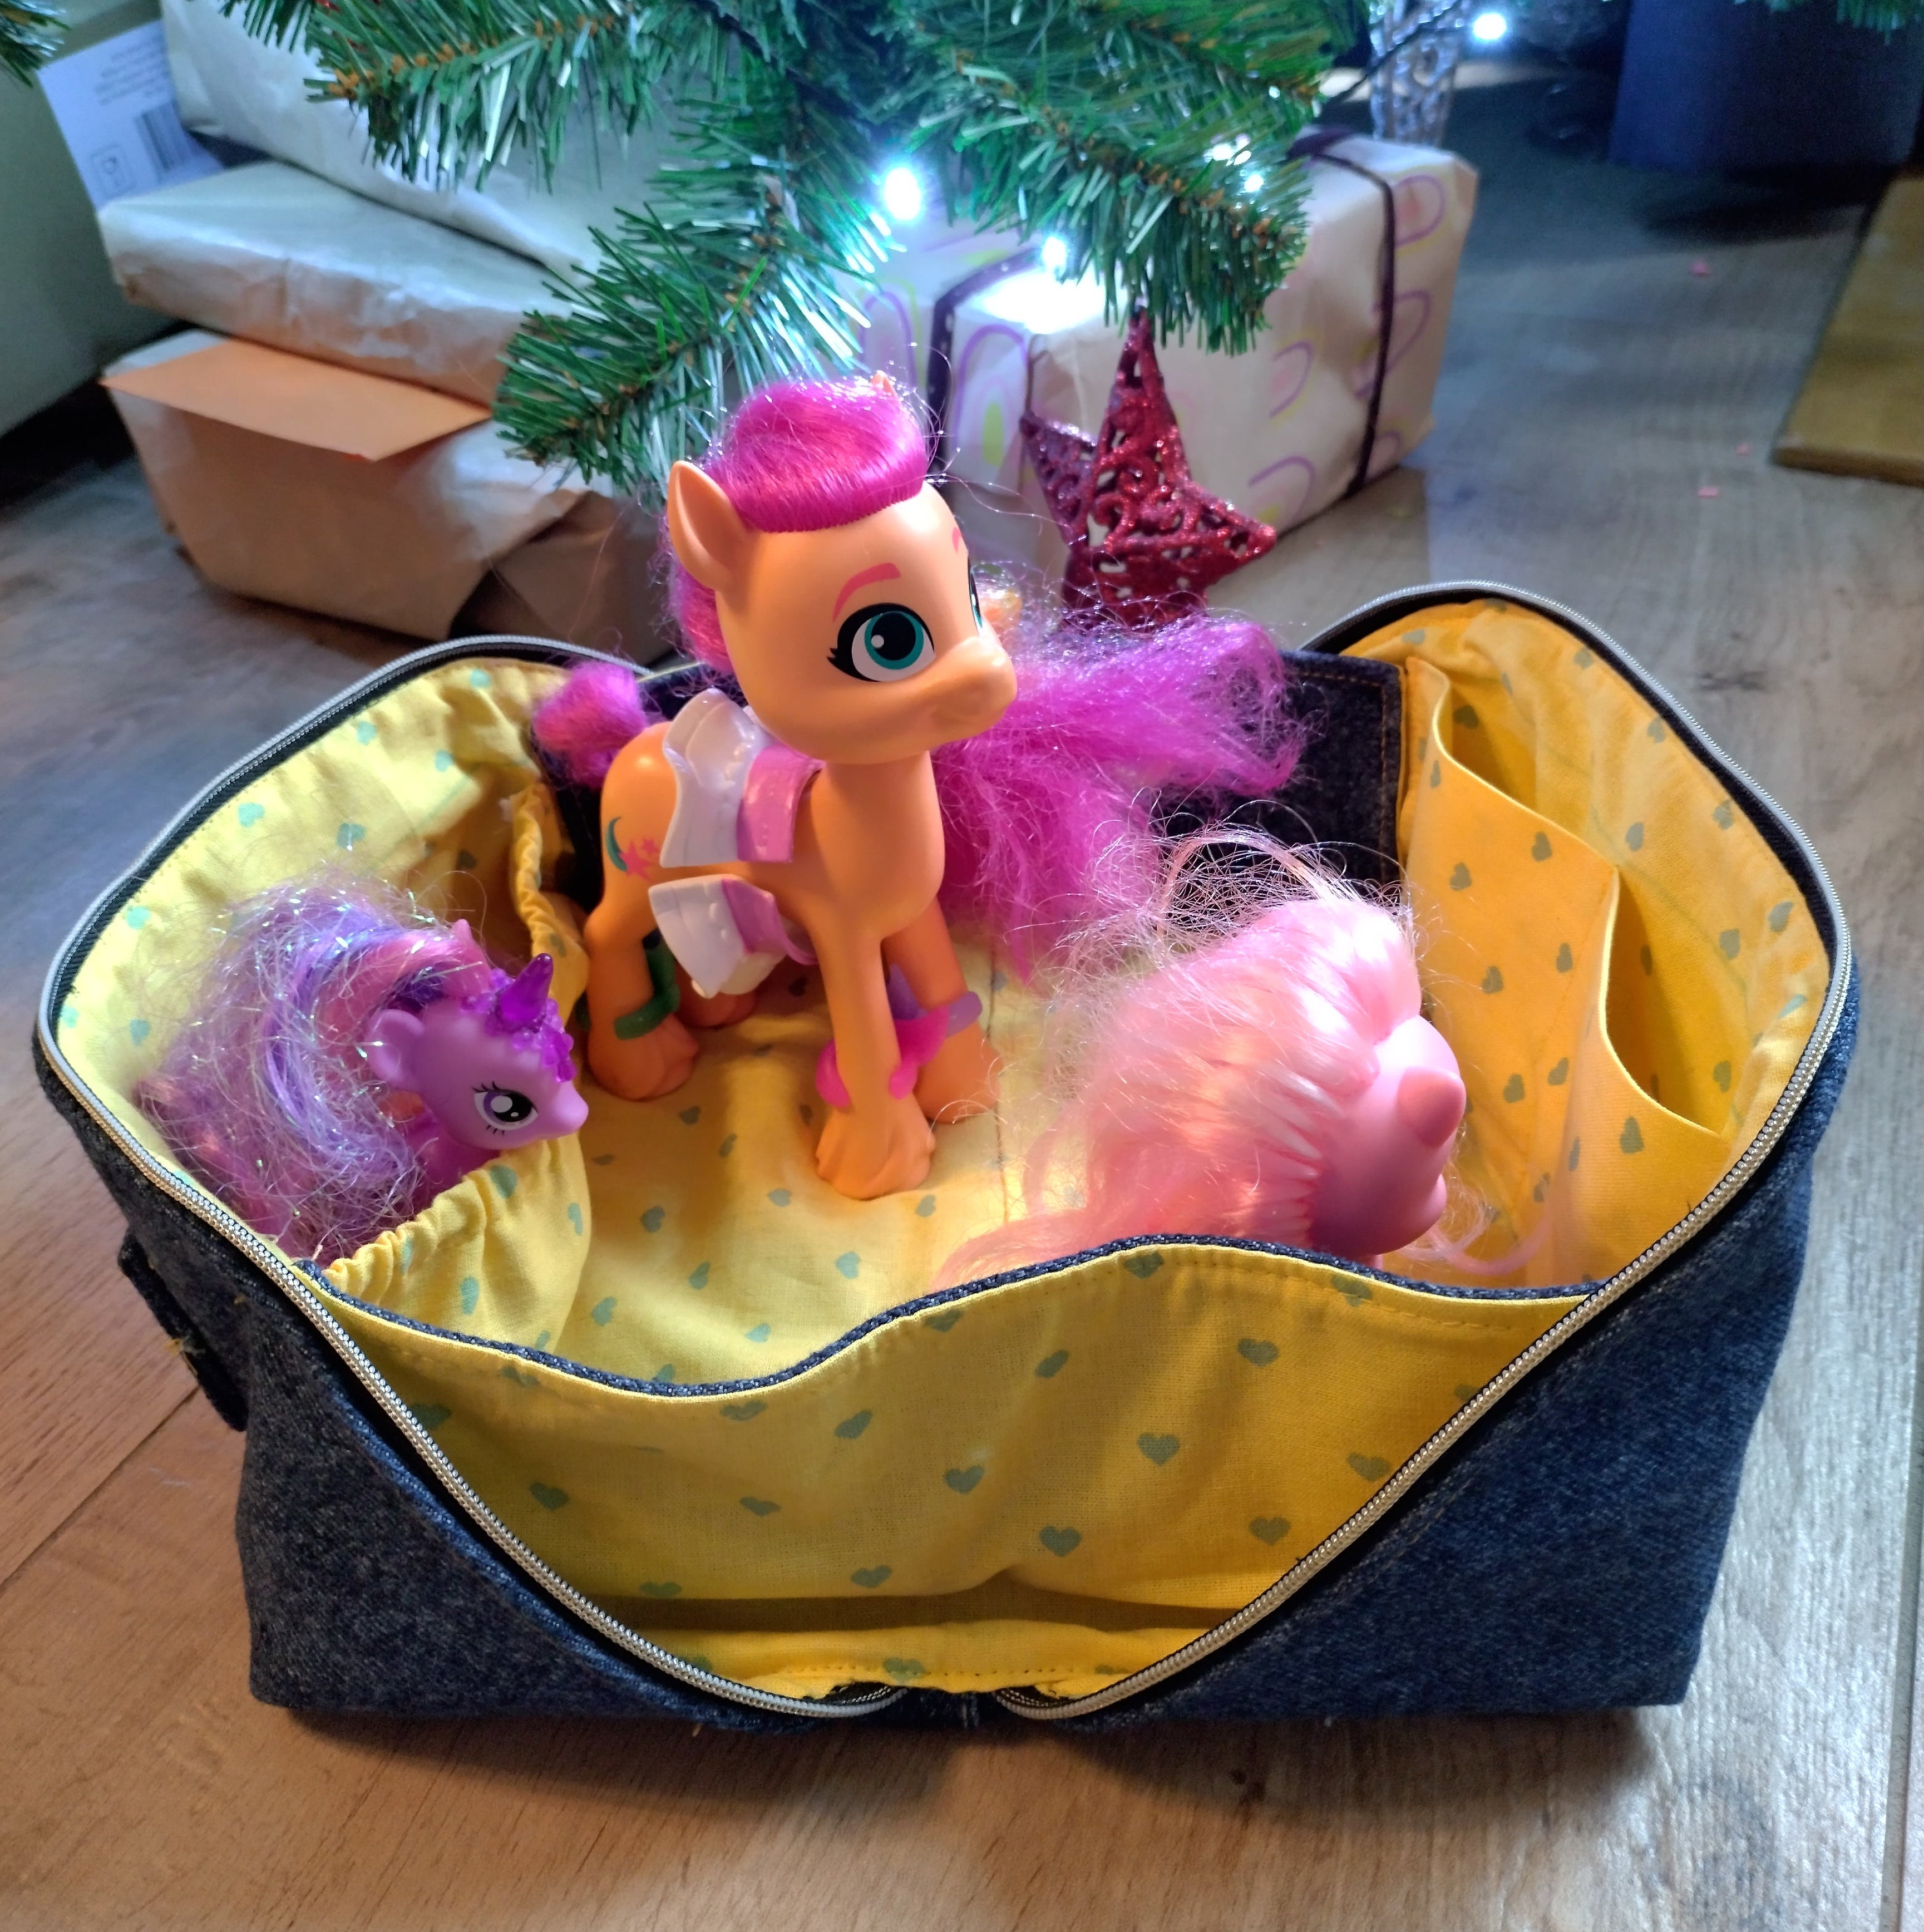
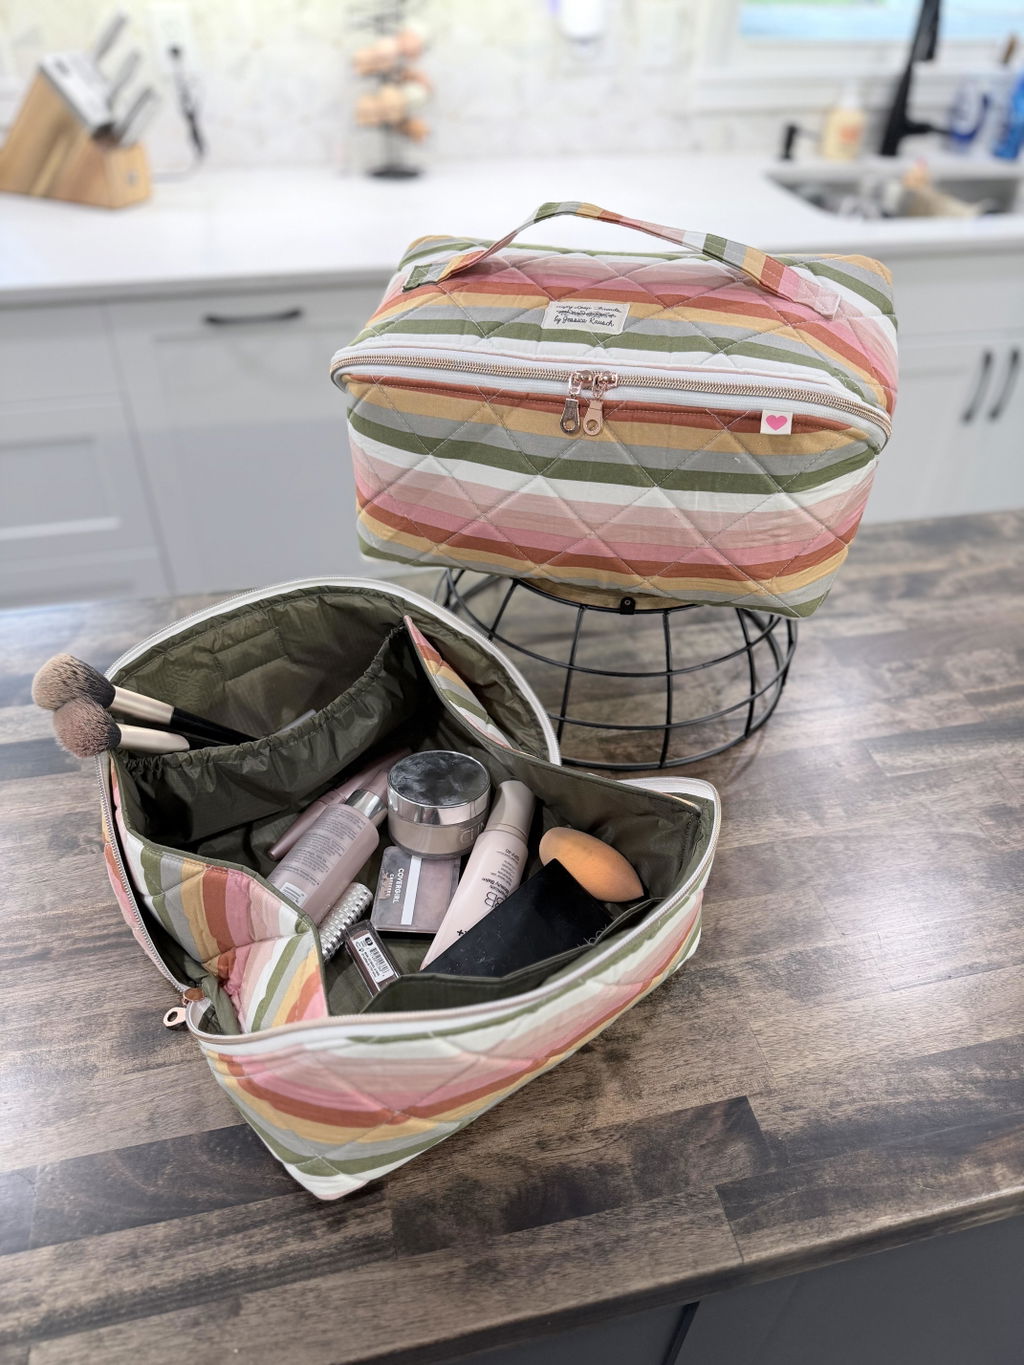
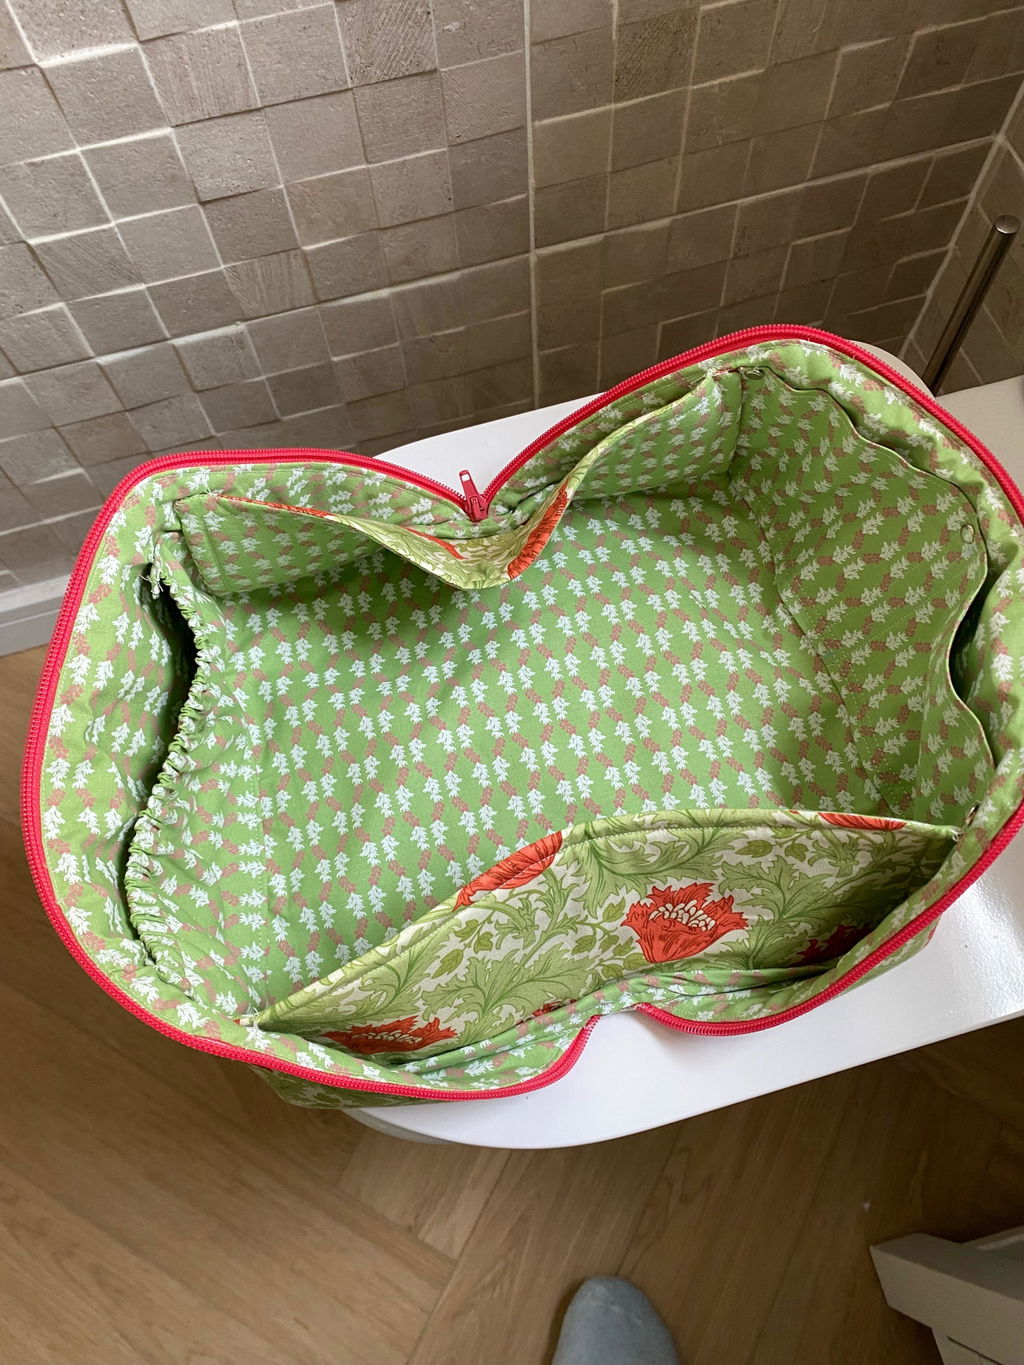
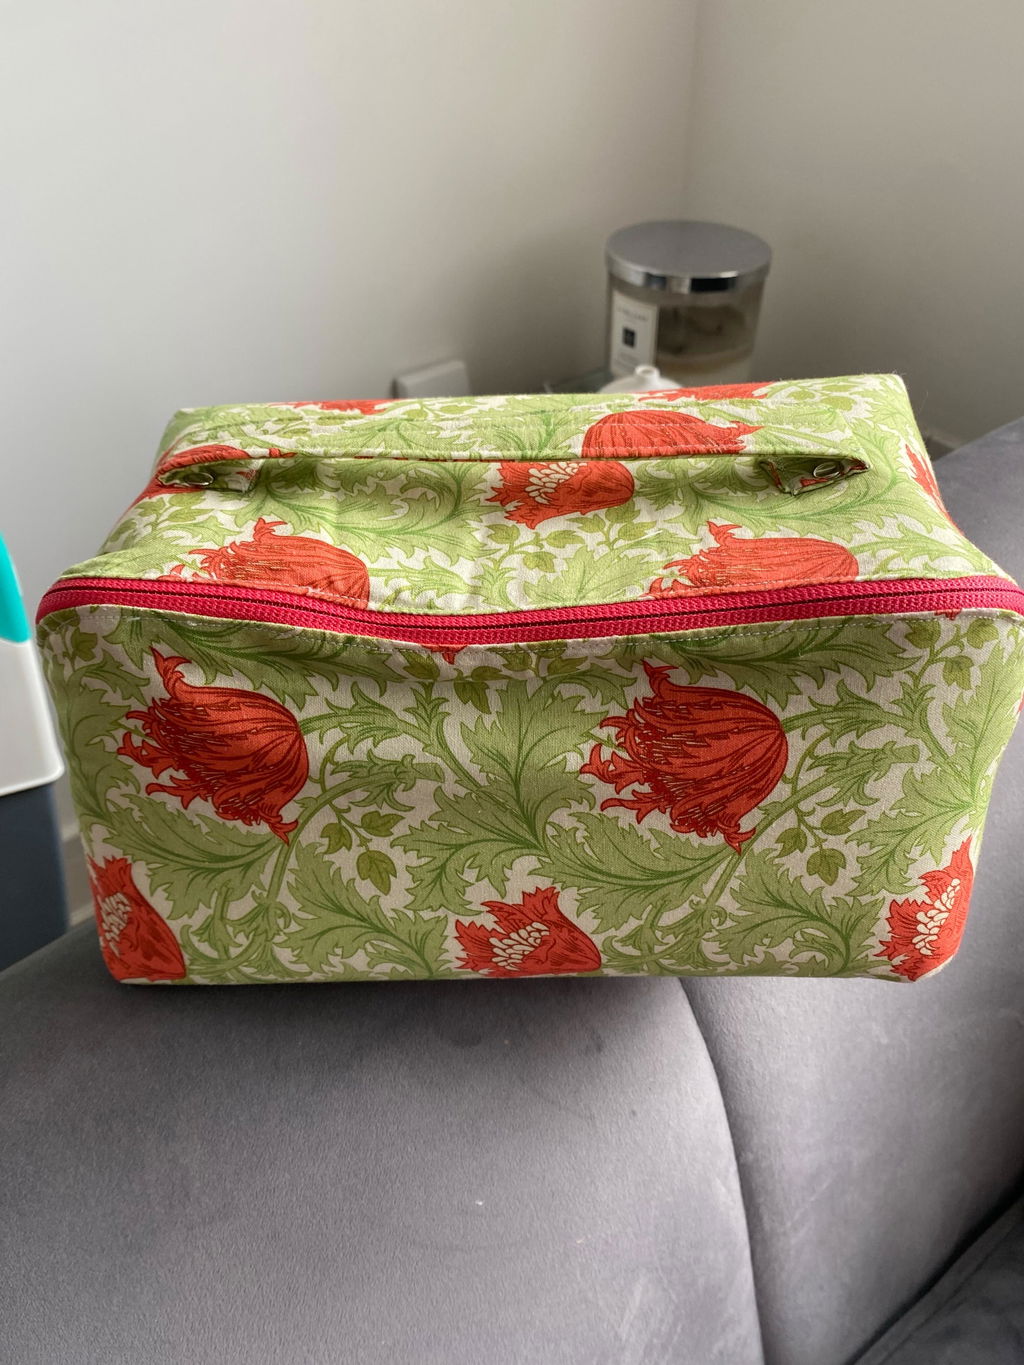
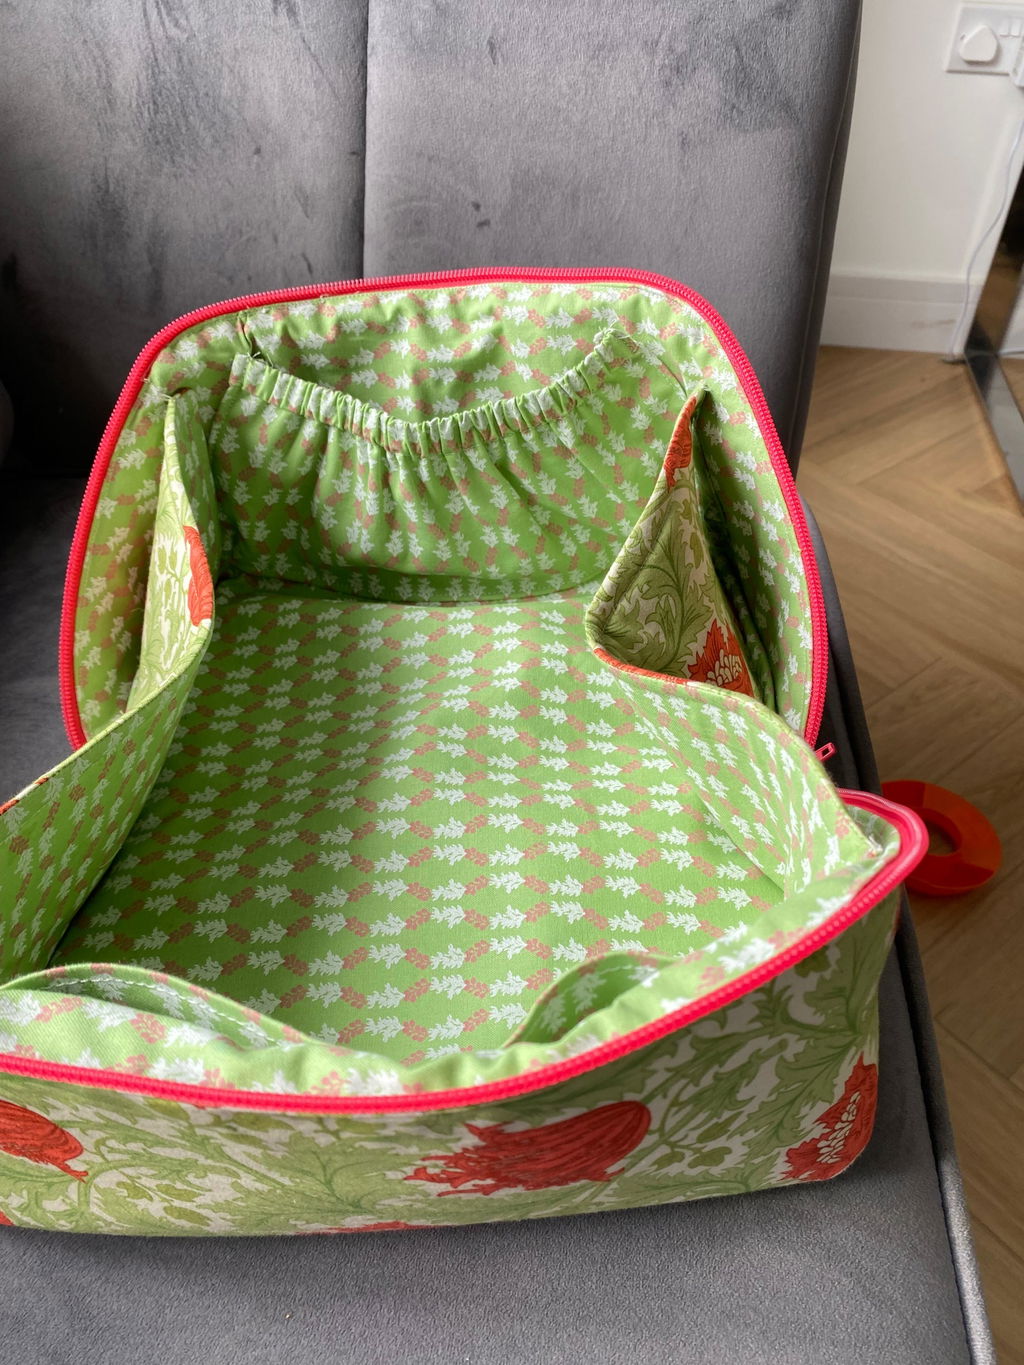
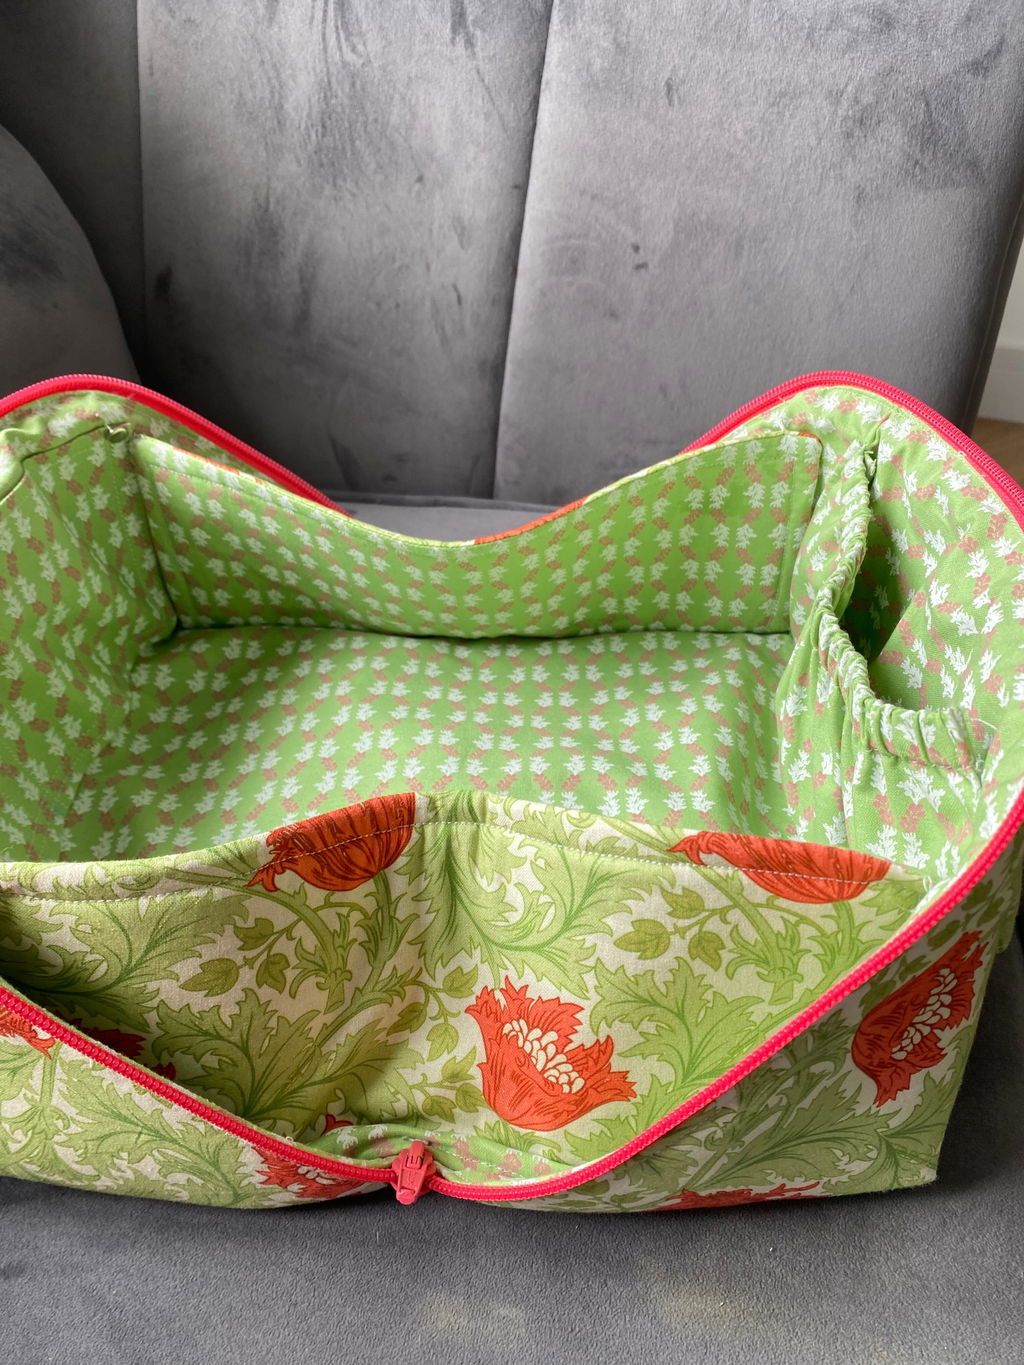
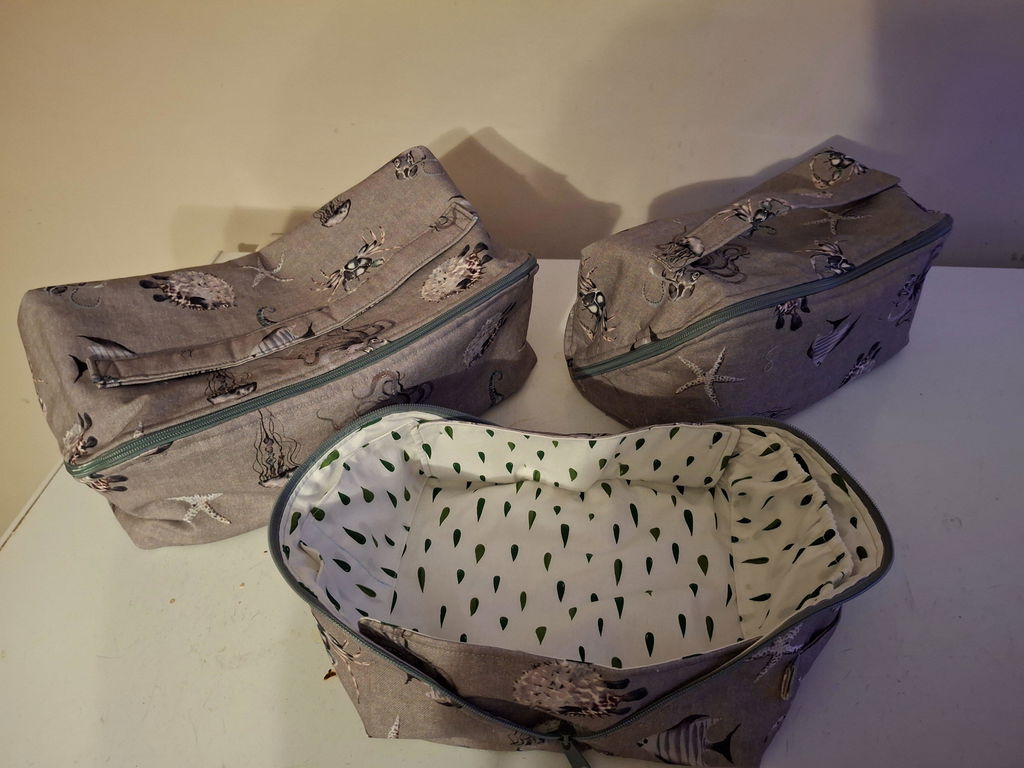
The Claudia Cubic Bag is a practical yet stylish addition to your daily routine. This versatile pouch can serve as a spacious makeup or toiletry bag, as well as a convenient storage tray. Its innovative design allows for a quick transformation into a tray by simply unzipping diagonally, providing easy access to your beauty essentials or any other items you wish to stow away. Perfect for organizing your belongings while traveling, the Cubic Bag can even function as a packing cube. Just follow the step-by-step instructions to create your own versatile Claudia Cubic Bag.
✔ Instant Digital Download
✔ Beginner Friendly + Full Photo Steps
✔ All Print Formats & Projector File Included
✔ Video Sew-Along Tutorial
✔ Trusted Indie Pattern Designer Since 2012
How to Use This Pattern
1. Download instantly after purchase
2. Print at home, copy shop, or project
3. Follow photo instructions & video sew-along
4. Sew your Claudia Bag!
This pattern features:
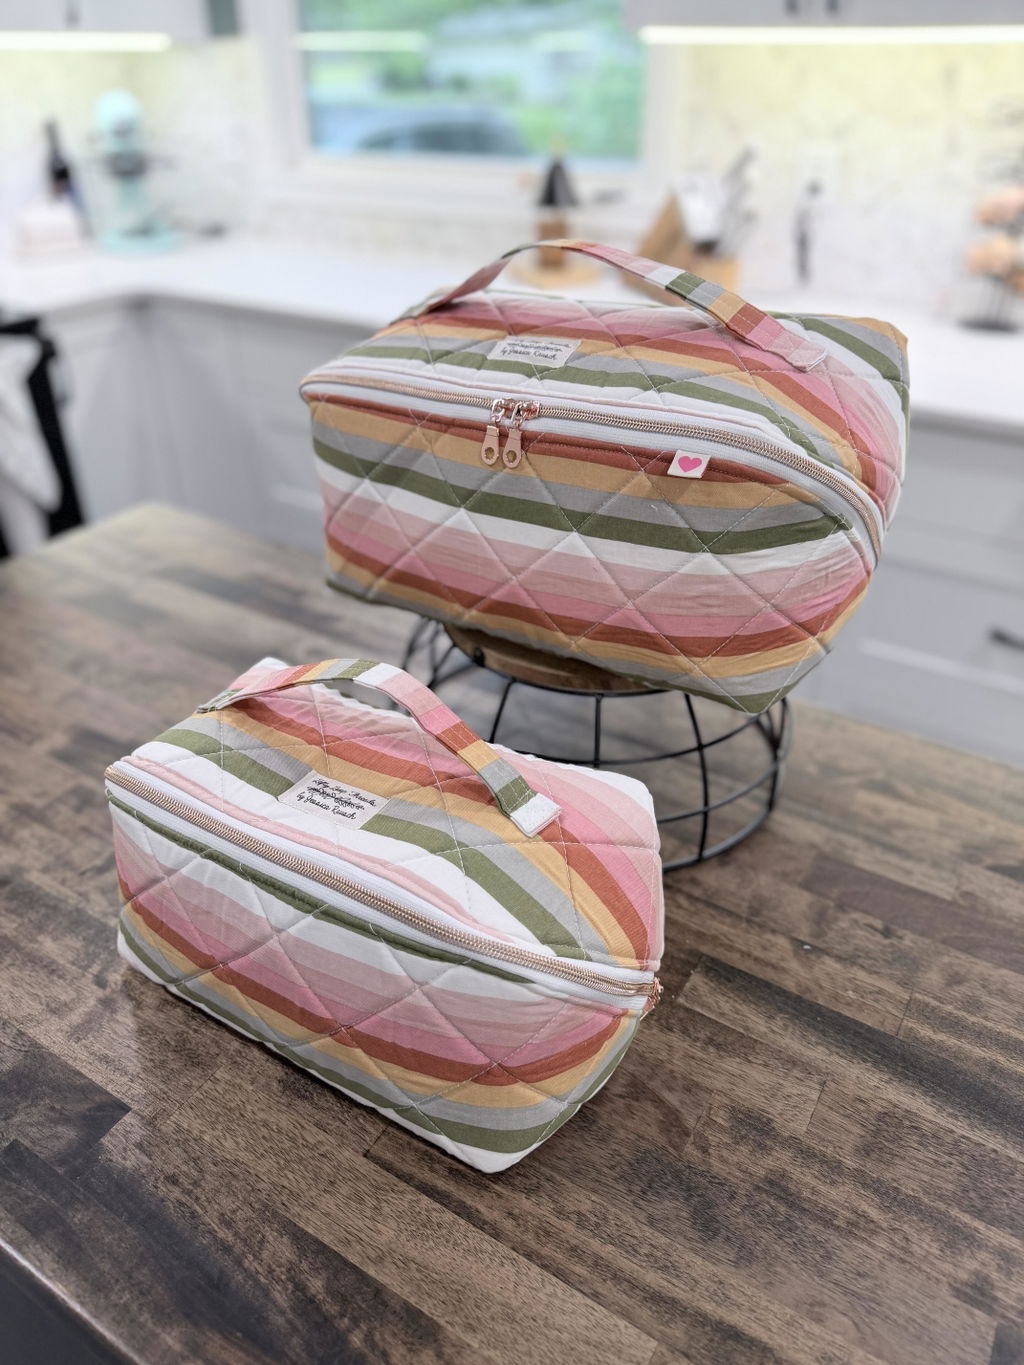
- Three Sizes: Small, Medium and Large;
- Interior Divided Slip Pocket;
- Interior Elasticated Pocket;
- 3 Bag Handle Options: Vinyl/Faux Leather Handle, Fabric Handle or Double Sided Faux Leather Strapping Handle;
- Layered Letter, A4, A0 Print, and Projector Files;
- Photo Step Instructions;
- Video Tutorial (sew along each step with Lindsey).
Sewing Techniques You'll Learn:
Learn the fundamentals for creating the ideal cubic bag. Our instructions include sewing the bag, attaching a zipper, adding pockets, binding seams, adding handles, and more. Feel free to unleash your creativity with these step-by-step instructions, photos, and video tutorial. You'll have a unique and stylish bag to fit your personal style!
This is a digital PDF Sewing Pattern. It is NOT a paper pattern. You will be able to instantly download this pattern from your email or account order history.Sizing Info:
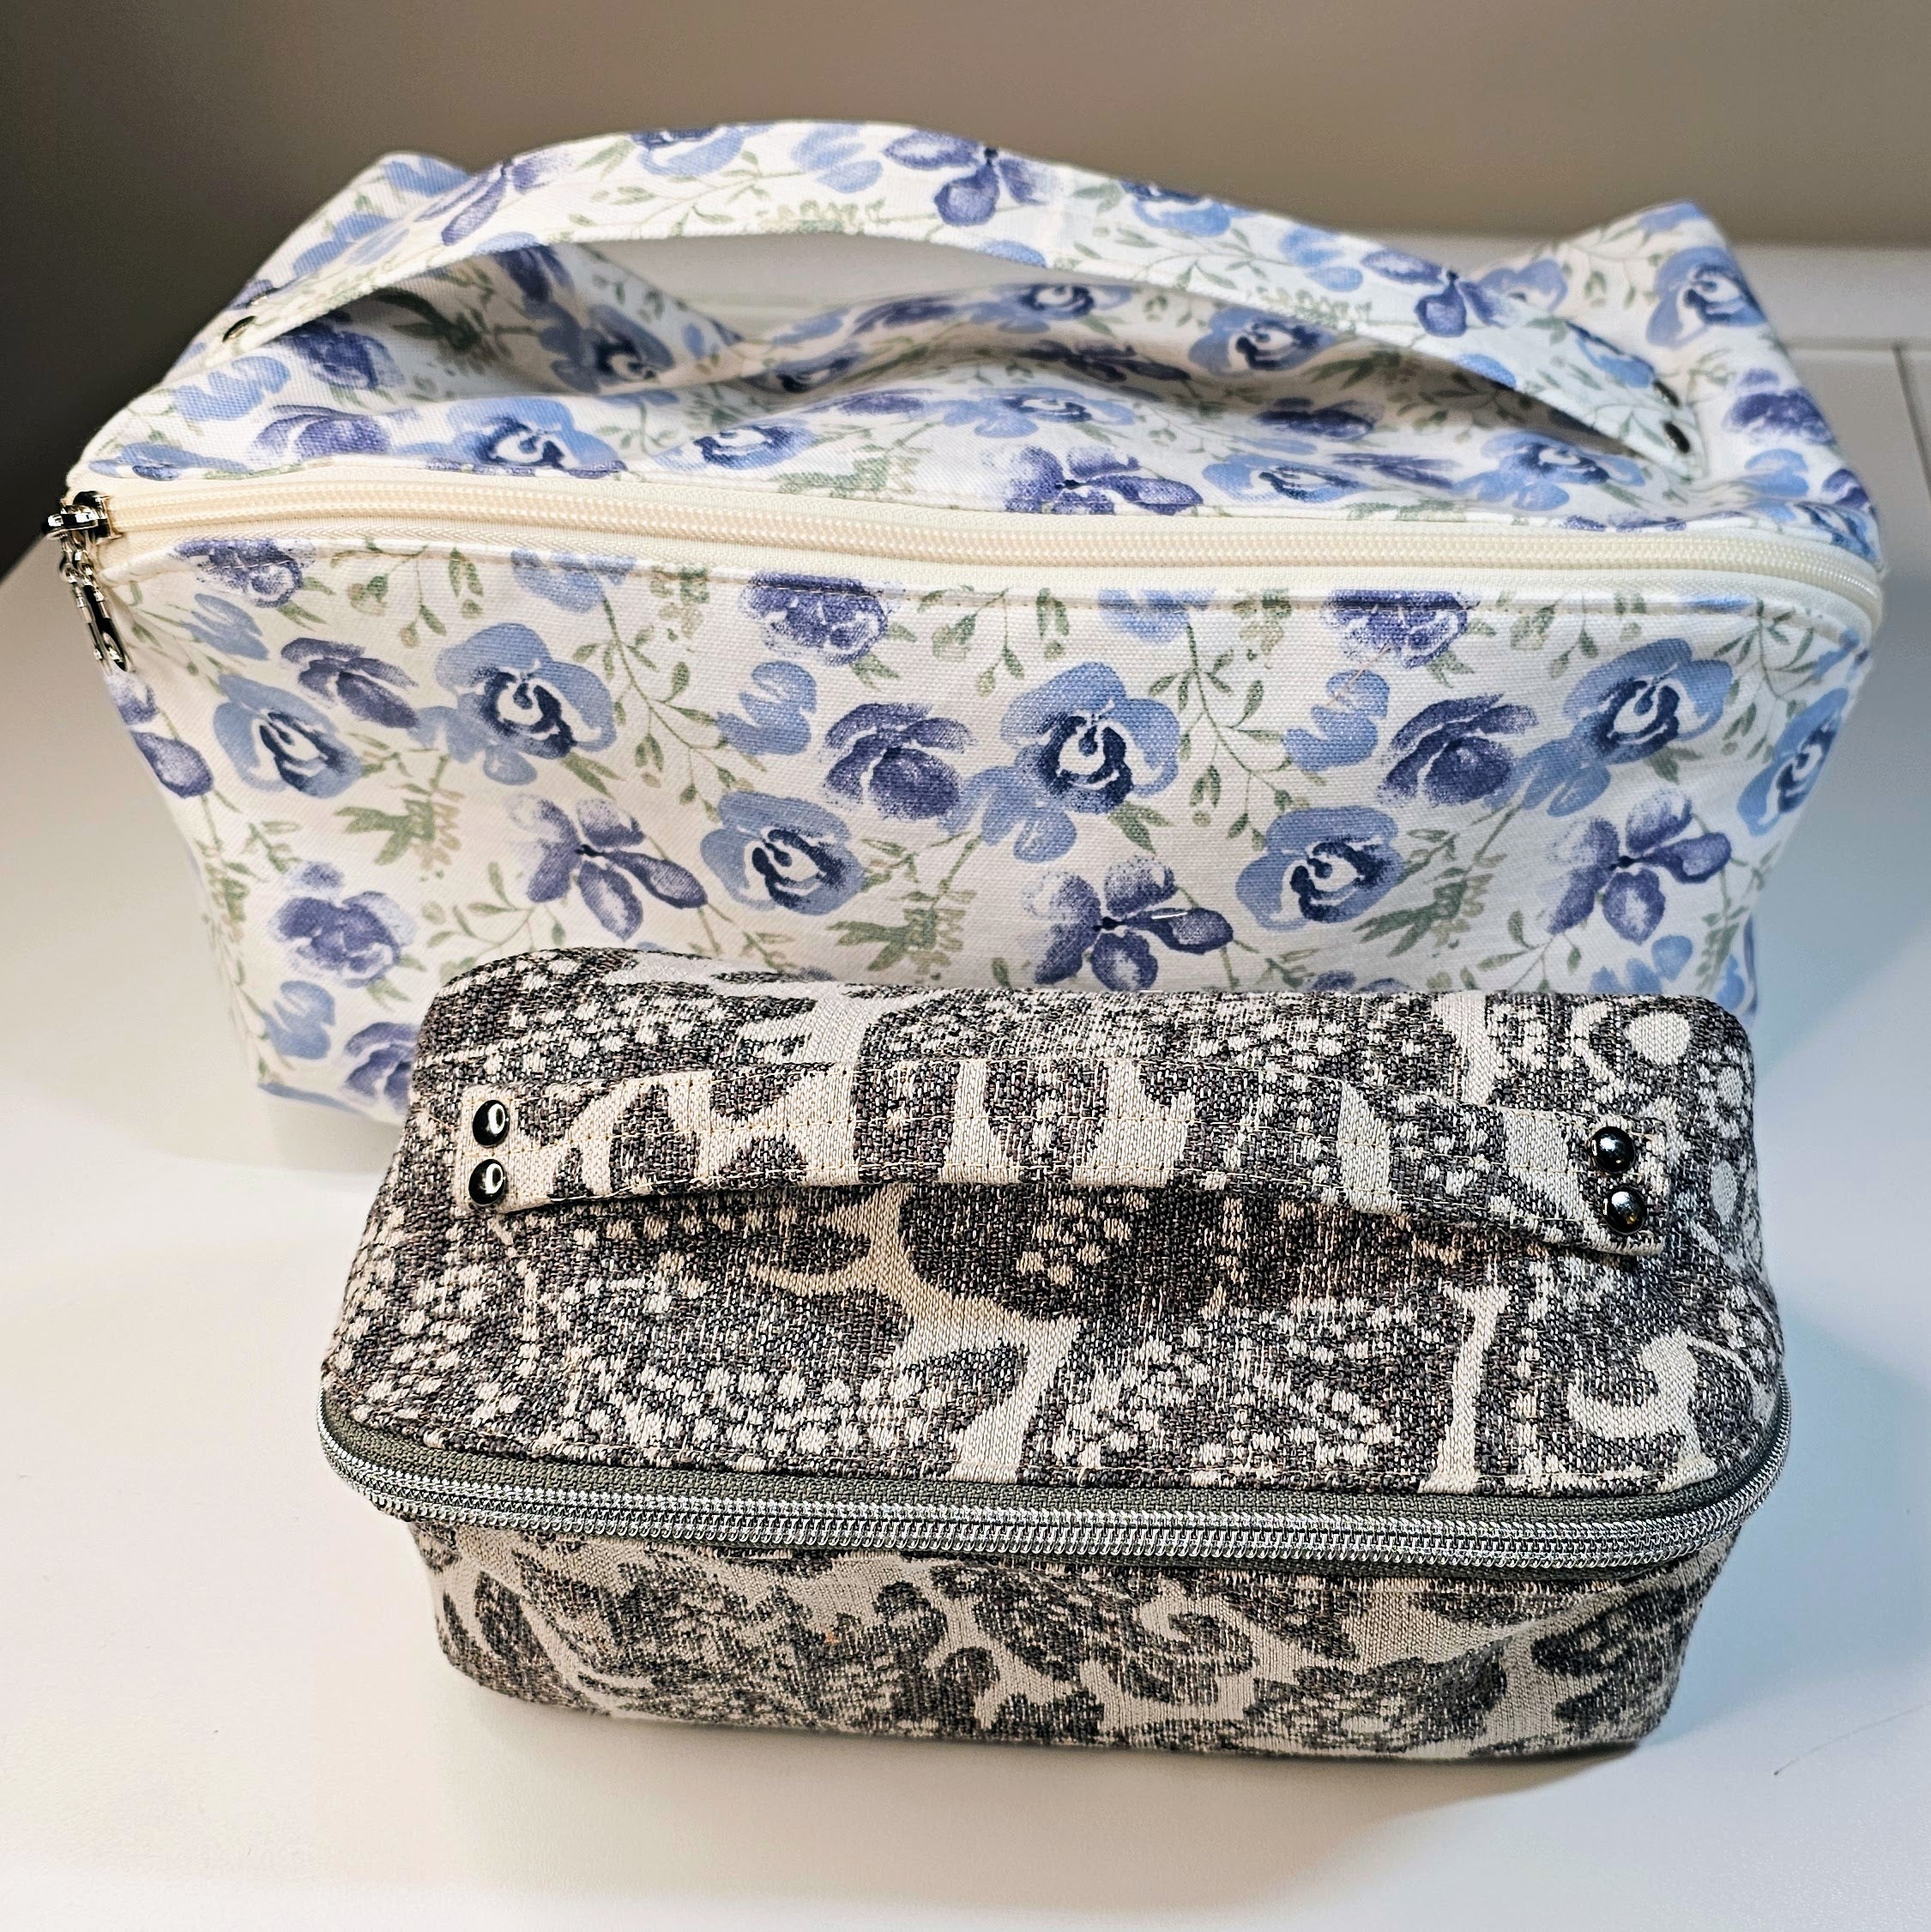
This bag comes in size Small, Medium and Large. (The measurements are noted as depth by height by width)
Small: 4.4” D x 4.4” H x 8.8” W / 11,2 cm D x 11,2 cm H x 22,4 cm W
Medium: 5.5” D x 5.5” H x 11” W / 14,0 cm D x 14,0 cm H x 28,0 cm W
Large: 6.9” D x 6.9” H x 13.7” W / 17,5 cm D x 17,5 cm H x 35,0 cm W
Fabric Recommendation:
This Bag is designed to be made using medium to heavy-weight woven fabrics for the Exterior Pieces and light to medium-weight woven fabric for the Interior/Lining Pieces.
Fabric Suggestions:
Woven Fabric for Outer: For Example Canvas, (Faux) Leather, Vinyl, Denim, Cotton Woven (medium to heavy-weight), Waterproof Canvas, 600D/1000D Polyester, Waxed Canvas, Cotton Duck Fabric, Ripstop Nylon, Oilcloth, Polyurythane Lined (PUL) etc.
Woven Fabric for Lining: Nylon 400D, Ripstop Nylon or Waterproof Canvas. These fabrics are light weight, durable, quick-drying and easy to clean. This is helpful when using it as a cosmetics bag or to store things such as shampoo, lotion or toothpaste. Alternatively, you can also use other lightweight woven fabric like quilting cotton, woven cotton blends, etc.
Interfacing:
Depending on the fabric that you use for the main and liner pieces, you can use fusible foam or fleece for the main pieces to add some shape. When needed you can add regular mid-weight interfacing for Vinyl or Faux Leather. Light to medium weight interfacing can be used for the lining pieces.
Other Materials:
• #5 Polyester Zipper by the Yard (the width of the closed teeth is 5mm (0.2")
- Small Bag - 24" (~61 cm)
- Medium Bag - 31" (~79 cm)
- Large Bag - 36.5"(~93 cm)
• Small piece of 1/4” elastic, when sewing elasticated pocket
• 1" Double Fold Bias Tape (premade) or 1" Fold Over Elastic (FOE)
• Optional: 4 rivets for the bag handle and 5 rivets for the pockets
• Optional: Piece of Double Sided Faux Leather Strapping for bag handle

What's Included:
Pattern pieces for all parts
Projector File
A0 Print Shop Pattern Pieces Option
Fabric Requirements Chart
Size Chart
Tips and Notes
Glossary
Table of contents
Pattern Piece Diagram
Printing Instructions
Supply List
Step-by-step instructions. Each step has a color photo for visual aid.
Join Me On Facebook:
Join me at https://www.facebook.com/groups/pdfellieandmacsewingpattern for new pattern releases coming soon.
**Copyright**
This pattern is copy written.
You may use this pattern to create and sell bags of your own. Giving credit to the pattern when selling would be appreciated, but not required.
You may not edit or recreate this pattern to sell.
You can not distribute this pattern to others.
You may not mass produce this pattern or clothing made using it.
I want you to love what you make and have fun making it.
These are digital PDF Sewing Patterns. They are not paper patterns that you would receive in the mail. You will be able to download your pattern(s) immediately after purchase. They will also be available in your account to download any time. For more information on what a PDF Sewing Pattern is and how to use one, click here.
- This pattern is copyrighted. You may use this pattern to create and sell products of your own. Giving credit to the pattern when selling would be appreciated, but not required.
- You may not edit or recreate this pattern to sell.
- You can not distribute this pattern to others.
- You may not mass produce this pattern or clothing made using it.
Love that there is a sew along video! I did struggle with the bias binding at the end but overall it turned out perfect for my upcoming trip!
Great pattern however when looking at instructions it’s confusing as the chosen fabrics for project are difficult to make out. Poor photography not well lit
I would use patterns again but the instructions and photography need to be upgraded as they let down a really great product ie the pattern and it may put beginners off project
Hi Audrey, thank you so much for your honest feedback. I am thrilled to hear that you love the pattern design itself, but I am so sorry that the photography in the instructions made the assembly frustrating for you!
As a designer, my goal is always to make the sewing process as clear and stress-free as possible, especially for beginners. I am going to personally check this file this week and look into updating the photo lighting and contrast to ensure the steps are much easier to see and follow. I know how tricky it can be when fabric sides blend together, and your notes are incredibly helpful for making our tutorials better.
In the meantime, I wanted to make sure you knew we have a full step-by-step video sew-along available that accompanies this pattern! Sometimes seeing the construction happen in live motion with different lighting can help clear up those tricky areas.
Thank you again for helping us improve. Please feel free to reach out to us at info@ellieandmac.com if you ever run into a specific step you're stuck on—we are always happy to help! ❤️
This was really fun to make! I am a real beginner so my bias tape didn’t go in perfectly, but I love my cubic bag.
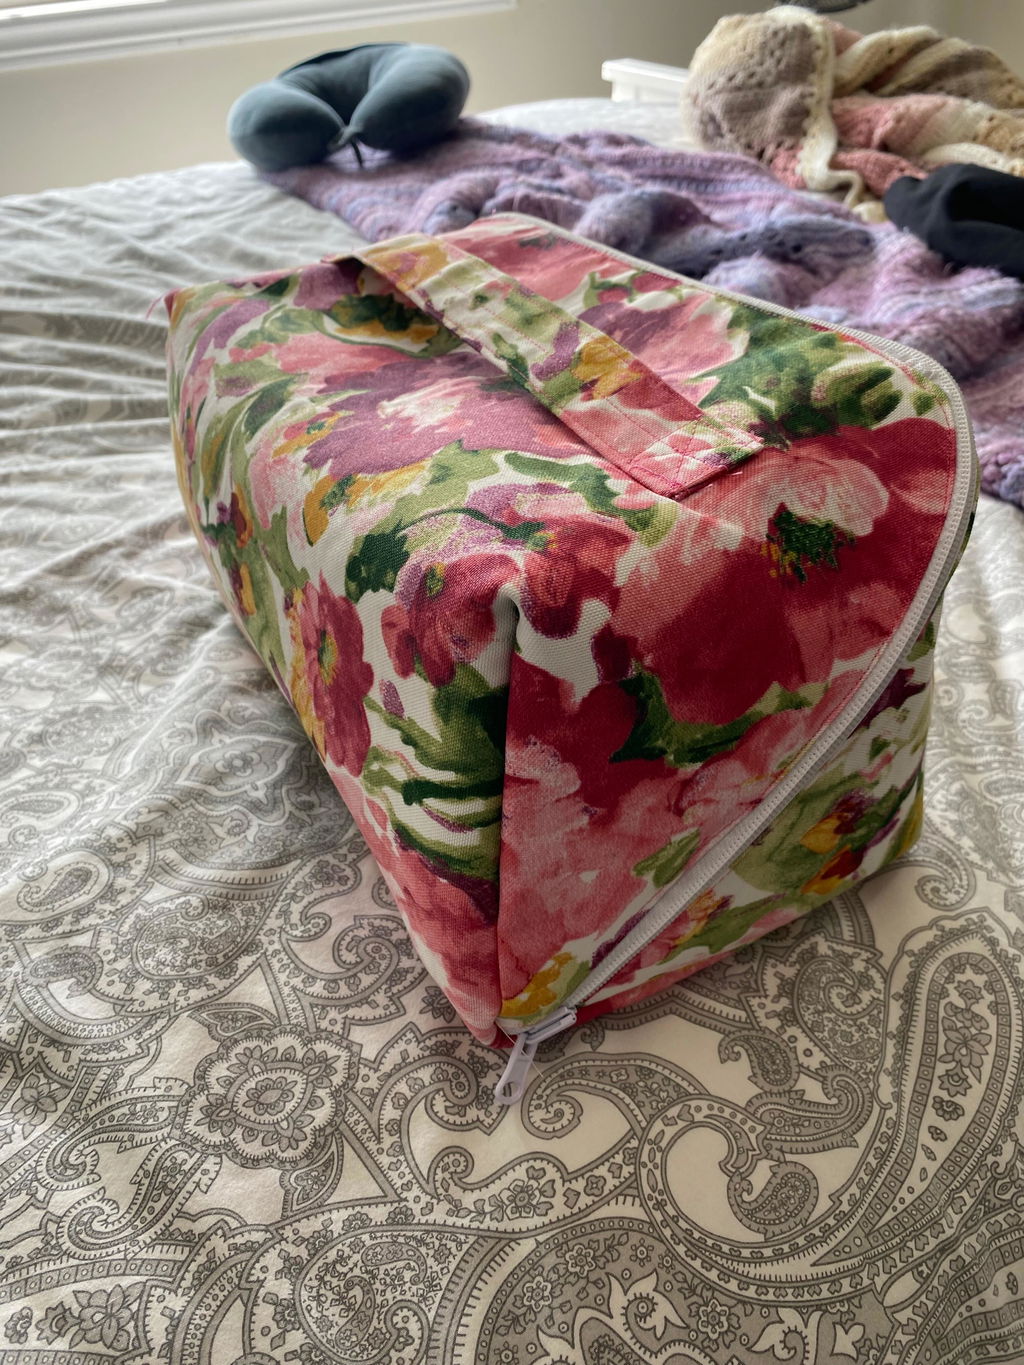
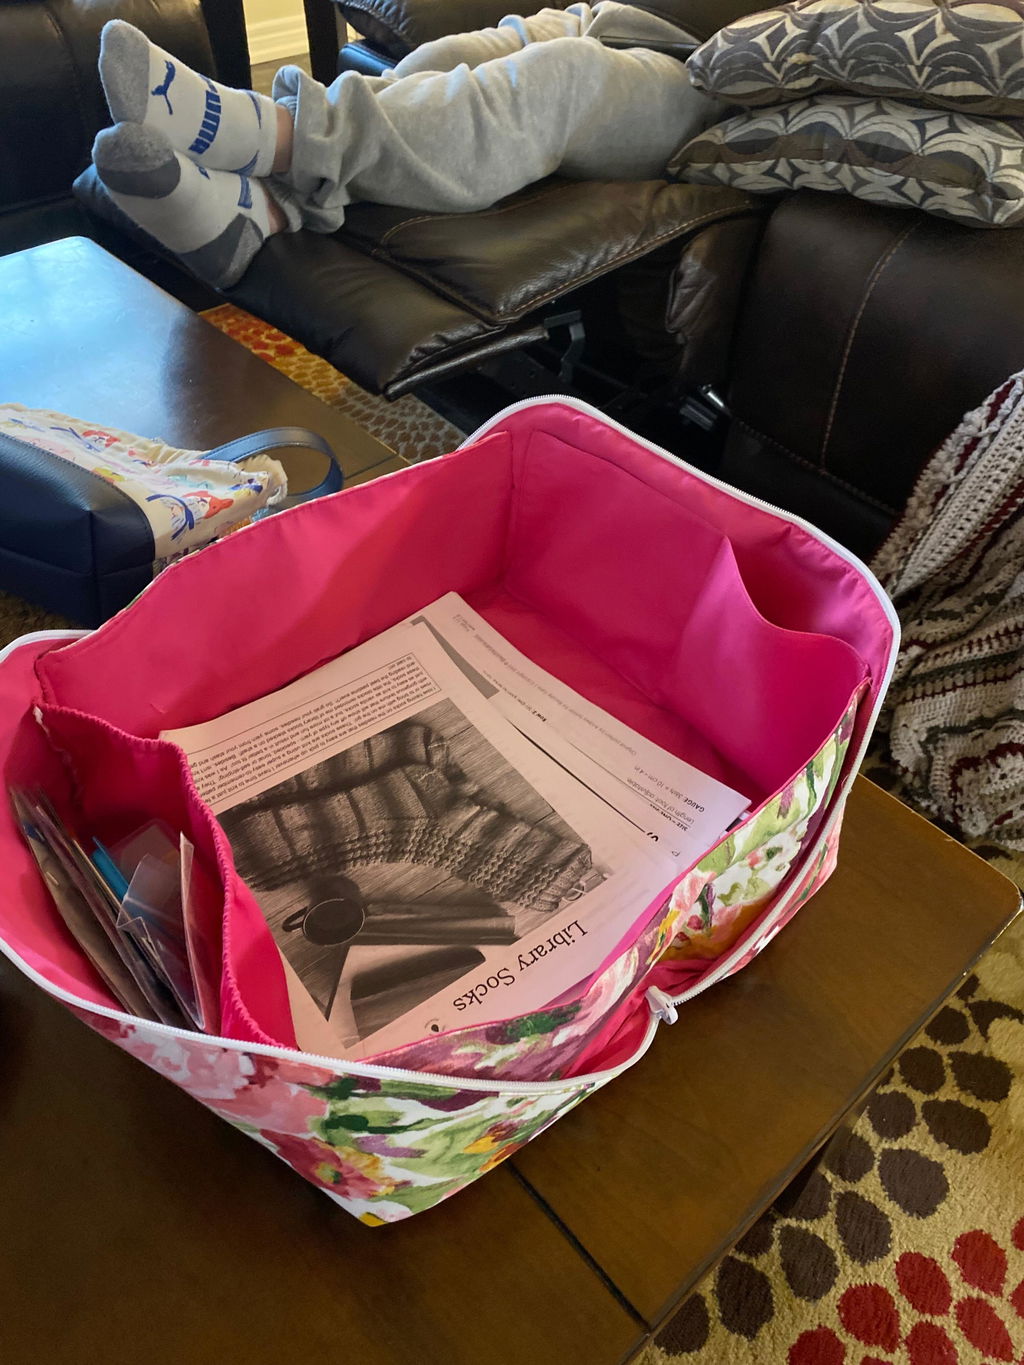
Oh, congratulations! Reading this just absolutely made my day.
Please don't worry about the bias tape not being 'perfect'—it is notoriously one of the trickiest skills to master in sewing, even for people who have been doing it for years! The fact that you took on a bag with a few tricky areas as a true beginner and came out with a Cubic Bag that you love is a massive accomplishment. You should be so incredibly proud of yourself!
Thank you so much for sharing your success with us. Welcome to the wonderful world of sewing, and happy making on your next project! ✂️
Loved this pattern. I’ve made a few now and want to make more they are so fun to put together
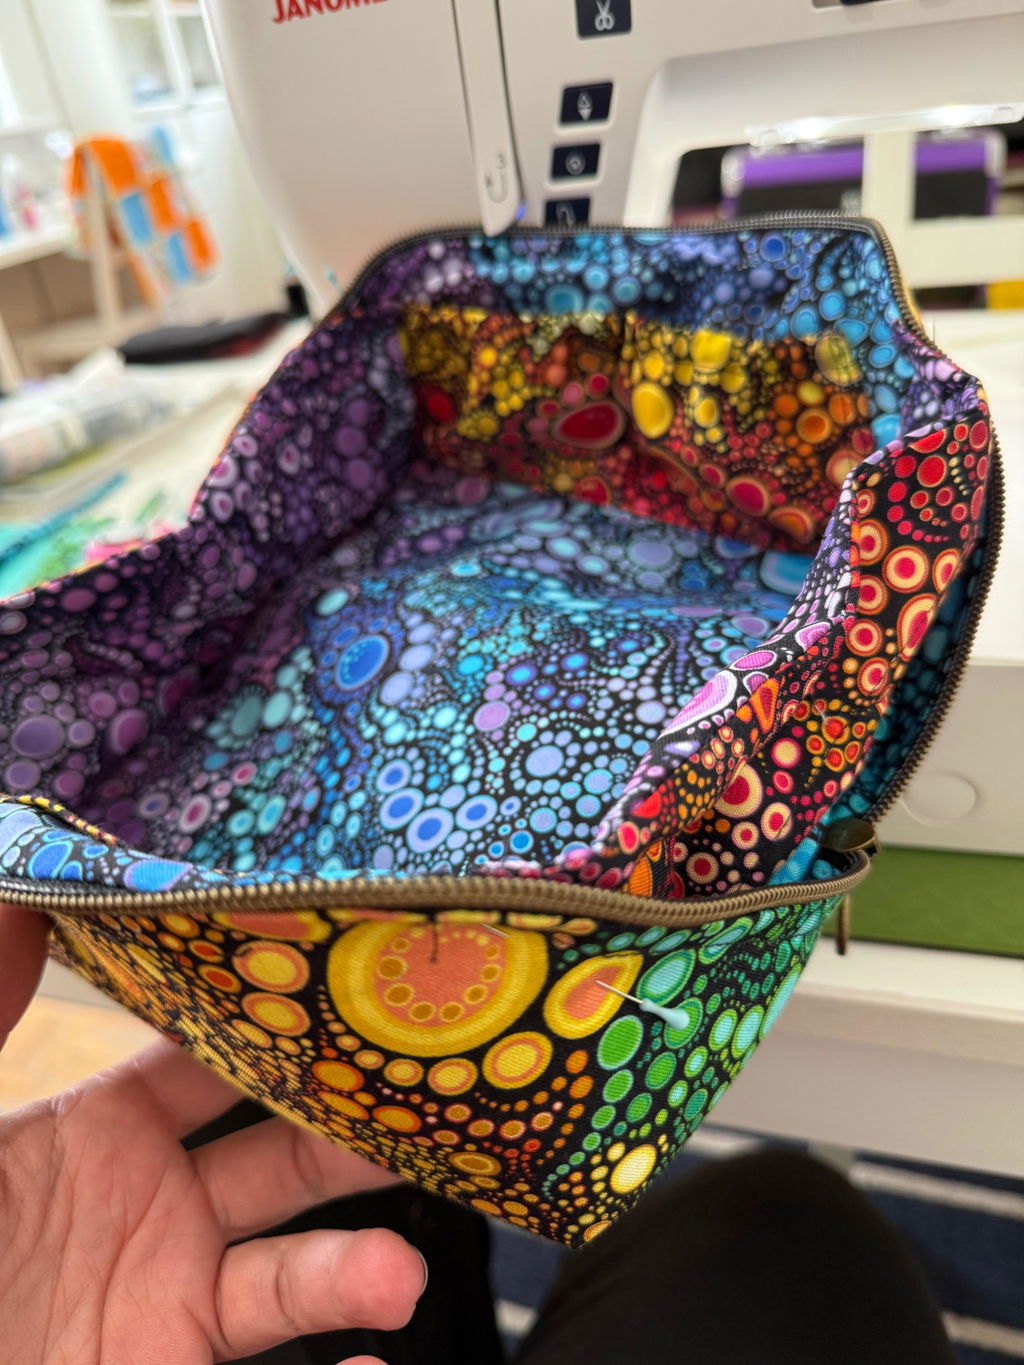
A lovely pattern, and surprisingly easy. I made a medium first and it's really roomy. I'm now making a small and I'm sure I'll make more. It makes a great gift too.
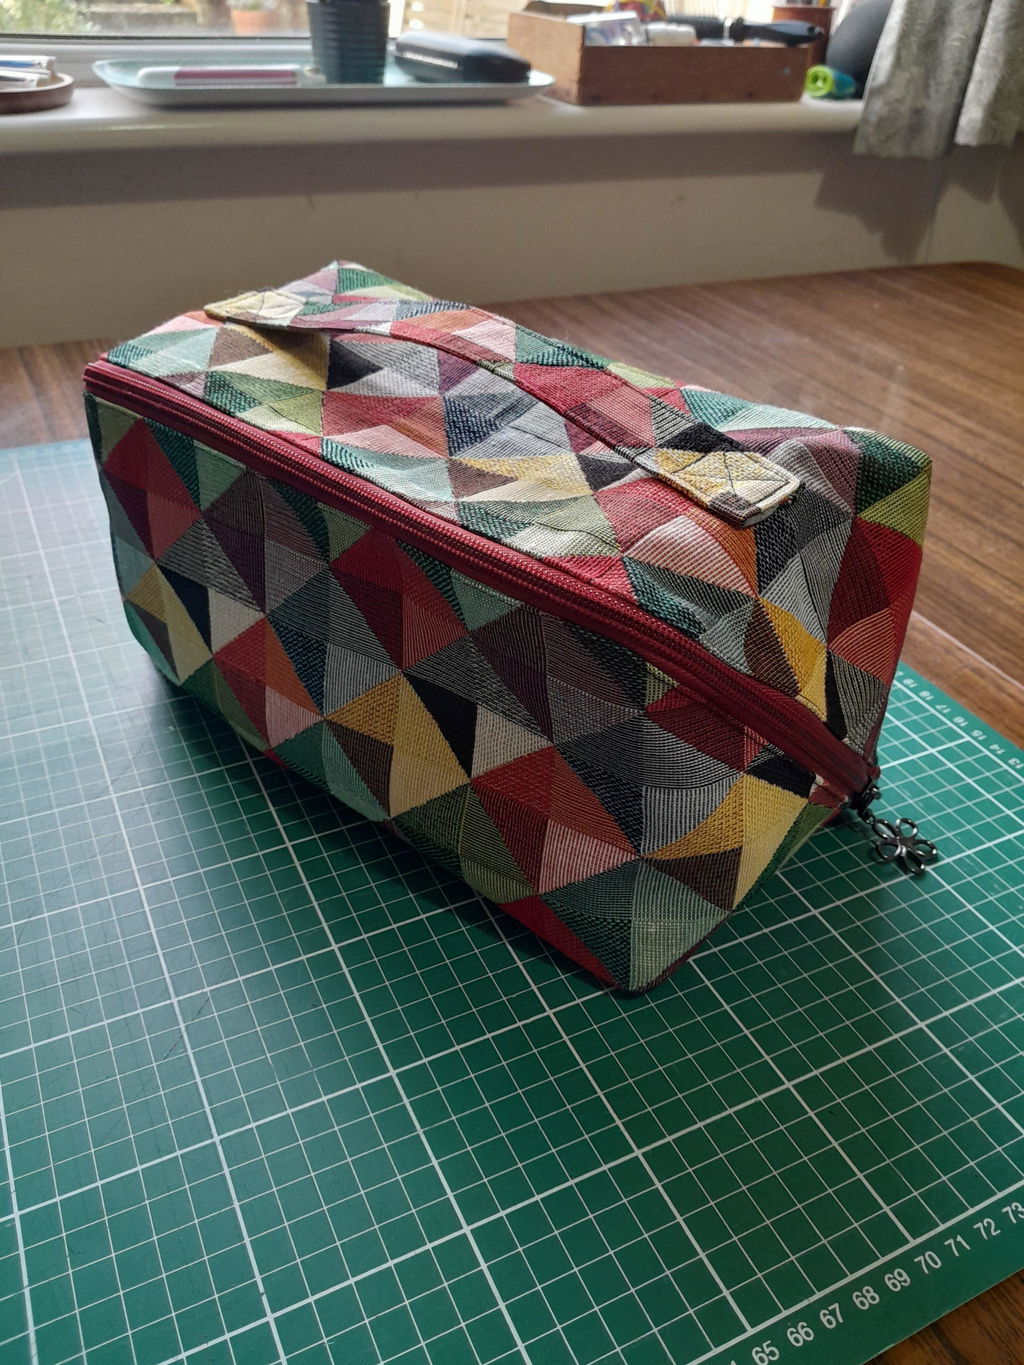
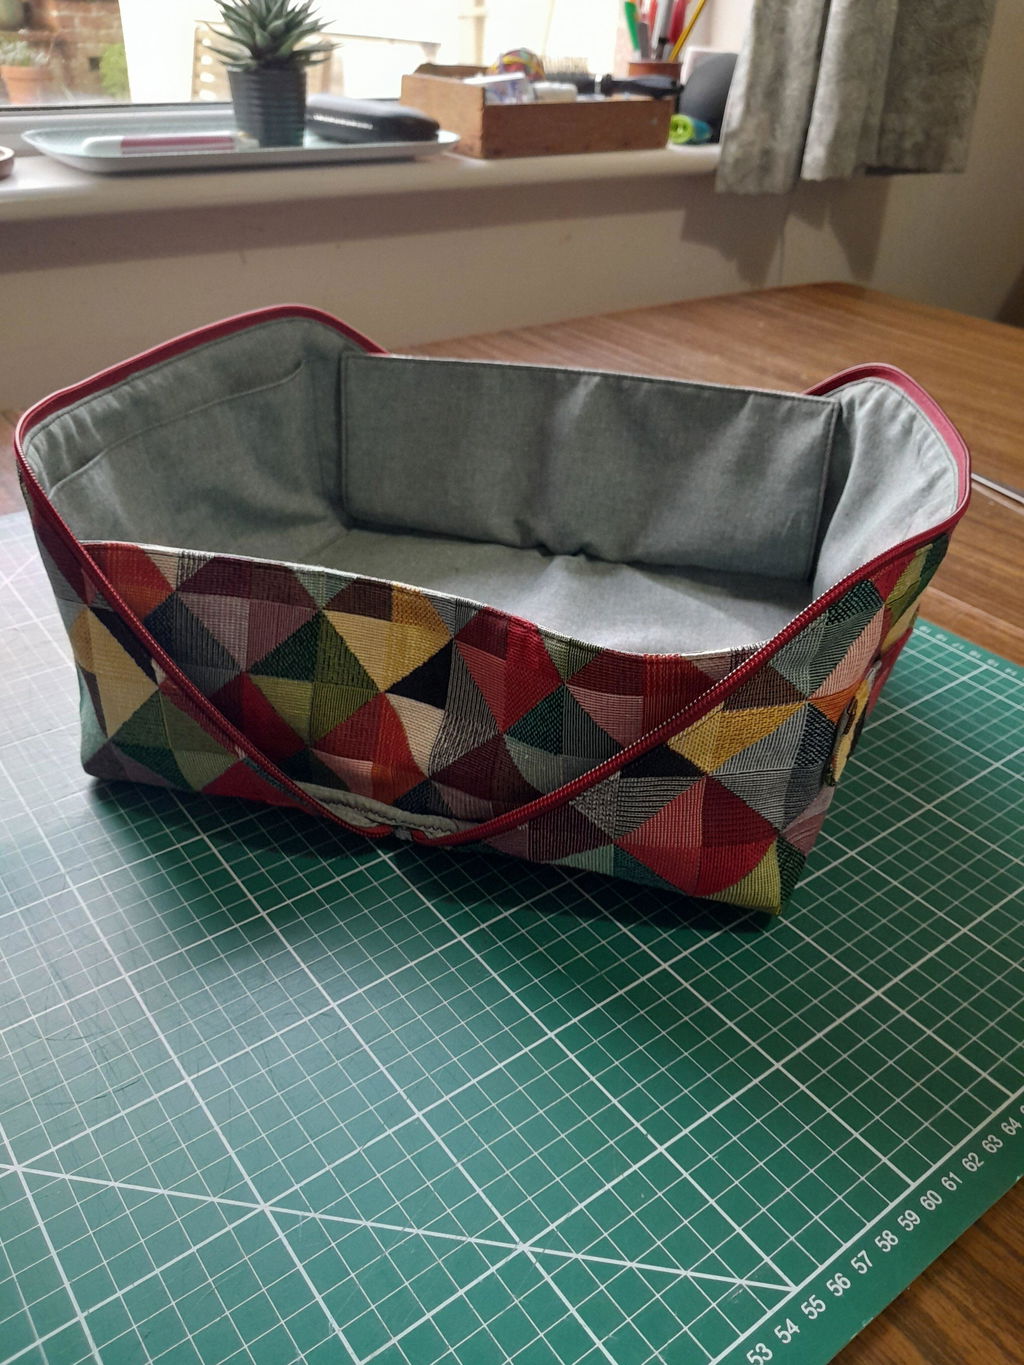
Great pattern. Very clever the way it turns from a bag to a tray. I made 5; 3 presents, one secret Santa and one for me
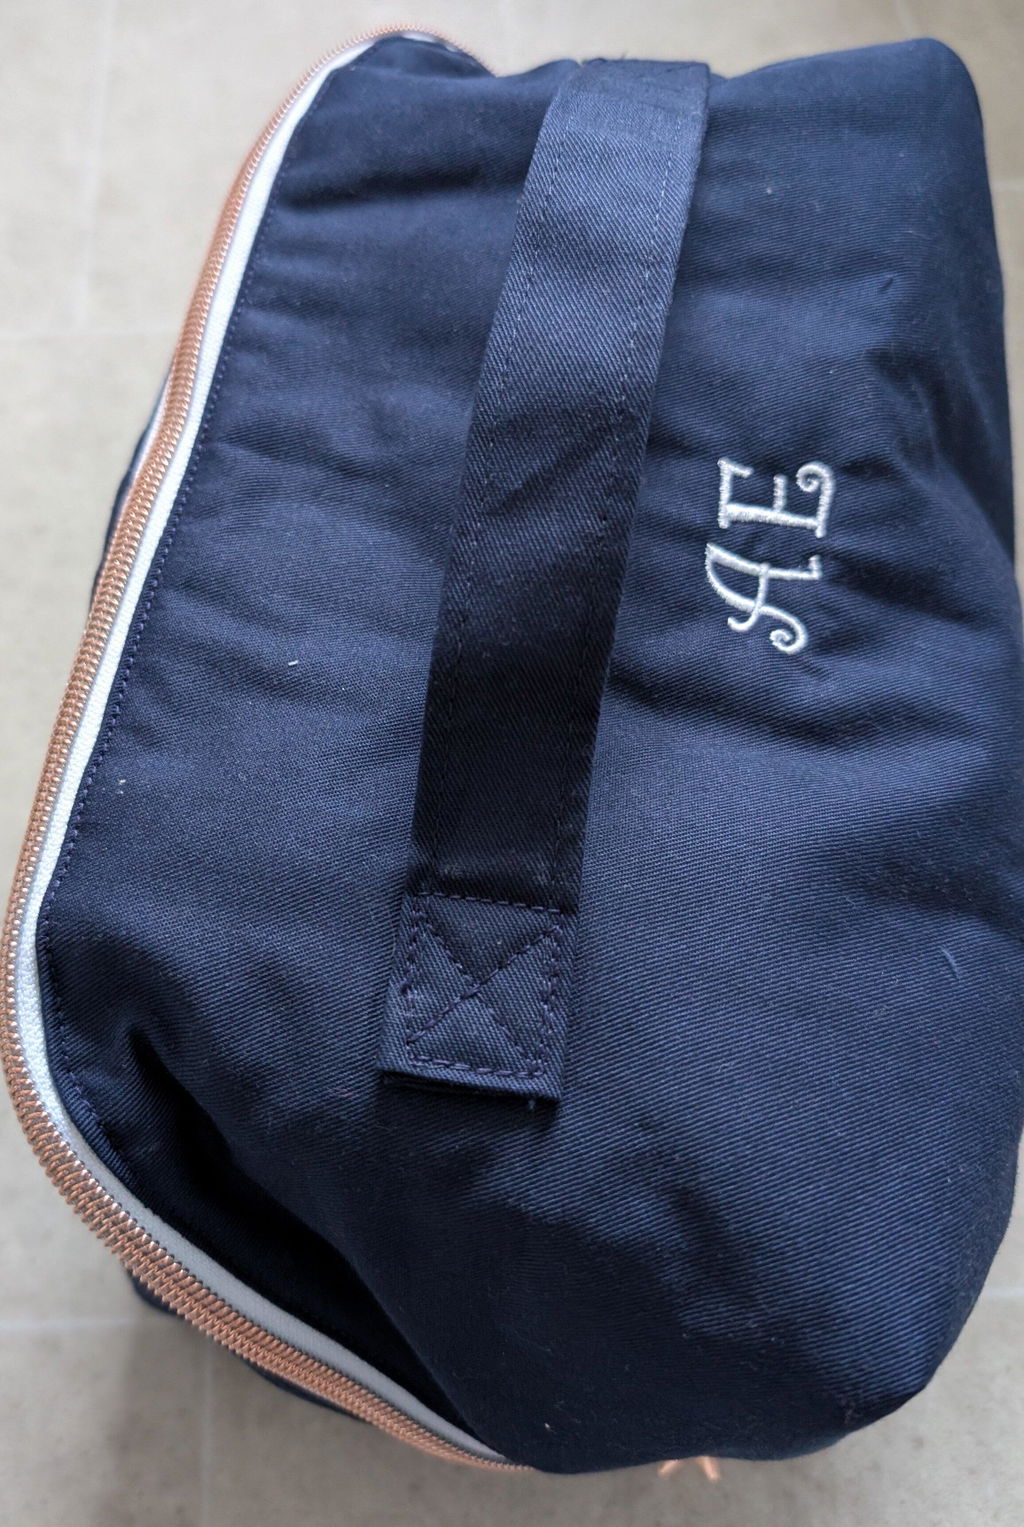
I made the medium size for a friend 's birthday present. I used navy cotton drill for the outside, with a sewing themed fat quarter for the inside. The zip is rose gold coloured with a star zip pull. I machine embroidered my friends's initials before assembly.
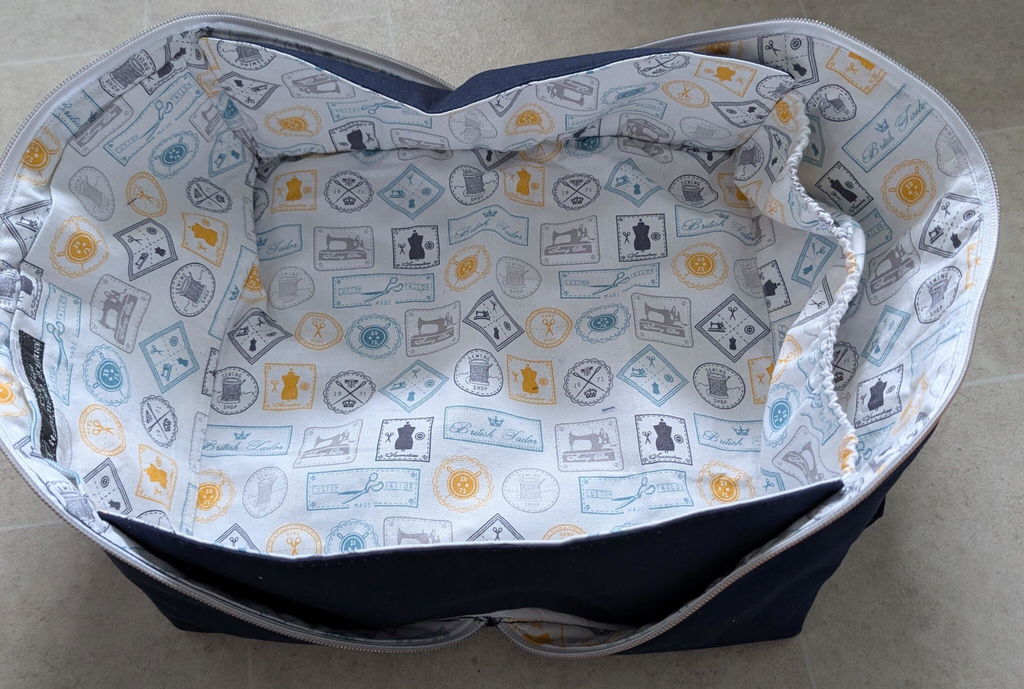
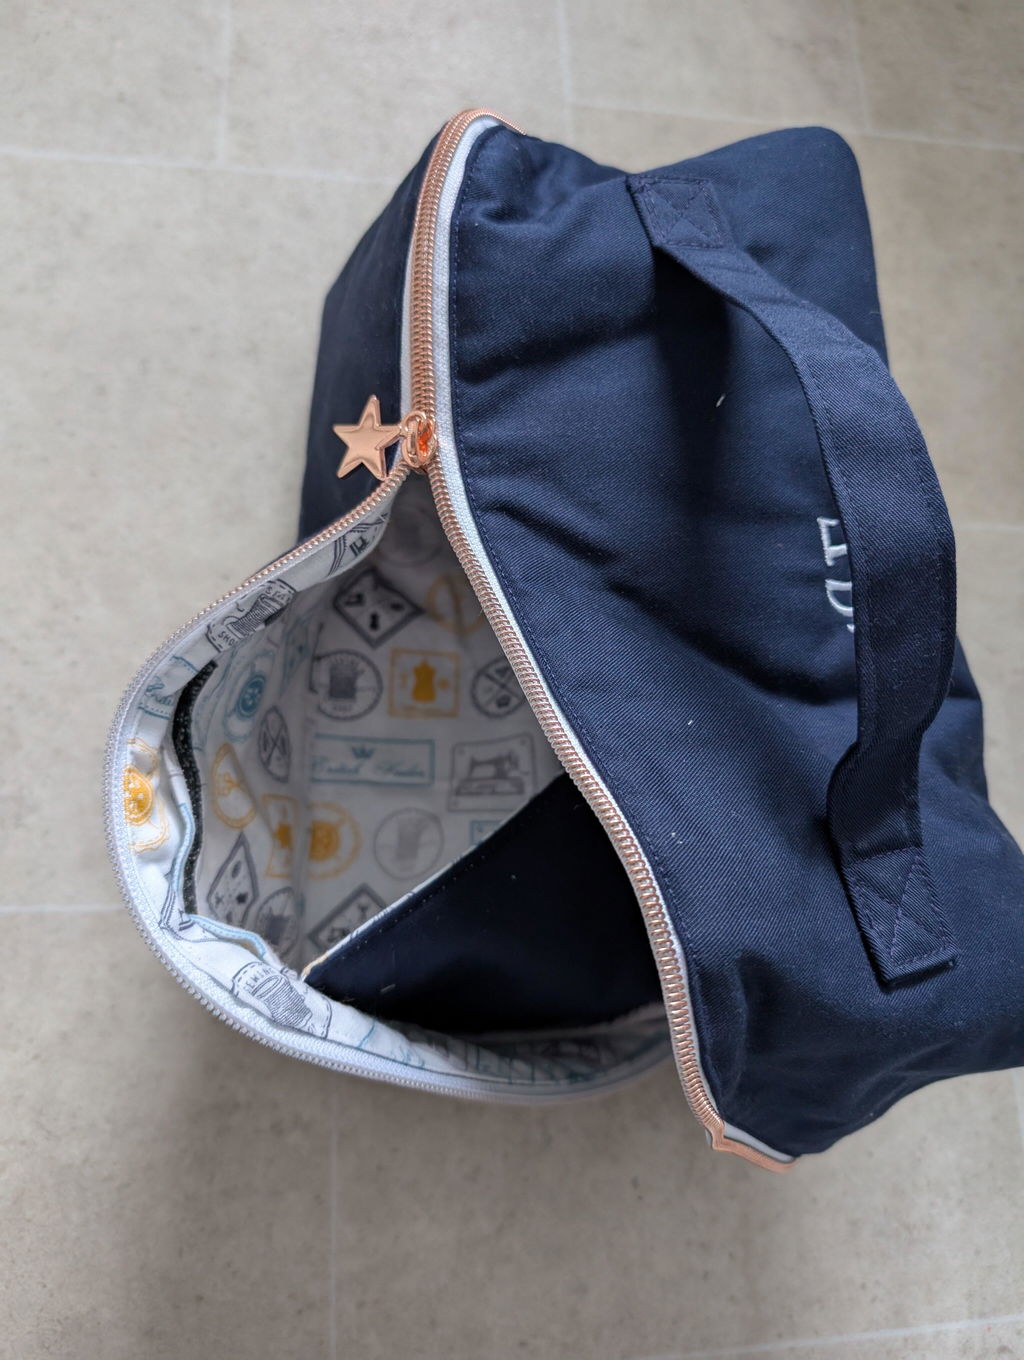
Made for daughter in law to store makeup she loved all the compartments inside although next time I will defo use stiffer fabric
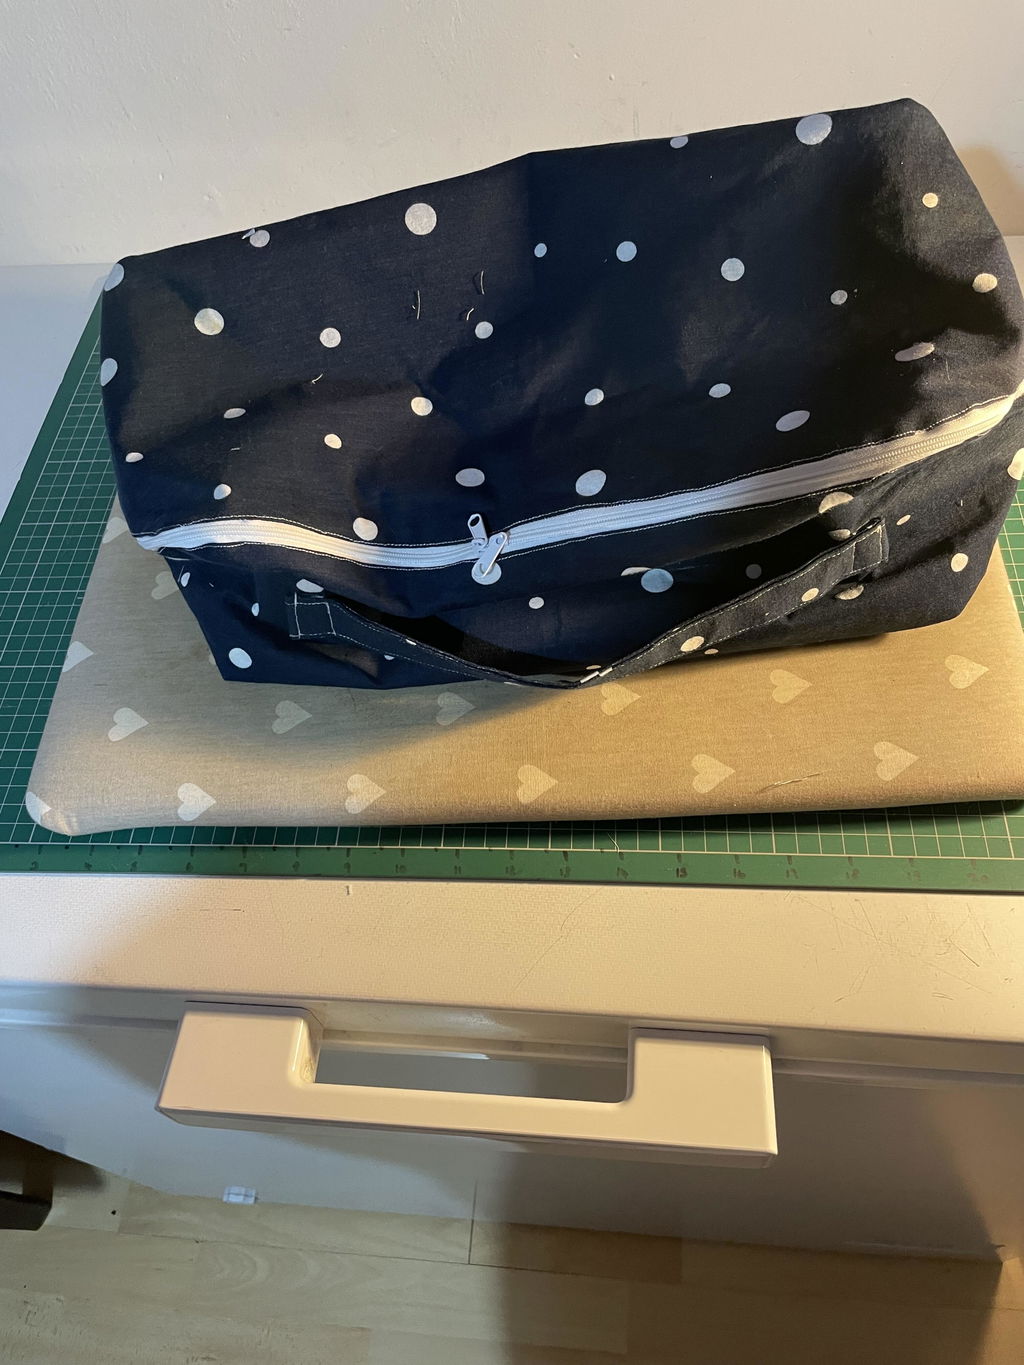
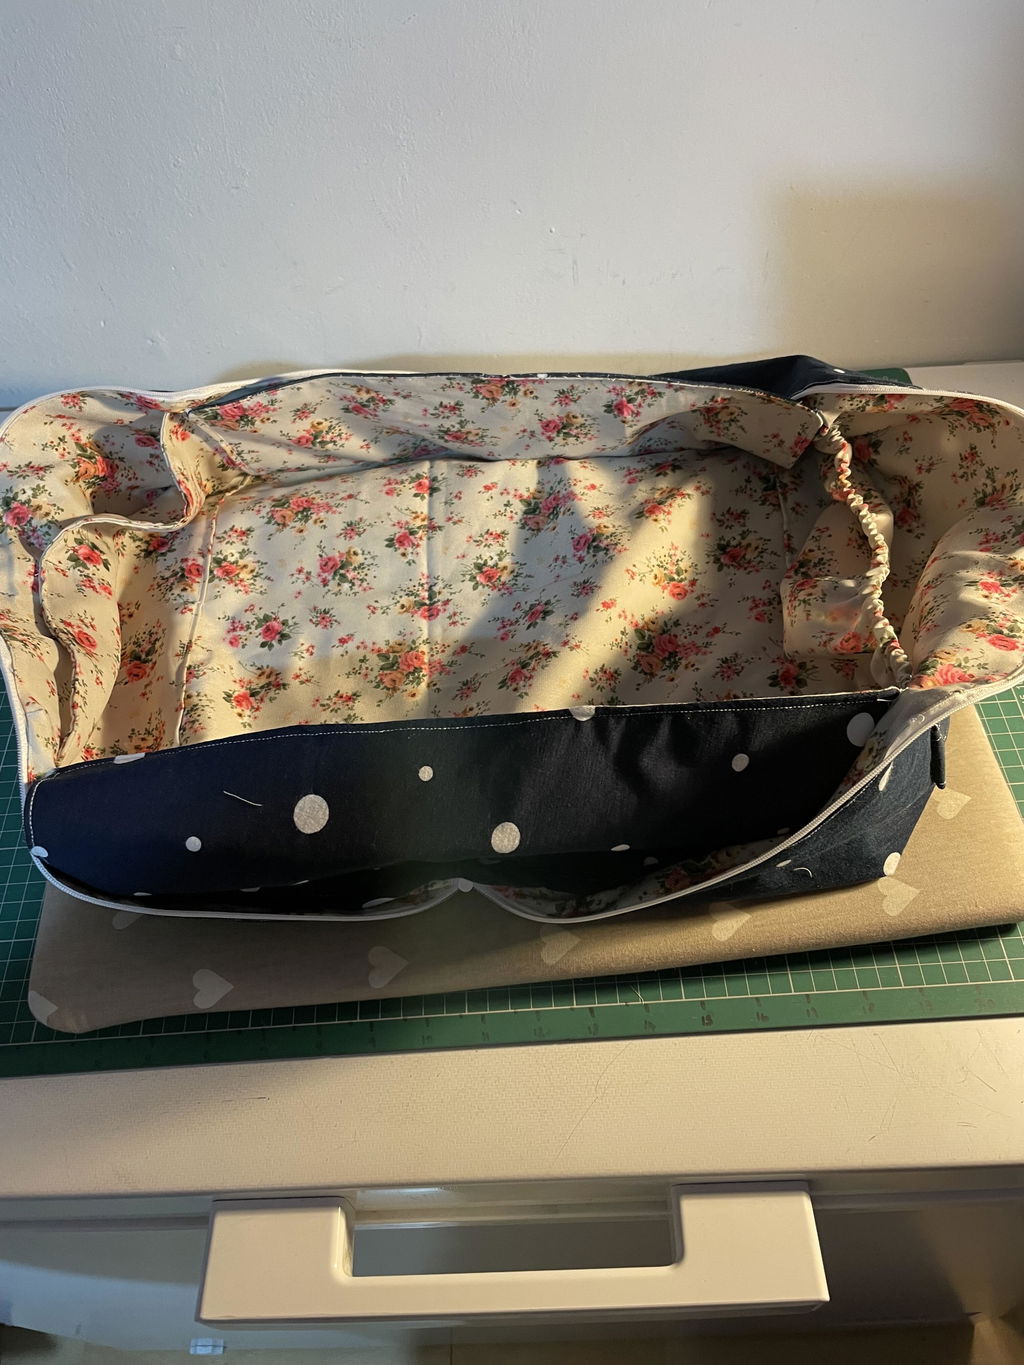
Loved this bag, so clever how it unzips to become a flat bottom basket. I ended up making 2 as gifts and I’m sure I’ll be making more!
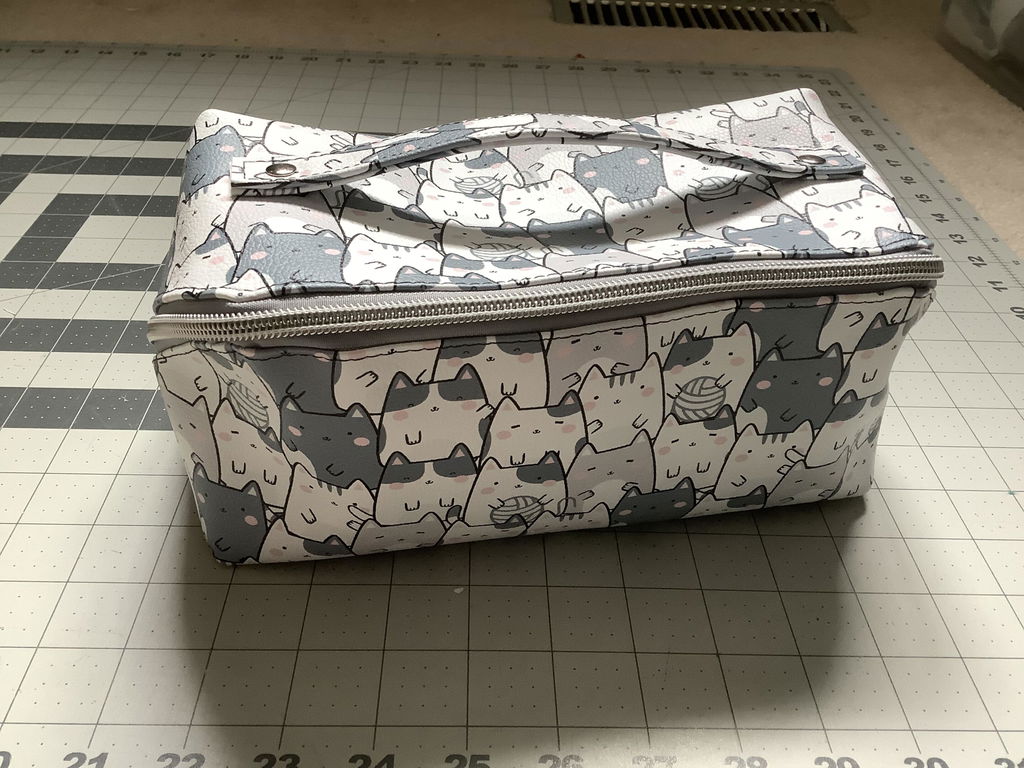
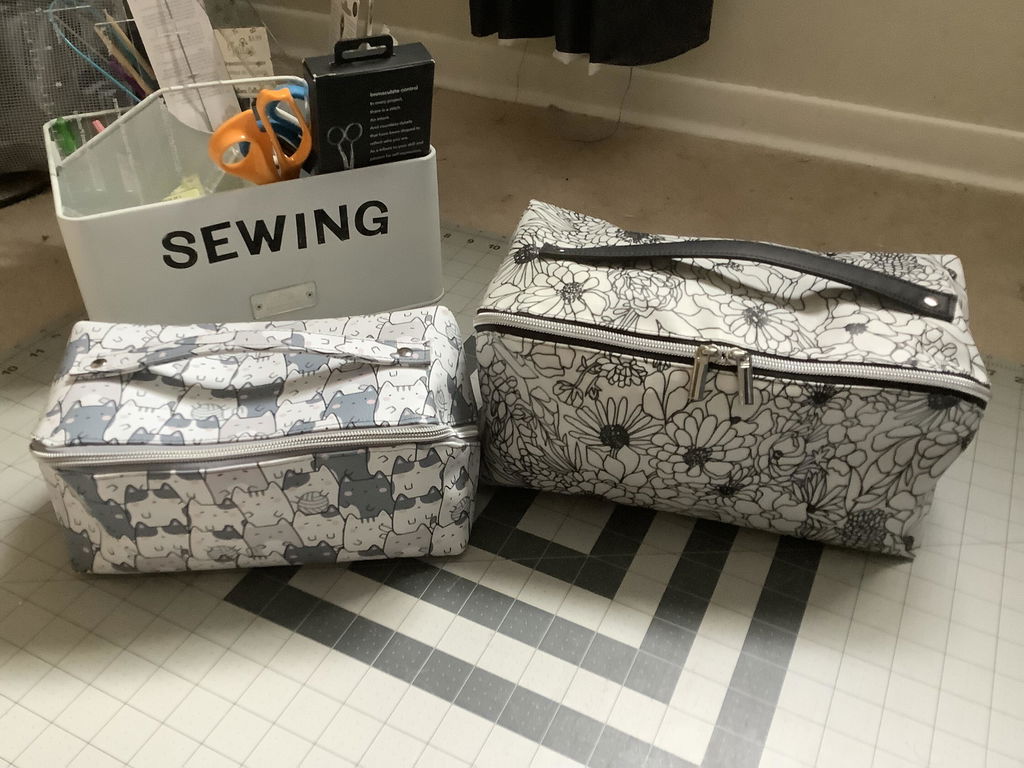
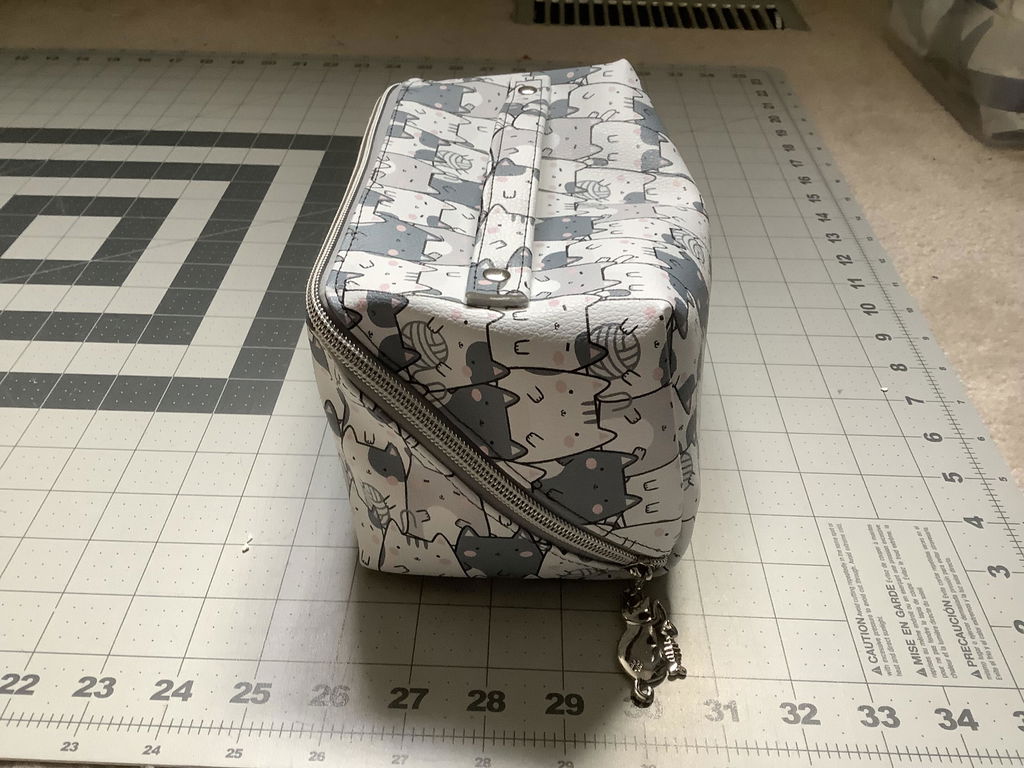
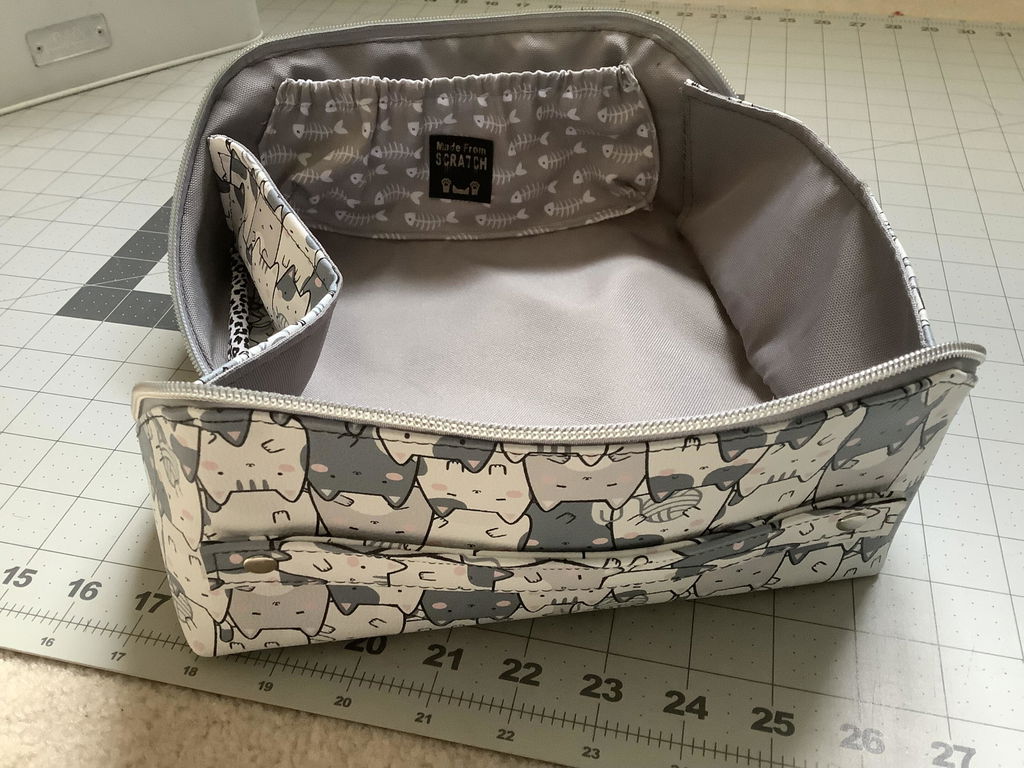
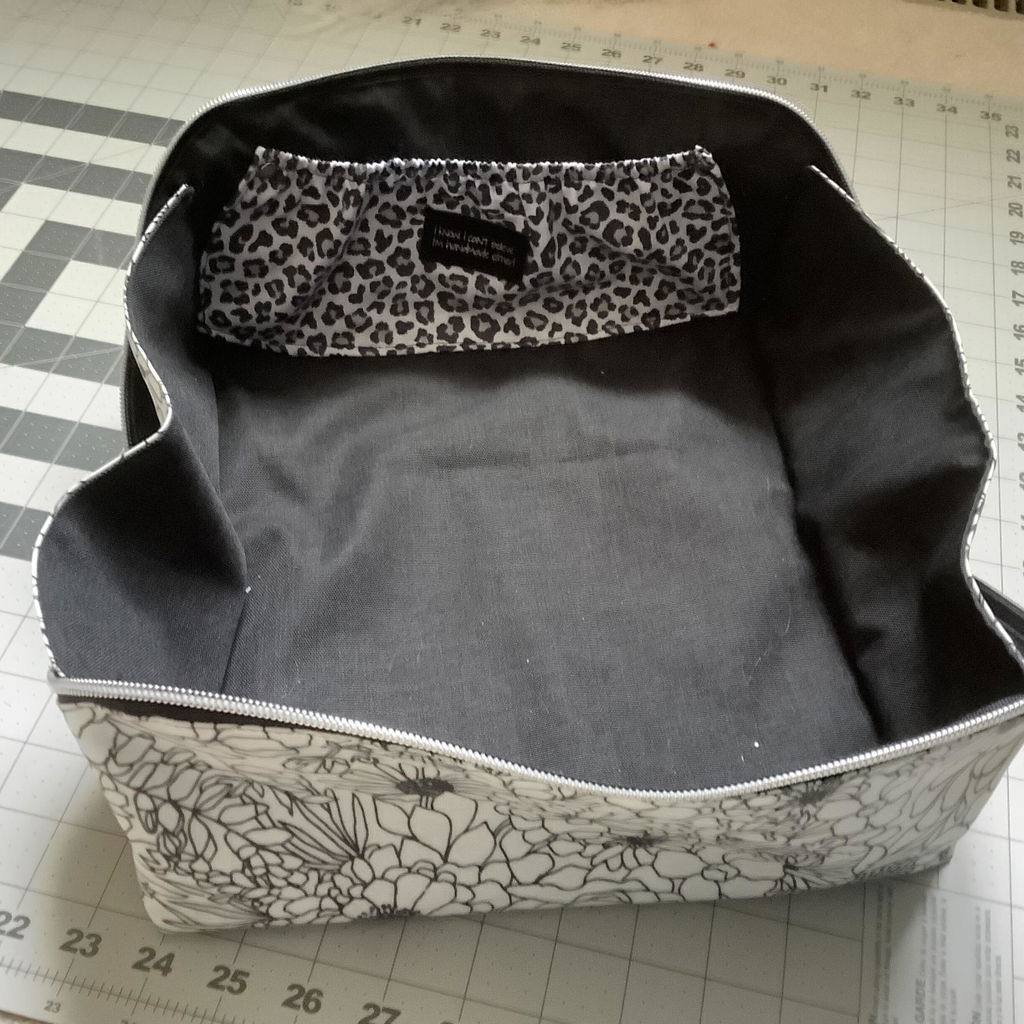
I haven’t start this yet
I just completed a medium sized Cubic Bag. Easy directions to follow! Look forward to making more for gifts!
I haven't made this pattern yet, but I'm confident that it will turn out just right.
Great easy pattern to follow
Made 4 already for gifts
It was a lot more complicated than i thought. A lot of steps. I made the medium bag and it is pretty big. Wish i had made the amaller one. I might try that one in the duture.
There are plenty of similar free patterns available but I specifically purchased this one as I am a beginner and still need guidance. However a lot of the pictures in the instructions have been taken to ensure the final product looks good, not ensure the instructions are clear. Many pictures use a dark blue fabric with a matching thread making it impossible to see from the pictures where the stitching is. The fabrics used in the instruction pictures are also not consistent which meant I had to keep double checking what bits were which. (It jumps from a navy interior to a beige interior, blue floral to monochrome paisley fabric).
These are probably all minor points for established sewers. But for a beginner using plain fabric with a contrasting thread and keeping the pictures consistent really helps with being able to follow the process.
Thank you so much for taking the time to share this detailed feedback. You are absolutely right that beginners need clear, consistent visuals, and we truly appreciate you explaining what made the instructions harder to follow.
We have recently updated the video sew-along tutorial for this pattern to make the steps clearer and easier to follow, especially for newer sewists. You can find the updated tutorial here: https://youtu.be/Ojog0Pc2Plw
Your comments about using consistent fabric and contrasting thread in instruction photos are very helpful, and we’ll keep that in mind as we continue improving our patterns and tutorials. We always want our instructions to feel supportive and beginner-friendly, and feedback like this helps us do better.
Thank you again for giving the pattern a try and for helping us improve the experience for future makers.
It is a fun pattern and I have made several of the bags. I strongly advise watching the online tutorials because the zipper/side seams section is unclear. You have to really pull the bag open to almost a diamond shape to make the seams come together. That essential part isn't clear in the written instructions.
Hint #1 When sewing the bottom seams; after you get the zipper pull on and situated, put the pull all the way to the "closed" end and split the zipper from the bottom to sew that side. That eliminates the battle of working around the pull on that end. When the seam is sewn, and finished off; slide the pull back to the "open" position. Zippers by the foot are self healing and are pretty ok with that move.
Hint#2 Instead of using bias tape to finish the raw edge, close it off like a sleeve cuff, less bulk, clean look.
Great pattern, I’ve made 2 now, one for myself and one for a friend. Easy to follow instructions.
Super cute pattern
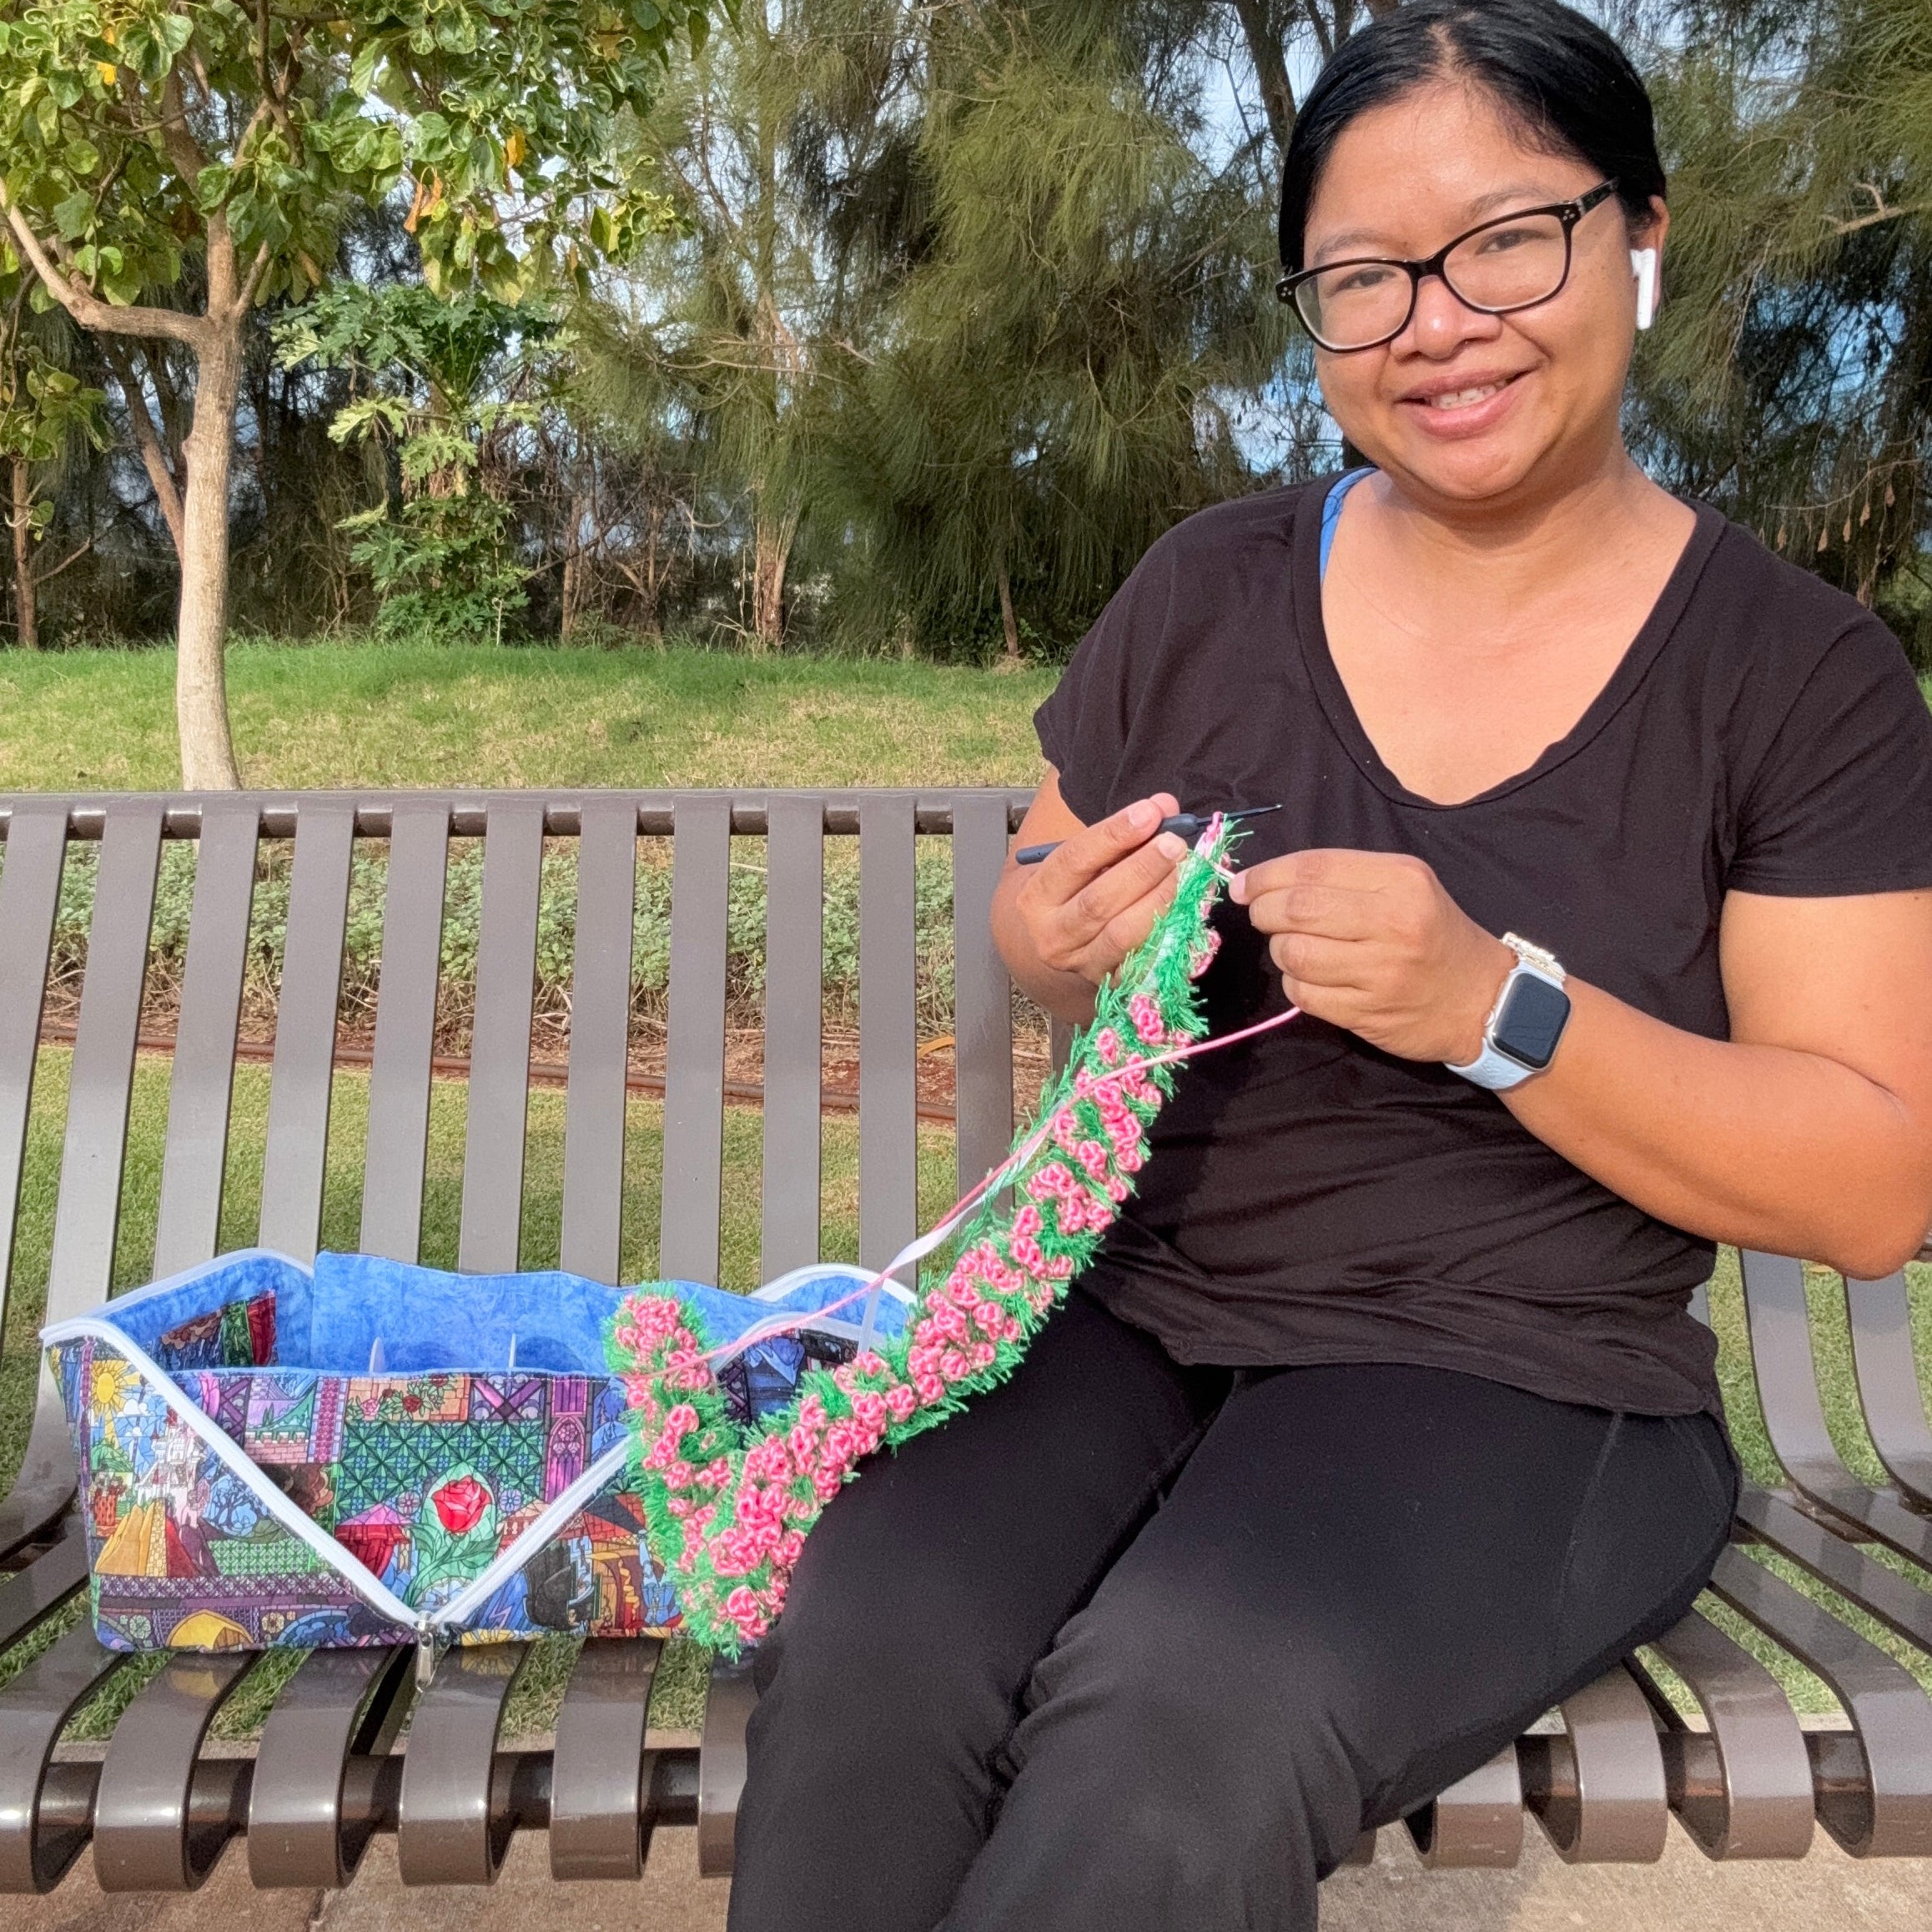
this bag turned out well. It isn’t the easiest of all the bags that E & M have patterns for. In some parts there are a lot of layers to sew through. Putting the sliders on the zipper was tricky. I am using it as a knitting bag and it works very well as you can open it right out. One little improvement would be have a tab to hold at the ends of the zippers. I might add one myself. I enjoyed the challenge of making this one.
Looking forward to making a few to give as gifts.
Wow what a wonderful bag. I’m going to make more as soon as I get a chance - great items to take to craft fairs. Customers love them.
not yet make this pattern
This pattern was awesome and the bag came out so nice!