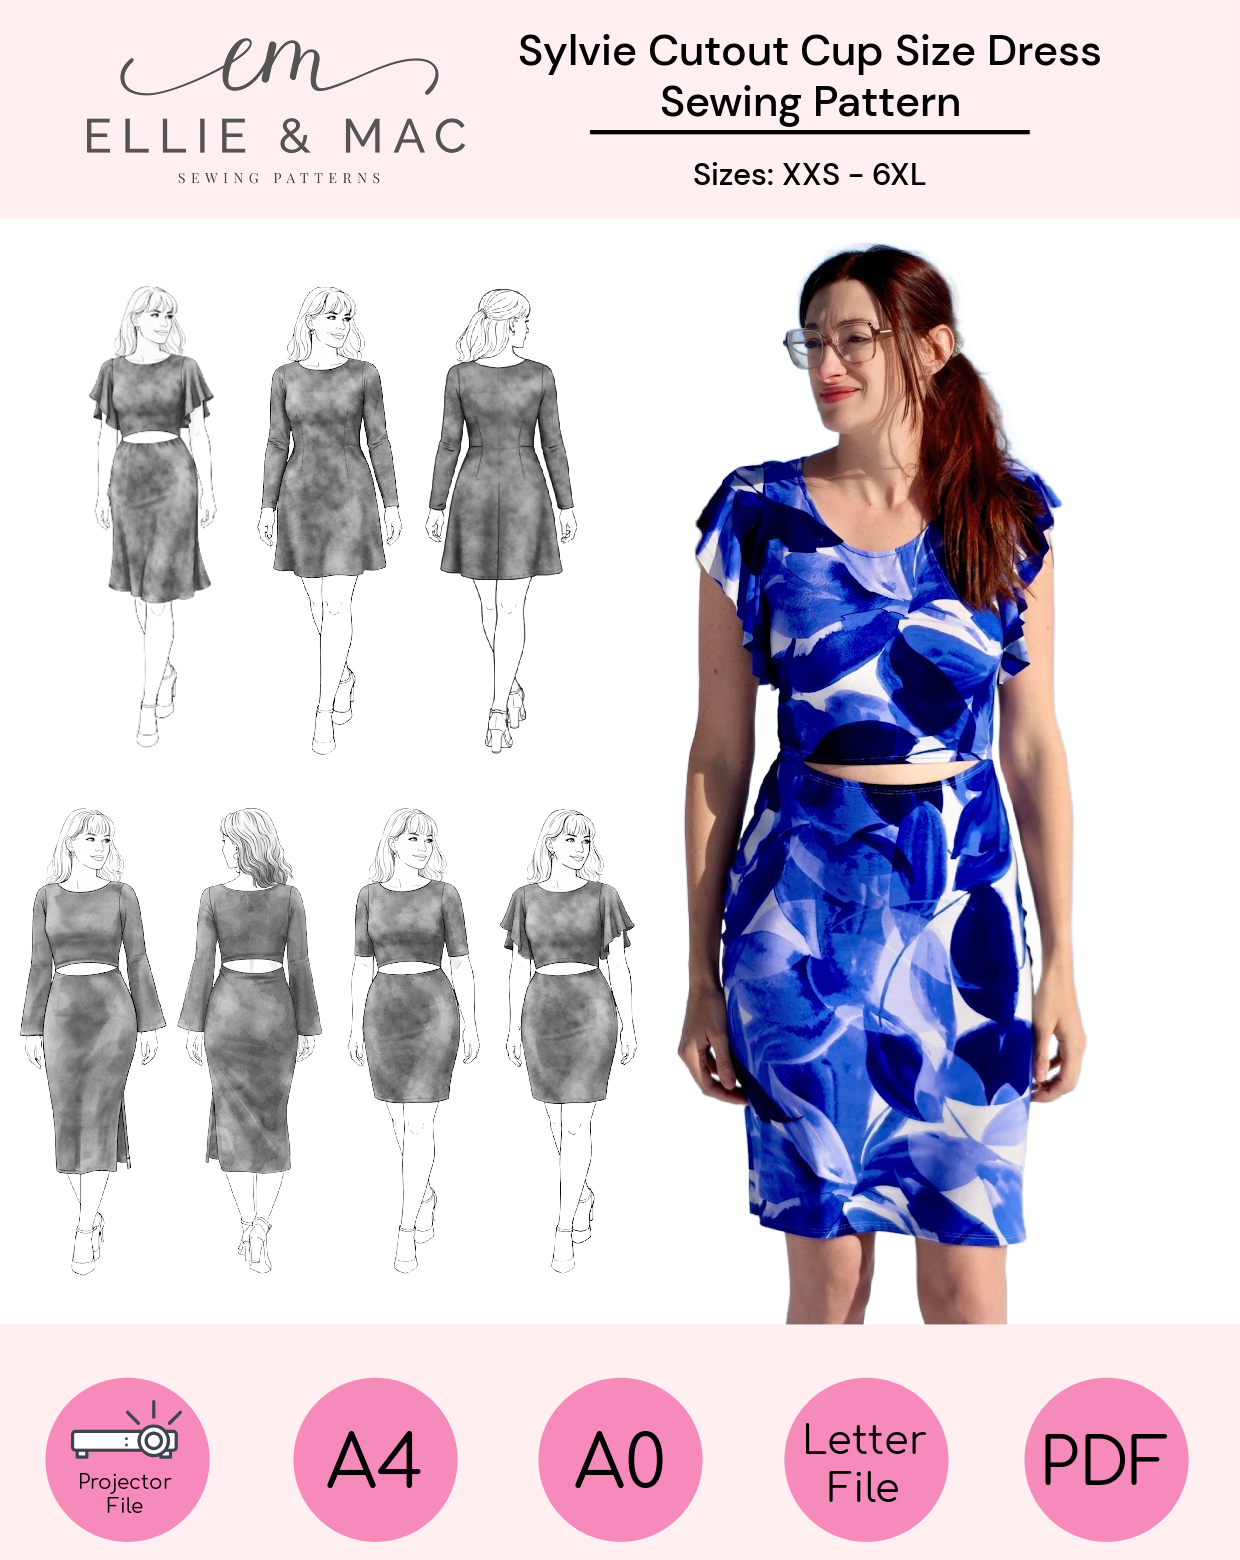
Hey y’all!! This is Lakeisha from Sincerely, Shantelle and today I bring my first ever post for the Ellie and Mac blog!! Exciting, right?! I’m sharing how I modified the True Beauty I posted to the Ellie and Mac group page a few weeks ago. I wasn’t expecting the attention it got, but I had several people in various groups asking how I made it. I figured I’d make another one and share my process! Let’s begin…

For starters, the only parts of the pattern that need to be printed are the bodice and sleeves. Since the skirt is self drafted by measurements only, that’s all that’s needed.
After assembling the pattern, cut out the bodice and sleeves, and sew according to the instructions, up to the point where we are instructed to sew in clear elastic. Since my dresses were both made in Liverpool, I skipped this step. It’s a more stable fabric and less prone to the wrinkles that occur when lighter knit bodices are stretched out from heavy skirts. *Proceed with it, if your fabric is on the lighter side, before moving on!*

Instead of folding over the top of the bodice 3/4”, measure the opening of the neckline for the band. For mine, an XS measures 19”.

Multiply that number by 2 for front and back (which I got 38). Now, take that number and multiple by .85. For XS, it is 32.3. This number is your neckband length. Write it down. Decide how tall you want the finished band to be. In my first one, it was 2.5” high. For this one, I wanted it a little less tall and settled on 2”. Double whatever number you decide fro your finished height and add 1/2” for your seam allowance. For my XS, this number is 4.5. This number is the height of
the band. Write that down. The two numbers you’ve written will give you
the measurements for your band piece (example of XS: 32.3” x 4.5”).

Cut them and sew with the short ends right side together, like a typical neckband, then fold the wrong edges together so it’s doubled over. Attach matching up the quarter points of the band and neckline, as with all other bands.

For the skirt, you will be working with your fabric folded. First, decide the length you want the finished skirt. I chose 23” inches. Mark it on the folded edge of the fabric, from the bottom. Make a mark on the bottom also if you edge is not straight.

Next, measure the bottom opening of the bodice plus 1/2” for seam allowance. For my XS, this measurement was 11.75”, so adding half an inch =12”. Since each skirt will be cut on a fold, divide this number by two.


Draw a straight line from your bottom folded edge straight over 25 “.
You can also go all the way to the edge of the fabric if you wish. It
will just give you more drape at the corners.

From the end of the line you drew for the waist, draw a diagonal line
all the way to the corner of the line you drew for the bottom. It should
look like this.

Cut out your skirt.

Repeat all these steps for the back skirt. With fabrics RIGHT sides together, sew the side seams with your favorite stretch stitch. Fold the bottom edge up 1/2” inch and press. Hem, using your favorite stretch stitch.

Attach the skirt as you would in the pattern tutorial.

You’ve just finished a fab new dress!!! Hopefully you’ll head over to the Ellie and Mac sewing group on Facebook to show us all what you created. I’d most certainly LOVE to see!!


For starters, the only parts of the pattern that need to be printed are the bodice and sleeves. Since the skirt is self drafted by measurements only, that’s all that’s needed.
After assembling the pattern, cut out the bodice and sleeves, and sew according to the instructions, up to the point where we are instructed to sew in clear elastic. Since my dresses were both made in Liverpool, I skipped this step. It’s a more stable fabric and less prone to the wrinkles that occur when lighter knit bodices are stretched out from heavy skirts. *Proceed with it, if your fabric is on the lighter side, before moving on!*

Instead of folding over the top of the bodice 3/4”, measure the opening of the neckline for the band. For mine, an XS measures 19”.

Multiply that number by 2 for front and back (which I got 38). Now, take that number and multiple by .85. For XS, it is 32.3. This number is your neckband length. Write it down. Decide how tall you want the finished band to be. In my first one, it was 2.5” high. For this one, I wanted it a little less tall and settled on 2”. Double whatever number you decide fro your finished height and add 1/2” for your seam allowance. For my XS, this number is 4.5. This number is the height of
the band. Write that down. The two numbers you’ve written will give you
the measurements for your band piece (example of XS: 32.3” x 4.5”).

Cut them and sew with the short ends right side together, like a typical neckband, then fold the wrong edges together so it’s doubled over. Attach matching up the quarter points of the band and neckline, as with all other bands.

For the skirt, you will be working with your fabric folded. First, decide the length you want the finished skirt. I chose 23” inches. Mark it on the folded edge of the fabric, from the bottom. Make a mark on the bottom also if you edge is not straight.

Next, measure the bottom opening of the bodice plus 1/2” for seam allowance. For my XS, this measurement was 11.75”, so adding half an inch =12”. Since each skirt will be cut on a fold, divide this number by two.


Draw a straight line from your bottom folded edge straight over 25 “.
You can also go all the way to the edge of the fabric if you wish. It
will just give you more drape at the corners.

From the end of the line you drew for the waist, draw a diagonal line
all the way to the corner of the line you drew for the bottom. It should
look like this.

Cut out your skirt.

Repeat all these steps for the back skirt. With fabrics RIGHT sides together, sew the side seams with your favorite stretch stitch. Fold the bottom edge up 1/2” inch and press. Hem, using your favorite stretch stitch.

Attach the skirt as you would in the pattern tutorial.

You’ve just finished a fab new dress!!! Hopefully you’ll head over to the Ellie and Mac sewing group on Facebook to show us all what you created. I’d most certainly LOVE to see!!


