
The Adjustable Ruched Shantelle -
Skip the shirring, add some ties, and make the Shantelle your own
By Lauren LeClair

This post contains affiliate links. If you purchase through one of my links, I may earn a small commission at no additional cost to you.
The Inspiration Behind the Hack
You know that dangerous little thought every sewist has when they see something cute in a store?
“I could make that.” 😏
Well…this project started with the slightly more frustrating version of that thought: “I could make that BETTER.” 😂
I had purchased a matching set that I absolutely loved. It had a cute adjustable ruched top paired with flowy wide-leg pants, and the whole look was right up my alley.
There was just one problem.
The fabric quality wasn’t great and….It shrunk.
And once you've been sewing your own clothes for a while, it's really hard to look at a disappointing ready-to-wear garment without immediately starting to mentally reconstruct it.
So, I decided I wanted to make my own version.
I knew exactly what I was looking for: a breezy woven top, loose flowy sleeves, an adjustable ruched center front, and a cropped silhouette that would look amazing with a pair of dramatic wide-leg pants. For my first version, I used a gorgeous mandala print woven fabric from Boho Fabrics. The lightweight drape was perfect for keeping the sleeves flowy and giving the finished top that breezy look I was going for.
Enter the Ellie & Mac Shirred Shantelle Top
The Shantelle ended up being the perfect base for the look I was trying to create. With a few simple changes — omitting the shirring, leaving the sleeves loose, and adding a center-front casing with adjustable ties—I could turn it into exactly what I had envisioned.
And y’all…I think I love my handmade version even more. 💁♀️
The best part? This hack looks like a pretty major modification, but the actual construction is surprisingly simple.
Ready to make one? Let's do it!
If we haven’t met yet, hi! I’m Lauren, the sewist behind Sew Fit Apparel, and one of my favorite things about sewing is taking a great pattern and finding fun ways to make it my own!


What You'll Need
You'll need the Ellie & Mac Shirred Shantelle Top pattern (affiliate link), your fabric and all of your usual sewing supplies.
You'll also need a serger or preferred method for finishing raw edges, an iron, chalk or a washable fabric marker, and elastic for the neckline.
We're going to use the Shantelle instructions for the main construction of the top, so this tutorial will focus specifically on the changes I made to create the adjustable ruched front.
Step 1: Cut Your Pieces
Start by cutting the crop top version of the Shirred Shantelle.
You'll need:
- Your front and back pieces
- Sleeves cut at the short sleeve line
- 1 casing strip: 2" wide × 1" shorter than the length of your front top piece
- 2 tie strips: 1" wide × at least twice the length of the top
I like making the ties nice and long. You can always shorten them later, but you definitely don't want to get everything constructed and discover your cute little ties are…too cute and little. 😂

Step 2: Mark the Center Front
Before we start sewing, find the exact center of your front bodice piece.
Mark the center front at both the top and bottom using chalk, a washable fabric marker, or small notches.
These two markings will give you a guide for positioning your casing later and make it much easier to keep everything centered.
Step 3: Prepare the Casing
Grab your 2" casing strip.
First, serge or finish both long edges of the casing.
Press those finished edges inward.
Next, hem one short end of the casing strip. This will be the bottom of your casing, so we want that edge completely finished before attaching it to the bodice.
Now here's a little trick that makes the next part SO much easier:
Fold your casing in half lengthwise and give it a good press.
Then open it back up.
That center crease is going to act as a memory fold and give you a perfectly straight guide when it's time to sew down the middle of the casing.
We're going to turn this one little strip into two separate tie channels, and that pressed line means there's no measuring or guessing where the center is later.
Work smarter, not harder. 😉
Step 4: Make Your Ties
Using the two 1" strips you cut earlier, construct your ties using your preferred method.
If you already have a favorite way to make fabric ties, use it!
Once they're finished, set them aside while we prepare the bodice.
Step 5: Hem BEFORE You Assemble
Yes, I'm giving this step its own section because construction order matters here!
Before assembling your top, hem both your front and back bodice pieces.
I used a rolled hem for mine, which gave me a really pretty, lightweight finish.
We're doing this now because the finished bottom of our casing is going to meet the finished hem of the front bodice. Once that casing is attached, you don't want to suddenly realize you still need to figure out how to hem underneath it.
Ask me how many times I forgot this step 😂
So: hem first!
Step 6: Position Your Casing
Now we finally get to see this modification start coming together!
Place the prepared casing vertically down the center of the right side of your front bodice, with the wrong side of the casing against the right side of the top.
Use the center-front markings you made earlier to keep everything straight.
Start at the bottom.
Line up the finished hem of your casing with the finished hem of your bodice, then pin the casing all the way up the center front.
Because we cut the casing 1" shorter than the length of the front bodice, it will stop before reaching the neckline edge.
Don't worry—that space at the top is intentional and will come into play when we construct the neckline.


Step 7: Create the Tie Channels
Once you're happy with the placement of your casing, it's time to sew it down.
Topstitch along both long edges of the casing to secure it to the front bodice.
Now remember that center crease we pressed earlier?
Here's where it earns its keep!
Follow that pressed line and stitch straight down the center of the casing.

Step 8: Thread Your Ties
Now grab those two ties you made earlier.
Thread one tie through each channel.
Once both ties are in place, baste them at the top of the casing.
The basting stitches are just there to hold everything securely while you finish constructing the top, so don't worry about making this stitching pretty or permanent.
We're going to remove it later.

Step 9: Follow Shantelle Instructions
At this point, the pattern hack portion is basically finished!
Continue constructing your top according to the Ellie & Mac Shirred Shantelle Top instructions.
When you create the fold for the neckline elastic casing, that fold will cover the top of your center-front tie casing and permanently secure your ties in place.
Once the neckline is finished and I know those ties aren't going anywhere, I like to go back and remove my original basting stitches.
It's a small step, but it means less visible stitching on the finished garment and gives everything a cleaner, more professional finish.
Step 10: Skip a Few Things!
Now for the easiest modifications of the entire tutorial:
Don't do them. 😂
For my version, I completely omitted the shirring from the original Shantelle.
I wanted the adjustable center ruching to be the focus, and leaving out the shirring gave me the relaxed silhouette I was trying to recreate.
I also omitted the elastic from the sleeves.
Instead, I left the short sleeves loose and flowy, and I LOVE what that did for the overall look. They feel soft and breezy and work beautifully with the woven fabric.
Sometimes the best pattern hack is simply knowing what to leave out!
Now for the Fun Part…
Ruche it!
Pull each tie to gather the center front until the top reaches the length you want, then tie them together at the bottom.
You can gather it just a little for a longer, more relaxed look or really cinch it up for a shorter, more dramatic crop.
That's one of my favorite things about this hack: you're not committed to one length.
The same top can look completely different depending on how you adjust the ties.
And after putting in the work to sew something myself, I will happily take multiple outfits out of one garment. 🙌
Mix It, Match It, Make It Yours
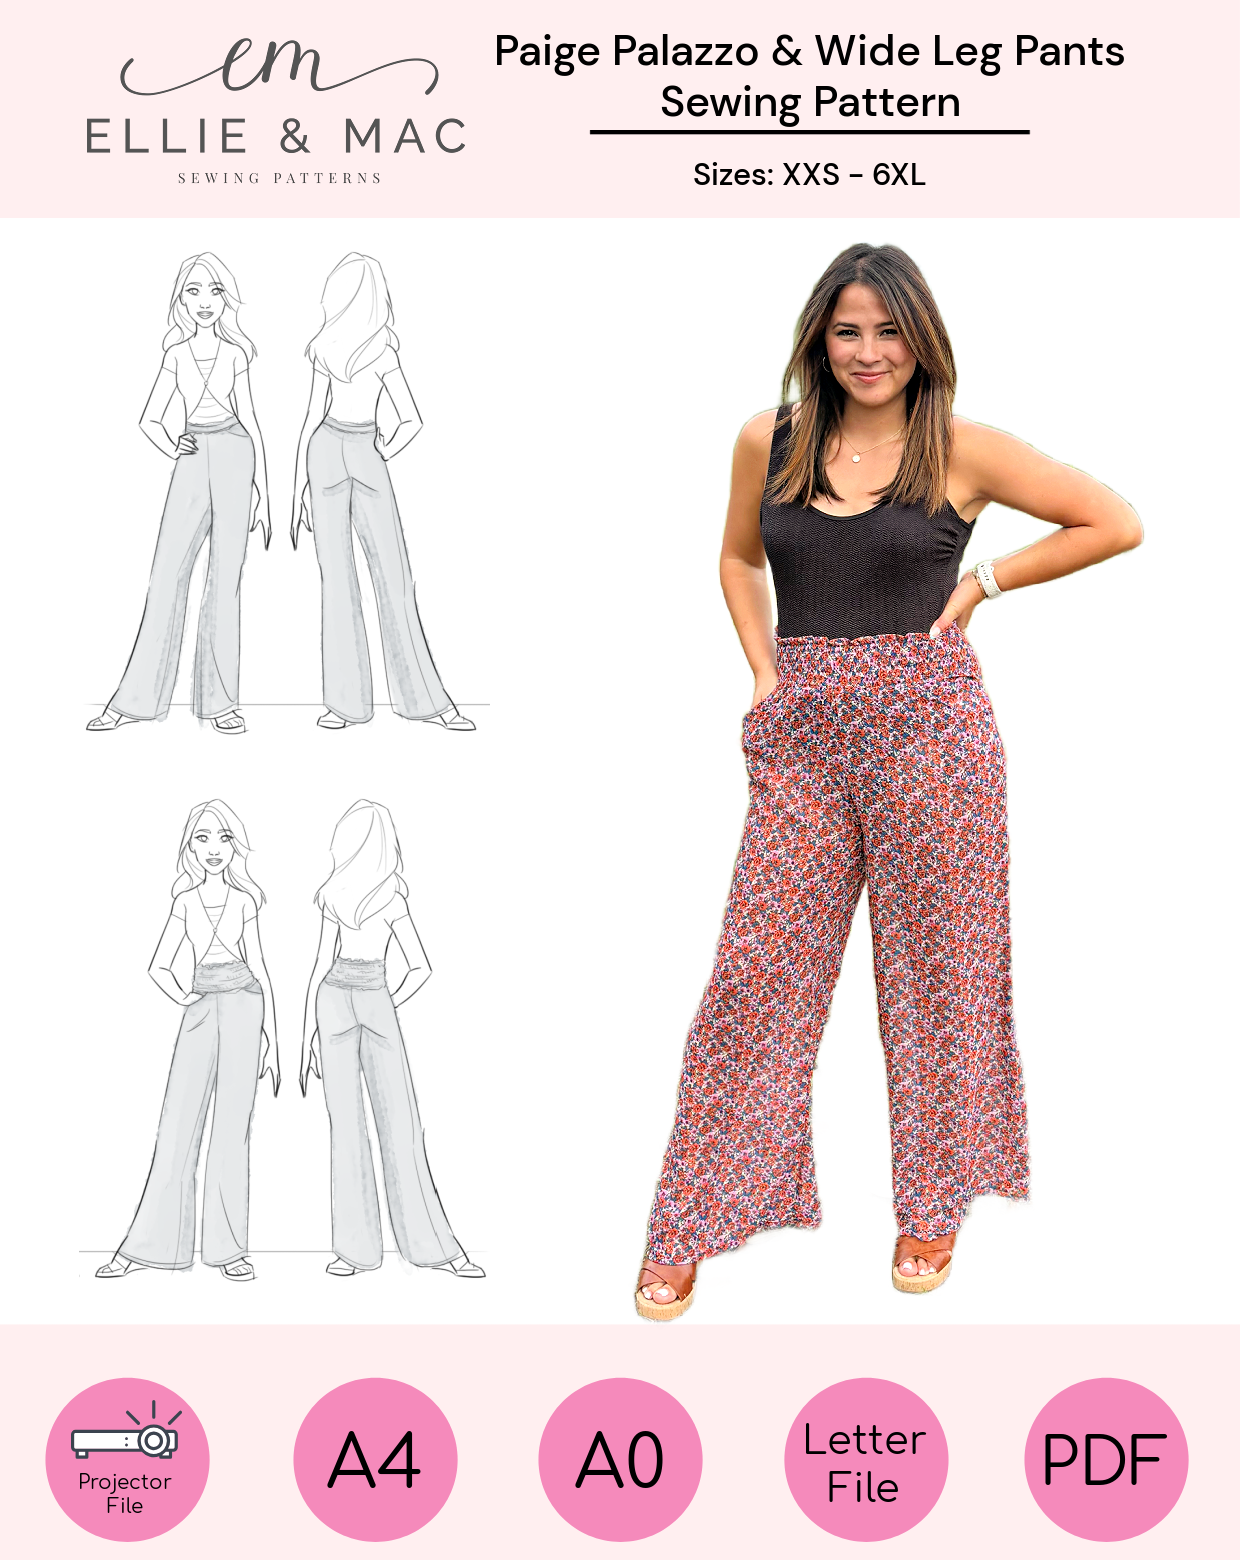
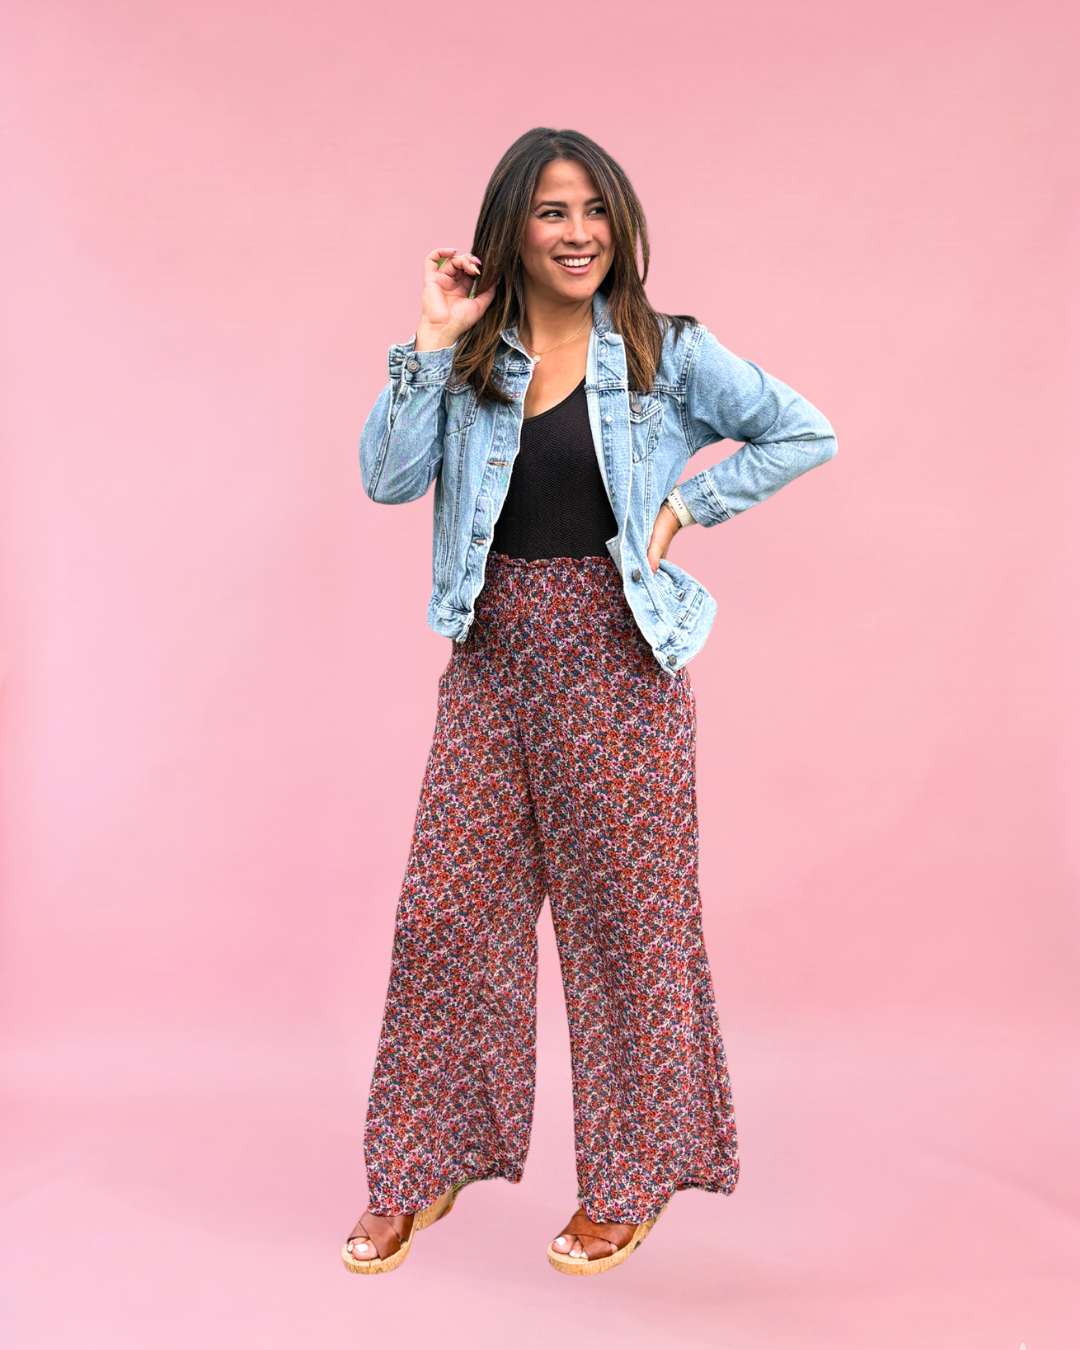
Of course I needed the pants to complete the look that started this whole idea, and the Ellie & Mac Paige Palazzo Pants were the perfect choice.
Paired together, the modified Shantelle and Paige Palazzos gave me exactly the silhouette I had been trying to recreate: a fitted, adjustable crop on top with all that gorgeous flow and movement on the bottom.
When I wear the two pieces together, I personally prefer to keep the Shantelle ruched and cropped rather than lowering the front all the way. With the volume of the palazzo pants, that little bit of skin and definition at the waist helps balance the proportions perfectly.
But here's where this set gets even better.
That top with jeans?!
SO GOOD.
Cinching the front and pairing it with high-waisted jeans completely changes the look. It feels less like part of a matching set and more like a fun little statement top.
And those Paige Palazzos don't need the Shantelle to have their moment, either.
Give me those flowy pants with a fitted tank, bodysuit, or tube top and some fun accessories and I'm ready to go.
That's why I love sewing separates like these.
You're not just making one outfit.
You're making pieces that can move around your wardrobe and become completely different looks depending on how you style them.
Basically, we're multiplying outfits.
It's sewing math. Don't question it. 😂

The Handmade Version Wins
The funny thing is, this entire project started because a store-bought set I loved disappointed me.
I wasn't necessarily looking to completely redesign it. I just wanted that same general look in something that fit the way I wanted, in fabric I chose, and—most importantly—something I wasn't afraid would shrink the next time I washed it.
The Shirred Shantelle gave me such a great starting point.
I didn't have to draft an entirely new top from scratch. I could look at the design elements I loved about my inspiration piece and figure out how to incorporate them into a pattern I already knew would work.
And that might be my favorite part of this whole project.
So if you've been eyeing the Shirred Shantelle and want to try something a little different, give this modification a go!
Skip the shirring.
Let those sleeves flow.
Add some ties.
Ruche it up.
And when that little voice in your head says, “I could make that…”
Listen to her. She usually has pretty good ideas. 😉✂️
- Written By Lauren LeClair