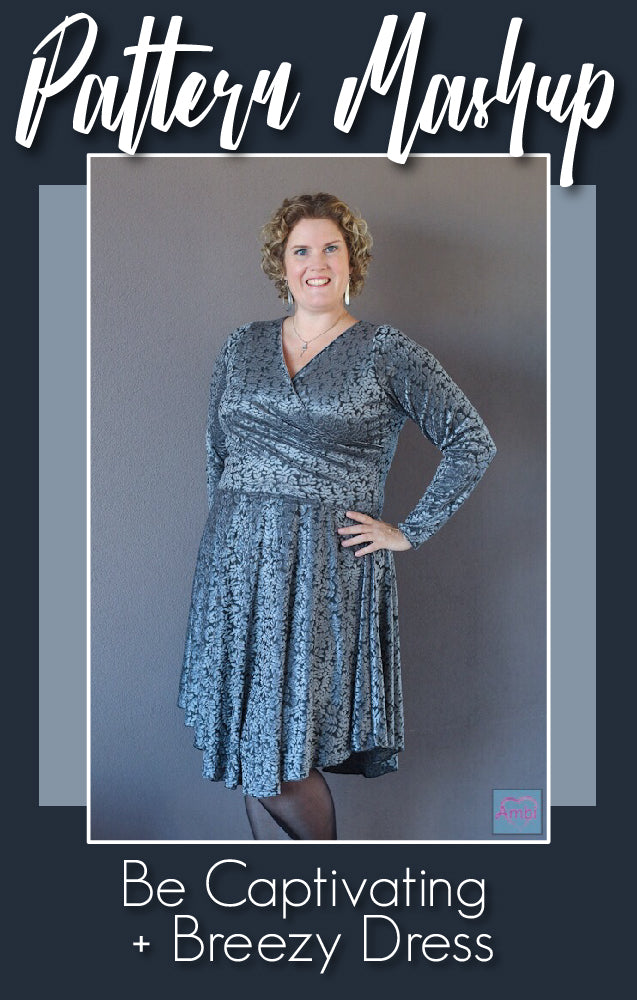
Hi everyone! I (Sonia) have here today my favorite dress I’ve made to date, a mashup of the Ruched Tee and the Be Captivating Dress! This hack is quite simple, especially if you have already made the ruched tee once or twice, and are familiar with its construction. If not, don’t worry, it is easy! And the Facebook group is always here to help!

Before we begin, I recommend that you read this entire tutorial first, as you may want to adjust the neckline of your top, since we’re turning the ruching to the front! You can use the pattern pieces as-is for the neckline (as I did) or lessen the depth of the V if you don’t want it quite as deep a plunge.
Fabric Choice – Weight, Pattern, Color, and Drape
We all know how important fabric selection is when planning a sewing project, as the fabric you choose will drastically influence the final result. Not only do we need to consider the stretch (one of the primary components in sewing knit patterns), but the fabric pattern and the color really dictate the final look of your piece. With this dress being a very fitted design, I wanted a fabric that was equally as bright to accentuate the boldness of the overall look. I chose to use this stunning bamboo lycra from Little Dreamers in red watercolor floral, and I am in love with the result. This bamboo is the softest I’ve felt, and it has incredible drape so it really flows nicely across the curves. The quality is fantastic, with great stretch and recovery, both vital components to me. I say this because I want my clothes to look and fit just as beautifully after a full day of wear as they did when I put them on in the morning! The colors on this fabric are bright and scattered, which is perfect for the ruched top. Personally, I wouldn’t have chosen something with stripes or a defined pattern, as it would get lost in the ruching. An abstract print is perfect for something like this, where you don’t have to worry about matching it up. The weight of this fabric is ideal for this dress at 220+gsm, making it heavy enough to flow well but light enough that it ruches without feeling the least bit bulky. All of these factors play an important role in how your dress fits at the end, so if you’re looking for the perfect bamboo for dresses, check out Little Dreamers!

Sizing
As with any pattern, you will first measure your size in the Ruched Tee. For this fitted dress, you’ll want and cut the slim fit option, which is the inner dotted line. Use your preferred sleeve length (I used long sleeves with no cuff). Measure your size(s) and grade where necessary. I know it’s a bit more work to grade, but I promise it is worth it! You want the dress to fit your body perfectly, don’t you? ;)
Make your Standard Pattern Adjustments
To get a proper fit, always make sure to adjust for your height if necessary. This pattern is drafted for 5’4, and I am 5’5.5 so I added .75” at the lengthen line.
Another tip to perfect your fit is to measure and adjust your side waist! This is optional, but especially with form-fitting dresses like this, it will perfect your fit. Your side waist is the measurement on your side, from your armpit to the smallest part of your waist. My side waist is fairly long, so I know that I want to adjust where the smallest part of the waist hits. On my pattern, I measure from the bottom of the armscye 10” (my side waist measurement) and mark an X directly below the smallest part of the waist on the pattern (keeping my size the same). I then grade out to my size from there. This will give you the most accurate fit, because the waist will now be accurately placed for your body.
Make your Modifications
Now for the pattern modifications!! The length of the top is too long for this hack (even the cropped view), so we will slice the front and back piece 1.5” below the LENGTHEN line. Why? I didn’t want to cut the top off at the waist, because the ruching will pull it up a little so I wanted the bodice to be a bit longer than the waist.

Cut and Assemble!
Ok, now our pattern pieces are ready, so go ahead and cut your bodice pieces, sleeves, neck binding in your chosen fabric. Then, we’ll go ahead and follow all instructions EXCEPT helming the top. You do not want to hem because we’ll be attaching the bodice to the skirt later! Following the instructions, you will:
- attach shoulders, sleeves, and sew side seams
- skip “hem” step!
- attach neckband
- finish raw edges of each side of the Front (instructions say back)
- sew bodice pieces together with 1/2” SA (do not serge!)
- topstitch to create casing
Here is where we change things up a little! You want the bow on the top both for aesthetics and so you can adjust your ruching, so thread your ties opposite of the tutorial (with string raw ends coming out of the top of the V). Make sure your strings are the same length so that they’re even. Do not pull your ruching just yet – but go ahead and clip or pin the strings out of the way (to the neckband).

If you haven’t yet, go ahead and cut the skirt piece from the Be Captivating Dress and assemble your skirt (easy-peasy, sew the side seams with wrong sides together. Go ahead and hem the skirt and sleeves now.
I’m sure you’ve done this next part before, so here we go. You do want to mark the center of the front and back on both the bodice and skirt. Slip top inside skirt, with Right Sides Together, matching your marks. Pin or clip, and sew together.


Hem your sleeves if you haven’t already. Now for the big reveal! Slip into your masterpiece and tie a bow in the ties with the casing slightly gathered; adjust to your taste. That is it!!


