Have you ever seen a pattern and thought “I love it” but then realised it’s never going to work for you because you’re nursing? But then, someone comments “Oh… that would be super easy to hack; just put a zipper in.”

Easy? Putting a zipper in? If you’re like me…… zippers freak you out and they do not seem ‘easy’.
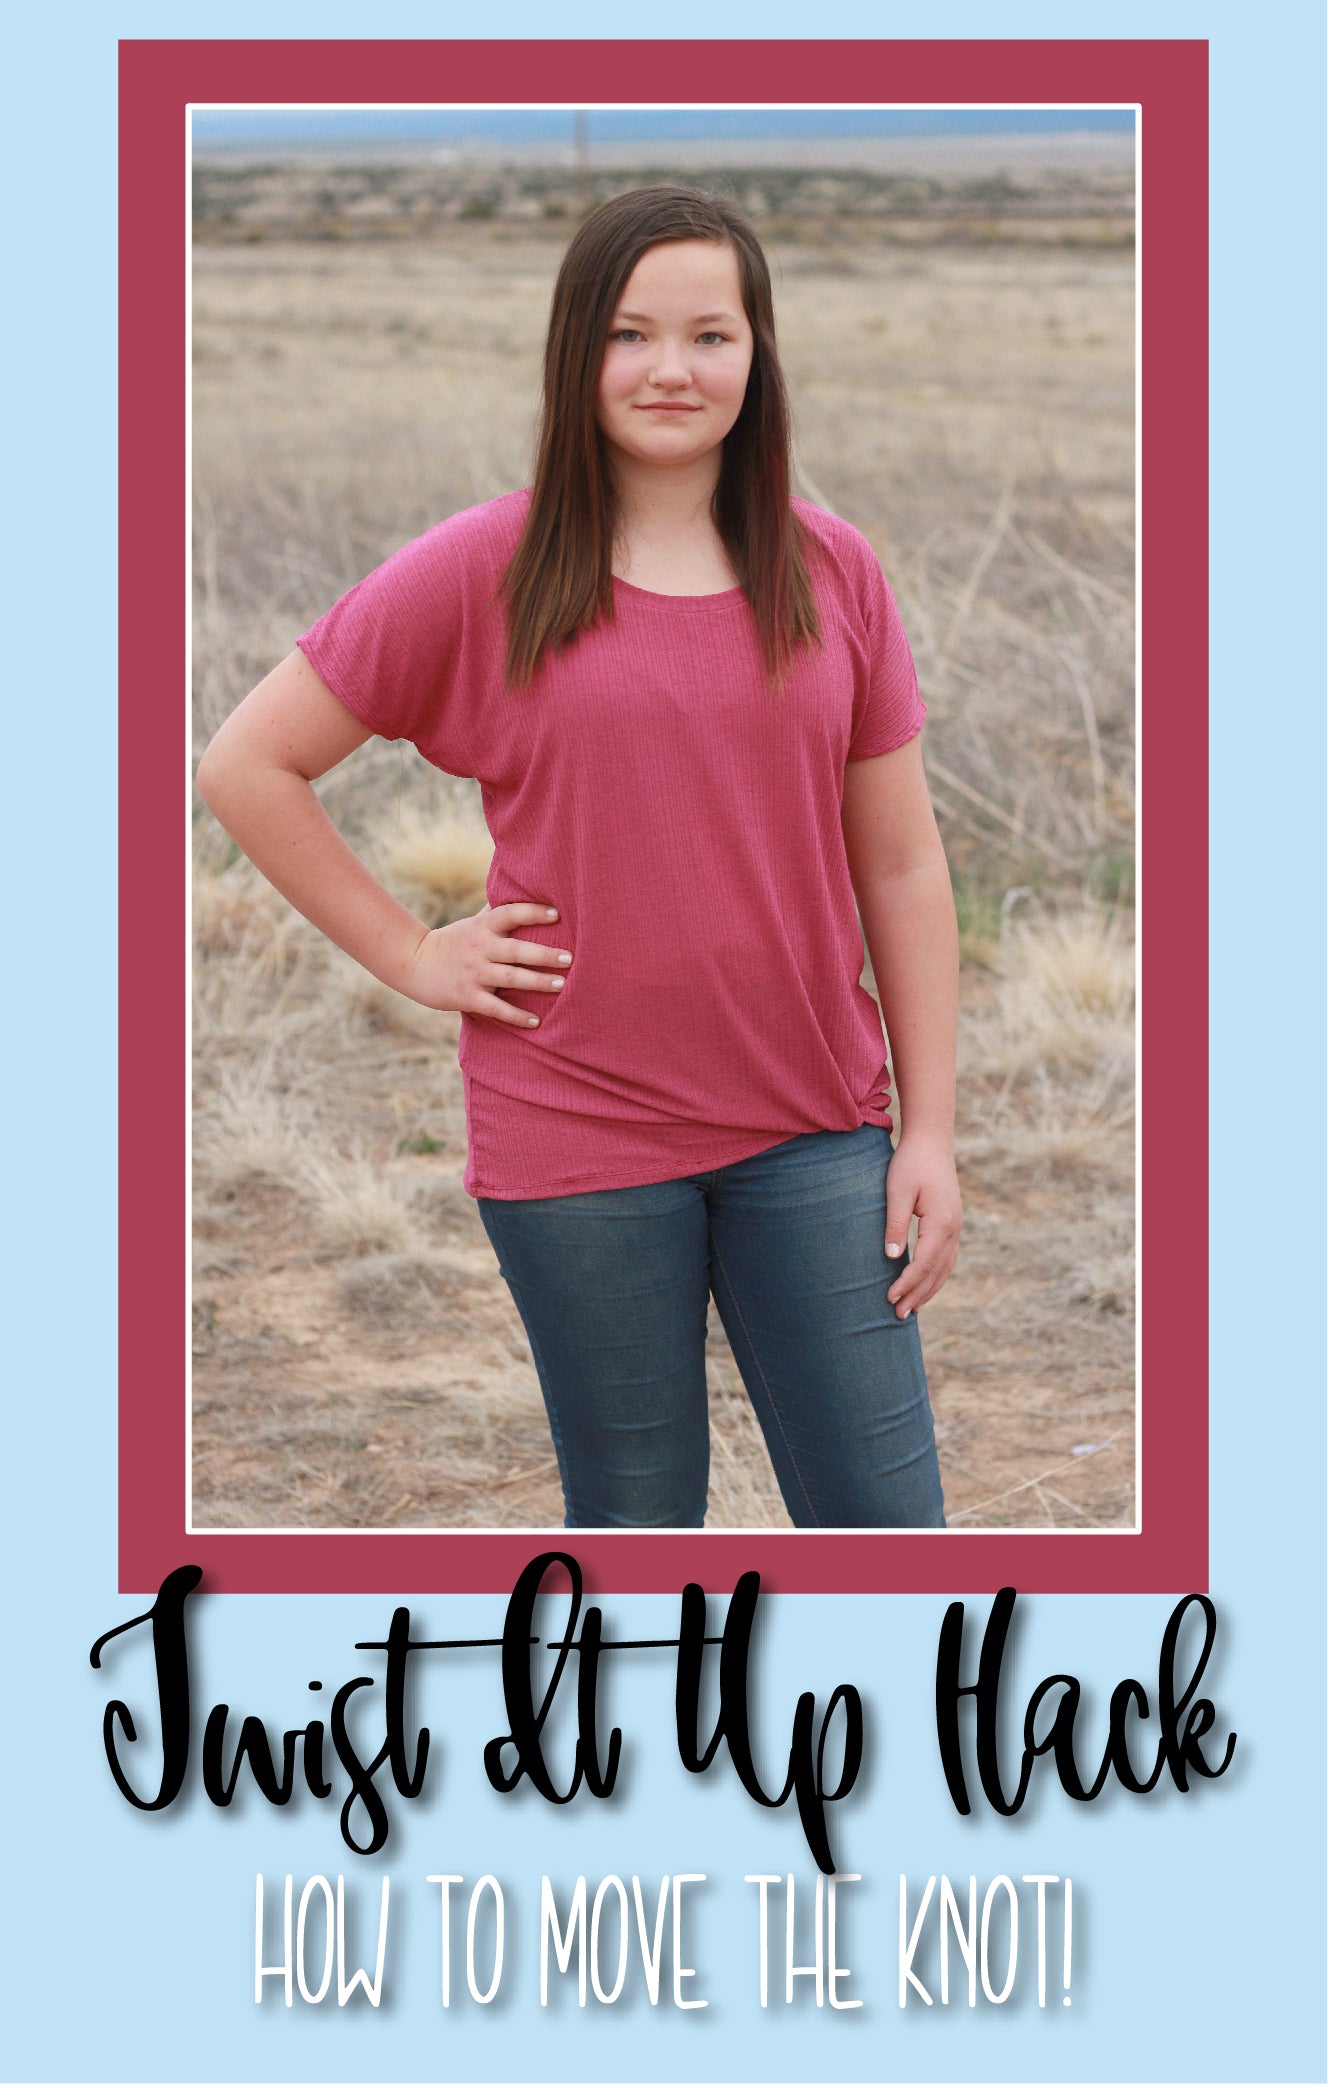
But I’ll let you into a little secret. They are SUPER easy! And I’m going to show you exactly how to do that using the Autumn Spice as a base. Here’s the one I created…. My friend didn’t even notice the zip until I pointed it out to her!!!

You can buy the pattern here ….. http://bit.ly/EllieandMacPatterns
First you’ll need to print out and assemble the pattern as normal.
You then need to go and buy two invisible zippers (they don’t have to be invisible, I just think it looks better); one that is a couple of inches longer than the width of your pattern (I used a 22” zip) and the other can be any length, as you’re only using that for the zip head (I buy the shortest length as that’s often the cheapest).
We’re going to be working with 2 pattern pieces… the front top and front middle pieces. Lay them out so that they are Right Sides Up and cut the zipper so you have approx. 1” hanging out each side.
Separate your zipper (you will need to cut the stops off your zippers and remove both heads)


Pin the zipper pieces to your front top and middle fabric. The zipper teeth will be facing up (not towards the fabric – see pic)

Sew the zipper to your top piece using a basting stitch – this will stop the zipper from shifting (you can even go fancy and use an invisible zipper foot – I don’t own one so just used my regular zipper foot).

Sew again in the ‘ditch’ of your zipper, using a shorter stitch length.

Repeat for middle pattern piece.
This is what your pieces should look like at this point:

Now comes the tricky part. Go get chocolate. Or wine. Or whatever you use when you’re getting frustrated. I also found it super handy to not have any small children nearby as there were a few expletives uttered. Ready?......
You need to attach the zipper heads to the two zipper tails. I found the best way to do this is to fold the zipper tail together…. pop one side in first, then the other BUT you have to make sure that the zipper head is even on both sides so that it zips cleanly. This step is best understood by looking at the pictures:


Repeat for other zipper head
Before assembling the rest of your shirt, make sure the zipper is closed and that the zipper heads are nowhere near the edges.

Assemble as normal. I used my overlocker (serger for the Americans) and just went straight over the edges of my zip to sew up the sides of my top…. I just went a little slower than normal!
You’re done! Now you’re good to go with feeding your little one!
 This would also work well for the Everywhere dress IF you lengthen the top front piece by at least 1” – I attempted it with no changes and it works but I had to open the zip quite far in order to get it over my boob for feeding.
(Written by: Ali Gadsby)
http://bit.ly/EllieandMacPatterns
(Affiliate links are used in this blog post…. I’d love it if you used them; it costs you no extra but I get a small commission.)

Easy? Putting a zipper in? If you’re like me…… zippers freak you out and they do not seem ‘easy’.
But I’ll let you into a little secret. They are SUPER easy! And I’m going to show you exactly how to do that using the Autumn Spice as a base. Here’s the one I created…. My friend didn’t even notice the zip until I pointed it out to her!!!

You can buy the pattern here ….. http://bit.ly/EllieandMacPatterns
First you’ll need to print out and assemble the pattern as normal.
You then need to go and buy two invisible zippers (they don’t have to be invisible, I just think it looks better); one that is a couple of inches longer than the width of your pattern (I used a 22” zip) and the other can be any length, as you’re only using that for the zip head (I buy the shortest length as that’s often the cheapest).
We’re going to be working with 2 pattern pieces… the front top and front middle pieces. Lay them out so that they are Right Sides Up and cut the zipper so you have approx. 1” hanging out each side.
Separate your zipper (you will need to cut the stops off your zippers and remove both heads)


Pin the zipper pieces to your front top and middle fabric. The zipper teeth will be facing up (not towards the fabric – see pic)

Sew the zipper to your top piece using a basting stitch – this will stop the zipper from shifting (you can even go fancy and use an invisible zipper foot – I don’t own one so just used my regular zipper foot).

Sew again in the ‘ditch’ of your zipper, using a shorter stitch length.

Repeat for middle pattern piece.
This is what your pieces should look like at this point:

Now comes the tricky part. Go get chocolate. Or wine. Or whatever you use when you’re getting frustrated. I also found it super handy to not have any small children nearby as there were a few expletives uttered. Ready?......
You need to attach the zipper heads to the two zipper tails. I found the best way to do this is to fold the zipper tail together…. pop one side in first, then the other BUT you have to make sure that the zipper head is even on both sides so that it zips cleanly. This step is best understood by looking at the pictures:


Repeat for other zipper head
Before assembling the rest of your shirt, make sure the zipper is closed and that the zipper heads are nowhere near the edges.

Assemble as normal. I used my overlocker (serger for the Americans) and just went straight over the edges of my zip to sew up the sides of my top…. I just went a little slower than normal!
You’re done! Now you’re good to go with feeding your little one!

(Written by: Ali Gadsby)
http://bit.ly/EllieandMacPatterns
(Affiliate links are used in this blog post…. I’d love it if you used them; it costs you no extra but I get a small commission.)


