Even with careful planning, sometimes a woven top doesn’t fit quite the way you imagined once it’s sewn. The side seams might flare out more than you’d like, or the silhouette might not flow well with your body shape. When sewing a sleeveless top, the armscye can stick out more then you like.
The good news is: you can still adjust the flare - even after it’s sewn up. Here’s how to do it, including how to account for front/back asymmetry and proper hemming. 
What You’ll Need:
• Seam ripper
• Tailor’s chalk or fabric marker
• Measuring tape or ruler
• Pins
• Scissors (optional)
• Sewing machine
• Iron and ironing board
Step 1: Try the Top On Inside Out
Turn your top inside out and try it on. Yes - inside out! This gives you direct access to the seams while you’re wearing it, allowing for accurate pinning and adjustments without guesswork. 
Step 2: Pin Out Excess Flare While Wearing It
Gently pinch and pin along the side seams to shape the top as you’d like it to hang. Pay close attention to the difference between the front and back—the back bodice is often wider for ease or design, and you may need to take in more from the back than the front to preserve the natural shape and side seam alignment. Tip: Make sure the side seams are still vertical when adjusted—don’t shift too much fabric from one panel or the other unless that’s the intended effect.
Step 3: Mark the Adjustments
Take the top off (still inside out) and lay it flat. Using tailor’s chalk, draw a smooth curved line from just under the armhole to the hem, connecting your pinned points. Use a measuring tape to double-check symmetry. Repeat for both sides.
Step 4: Open the Original Side Seams and Hem Line
With your seam ripper, unpick the existing side seams and the hem line around the side seams. Open at least an inch above and below your chalk lines to give yourself room to sew clean, uninterrupted curves.
Important:
• If your back bodice is wider, remove slightly more from the back side of the seam - redraw the seam line accordingly.
• If your top was already hemmed, unpick the side area of the hem (or the whole hem if needed) so the adjustment flows cleanly to the bottom edge. You’ll re-hem later for a professional finish.
Step 5: Re-Sew the New Seam Lines
Sew along the chalked lines using a straight stitch. Start a bit above your adjustment point and taper into the new seam to avoid puckering. After stitching, try the top on again - but this time right side out - to check the fit.
Tip: Do a quick baste stitch first if you’re unsure. You can always resew more confidently once you’re happy with the shape.
Step 6: Press and Finish
Press your new seams flat and open. If you trimmed excess fabric, make sure to leave 3/8” to 1/2” seam allowance. Finish raw edges with pinking shears, a zigzag stitch, or a serger.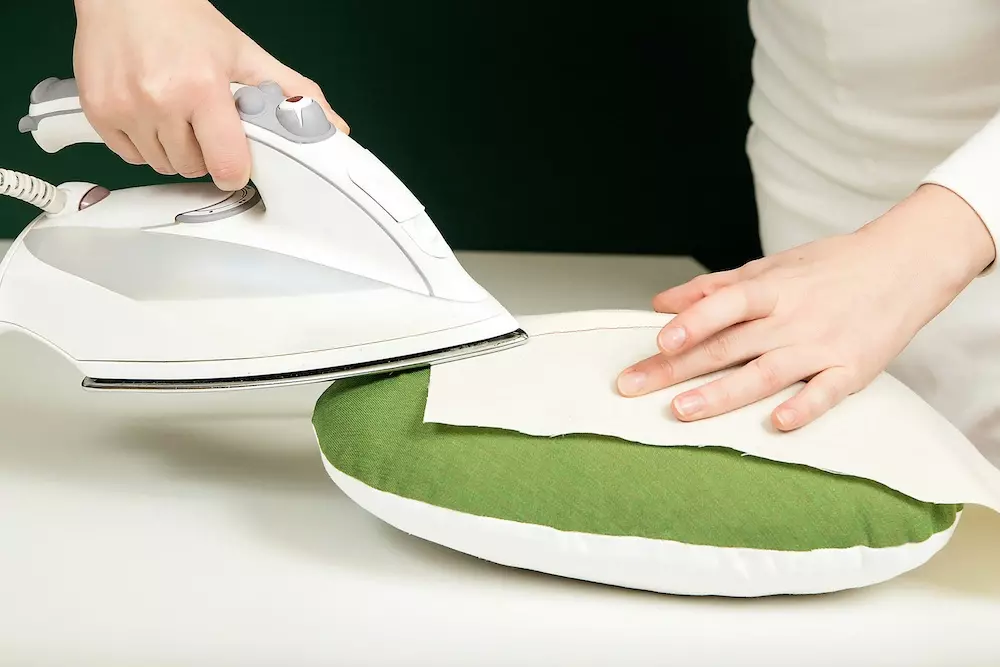
Step 7: Re-Hem if Needed
Re-fold and press a new hem to match your adjusted seams. Sew the hem as desired.
Final Try-On
Put the top on one final time and admire the new fit! Your flare should now feel more intentional and balanced, tailored to your body shape and style.
Adjusting side seams after construction may seem intimidating, but it’s actually a great way to tailor your garments even closer to perfection. Whether your woven top was over-flared or needed more shape, this approach ensures a flattering, custom fit - even if you didn’t catch it the first time!