
Hello Sewing Friends,
Is there such a thing as too many bags? It seems that no matter how many I make, I simply must have more. Bags are the perfect accessory to my closet full of fabulous Ellie and Mac makes. I can choose from an assortment of bag patterns on the Ellie and Mac website. The pattern collection is continuously expanding so be sure to check back regularly.

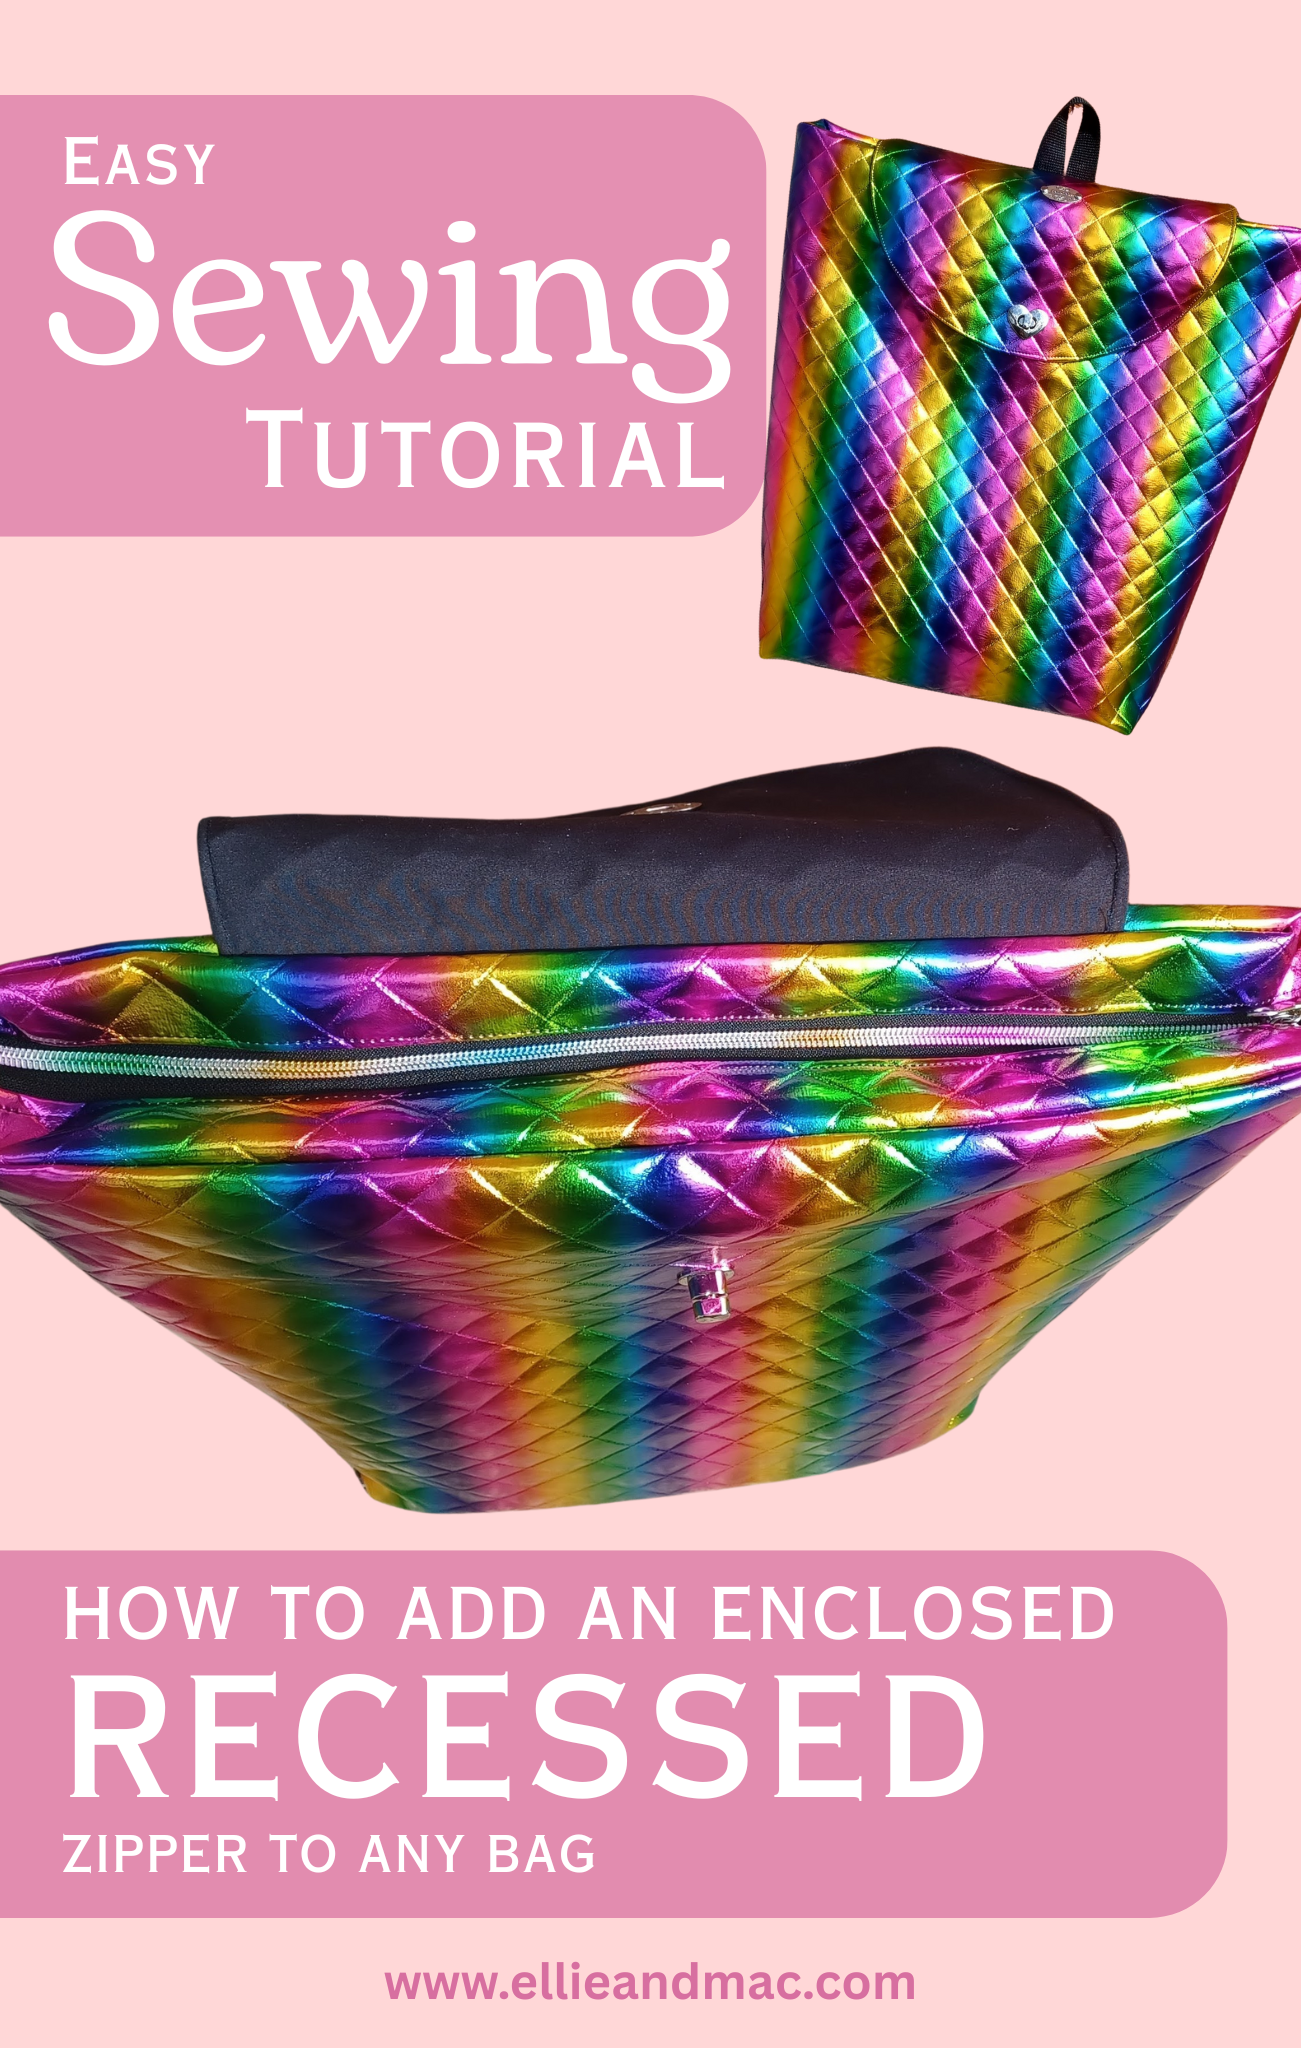
In this tutorial I will be modifying the Pack Your Bag Backpack Sewing Pattern. It’s designed to be a great scrap fabric buster project and is ideal for carrying around your personal belongings. It’s an easy sew, beginner friendly and it is lovely to gift.
The backpack pattern features a front pocket, adjustable back straps (in varying lengths), optional zippered pockets and a front flap closure. Three sizes are offered (small, medium and large). The finished measurements will give you a better idea of which size to choose.

Keep in mind that a pattern is simply a template for your creativity. A bag can be adapted to your needs and preferences. As you become more adept at bag making you will become familiar with various techniques that can then be applied to other patterns. In this case, I will transfer my knowledge in creating recessed zippers to further enhance the Pack your Bag Backpack.
What you will need:
-
Exterior Fabric
-
Lining Fabric
-
Ruler
-
Scissors
-
Rotary Cutter
-
Zipper Tape and pull
-
Sewing Machine
Instructions:
Step 1: Draft & Cut the Zipper Panels
To draft the zipper panels, take the width of your pattern piece (including seam allowance) by your desired length.
In the photo illustration below you can see that my newly formed rectangle is the exact width as the top of the bag pattern. It already includes ⅜” seam allowance. For the size large this measurement is 18.75”. My zipper panel is now 18.75 by 2 inches.

Cut out two pieces from your main fabric and another two from your lining. Be sure to transfer the square markings. Cut out the small squares.


Step 2: Sew the Zipper to the Panels
The zipper length should be equal to or longer than your zipper panels. I cut 19” of rainbow zipper tape to match my rainbow vinyl. Any excess length will be trimmed later on.
It is important to note that the zipper will be attached to the boxed edges.

Place your exterior panel piece with the right side up. Next, place the zipper right side down between the boxed edges. Baste in place. Finish your fabric sandwich by placing the lining panel piece right side down. Sew in place using ⅜” seam allowance.


Repeat this process on the other side.


Depending on your fabric, flatten the seams by pressing them with your finger or with an iron.
Turn your fabric so that wrong sides are together and topstich ⅛” from the edge. You may have to gently pull on your lining to ensure that it is taut and in line with your exterior fabric. Go slowly. Any mistakes made in topstitching will be visible. You want to avoid using your seam ripper on vinyl or leather as the needle holes will remain visible.


Step 3: Add your Zipper Pull
Gently separate the teeth. Attach one end through the zipper pull and then the other. Wiggle and jiggle as you slide it through.

Success!!
Step 4: Sew the Panel Ends
Take your exterior panels and place them right sides together. Pin or clip in place. Take your lining panels and place them right sides together. Pin or clip in place. Now sew all four edges with ⅜” seam allowance.

Flatten the ends so that you create a triangular shape with the zipper in the centre. Align the exterior end with the lining end. Pin or clip into place. Sew the short edge with ⅜” seam allowance. Repeat for the other side.

Trim the seam allowances and any extra zipper tape to reduce bulk.

Flip your newly formed zipper box so that the wrong side of the lining is touching the wrong side of the exterior. I basted the edges to ensure that the lining does not slip away in the next step.


Step 5: Sew your Bag
At this point you will need to assemble and sew your main exterior and lining bag pieces, as per the instructions. Ellie and Mac makes everything easy, so if at any point you are confused with the written instructions, you can also refer to the helpful video tutorial.
STOP before you attach the exterior fabric to the lining (page 24 in the instruction booklet).
Sew the boxed corners (page 25) of each exterior and liner piece - 8 corners in total. Trim to reduce bulk.


Attach the exterior front to the exterior back at the bottom and long side edges, right sides together. Do not sew the top. Repeat with your liner fabric, leaving a 5-6 inch gap at the bottom center.


Step 6: Add Zipper Box to Lining
The zipper box is inserted into the lining, right sides together.
There will be a lot of layers so please double check that the needle you are using is suitable for thicker materials. Also be sure that your straps are safely tucked away at the bottom of the bag.
Slowly sew around the perimeter. Take extra care at the corners.

Step 8: Sew Lining to Exterior
Place the right side of the exterior bag to the right side of the zipper box. Sew.
I flipped the lining through the zipper box so that I could insert the lining inside the vinyl.

Step 9: “Birthing” the Bag
Turn the bag through the gap in the lining. This part may be a bit frustrating. If you are struggling you can enlarge the gap (no one will see the bottom of your bag).
Use your finger or a tool to push out all the corners.
Check for any errors before you sew the gap closed.

Continue from the bottom of page 28 in your instruction booklet.
And that is it!


I absolutely love my new bag! The enclosed recessed zipper pocket is a smart looking addition that will add an extra level of security to my belongings. I can’t wait to make more variations using all the fun fabrics in my stash.


If you’ve enjoyed the content of this blog, please feel free to read my previous publications. I’ve included the links below.
Previous Blogs:
Written by Sarah Callahan.