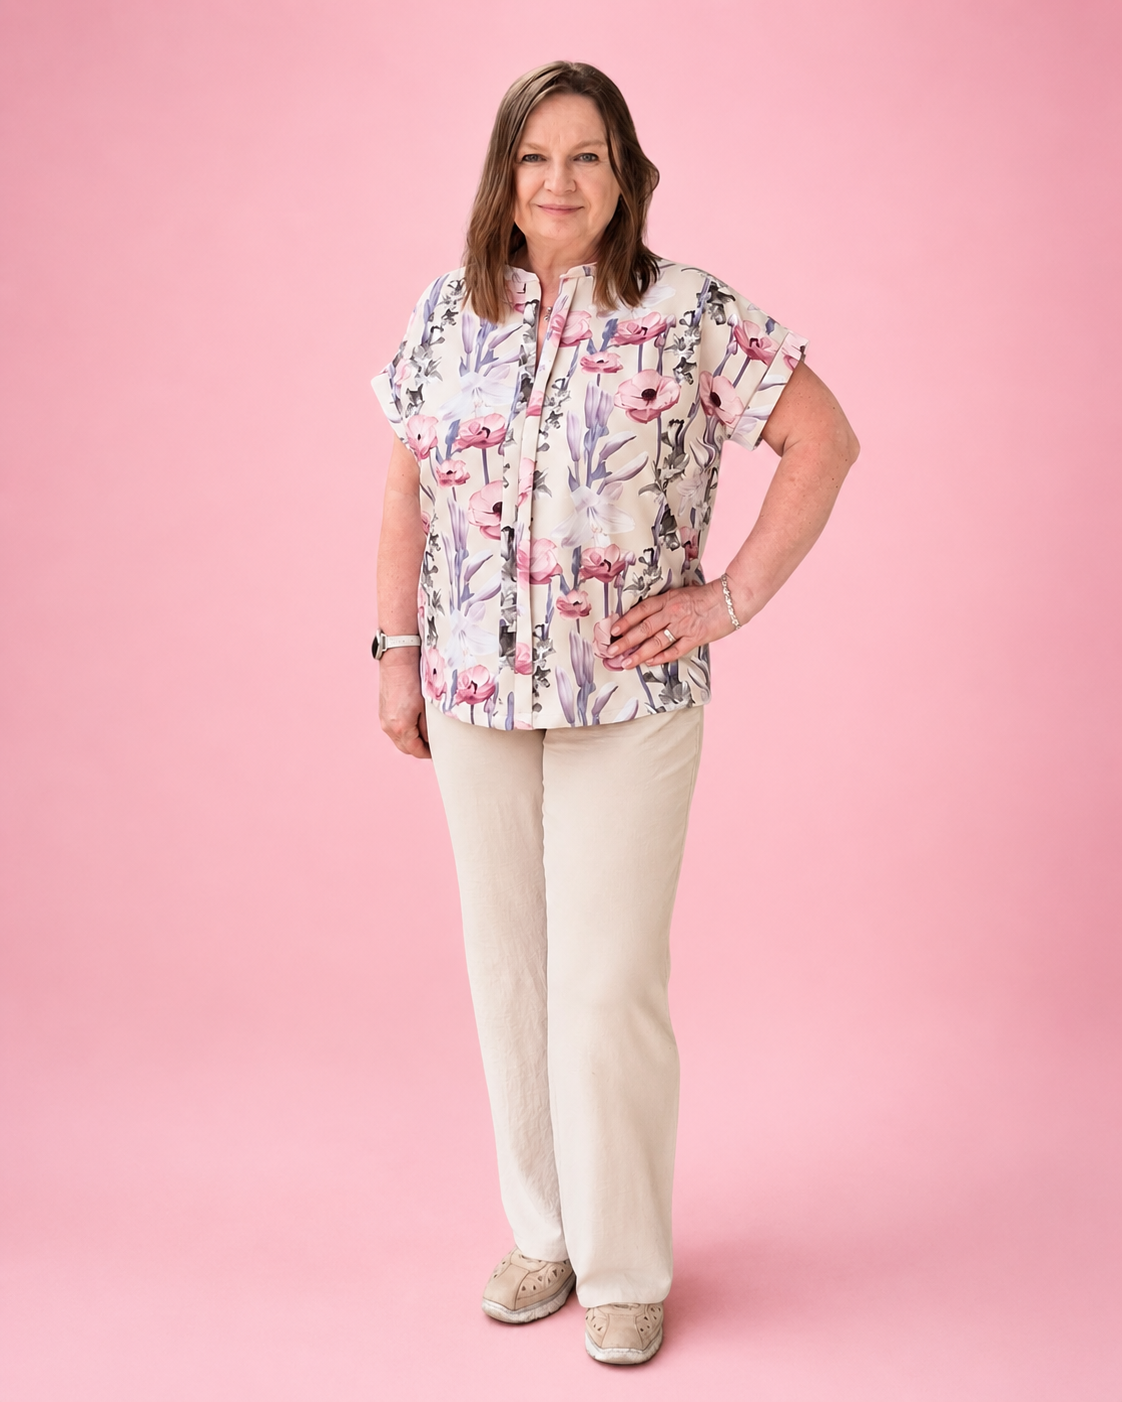

How to Turn the Delilah Drop Waist Dress into a Top!
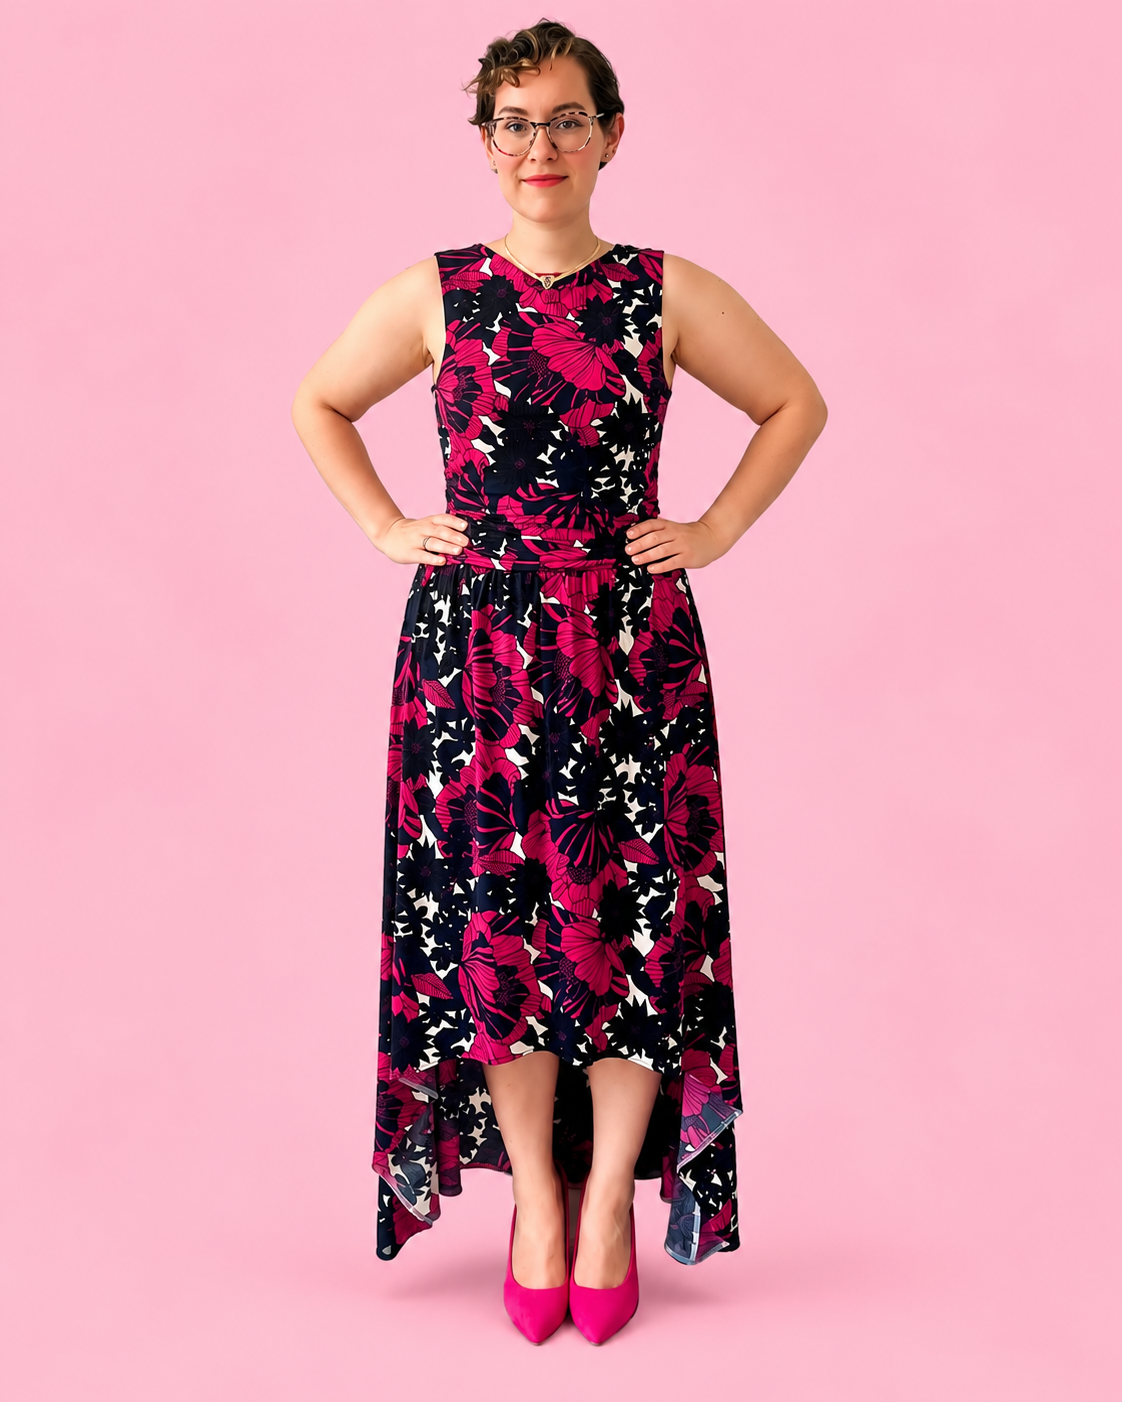
Hi everyone, it’s Amy here today with a new hack for you. Have you seen the brand new Drop waist dress pattern that just released?

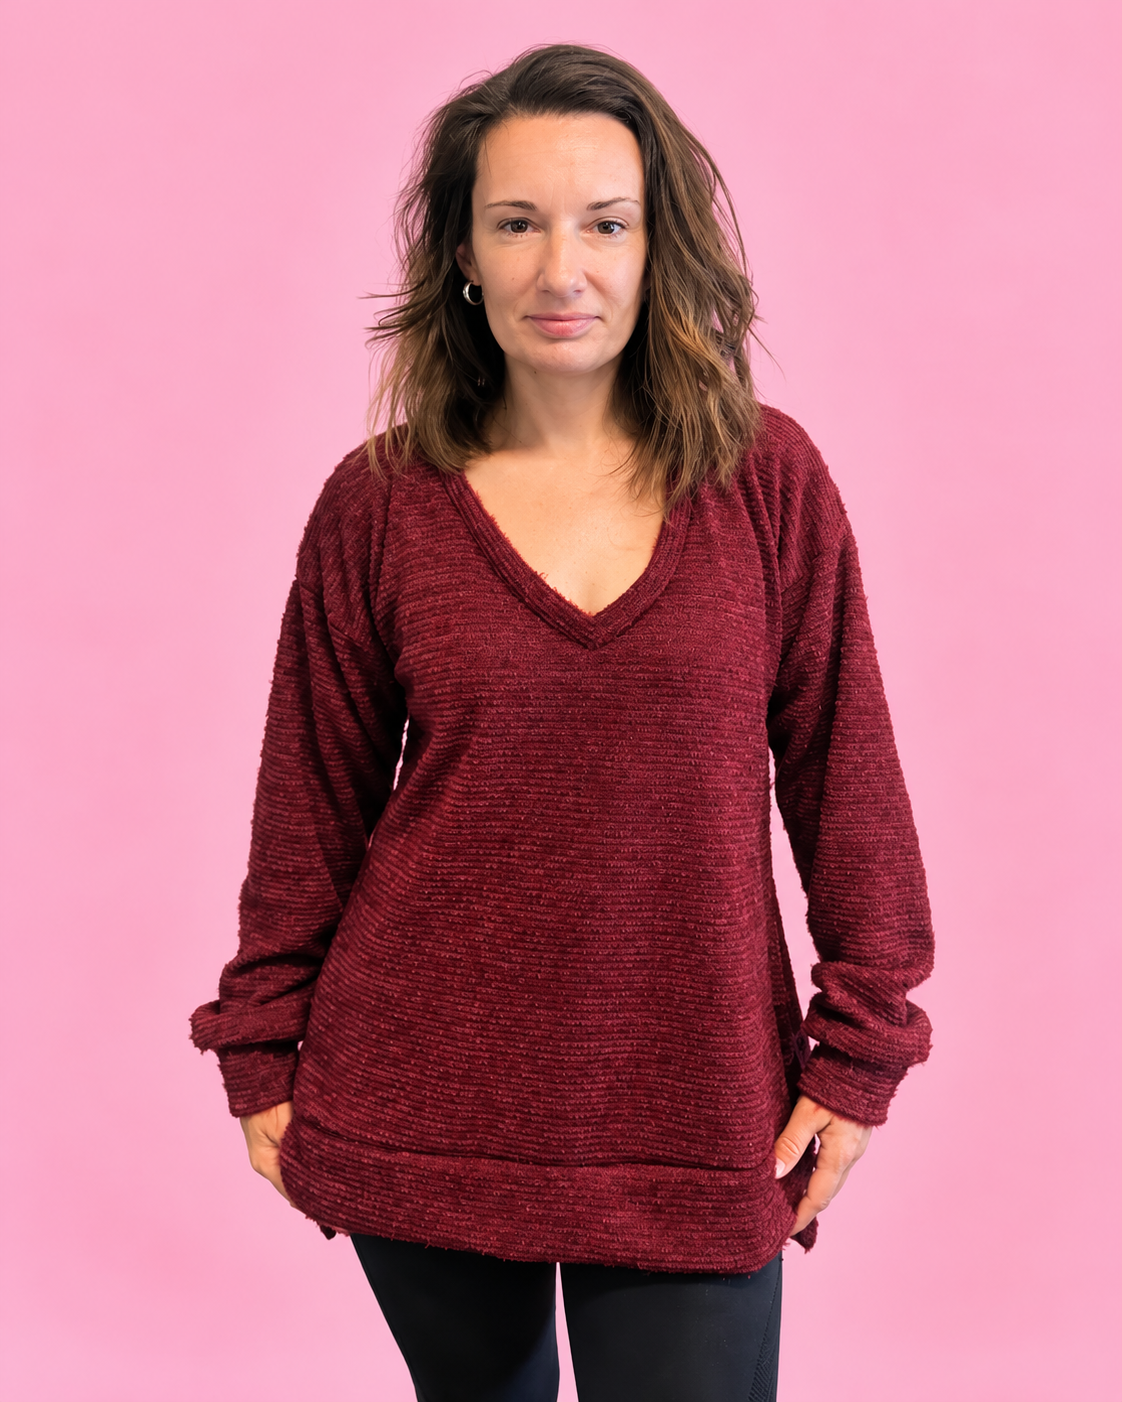
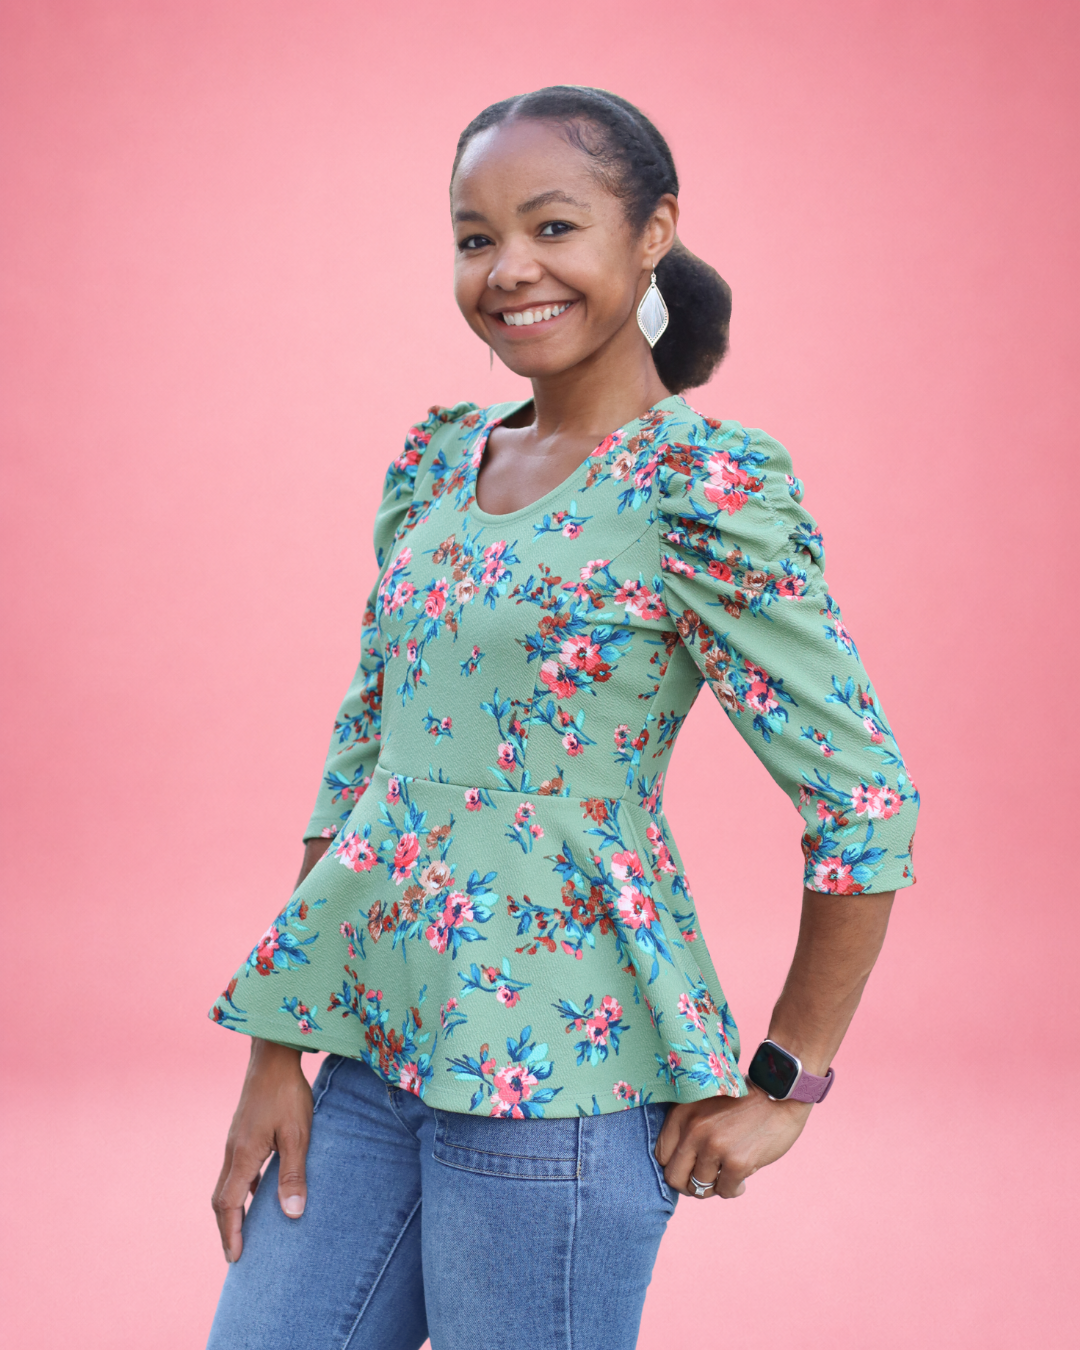
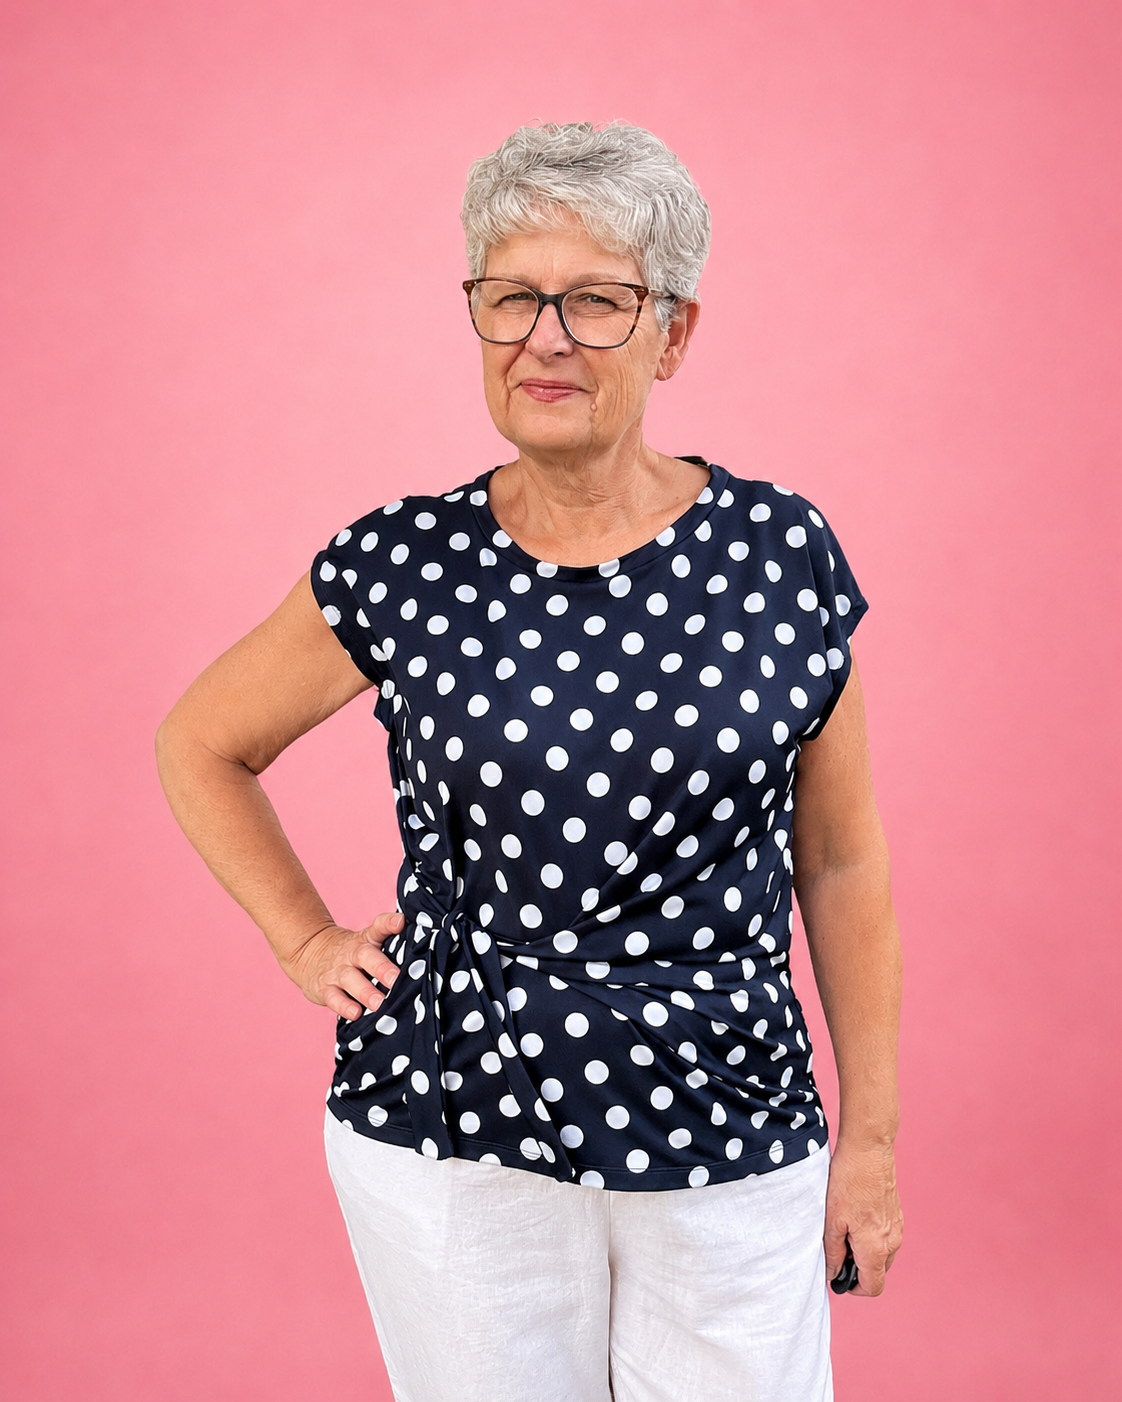
Well here is an easy way to make a top instead of a dress, and I just love it. It’s extremely easy to add a sleeve as well, which I will also be doing.

Fabrics I have used:
Silk touch 4 way stretch poly spandex from Tia Knight
THINGS YOU WILL NEED:
-
Pencil/pen
-
Ruler
-
Paper
-
Scissors/rotary cutter
-
Ellie and Mac patterns – Drop waist dress pattern, another pattern if you want to add a sleeve (I used Nyeca)
-
Pins or clips
Optional but useful:
-
Pattern weights
-
scotch/washi tape
-
Pencil eraser/rubber
-
Software like Affinity Designer/Inkscape if you want to make digital alterations like I am instead of on paper
If you don’t yet have the pattern needed for this tutorial, you can find it here (afflink):
Delilah Drop Waist Dress Pattern
Making the Pattern Alteration:
This is so easy it’s actually possible to make it without any pattern alterations – in that instance you would just hem the bottom of the bodice as is, or you could use the ‘bag it out’ method to hide the raw edge by sewing the bodice pieces right sides together, leaving a small section open to turn the entire bodice through, and then stitching closed once it’s right side out again.
However, for my top I am adding a band to finish the bottom edge. This is very straightforward, all you need to do is measure the waist edge of the front bodice, and draw a rectangle that measurement by 4” tall (or more if you like), and then do the same for the back bodice.
Making the Top:
If you want a sleeveless top, go ahead and follow the pattern instructions right up to the point where you would add a skirt, and instead of adding a skirt, hem or add a band.
To add a band like I have:
-Press the bands in half along the long edge, and sew the short ends together, right sides together. Turn right side out and press.


Then pin the band right sides together to the bottom edge of the bodice and serge or sew together and it’s done!

If you also want to add sleeves, make sure you cut the wide shoulder option, and then really you can use any sleeve you like. I used the Nyeca flutter sleeve.
To add a sleeve, follow all the instructions to construct the bodice like before, except you can skip the burrito method to close the armholes, as these will be left raw edged until the sleeves are attached.
Go ahead and complete your bodice with hem or band. Now you can attach your sleeves. Follow the instructions from the Nyeca pattern (or pattern of your choice) to attach your sleeves.
Need more help with adding the sleeves you want to this pattern? Follow along with our Blog Post titled Adapt Any Sleeve to Any Pattern.


That’s all there is to it! I used the boatneck and mid drop waist variety, but this will work just the same on any options for this pattern. Enjoy


- Written by Amy Day