Hello, here An Ca from Flaxfield sewing.
I think it's no secret that I love wrap tops and wrap dresses.
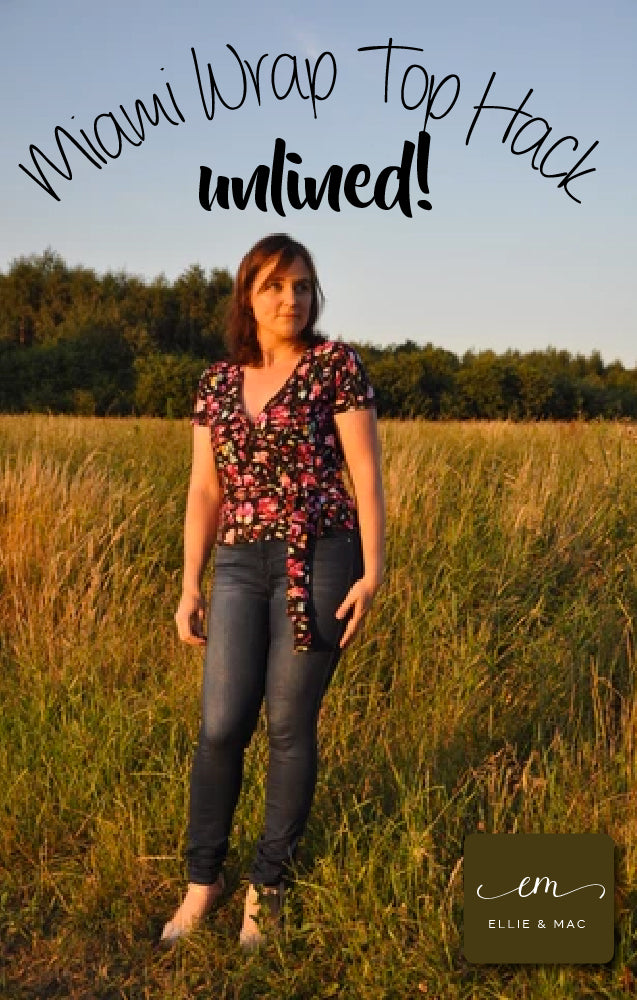
I also love the Miami Wrap top by Ellie & Mac.
The front and back of the Miami Wrap top are fully lined.
Nice for the winter, but a bit warm for the summer. I make this top unlined when I have a summer version in my mind. In this tutorial I would like to show you one way how you can do this.

First we adjust the pattern. You need the front, the back, a sleeve of your choice and the wrap belt of the original pattern.
I wanted to make my top a little longer so I lengthened the pattern pieces of the front and the back with 3".
Next you have to draw an extra pattern piece: the neckband with which we will finish the neckline. To determine the length of this band you measure the total neckline on your pattern pieces (2x the neckline of the front and 2x the neckline of the back) without the seam allowance. You take 90% of the number that you obtain.
For example: my neckline (without the seam allowance ) measures a total of 47". 90% of 47” is 42,3”.
With this number you add 2x the seam allowance, so about 1/2". In this example, the length of my total neckband measures 42,8”.
You can choose the width of the neckband yourself. Expect the finished width is half of your pattern part minus the seam allowance. I chose a width of 2” form my pattern part, the width of my finished border is therefore 3/4”
Once cut, you should have the same parts like in the photo above.
You can now close the shoulder seams as described in the original instructions.

We are now going to sew the neckband on the neckline. Fold your band in two lengthways, with the wrong sides together. Find the center point of the long side of the neckband and mark it with a pin.
Now also find the center point of the neckline and mark this point with a pin.
We now divide the neckband over the entire neck line, with wright sides together.
You have to make sure that the start, middle and end points of your band and neckline come together nicely. You will have to stretch the neckband a bit, but that's fine.

Sew the neckband on the neckline, press and topstitch if desired.

Sew the ties like mentioned in the original pattern. We can now attach them to our fronts.
As mentioned above, I extended my top by 3" so I attached my belt 4" from the bottom edge. If you have not extended your top, pin your belt at 1" from the bottom edge.
Both ties are pinned on the left side of the front pieces. The longest tie on the left side of the right front, the shortest tie on the left side of the left front. Sew on both straps.
The strap on the left front is sewed in the side seam. We finish the belt and the edge of the right front by folding it on the seam allowance and then make a topstitch.
You can continue sewing your top by following the order of the instructions. One side note: you can now sew the sleeves in the sleeve opening before you close the side seams.


