When I first decided on this project, I knew I wanted to use this mustard-colored printed fabric. I love the Boho look of it and knew the lace insert would only add to that feel. I hit my local Joann Fabrics to look for lace, but they didn't have a great color selection. What they did have, was a selection of 100% cotton laces. Natural fibers take dye well so I knew I could dye my lace to match my fabric. I picked out this wide lace specifically because it had a continuous edge along the top and bottom which meant I would be able to sew in a straight line and not have to do any scalloping. Next, I headed over to the dye section which had exactly one shade of golden yellow. A quick google search brought up the mixing chart from RIT and I learned that a sprinkle of brown will turn the golden yellow to mustard. Armed with cotton lace and 2 boxes of dye, I headed into the thrift shop for a small cheap pot to heat the dye in. Caution: Do not use a pot you ever plan to cook food in again! Dye is toxic unless it is natural. $2 bucks later and I was ready to go.
I added some water to my dye pot and a sprinkle of the brown dye first to test the color. The online recipes tell you exact measurements if you are dying a pound of fabric. I am only doing 3 yards of lace so I didn't want to waste my dye plus I wasn't sure if I would need to toss a batch or two to get the color right. I went back and forth adding brown and yellow powders before until I thought my dye was a mustard color.

I trimmed off a bit of my lace and dunked it into the dye to test the color. It was too light, so I added more dye. I repeated this process a few times until I was happy with the shade. I added salt to the pot to help set the dye per the packet instructions.

Now I wet my lace and wrung out the excess water. I added the damp lace to the heated dye bath and began cooking it. The dye water should be hot, but not boiling.

I stirred the lace around, lifted it out of the dye and set it back in. This is important as my pot was small and I wanted my dye to be as consistent in color as I could make it. This process took about 30 minutes before I reached my desired shade.

Next, I removed my lace and rinsed it until the water ran clear. I was happy with the shade, so I wrung out the excess water. If you need more color, just put it back in the dye bath.

When you are happy with the color, wash and dry your fabric as usual. Then we are ready to use our lace!!

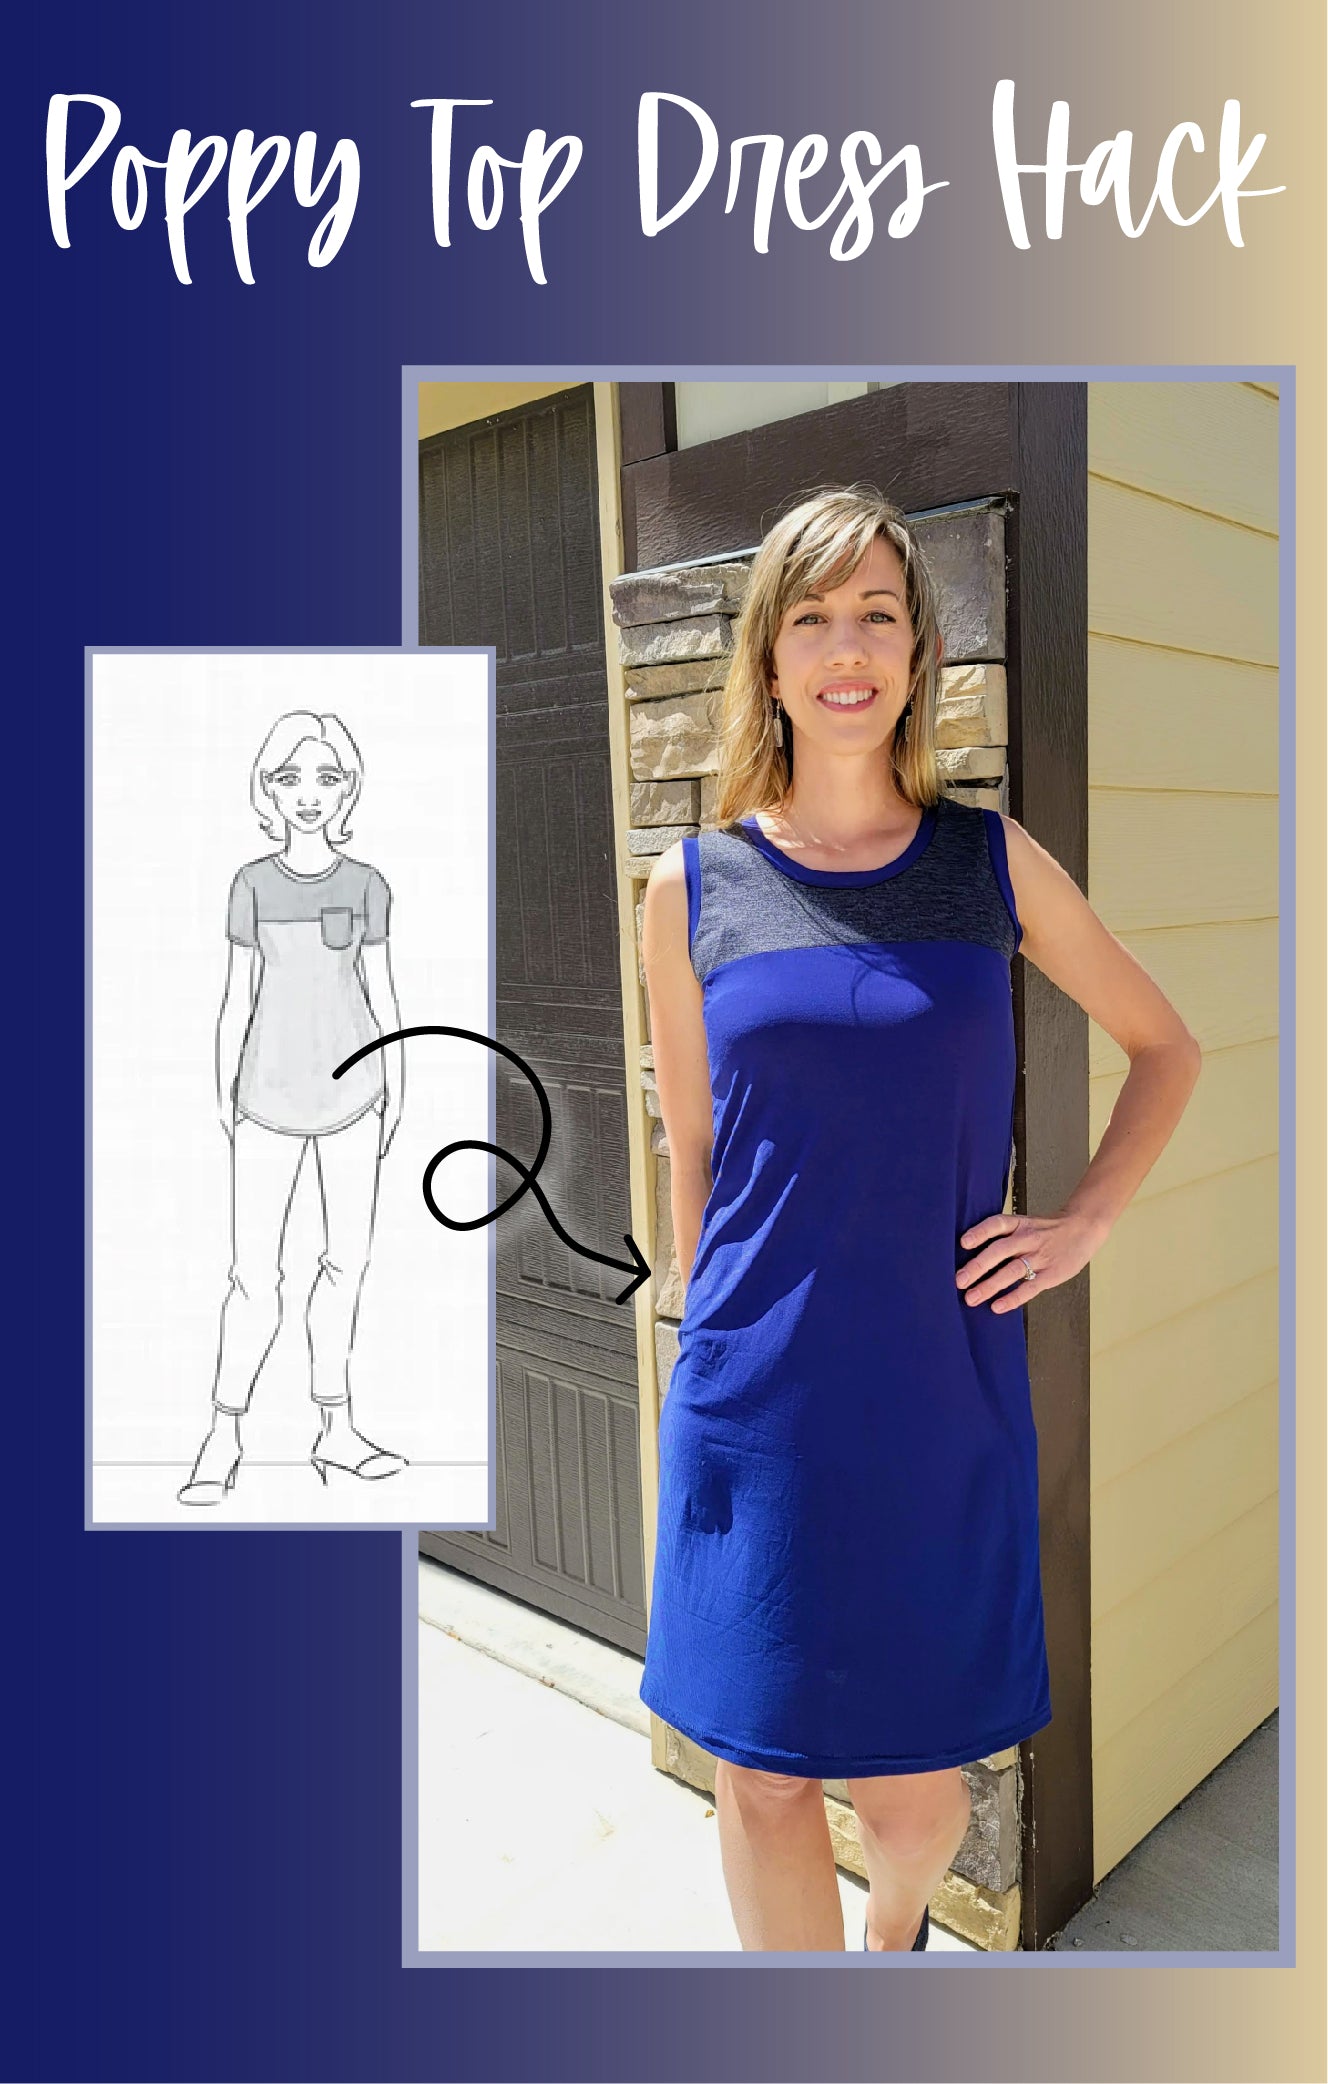
Let's Make a Dress!
I have been obsessed with wearing long skirts and dresses for about the last 8 months which means that I have been looking for creative ways to switch up some of my favorite patterns. The Be Graceful Dress was perfect for what I wanted, but you can pick so many of the EAM patterns to do for this technique.
I knew I wanted a semi straight skirt to make it easier to keep my lace insert level. You can do this with a flared skirt, you will just need to measure more to ensure that your lace insert is even. Here is how to do it straight.
- I assembled my bodice fully. I banded my sleeves because I wanted them short and I hate hemming. Attach pockets to the flat skirt panels if you want them.
- Lay your first skirt panel down flat on your gridded cutting mat. The grid will help you to keep everything even. Determine where you want your insert to be. I decided about shin level would be perfect for me.
- Use quilting rulers to make a straight line across the skirt panel. Lay the lace evenly across the line made with quilting rules. Pin every few inches at the top and bottom of lace. This will help you keep your lace flat and even. Repeat with the second skirt panel.

- Now stitch your lace in place. I used a zigzag stitch with my walking foot. Go slow and keep your fabric taut, but not stretched when it is going under the foot. This worked best when I held the fabric up a bit. Doing this will keep the fabric nice and even. Stitch the top and bottom of the lace on both skirt panels.

- Finally let's remove the background fabric to reveal the pretty lace design. I used a sharp fabric scissor and was very careful to not cut any lace. Make a small hole so you can get your scissor blade inside. I was able to cut close to the stitching as this is knit and won't fray. If you are using a woven fabric, leave yourself enough room to double turn your fabric and stitch it down to cover the raw edges.

- Now assemble the rest of your dress being careful to have your lace openings even on the sides.


If you have enjoyed this tutorial, please stop by my Regular Blog and my Youtube Channel.