Hi there, nice of you to stop by. I'm Ilse, better known on Instagram as Sewsewilse where you'll find all my creations.
Today I want to walk you through a really cool hack that I have implemented on the Adult Oversized Tee. I am absolutely thrilled with it!
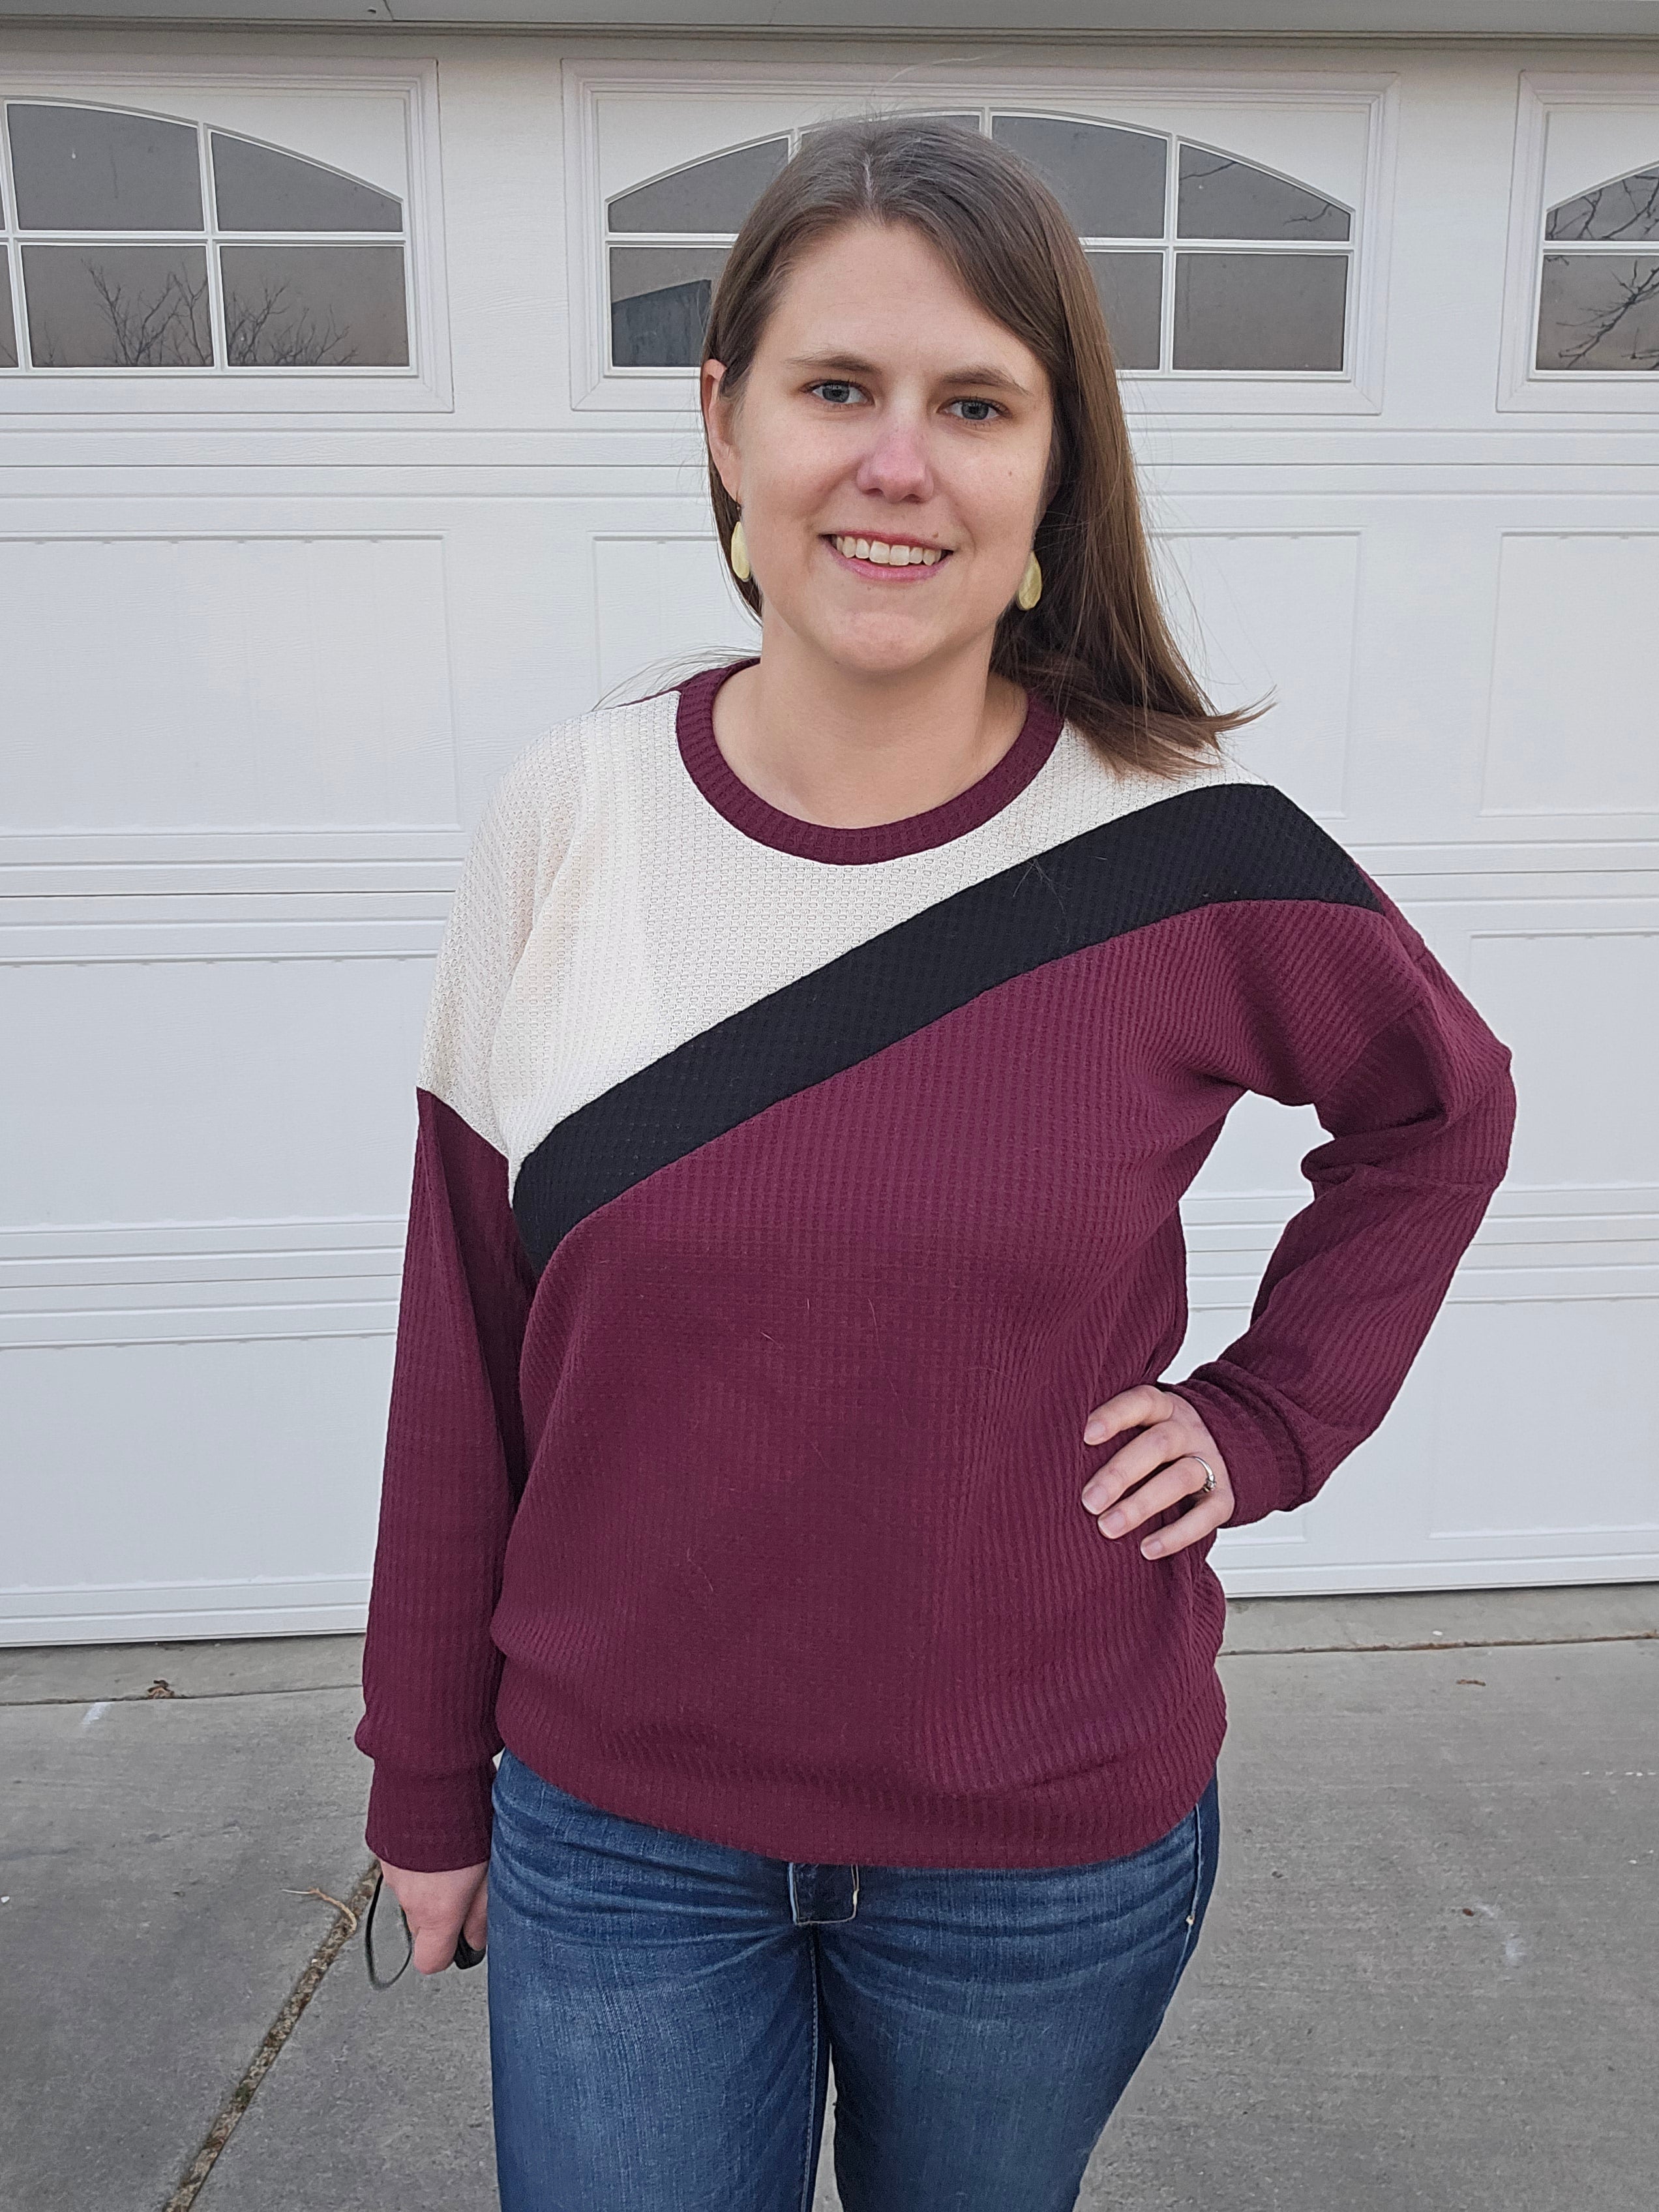
What did I do? I simply added pockets to the Oversized Tee and it turned out so cool! I’m so proud of my result, let me show you the result in advance.
To the Adult Oversized Tee!
I'm amazed at how many options you have with the Oversized Tee! You really need this pattern! There are so many different ways you can choose from. In addition, you can choose from: short or long cropped, a regular, and a tunic length tee. Next choice : do you want a hemmed, banded, or cropped tee? A pocket and/or a hood?
Did you know it’s available in sizes XXS - 7XL?
Fabric Recommendation:
I used a striped viscose jersey from my stash because I wanted to play with the stripes ;) The pattern recommends fabric with 50%, 4-way stretch knit fabrics with good recovery.
Up to my creation!
What exactly did I do? I cut the front panel, added pockets and flaps, and then completed the front panel. Then I sewed up the Oversized Tee together as the tutorial indicates. Oh yes and my waistband is also a bit different ;)
STEP 1 : Determine the height of your top layer from your front piece:
- Determine the height according to your own choice. I cut my front panel 6” from the pattern piece.
STEP 2 : Add seam allowance.
Add your seam value to the bottom of your top section and to the top of your bottom section of your front panel.
STEP 3 : Pocket and flap pattern piece.
Draw a pattern piece for your pocket and flap. I made a pocket with the following dimensions: length = 9” width = 6 ¼”. My flap has the following dimensions : length = 6 ¼”, the height of the flap = 2 ¼” and towards the tip is a difference of half an inch. So from the center of the top to the tip, the height is 2 ¾”.
STEP 4 : Cut out the pockets and flaps.
Cut the pocket twice and your flap four times. As you can see, I cut my pockets so the stripes are diagonal and the stripes of my flaps, horizontal.
STEP 5 : Flaps.
Sew two flap sections together, right sides together, trim the seam value, turn over to the right side, press and topstitch three edges.
STEP 6 : Pocket placement.
Iron the seam value from your pockets to the left side. Position them on the bottom half of your front piece and pin in place. Be sure to hold it in front of you for a moment to see if the pockets hang correctly.
Sew them in place.
STEP 7 : Flaps to front panel.
I chose non-functional pockets so :
- I pinned the flap at the top against the edge on the pocket.
- Then I pinned the top part of my front right against the right and sewed the whole thing together.
If you like functional pockets, change the steps:
- Your pockets should be about 1" lower on your panel.
- Then sew the two panels together right against right.
- Then attach the flaps to the top piece.
- Also your flaps must then be fully closed in one of the previous steps.
STEP 8 : Finish your shirt as the pattern indicates.
STEP 9 : Hemming or a waistband?
If you chose to hem the bottom of your shirt, you do so now. Also, hem your sleeves.
I chose to add a waistband to my shirt in a slightly different way than the pattern.
How did I do it?
- Cut a waistband equal in length to the bottom of your Oversized Tee. The width is 4".
- Sew it to the bottom of your shirt and leave a 4” opening.
- Cut a piece of elastic with a width of 1.5”. In doing so, measure your high hip circumference, pin it around you and feel how it fits. The elastic should not be too tight. Do not cut until you are sure.
- Insert the elastic into your band with a safety pin.
- Secure with a few rows of zigzag.
- Close your opening.
You will see that your fabric will frown because the length of your waistband is longer than the length of your elastic. And just that is exactly the effect I wanted!
Link to the pattern:
I hope you enjoyed reading my post, if you’re interested in the pattern you can find it here. Thanks for using my affiliate link.
Other Ellie And Mac blog posts from me:
Here's a list of posts I've written before:
- How to turn Any Tee into a bow tied tee
- How to add a ruffle to the Monday Morning Dress
- Slow Sunday Dress hack
- Staycation : Two piece hack
- How to add a side slit to the Paperbag Skirt
- Adding a curved hem to the Sugar ‘n Spice Poncho
- Lucky Sleeve Top - Cold Shoulder Jumper Mash up!
- Flounce Tee Crop top
- Styling the Fairy Jacket
- How to download, print and piece A4 patterns
Greetings,
Ilse
(Written by: Ilse Lemmens)


