Hi there, nice of you to stop by and see what I have planned for you. I'm Ilse and you can also find me on Instagram as Sewsewilse where you'll find all my creations.
It's always fun to add a little extra to an existing pattern, and let my little extra or hack be applicable to almost all necklines!
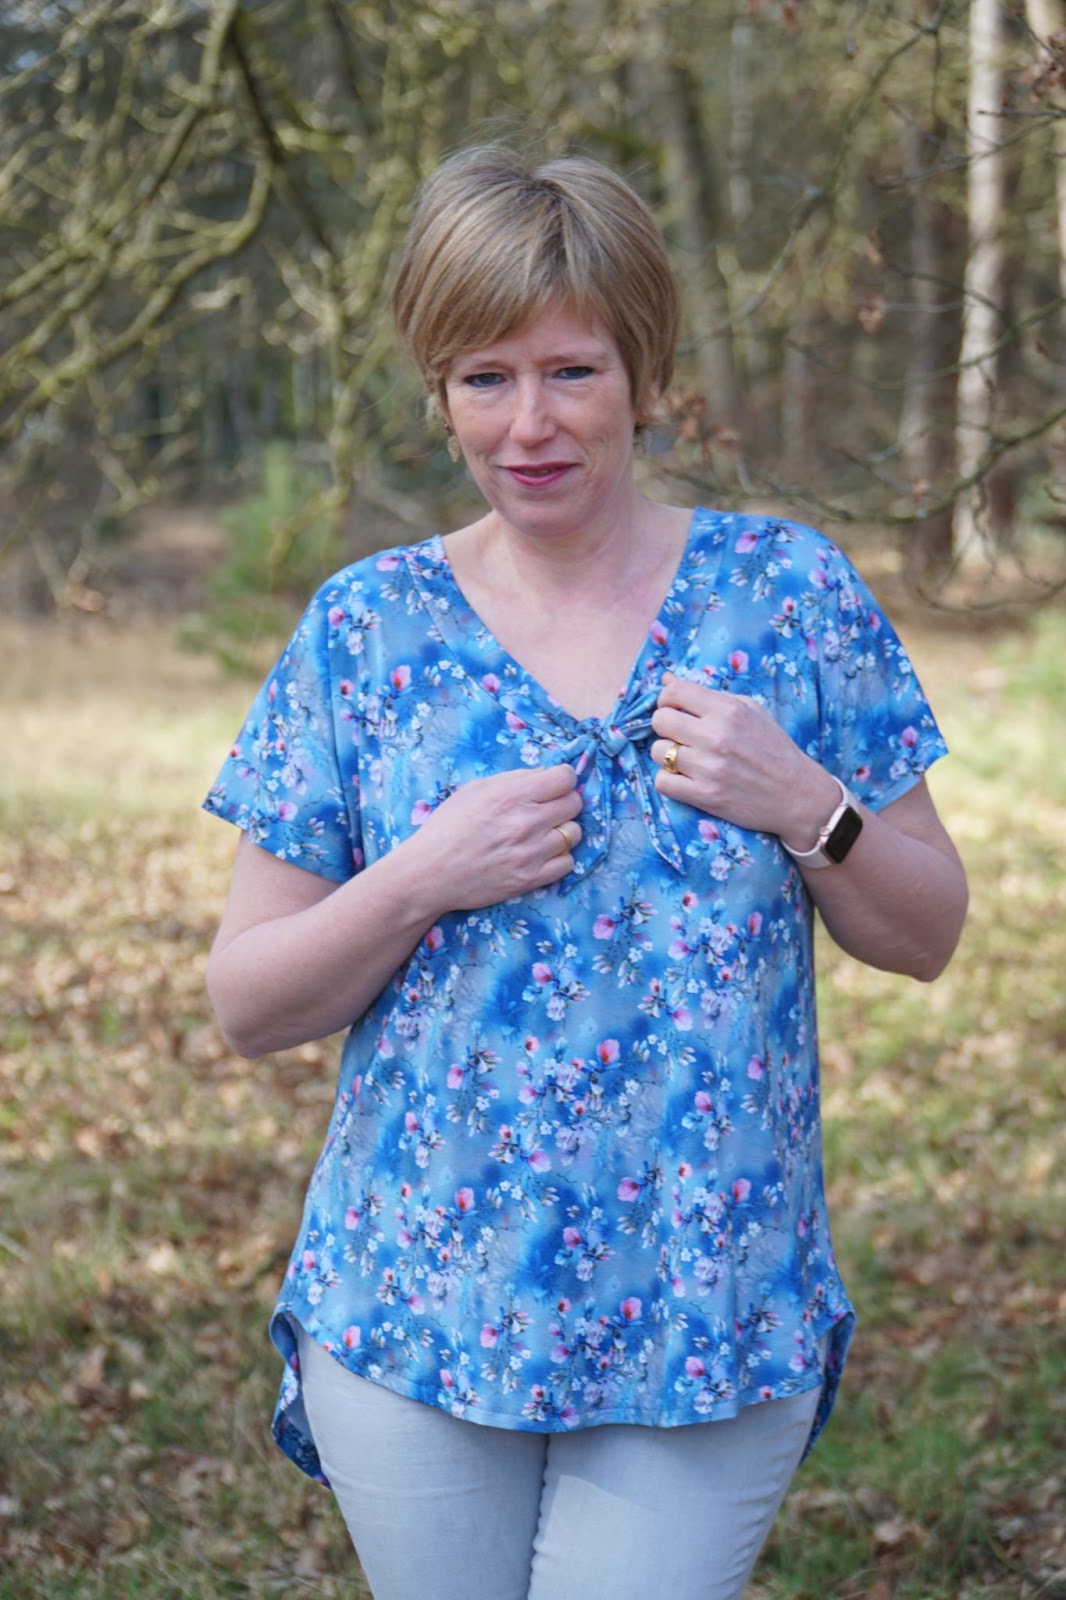
How about adding a bow tie to any tee? For example:
To the Everyday Tee!
The Everyday Tee can be fitted or loose because this pattern has the two options.
The hi-low hem is such a great feature because it covers my bum.
Besides it’s an easy sew it’s also such a quick project and a perfect base for many other hacks. When I say that the top needs only three pattern pieces, you immediately understand that it will go fast.
Here you see the line drawing and the difference between the fitted and loose top.
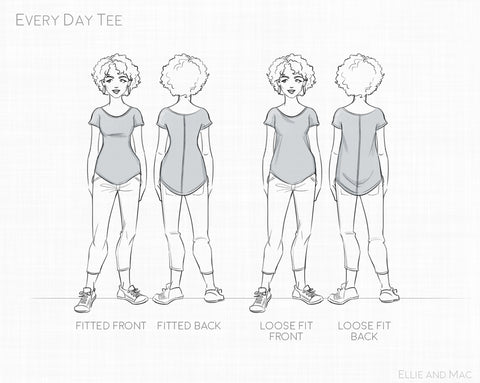
You can see that the back panel is not cut at the fabric fold, this is to get a nicer fit.
And this Everyday Tee is really so lovely on all shapes. Did you know it’s available in sizes XXS - 5XL?
Fabric Recommendation:
I used a viscose jersey knit from Minerva. It really has the right % stretch. This pattern recommends fabric with 50%, 4-way stretch knit fabrics with good recovery.
With more than 50% stretch, the garment may fit looser and appear less structured. If the fabric has much less stretch, the garment will fit tighter and will not drape as well.
Up to my creation!
So you see the Everyday Tee is the perfect canvas for my little and cute hack. We now transform boring and plain necklines into a cute neckline and with this feature you can also add a touch of retro to your garment.
First of all, I shortened the front and back pattern piece of the top by 5 cm or 2 inches to my preference. The rest of the top is sewed as per instructions. Except for the neckline, I'm going to give you a step by step tutorial on that now.
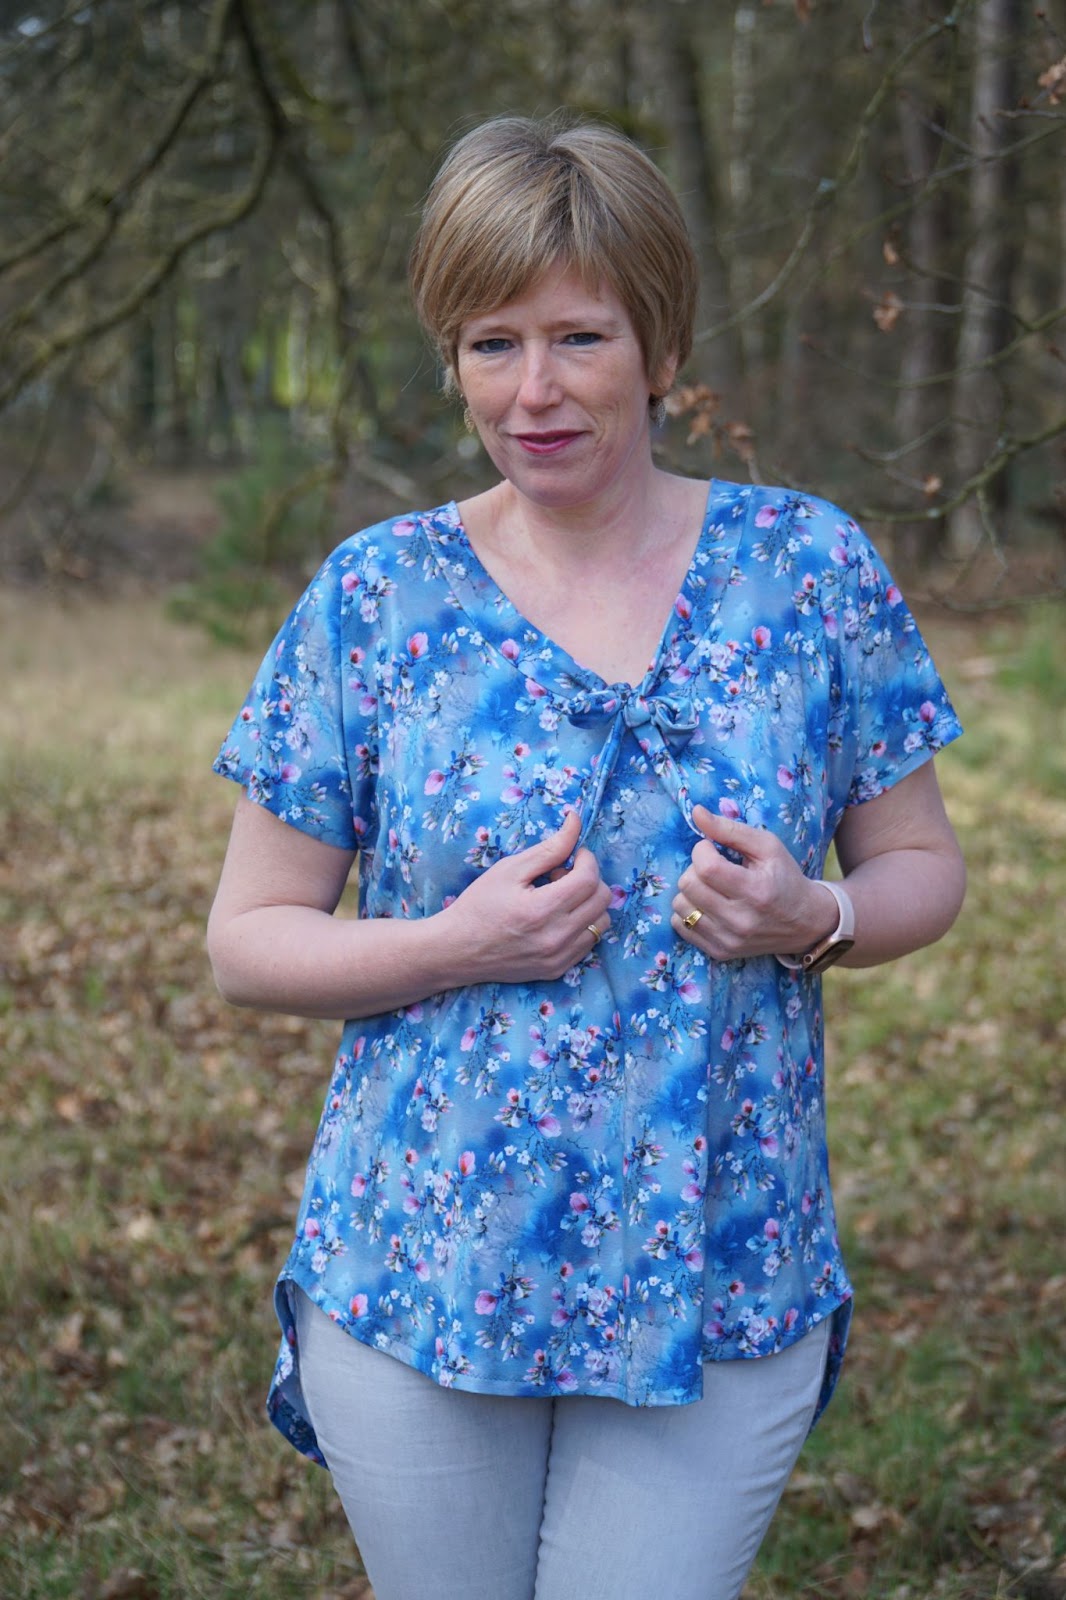
It will look like this:
STEP 1 : Measuring is knowing:
- First of all, you need to determine the circumference of your neck.
For my size (L), the circumference of the neck is 78 cm or 30.7".
- Next, you need to determine how long your final bow tie needs to be. I decided to have an extra length of 28 cm or 11" on each side from the center front so I can tie the ribbon. Neckline plus two times the extra length is a total of 134 cm or 52.8".
- To this I add the seam value of 1 cm or 0.4".
- Total length = 135 cm or 53.1".
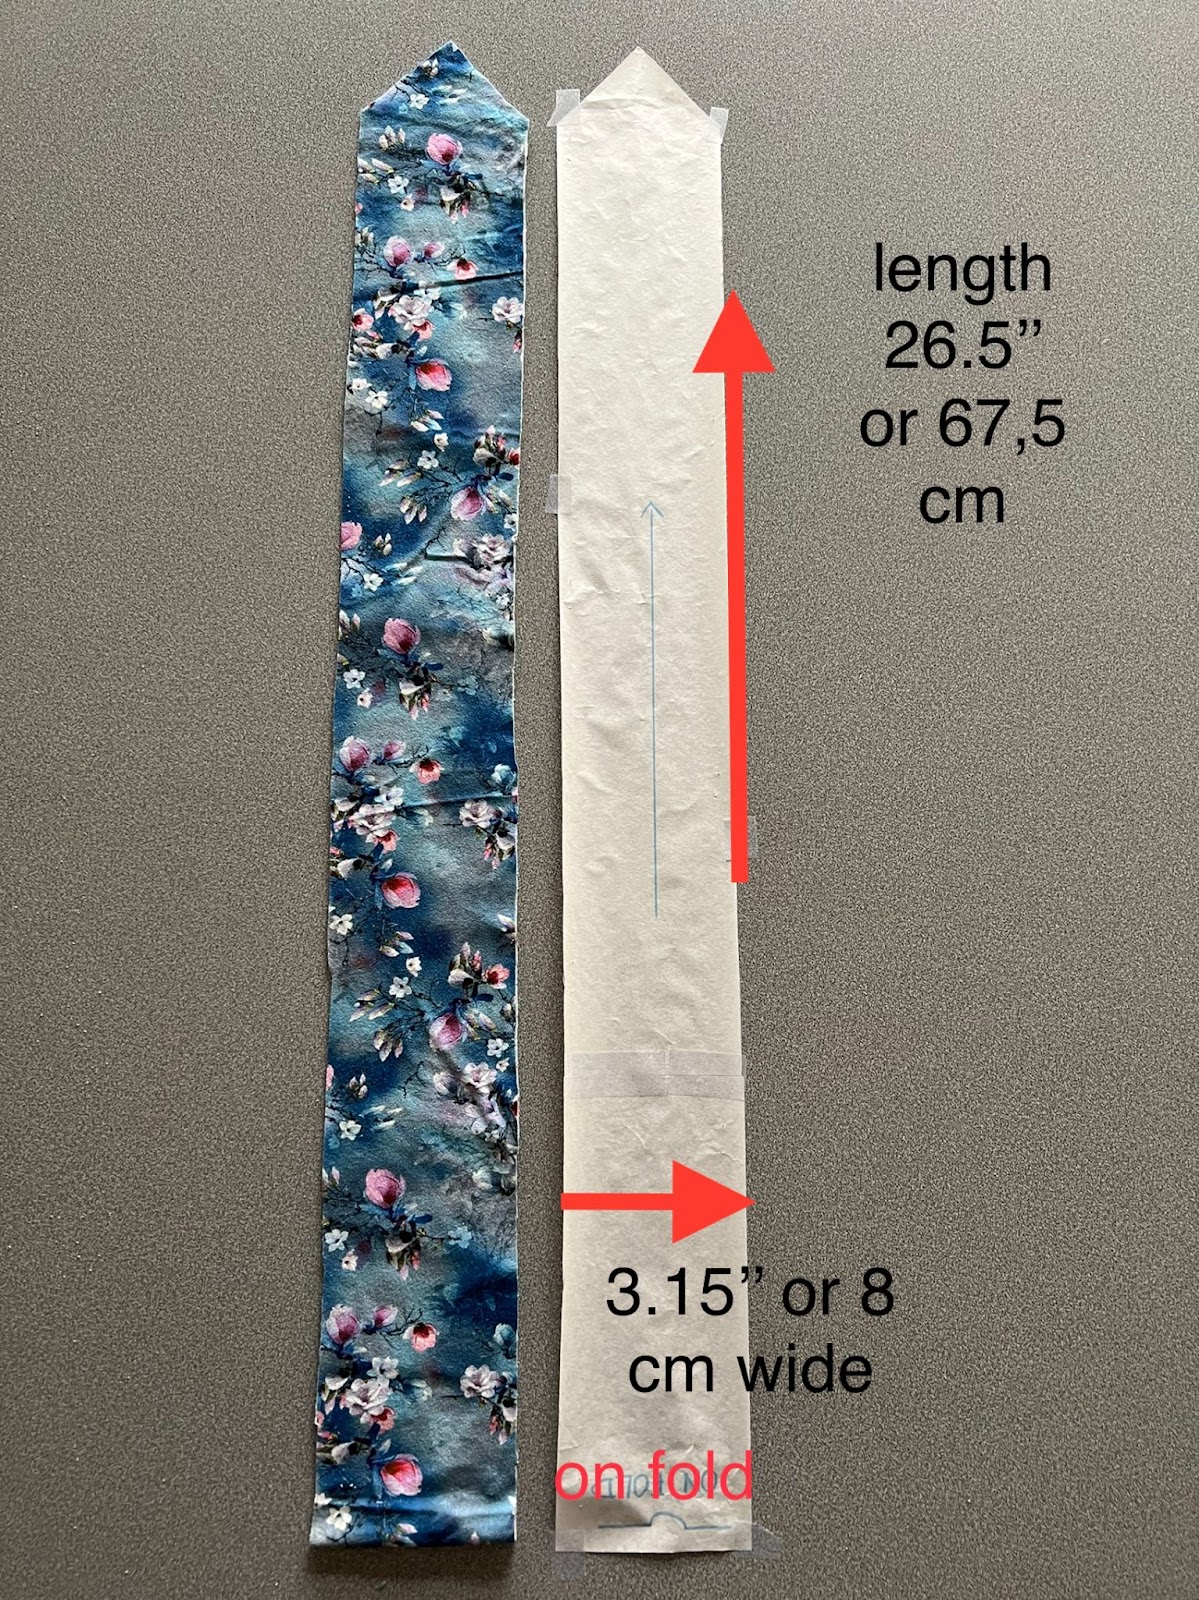
STEP 2 : Drawing the pattern piece for the bow tie.
Here you see my new pattern piece with its measurements, seam allowance included. I cut the tie on the fold. Measurements: length 26.5” x width 3.15” on fold.
STEP 3 :
I recommend to interface the bow tie with stretch interfacing add this only to the part that goes around the neckline itself. You can also do this for the entire bow. You will see that the bow wraps nicely around your neck using it.
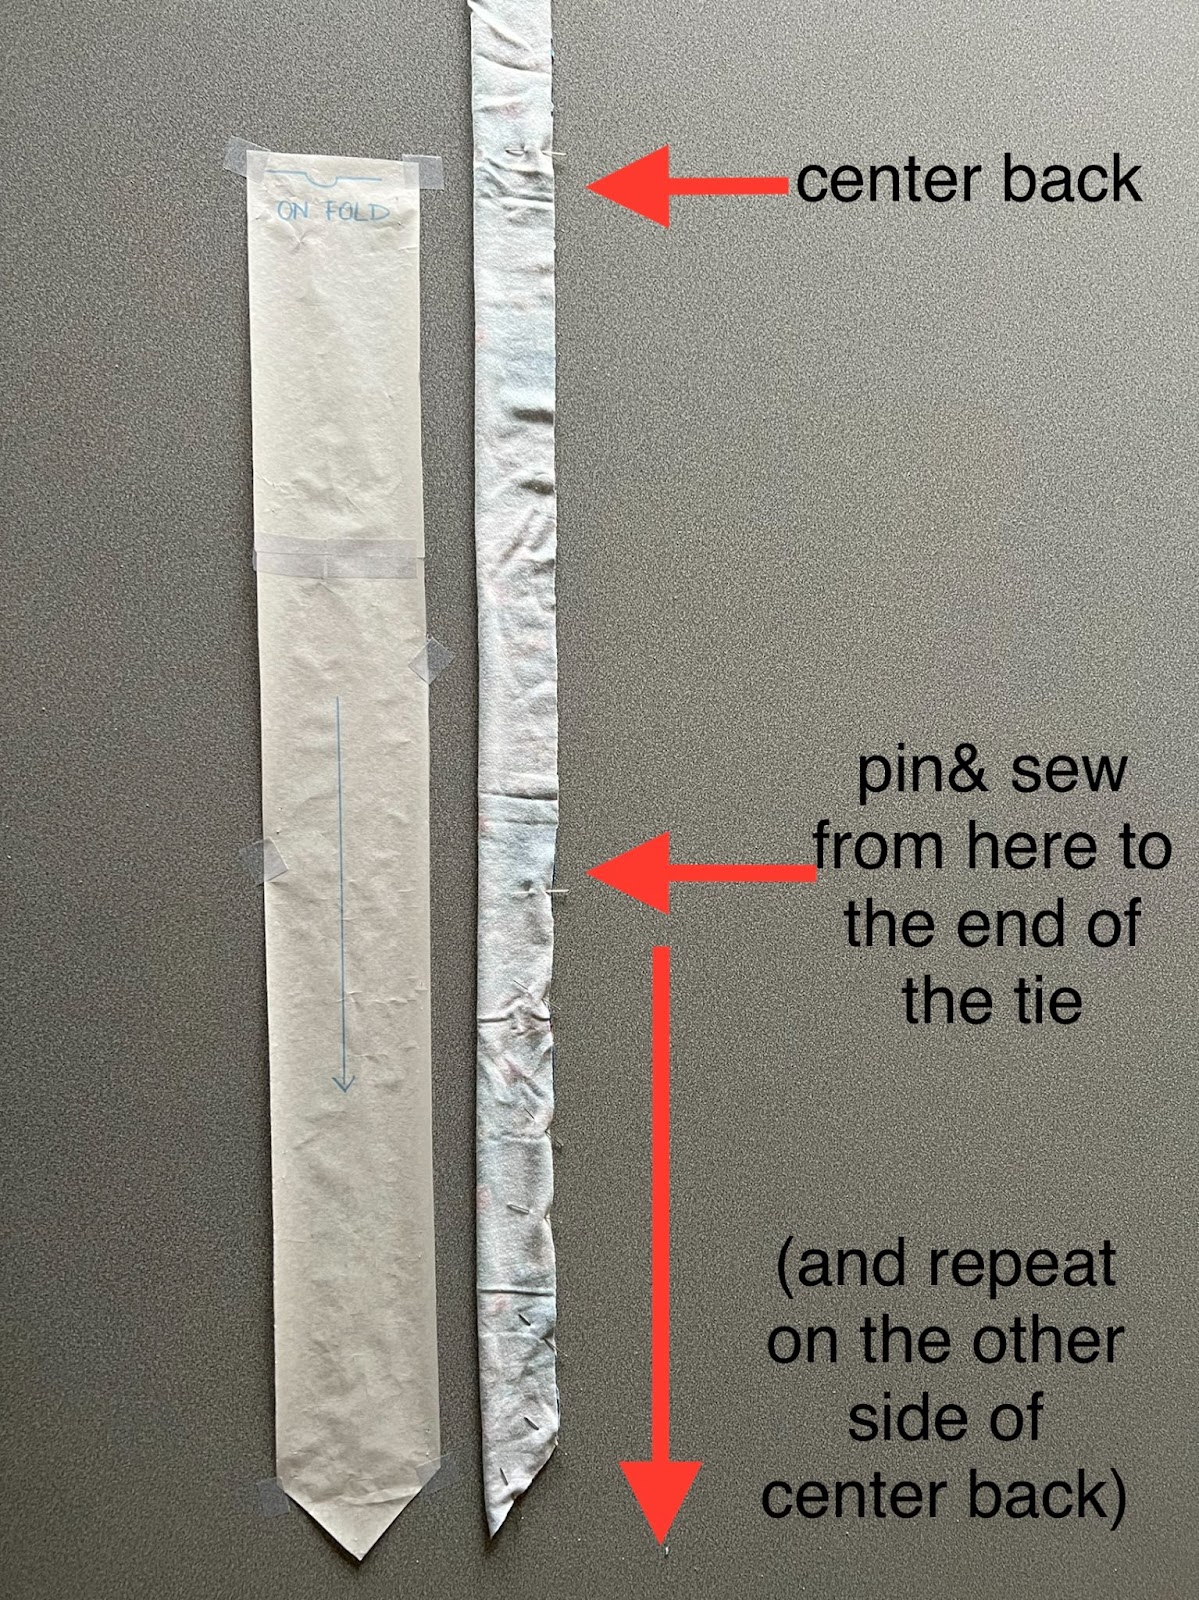
- Fold your bow with the long sides together. Right sides together.
- Determine your middle, this is your center back. Insert a pin.
- The circumference of your neck is 78 cm or 30.7”. Then pin half of the 78 cm or 30.7” from your center back to two sides. So 39 cm or 15.4” to the left and the same to the right (here to the top and bottom).
- Don’t close this 78 cm or 30.7”. We will leave this open until we put the bow on the neck.
- Pin & sew from this point to the end of the tie. Repeat on the other side of center back.
STEP 4 :
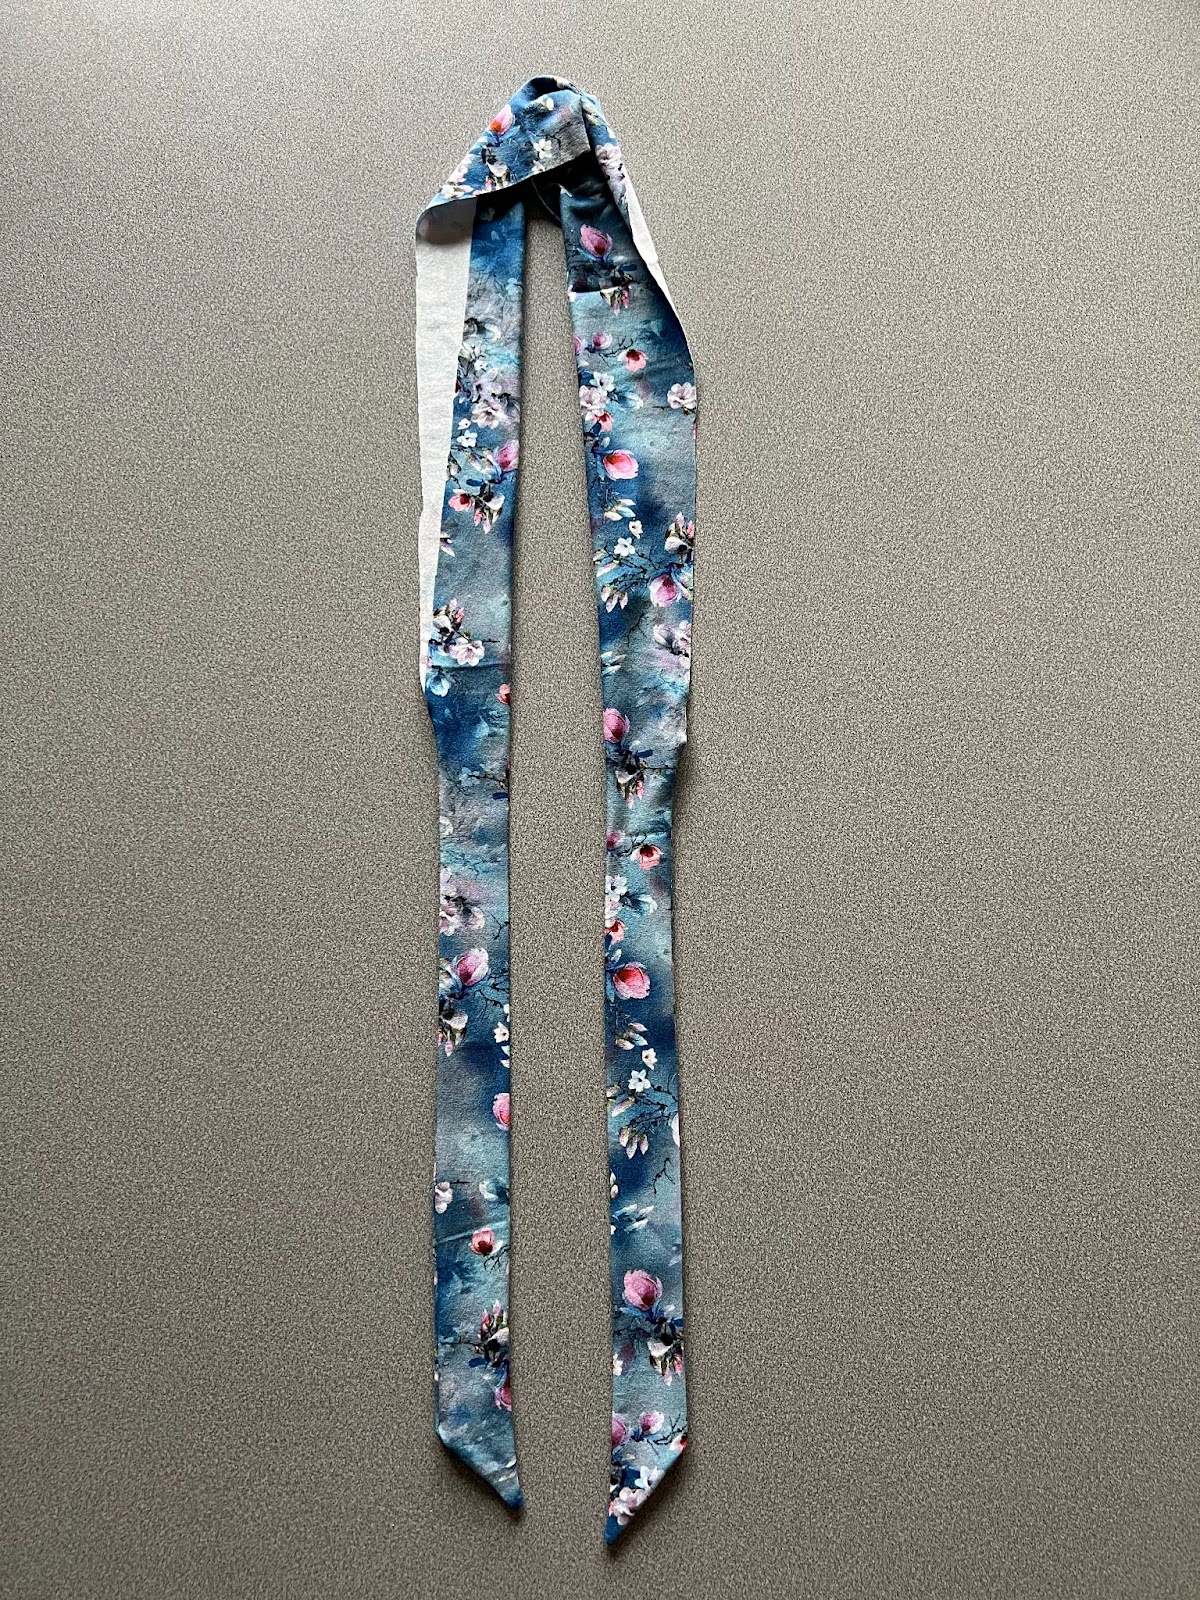
Turn your bow ribbon to the right side and give it a good press.
STEP 5 : Bow to neckline.
Your bow tie is now ready to attach to the neckline.
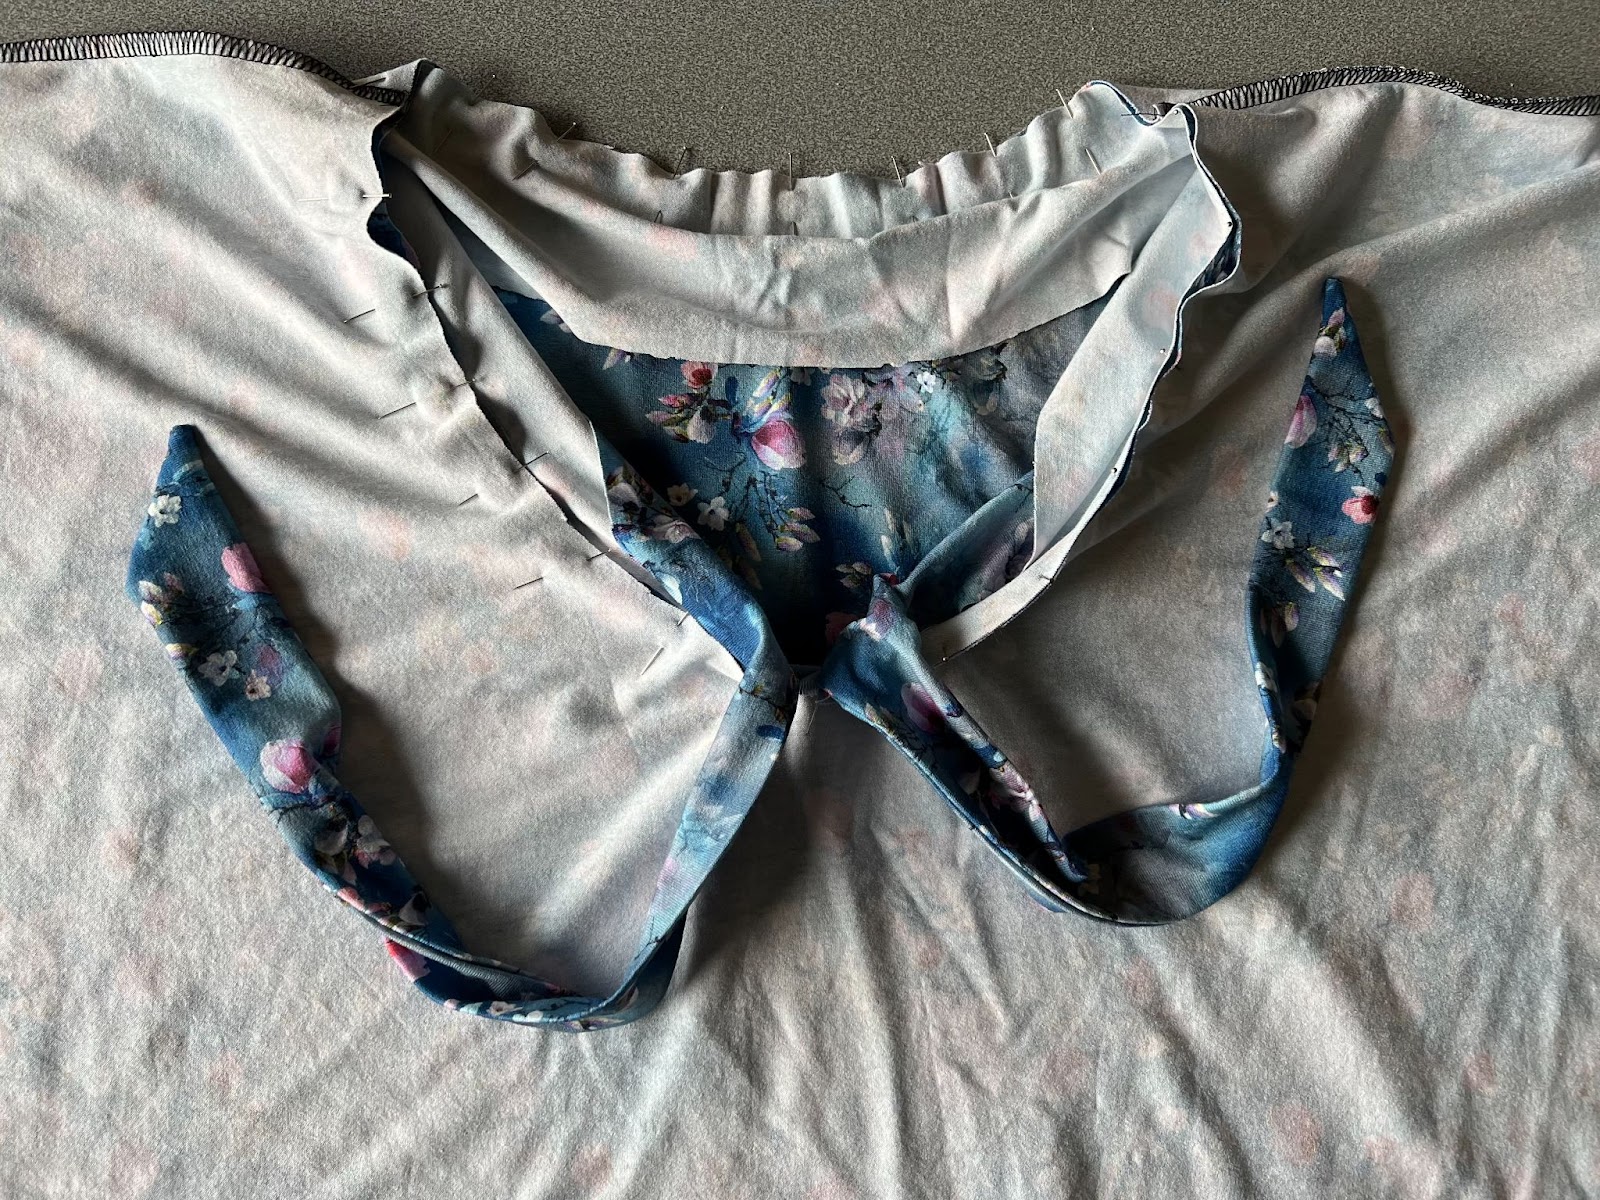
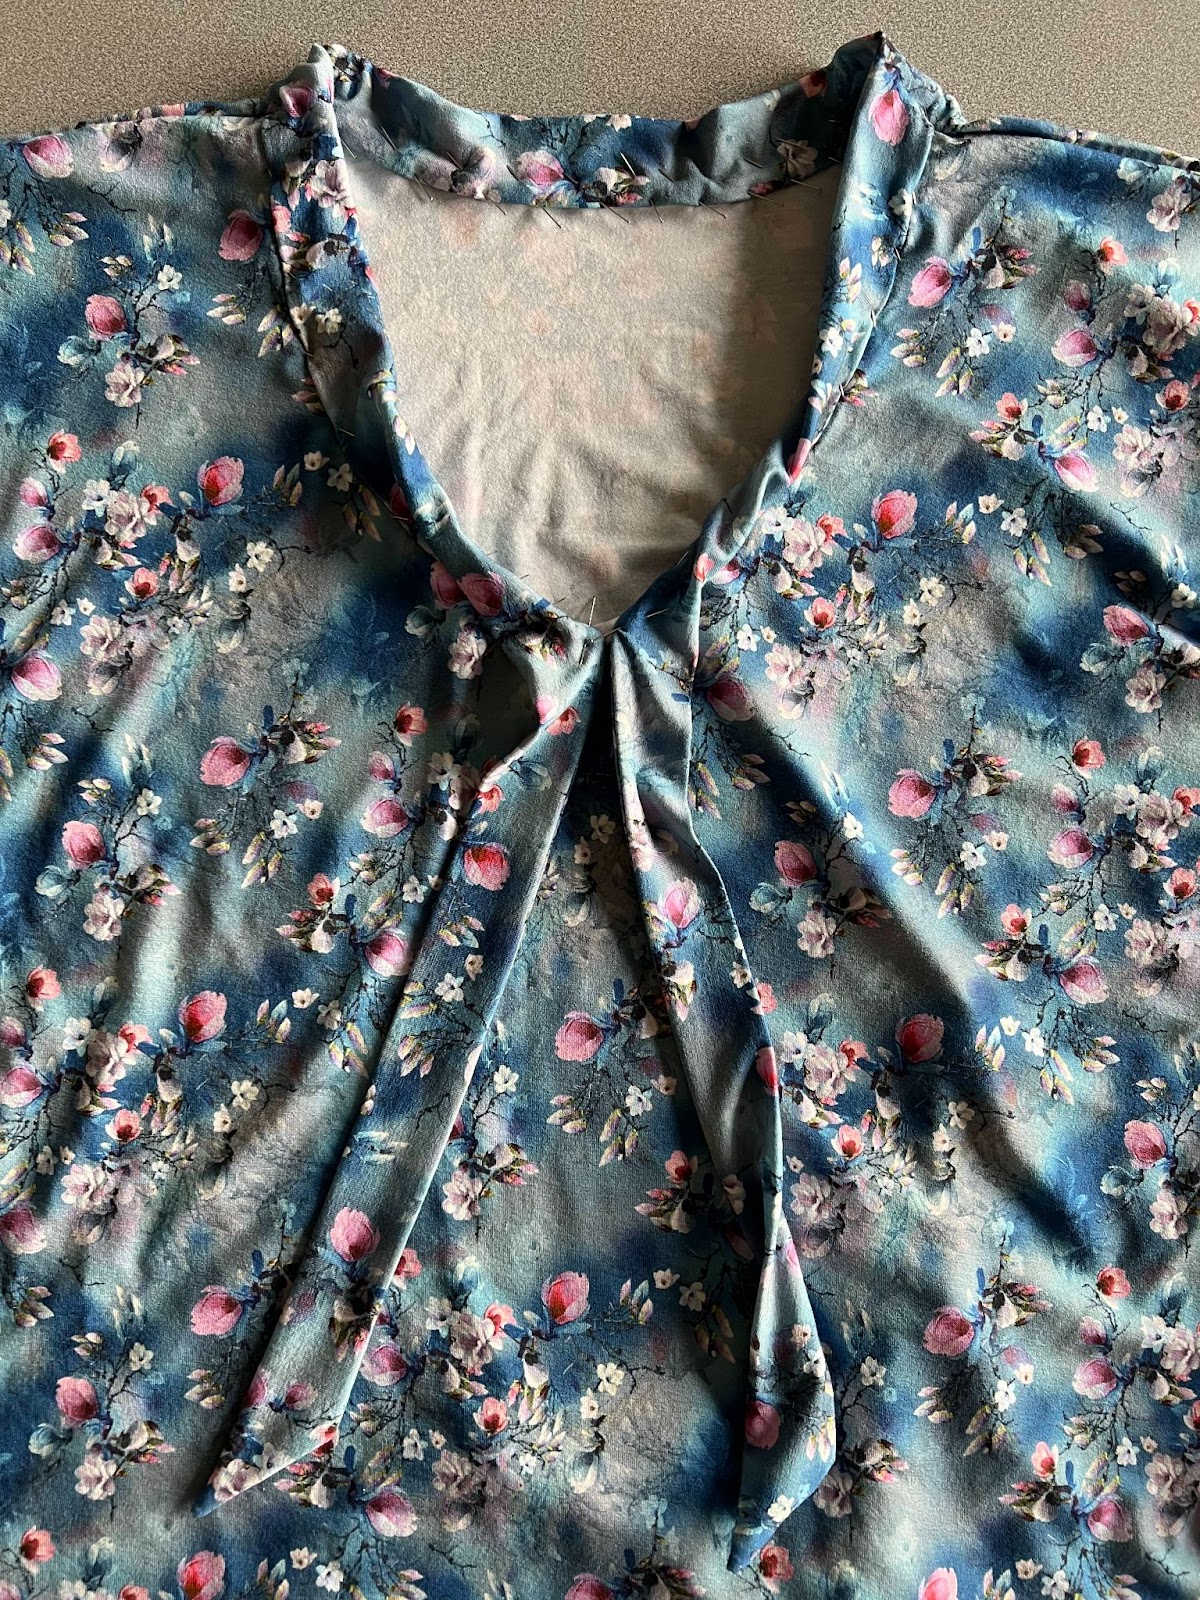
First, determine the center of your ribbon and secure it to the center back of your top. Right sides together.
The open part of your ribbon will now come around your neckline.
You secure both sides to your center front and pin the rest all the way around.
At the front, you do need to sew very precisely to the center. It will look like this on the wrong side and right side.
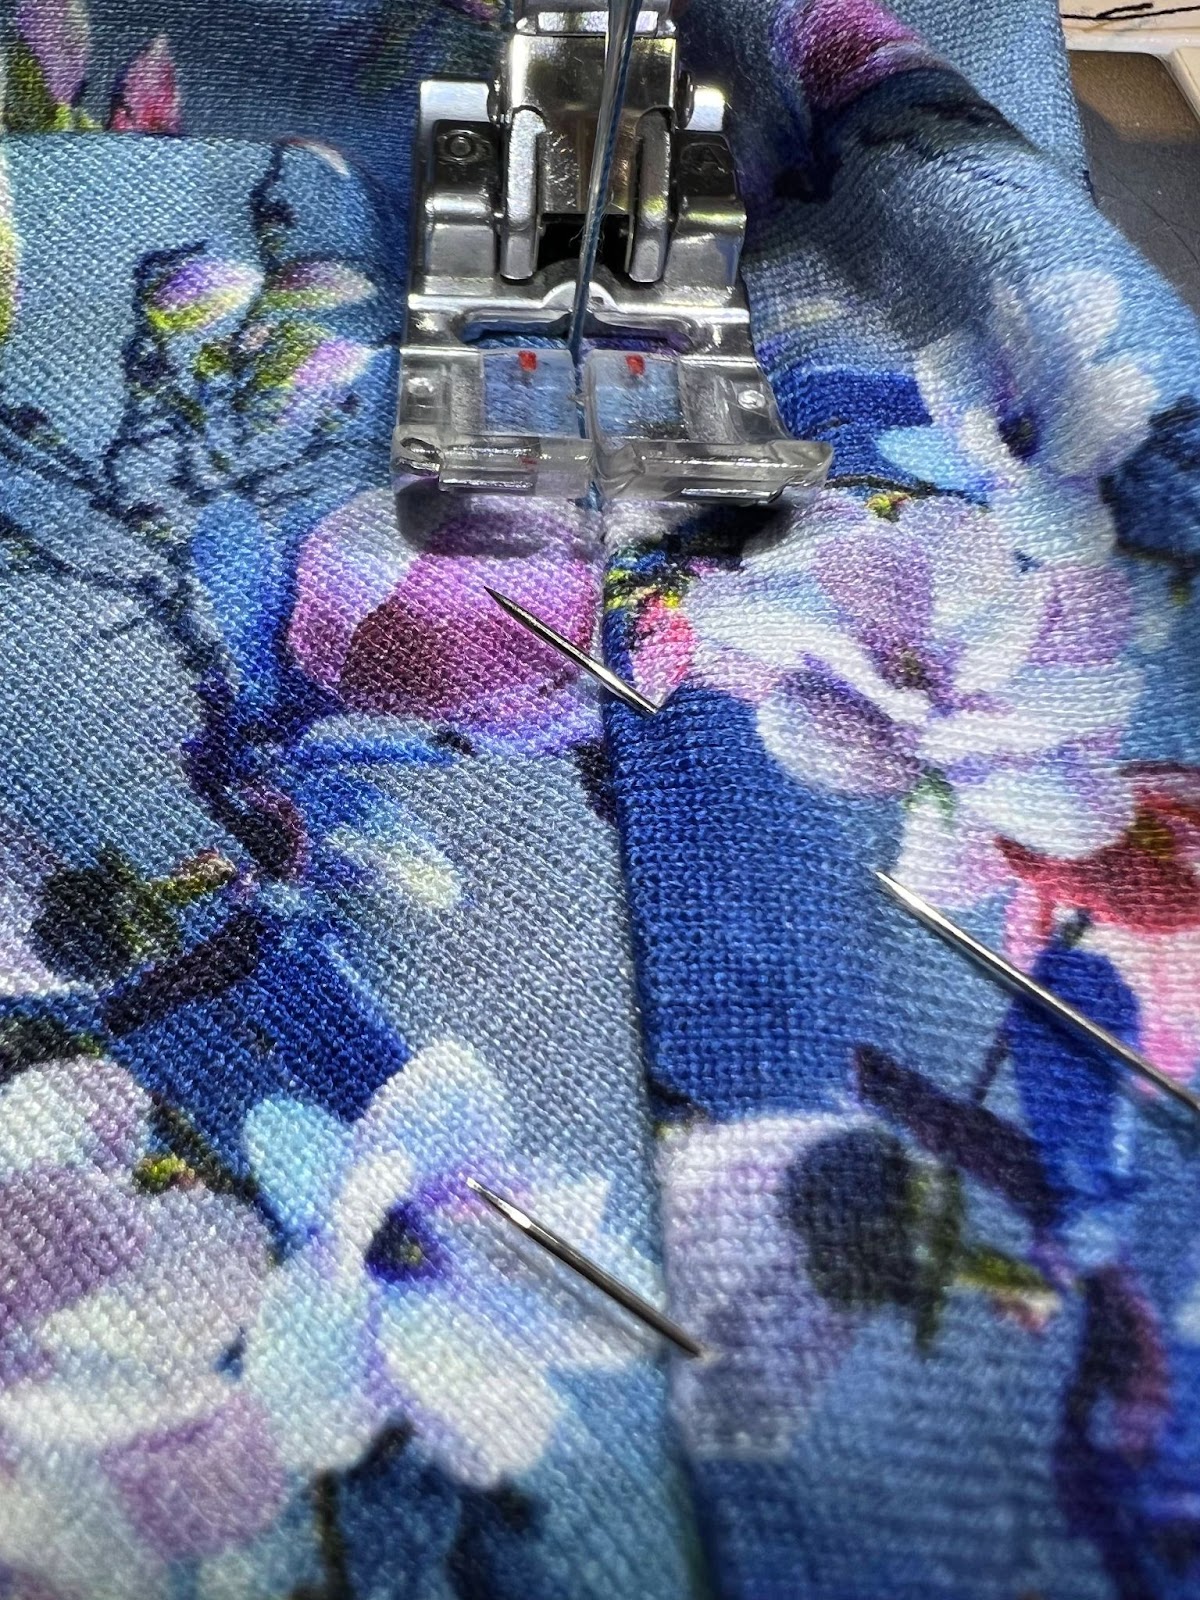
STEP 6 : Stitch in the ditch.
On the wrong side of my neckline I fold under my seam allowance and now I want to secure this by stitching in the ditch. Like this I get a nice finished neckline and when it would fall open everyone would see how nice it is on the inside too ;)
I’m using matching thread and I will stitch on the outside in the existing seam where I sewed my tie to the bodice. My stitches will be hidden and invisible from the outside. You can do this with your regular sewing foot or a 'stitch in the ditch' foot.
(You can skip this step if you want to.)
Ready to tie!
Now you can practice how you want to tie your bow or you can also just let it hang loose!


Link to the pattern:
I hope you enjoyed reading my post, if you’re interested in the pattern you can find it here. Thanks for using my affiliate link.
Other Ellie And Mac blog posts from me :
Here's a list of posts I've written before:
- How to add a ruffle to the Monday Morning Dress
- Slow Sunday Dress hack
- Staycation : Two piece hack
- How to add a side slit to the Paperbag Skirt
- Adding a curved hem to the Sugar ‘n Spice Poncho
- Lucky Sleeve Top - Cold Shoulder Jumper Mash up!
- Flounce Tee Crop top
- Styling the Fairy Jacket
- How to download, print and piece A4 patterns
Be sure to tag me, I’m so curious to see your version of the bow tie top!
Greetings,
Ilse
(Written by: Ilse Lemmens)