Hello, here AnCa from http://flaxfieldsewing.blogspot.be/
I would like to show you how to draw and sew a V-neck on the Autumn spice top
from Ellie and Mac. Of course you can apply the same technique to every pattern.

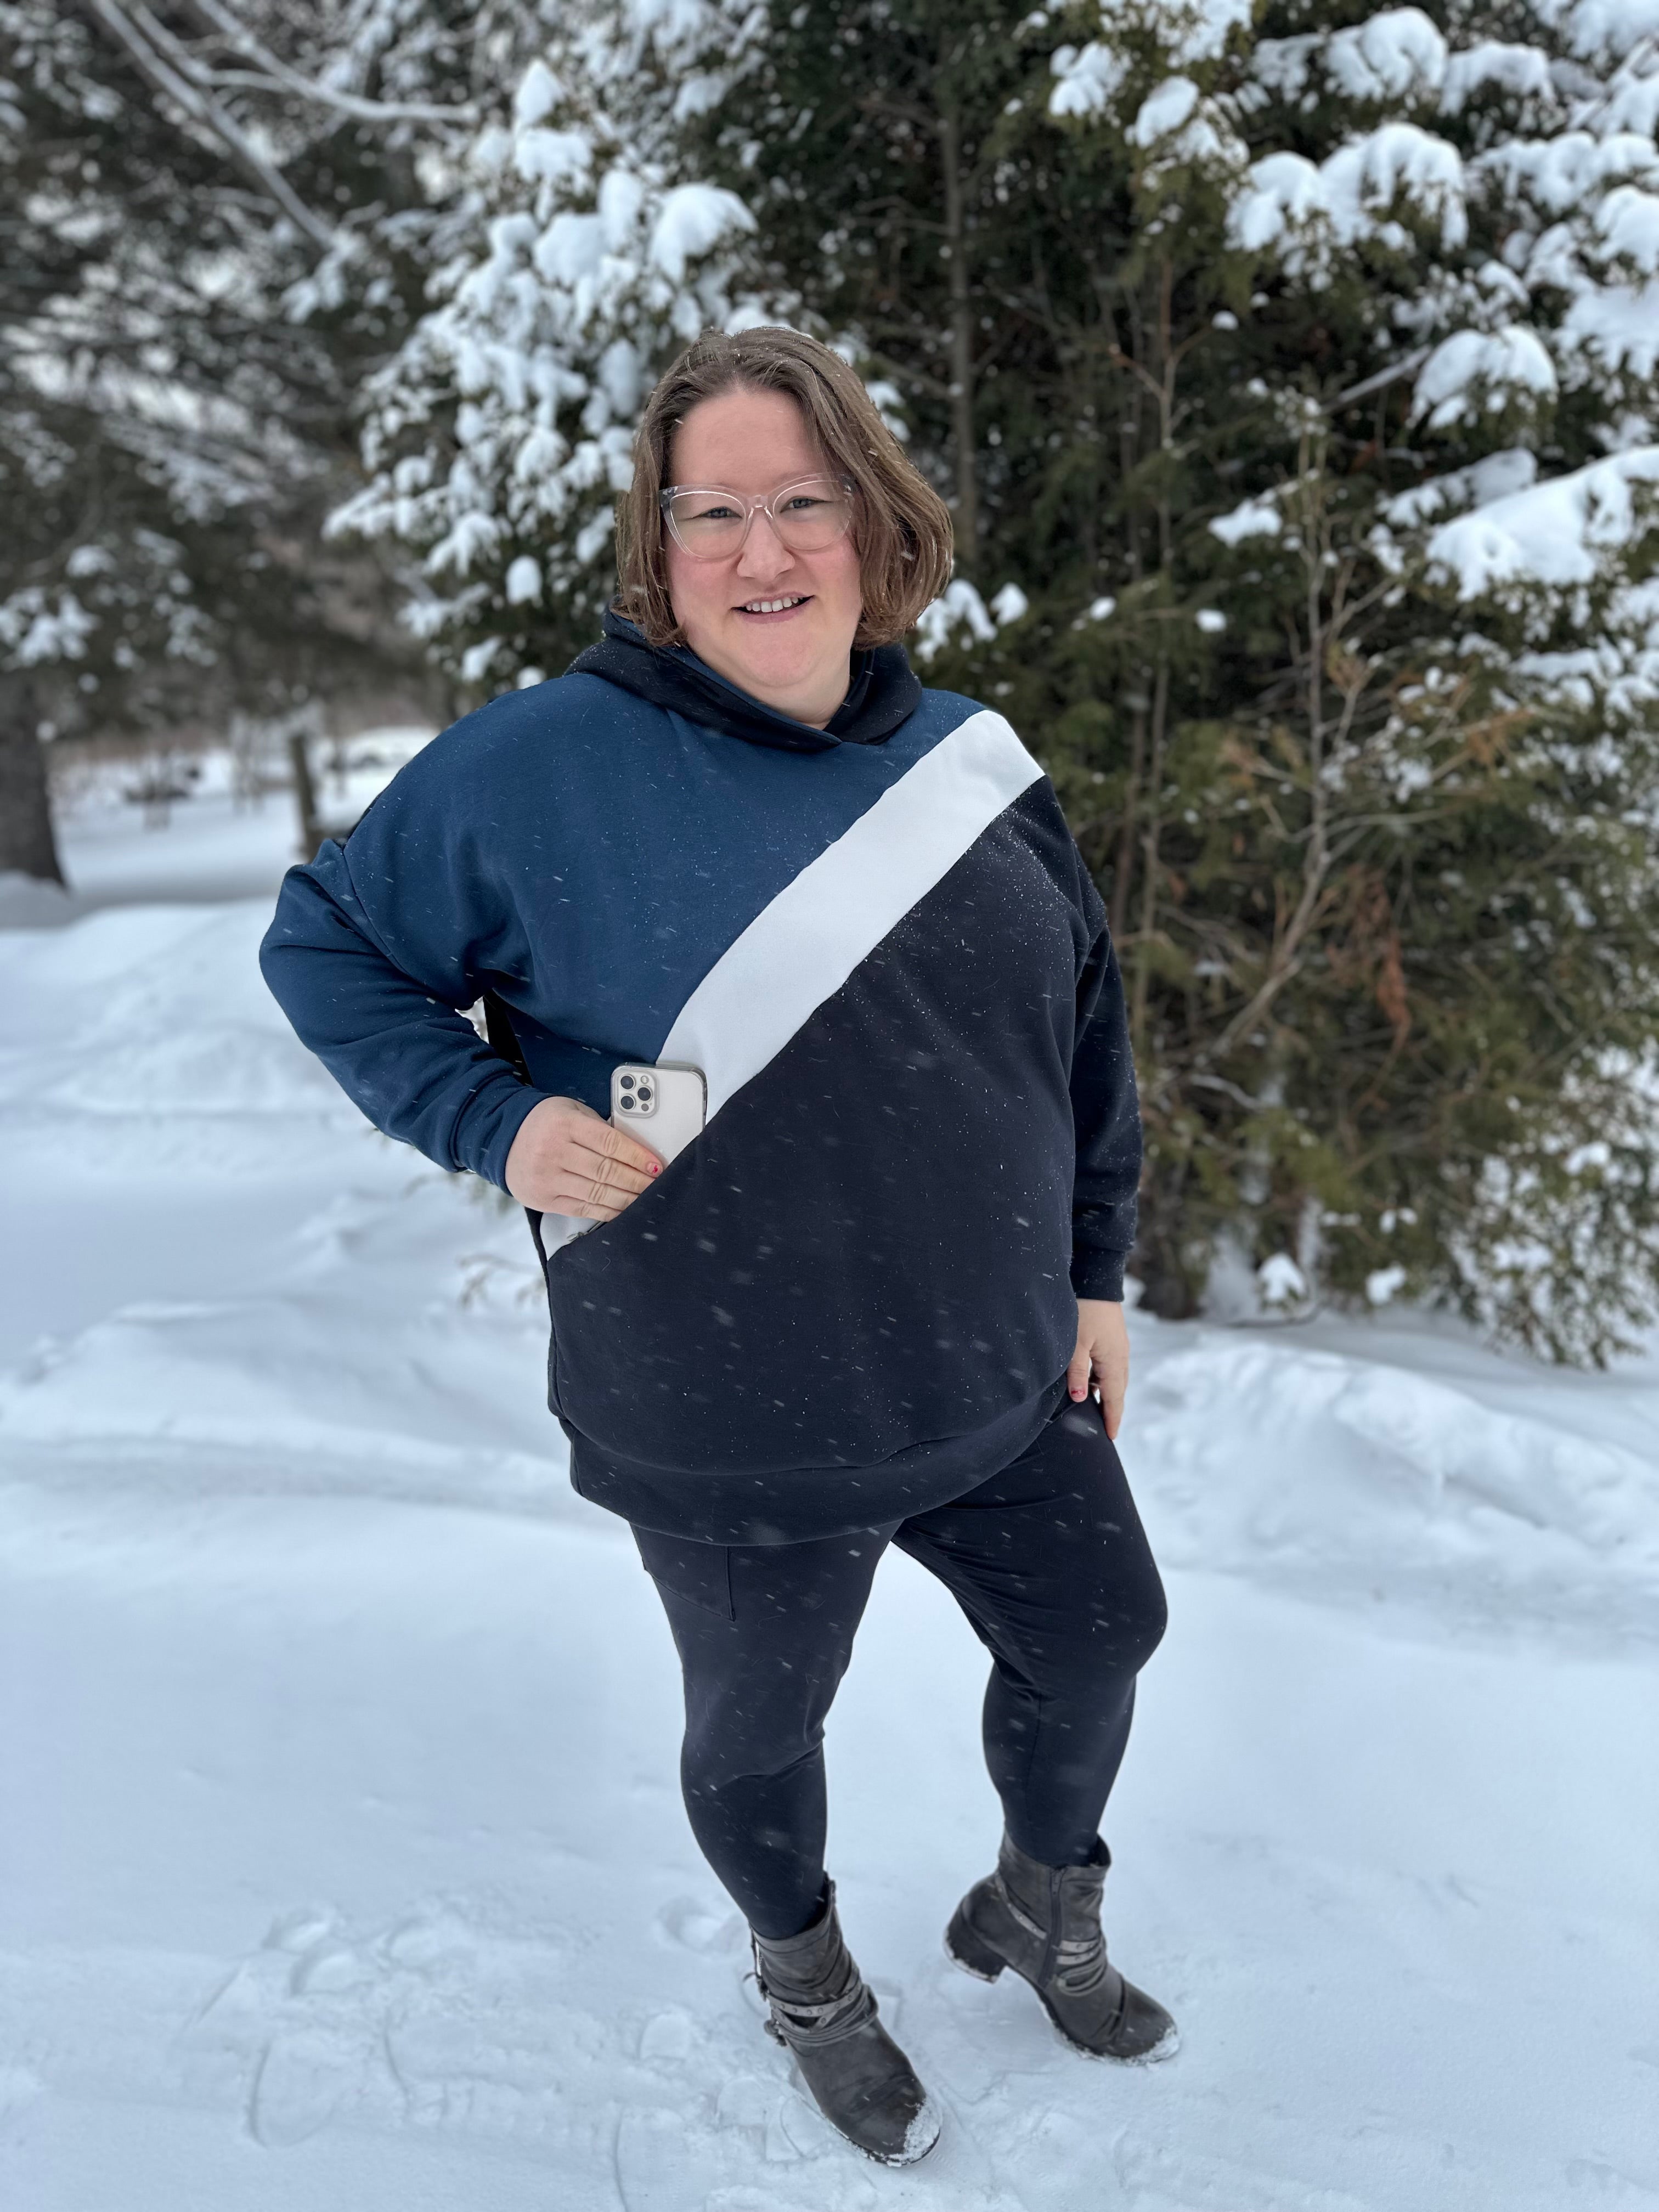
The Autumn spice top is the ideal color block pattern to use with your scraps and panels. This pattern has both above the bust and below the bust options for the top color block section and sleeve sections. It has a trendy curved hemline and you are going to love the relaxed fit!

The original pattern has a beautiful round neckline. As much as I like it, I remain a fan of the v-neck for my broad shoulders. I therefore decided to adjust the pattern.
I would love to tell you how I did that!
First we have to alter the front pattern piece and the neckband pattern piece.
Take your pattern piece of the front. Determine how deep you want your V-neck to come. Draw a curved line from that point to the original neckline. A curved line gives you a more beautiful neckline than a straight one.

Cut your pattern piece on the line you just have drawn.

If you cut your adjusted pattern piece out of your fabric it looks like this. 
Now we are going to adjust the neckband.
Take the pattern pieces from the front and the back and draw a line on the seam allowance of the shoulders. Measure the neckline on the front and the back (without the seam allowance) and count these two numbers together. Take 90% of this number. This is the total length of your neckband. Divide this number in 2 (after all, you cut on the fabric fold) and do not forget to add the seam allowance along 1 side. Draw your new pattern part according to these dimensions. The original width remains the same.
Take the pattern piece of the neckband and fold it in half lengthwise.

Place the pattern piece of the neckband against the pattern piece of the front so that the bottom corner of the neckband comes up against the top corner of the neckline of the front. Draw a line on the neckband, straight to the top.

Cut the pattern piece of the neckband on this line. Your pattern piece will look like this. Cut 1 against the fabric fold.
Sew the v on your neckband on the seam allowance. Cut in the tip of the v up to the stitching.

Fold your neckband in half, with the points on top of each other. This should look like this.
Now follow the original manual of the pattern up to the part were the neckband is attached.
Staystitch the v on the seam allowance of the front.
Cut in the tip of the v up to the stitching.
Sew the neckband to the front. You can spread the cuted V of the front piece as in the photo. Make sure that the tip of the V is nicely alligned with the seam on the tip of the neck band. I find it easier to sew a bit to the left and right of the point before I pin the rest of the neckband. The tension is then slightly less and that sews easier.
This is how your beautiful V looks from the front 💖. Now attach the rest of your neckband and finish your T-shirt as stated in the instructions.
I hope you enjoyed this tutorial.
It all looks harder than it actually is, and like everything else: practice makes perfect 😉.
Good luck!
(Written by Annick Campenaerts)


