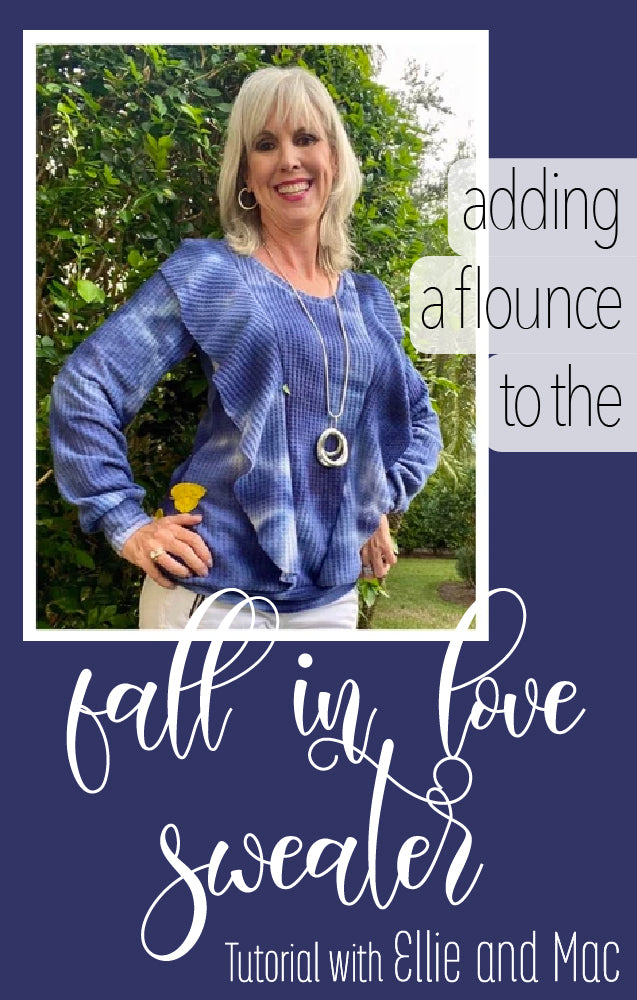
I’ve been going through a bit of a flounce obsession the last few months – I just LOVE the look of them and I think they add something extra to basic pieces. But I don’t really love them at the wrist - maybe it’s because I type a lot for work? So I’m always looking for ways to incorporate them into other parts of a garment. For example, I love the look of a flounce at the shoulder, with or without a sleeve. I think it’s such a classy detail and totally changes the look of a top.
So today I am sharing TWO fun ways you can use the flounce piece from the Be Dreamy dress pattern on the Breezy top and the Chapman Cardigan. Yes, you heard me right – I added flounces to a cardigan and I LOVE the look. Here’s how I did it.
Let’s start with the Breezy top – one of my favorite patterns! I love the overall fit of the top and the peplum skirt is the perfect length for me. A few months ago I was sewing up another one and looking to add a little hack to the pattern to mix it up when I came up with the idea to add the flounce around the sleeve. This is so easy to do! In an ideal hack where you are interchanging sleeves, you would measure the armscye of the bodice and then the new sleeve to make sure they are the same size. Did I do this with the flounce? Nah, I was too lazy and I figured the knit fabric would be forgiving enough to work…and it was. To achieve the look I did for this hack, follow these simple steps.
First, cut out all your pattern pieces per the Breezy instructions. Then cut out two flounces from the Be Dreamy pattern and set them aside too.
Then sew the front and back bodice together at the shoulders. At this time, I typically add the neckband just because I prefer to do it before the sides are sewn but you can add it later.
Here’s where we deviate from the instructions - sew up the sides of the bodice before you sew on the sleeves because we will need to set our sleeves in to add the flounce.
Right sides together, sew that bottom seam of each of your sleeves – so you now have two sleeves not yet sew to the bodice.

Turn your bodice inside out. Make sure your sleeves are turned right side out.
Take one sleeve and then pin or clip one of the flounce pieces around the armscye opening of the sleeve, with the wrong sides of the flounce facing the right sides of your sleeve.

Insert your sleeve with the clipped/pinned flounce into the arm opening of your bodice, with the right side of the flounce against the right side of the bodice armscye and pin/clip all around the armscye. So inside your bodice, the layers from the bottom up are right side of sleeve facing up, right side of flounce facing up; the flounce is sandwiched between your bodice and sleeve with the right side of the flounce facing the right side of the bodice and the wrong side of the flounce facing the right side of the sleeve. Essentially you are insetting a sleeve but it has the extra layer of the flounce between the sleeve and the bodice.

I recommend to baste the arm piece to the bodice and then checking to make sure you are happy with your stitching and that your layers ended up in the right order. Turn your bodice right side out to check it. If you are happy with it, then sew with a stretch stitch or serge the sleeve carefully to the bodice.
You should have a pretty flounce layer sitting on top of your short or love sleeve! Here is my muslin:

I made my final version in ITY:

You could also do a sleeveless version where you skip the sleeves and just sew the flounce to the armscye which is what I did for the next flounce hack - the Chapman Cardigan. Yes, you can do flounce sleeves on a cardi and it gives it a fun flowy vibe. This pattern has two cut lines on the bodice – one for the sleeveless version and one for the sleeved version. I decided to use the sleeve version cut line even though I am doing a sleeveless version to get more width in the shoulder but you could use the sleeveless cut line for a different look.
To achieve my look, you cut out your cardigan pieces (but not the sleeves). Cut out two flounces with the Be Dreamy piece too.

Fully assemble the cardigan, including sewing up the side seams but skipping the sleeves.
Turn the cardigan inside out, and then set the flounce in the armhole with the right sides of the flounce facing the right sides of the bodice. Sew into place with a stretch stitch or serger. You could baste first if you’d like, and I would definitely recommend this if you opted to do a sleeve version, but for the sleeveless version, I just serged it in the first step since I didn’t have multiple layers of fabric. If you opt for the sleeve version, follow my instructions above for the Breezy top.
And that’s it! Another fun flouncy look!

One tip on adding flounces to tops – keep in mind that the wrong side of your fabric will show at times, so I would suggest sticking with fabrics that have a similar looking back to the front unless you like the look of the wrong side of the fabric too. I did not do this with my Breezy top and you can see the wrong side of the fabric showing, although I am ok with the look.
Have you added flounces to any other E&M tops or dresses? I plan to try a few more hacks using the Be Dreamy flounces because I am crazy for flounces!!
Get the patterns here (my affiliate links below):
Breezy top and dress: https://www.ellieandmac.com/products/adult-breezy-dress-pattern?_pos=1&_sid=c11e5ab2e&_ss=r&aff=1281
Chapman Cardigan: https://www.ellieandmac.com/products/adults-chapman-cardigan-pattern?_pos=2&_sid=6ac50c39b&_ss=r&aff=1281
Thanks for stopping by!
(Written by: Andrea Mulford)
If you're a beginner, check out our free sewing patterns here.
See our video tutorials for beginners here.