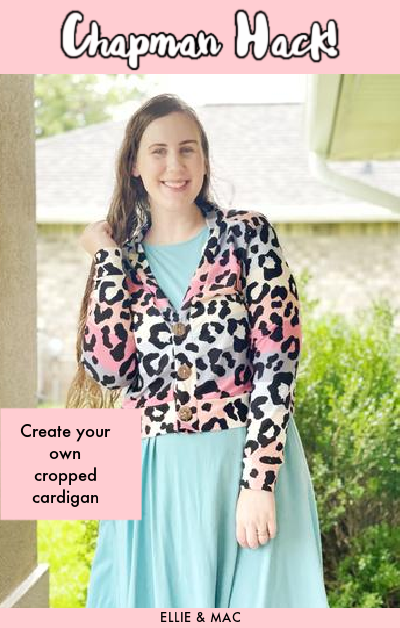
![]()
Today we are going to tackle one of (in my opinion) the most requested hacks in the E&M FB group, the Be Smart in woven! The Be Smart is also available in a kids and doll version.
I want to start off by saying that, as a general rule, it’s pretty doable to make a pattern for wovens in knit, but not to make a knit pattern in a woven. The Be Smart is a pattern intended for knits and as such, this is quite the hack. I just want you to be prepared, this is definitely a little different than a more typical hack or alteration. Let’s dive in!
Just for information’s sake, I’m wearing this version with an Everyday Tee, but I’ve also worn this with a Slow Sunday, and it would look good with the Sitting Pretty Top, the Twist It Up Top, or even an Oversized Tee. E&M has a TON of amazing top options that would work so well with this jumper. This fabric is from Joann’s.
So you have the option of making a woven circle skirt. I debated over doing this, but ended up deciding to go with a gathered skirt instead. So I cut a rectangle using the following measurements*: my desired length by about twice the width of my waist measurement. Keep in mind that if you increase the width it will be fuller, if you decrease it, it will be less full. When I do a gathered skirt, twice the width is my usual default, but sometimes I go more or less. You could make a pencil skirt with suspenders as well. If you want any fullness at all I would recommend at least 1.5 times the width of your waist. You also want to cut a waistband that is the width of your waist, plus one inch, this gives you half an inch seam allowance on either side. If you prefer a smaller seam allowance, adjust accordingly.
*Note: I chose to cut one long panel, my skirt has no side panels. If you would rather have two side panels, just remember to adjust accordingly.

Once I have those panels cut, I will sew two gathering stitches and start gathering. You may want to serge all your edges to prevent immediate fraying.

For the waistband, use the pattern piece to determine the height. You need to cut the width at your waist measurement, plus seam allowances. You can use whatever allowance you choose, I did ½ inch seam allowance. Do not use the pattern piece to determine width. It will leave you disappointed.

Then I attached the waistband to the gathered skirt.


Now you are going to attach a zipper. Before I did this, I went ahead and serged the whole edge so it wouldn’t fray. You can use a regular one, or an invisible one. Your choice. I chose to just use a regular one. I believe mine was 12 or 14 inches. I would choose one in that size range. Any smaller and it might be a little tricky getting it on. Too much longer and you’re just going to have a really long zip.

Continue to close the rest of the skirt.
Hem.
Use the pattern pieces to cut your straps. I just cut two long strips, frankly because I was lazy and like to do things the easy way, haha! Sew them right sides together, trim the excess fabric, and turn them right side out.I added a few inches to mine to make sure they would be long enough since there is no stretch. Attach them to the seam allowance of the waistband using the marks on the pattern pieces to make sure they are properly placed.

Aaaaaand done!
An alternate idea is to sew up the straps, but only attach them to the seam allowance with safety pins. Ta-da! Now you have a skirt you can wear with or without suspenders. Fun!
This is actually the second woven version I’ve made and I love it! It seems like a lot, but it’s actually a simple hack. In fact, this is a good hack to get you familiar with taking your own measurements and getting the confidence to take on more complicated hacks and patterns.
Have you ever made a woven Be Smart? Now that you’ve seen some instructions, are you planning on making one?