Hi! This is Marieke again. How often do you look at shirts and dresses in a store or at Pinterest and you think: I can make that too! And you can! That’s so cool about sewing, to make what you love yourself. But sometimes your shirt just needs a little bit of extra. At least I want that. Last month I was looking at a shirt with a special binding and I thought: how to…… I discovered and now I have to share it with you!

I took the Sharkbite as example, but you can take any pattern you like. You’ll just need all the pattern pieces.

Cut your front neckline at your pattern piece an inch lower, cut your fabric and sew the front and back together, your sleeves, waistband maybe, all like in the instructions.

So, everything is sewed together except for your neckline, Because you cut the front lower, you’ll have to re-measure the front, from shoulder to shoulder and take 90% of that. That outcome will be your new front neckline binding.

Cut your normal neckline like in the instructions and cut another one, the one you just measured. Take the same width and the length you just measured.

You have now: 1. Neckline piece from your pattern piece and 2. A front neckline piece you measured yourself.

We are going to use both necklines as a binding, so press it to the half, then both sides to the middle and press again.

We’ll start with the re-measured front neckline. Pin or clip your binding with right sides together to your shoulder and make sure you start ½ “ after the shoulder seam and end there as well.

After pinning and/or clipping it should look like this:

Sew your binding on, from shoulder to shoulder, you are just sewing the front neckline.

A+b, press the seam at the neckline up and fold your binding over the seam. Pin and/or clip again.

Sew, with looking at the right side of your fabric, the binding to the front neckline. It should look like this now:

So, yeeha! You just sewed your binding to the front neckline. Almost done!

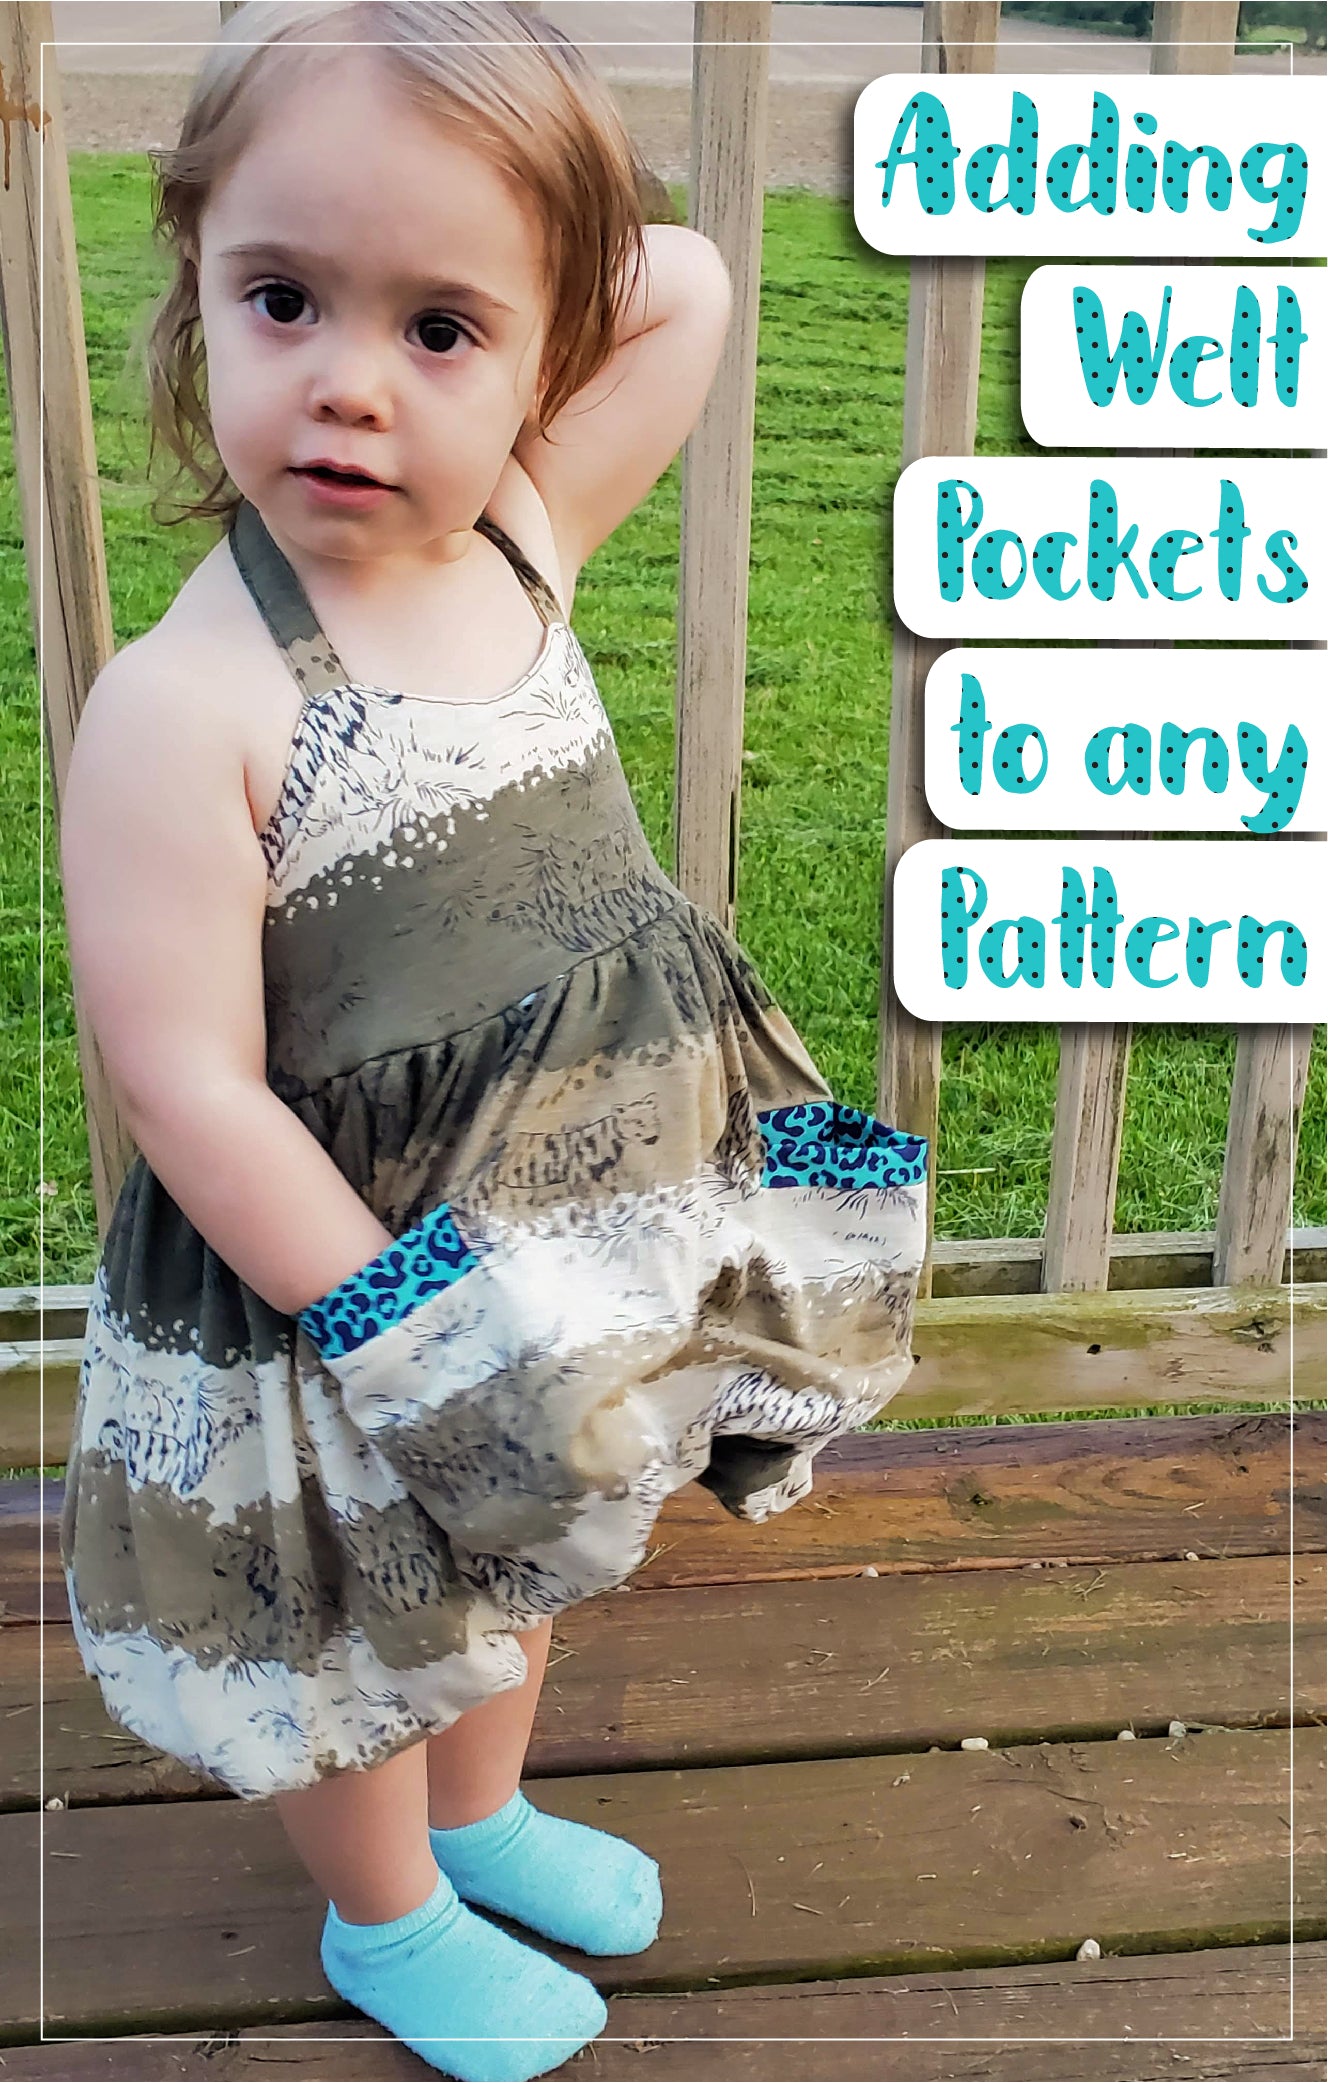
A few steps are left. You can make your neckline as fancy as possible, when you look at one of my examples, you’ll see I added 2 fabric pieces between the both necklines. When you want to do the same: cut 2 pieces out of your fabric. Take the same width as the neckline piece and a long length, 2x 6” (you can reduce the length afterwards) Press and fold them like a binding a close them by stitching at the edges.
 Sew your neckband into a loop. Yes, you had one left.

Mark the middle of the front.

Pin your binding stripes you just sewed on both sides of the mark and baste stitch it on.

Pin and/or clip your binding to your shirt. Start at the back and pin right over the shoulder binding. Yes, after that, the front is just hanging around Sew the binding to the back from your shirt to the shoulder seams.

Be sure, the pinned sewed bindings are laying under and on top.

Pin and/ or clip your binding over your seam at the back and the shoulders and fold it in the front.

It should look like this now. Sew it with fabric in front of you at the edges, all the way around.

So, you still have those loose ends. Pin them to the lower front neckline and make sure they are not to loose. Sew them on by hand or use the stitch line from your binding.

Cut of the ends.

Your shirt/ dress is ready! Be creative, you can use this technic to create new things over and over again!

I would love to see your makings too and would be pleased when you post them in our Facebook Group.
(Written by: Marieke de Jonge)

I took the Sharkbite as example, but you can take any pattern you like. You’ll just need all the pattern pieces.

Cut your front neckline at your pattern piece an inch lower, cut your fabric and sew the front and back together, your sleeves, waistband maybe, all like in the instructions.

So, everything is sewed together except for your neckline, Because you cut the front lower, you’ll have to re-measure the front, from shoulder to shoulder and take 90% of that. That outcome will be your new front neckline binding.

Cut your normal neckline like in the instructions and cut another one, the one you just measured. Take the same width and the length you just measured.

You have now: 1. Neckline piece from your pattern piece and 2. A front neckline piece you measured yourself.

We are going to use both necklines as a binding, so press it to the half, then both sides to the middle and press again.

We’ll start with the re-measured front neckline. Pin or clip your binding with right sides together to your shoulder and make sure you start ½ “ after the shoulder seam and end there as well.

After pinning and/or clipping it should look like this:

Sew your binding on, from shoulder to shoulder, you are just sewing the front neckline.

A+b, press the seam at the neckline up and fold your binding over the seam. Pin and/or clip again.

Sew, with looking at the right side of your fabric, the binding to the front neckline. It should look like this now:

So, yeeha! You just sewed your binding to the front neckline. Almost done!

A few steps are left. You can make your neckline as fancy as possible, when you look at one of my examples, you’ll see I added 2 fabric pieces between the both necklines. When you want to do the same: cut 2 pieces out of your fabric. Take the same width as the neckline piece and a long length, 2x 6” (you can reduce the length afterwards) Press and fold them like a binding a close them by stitching at the edges.


Mark the middle of the front.

Pin your binding stripes you just sewed on both sides of the mark and baste stitch it on.

Pin and/or clip your binding to your shirt. Start at the back and pin right over the shoulder binding. Yes, after that, the front is just hanging around Sew the binding to the back from your shirt to the shoulder seams.

Be sure, the pinned sewed bindings are laying under and on top.

Pin and/ or clip your binding over your seam at the back and the shoulders and fold it in the front.

It should look like this now. Sew it with fabric in front of you at the edges, all the way around.

So, you still have those loose ends. Pin them to the lower front neckline and make sure they are not to loose. Sew them on by hand or use the stitch line from your binding.

Cut of the ends.

Your shirt/ dress is ready! Be creative, you can use this technic to create new things over and over again!

I would love to see your makings too and would be pleased when you post them in our Facebook Group.
(Written by: Marieke de Jonge)