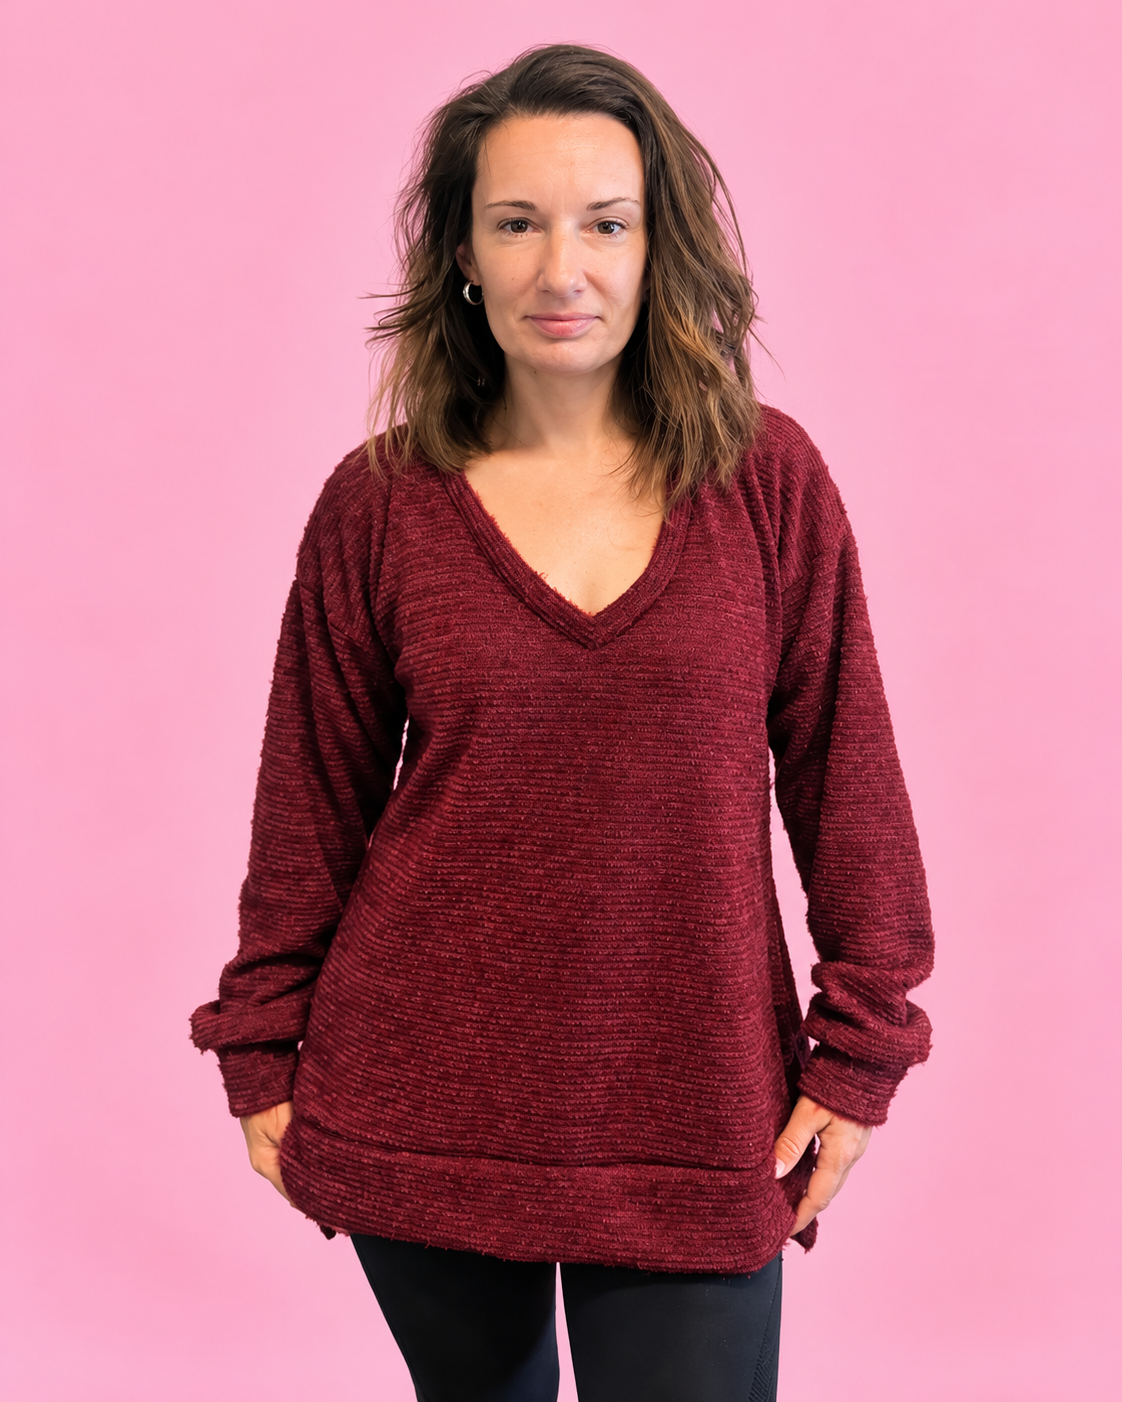

Hi friends, it’s Amy here today. The Split Hem Sweatshirt pattern has just released and it has a special place in my heart because I was on the design team for it! So I thought it was only right that I christen it with a little hack for you. This one is so easy you don’t even need to make any pattern alterations, but how effective is it?! That’s right, I’m going to show you how to add bows to the conveniently already split side seam of your sweatshirt...

Fabrics I have used:
French Terry Loop Back - Autumn Patchwork Light by Jelly Fabrics
Coordinating burnt orange cotton woven fabric
THINGS YOU WILL NEED:
-
Your Split Hem Sweatshirt already finished
-
any fabric to use for your bows (woven will be easier to handle), or alternatively you could use ribbon or ready made bias binding.
If you don’t yet have the pattern needed for this tutorial, you can find it here (afflink):
(link to split hem sweatshirt please)
First you need to cut some strips of fabric, I cut two strips of fabric 2.5” wide by the width of my cotton fabric (44”) and that was enough with some spare.
I serged the long edges of each strip, folded in half lengthways, and then tucked in the serged edge and pressed. One strip of fabric will be enough to make the bow on one side.

Next fold the edge of one of the short edges down and press.

Position the folded edge of the strip at the top of the side seam and pin it along the edge, so the side seam of the sweatshirt is sandwiched inside the folded bow fabric.

Cut the strip about half an inch longer than the sweatshirt edge and turn the extra underneath so there isn’t a raw edge at the bottom and pin the bow fabric to the sweatshirt


Sew all around the edges to attach the bow fabric to your sweatshirt. I used my machine to sew most of it, but I hand stitched the bottom edge because I liked the way that looked best.

The remainder of the strip of fabric you cut the first two pieces from should have enough left to cut the rest of the bow pieces.
First, keeping the serged edges folded to the inside like we did in the previous steps, topstitch along the long open edge so the raw edges are now sewn to the inside (I topstitched both of the long edges because I thought it looked nicer, this is optional). Then cut two 8.5” strips and one 3” strip from your remaining fabric piece (there will be a bit left over that you will not need to use)

Next we are going to form the bow shape. Fold the 8.5” pieces into this kind of shape and press.

Overlap the raw edges of the two bow pieces slightly, like this, and sew a line down the centre to hold them together

Take the 3” piece you cut, which is the centre of the bow, and wrap it around the bow you have made. The raw edges should be at the back – hand tack them together so the centre of the bow holds together.


Position the bow like so, so it covers the top of the ‘legs’ of the bow.

Pin it in place, and topstitch along the top and bottom edge of the bow centre to attach it to the sweatshirt.

Finally, I added a couple of stitches by hand to tack the edges of the bow in place to the sweatshirt as indicated by the blue lines I have drawn on the above picture.
That’s it, your bow is complete! I hope you enjoyed this, and I will be looking out for your sweatshirts! :)


- Written by Amy Day