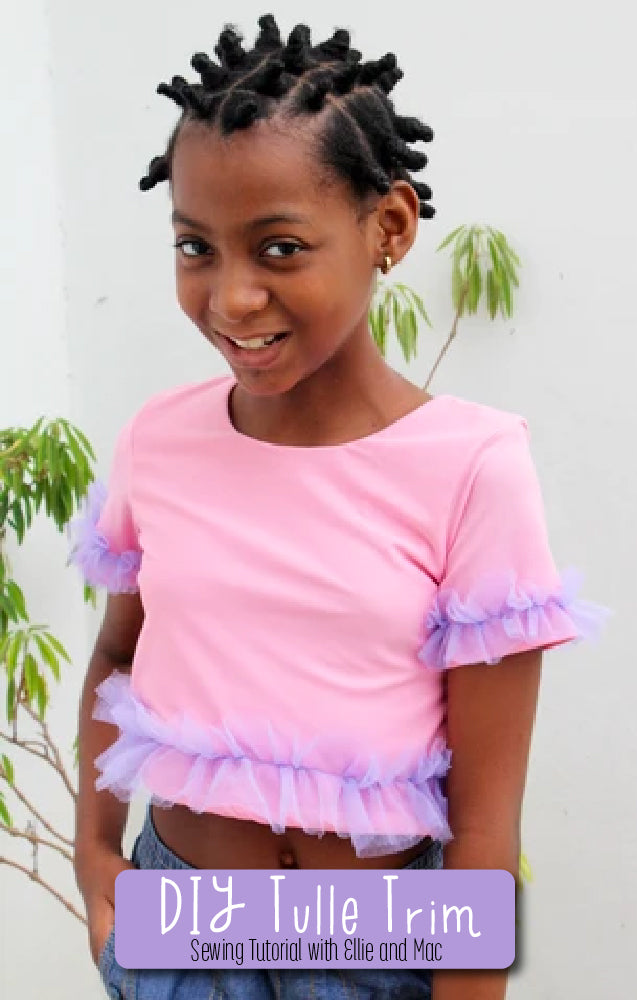

Hello, I am so excited to share with you this little blog post on how to use tulle as a decorative element on a garment.
You may have seen tulle on necklines, sleeves and on the hems of skirts so really it can be added anywhere. It is actually a pretty easy thing to do and I am going to show you how to add it around the sleeves and the waist to cover up my little accident (what accident you ask? – read on).
I will be using the Clover Top for this tutorial.
Now on to the accident. So after sewing up my Clover Top, I set out to iron the wrinkles but didn’t check the iron’s temperature. So horror of horrors, I burnt the lower half of the bodice.
You can see where it is wrinkly there.

But thankfully, what I am about to show you, will not only save the top, but may come in handy one day for you too - since burning your garment is never a part of the plan whilst we are on our sewing journey!
So lets get started !
First, I will be measuring the circumference of the area I want to add the tulle. My sleeve is 10” in the round.

I know I want to gather my tulle to get enough ruffles for it to look nice. I have found that 2.5 – 3 times the length of my sleeve hem is sufficient to give me enough gathers. For tighter gathers you may want 4 -5 times the amount.
Multiply the circumference of sleeve by the fullness you desire: In my example 10” x 2.5 = 25”
I also know that I want a 2” wide tulle for my sleeve and a 3” wide tulle for my bodice hem.
I have also decided to cut two layers of tulle, since my tulle is a bit lightweight. If your tulle is denser that what I have here, you may be able to just cut one layer.
My final cut of tulle will be 25” long by 2” wide for the sleeve and I will cut 4 pieces.

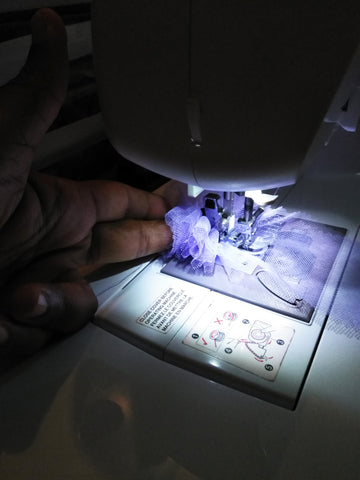
Using a thread that matches the tulle set your sewing machine to its longest stitch and with the two strips of tulle on top of each other, run a gathering stitch down the centre of the tulle. I learnt a little trick to put my finger up against the back of the presser feet so that the fabric (in this case tulle) will bunch up and help to gather the fabric for you.


Repeat the same steps for all your tulle pieces.
To place the tulle on the garment measure 1” above the sleeve hem or you may align the tulle above the edge of the garment and pin. I would recommend not having the tulle touch the skin of the child as it may be itchy.

Pin the beginning of the tulle to the underarm seam and continue pinning until you get back to your starting point, adjusting the gathers as needed.


Sew the tulle to the sleeve using a stretch stitch (for knits) and a thread that matches the colour of the tulle.
Repeat for all other areas you will be attaching the tulle.
And there you have it ! Your top is finished!! This should go well with the tulle skirt in the pattern or on any pattern whether knit or woven.


(Written by: Debbie Ann Groves)