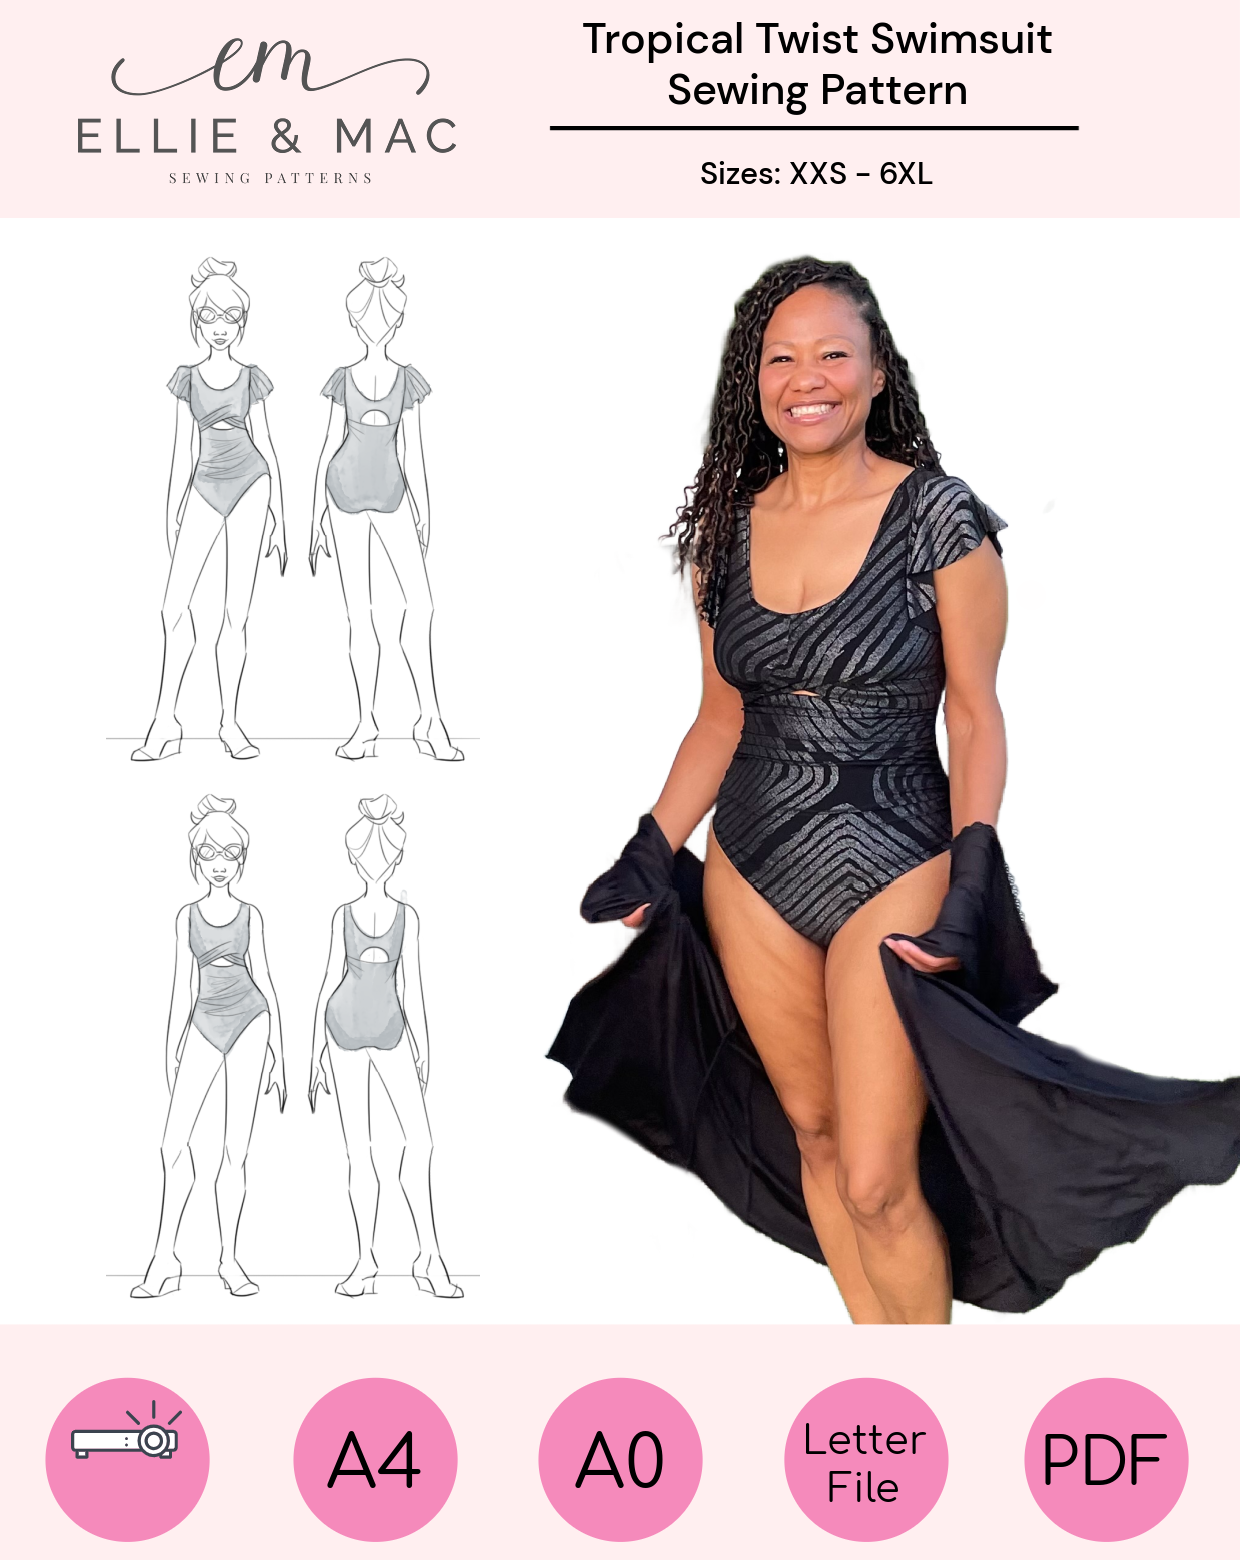
Hi Friends! It’s Amy here again today. Have you spotted the brand new Tropical Twist Cutout Swimsuit?
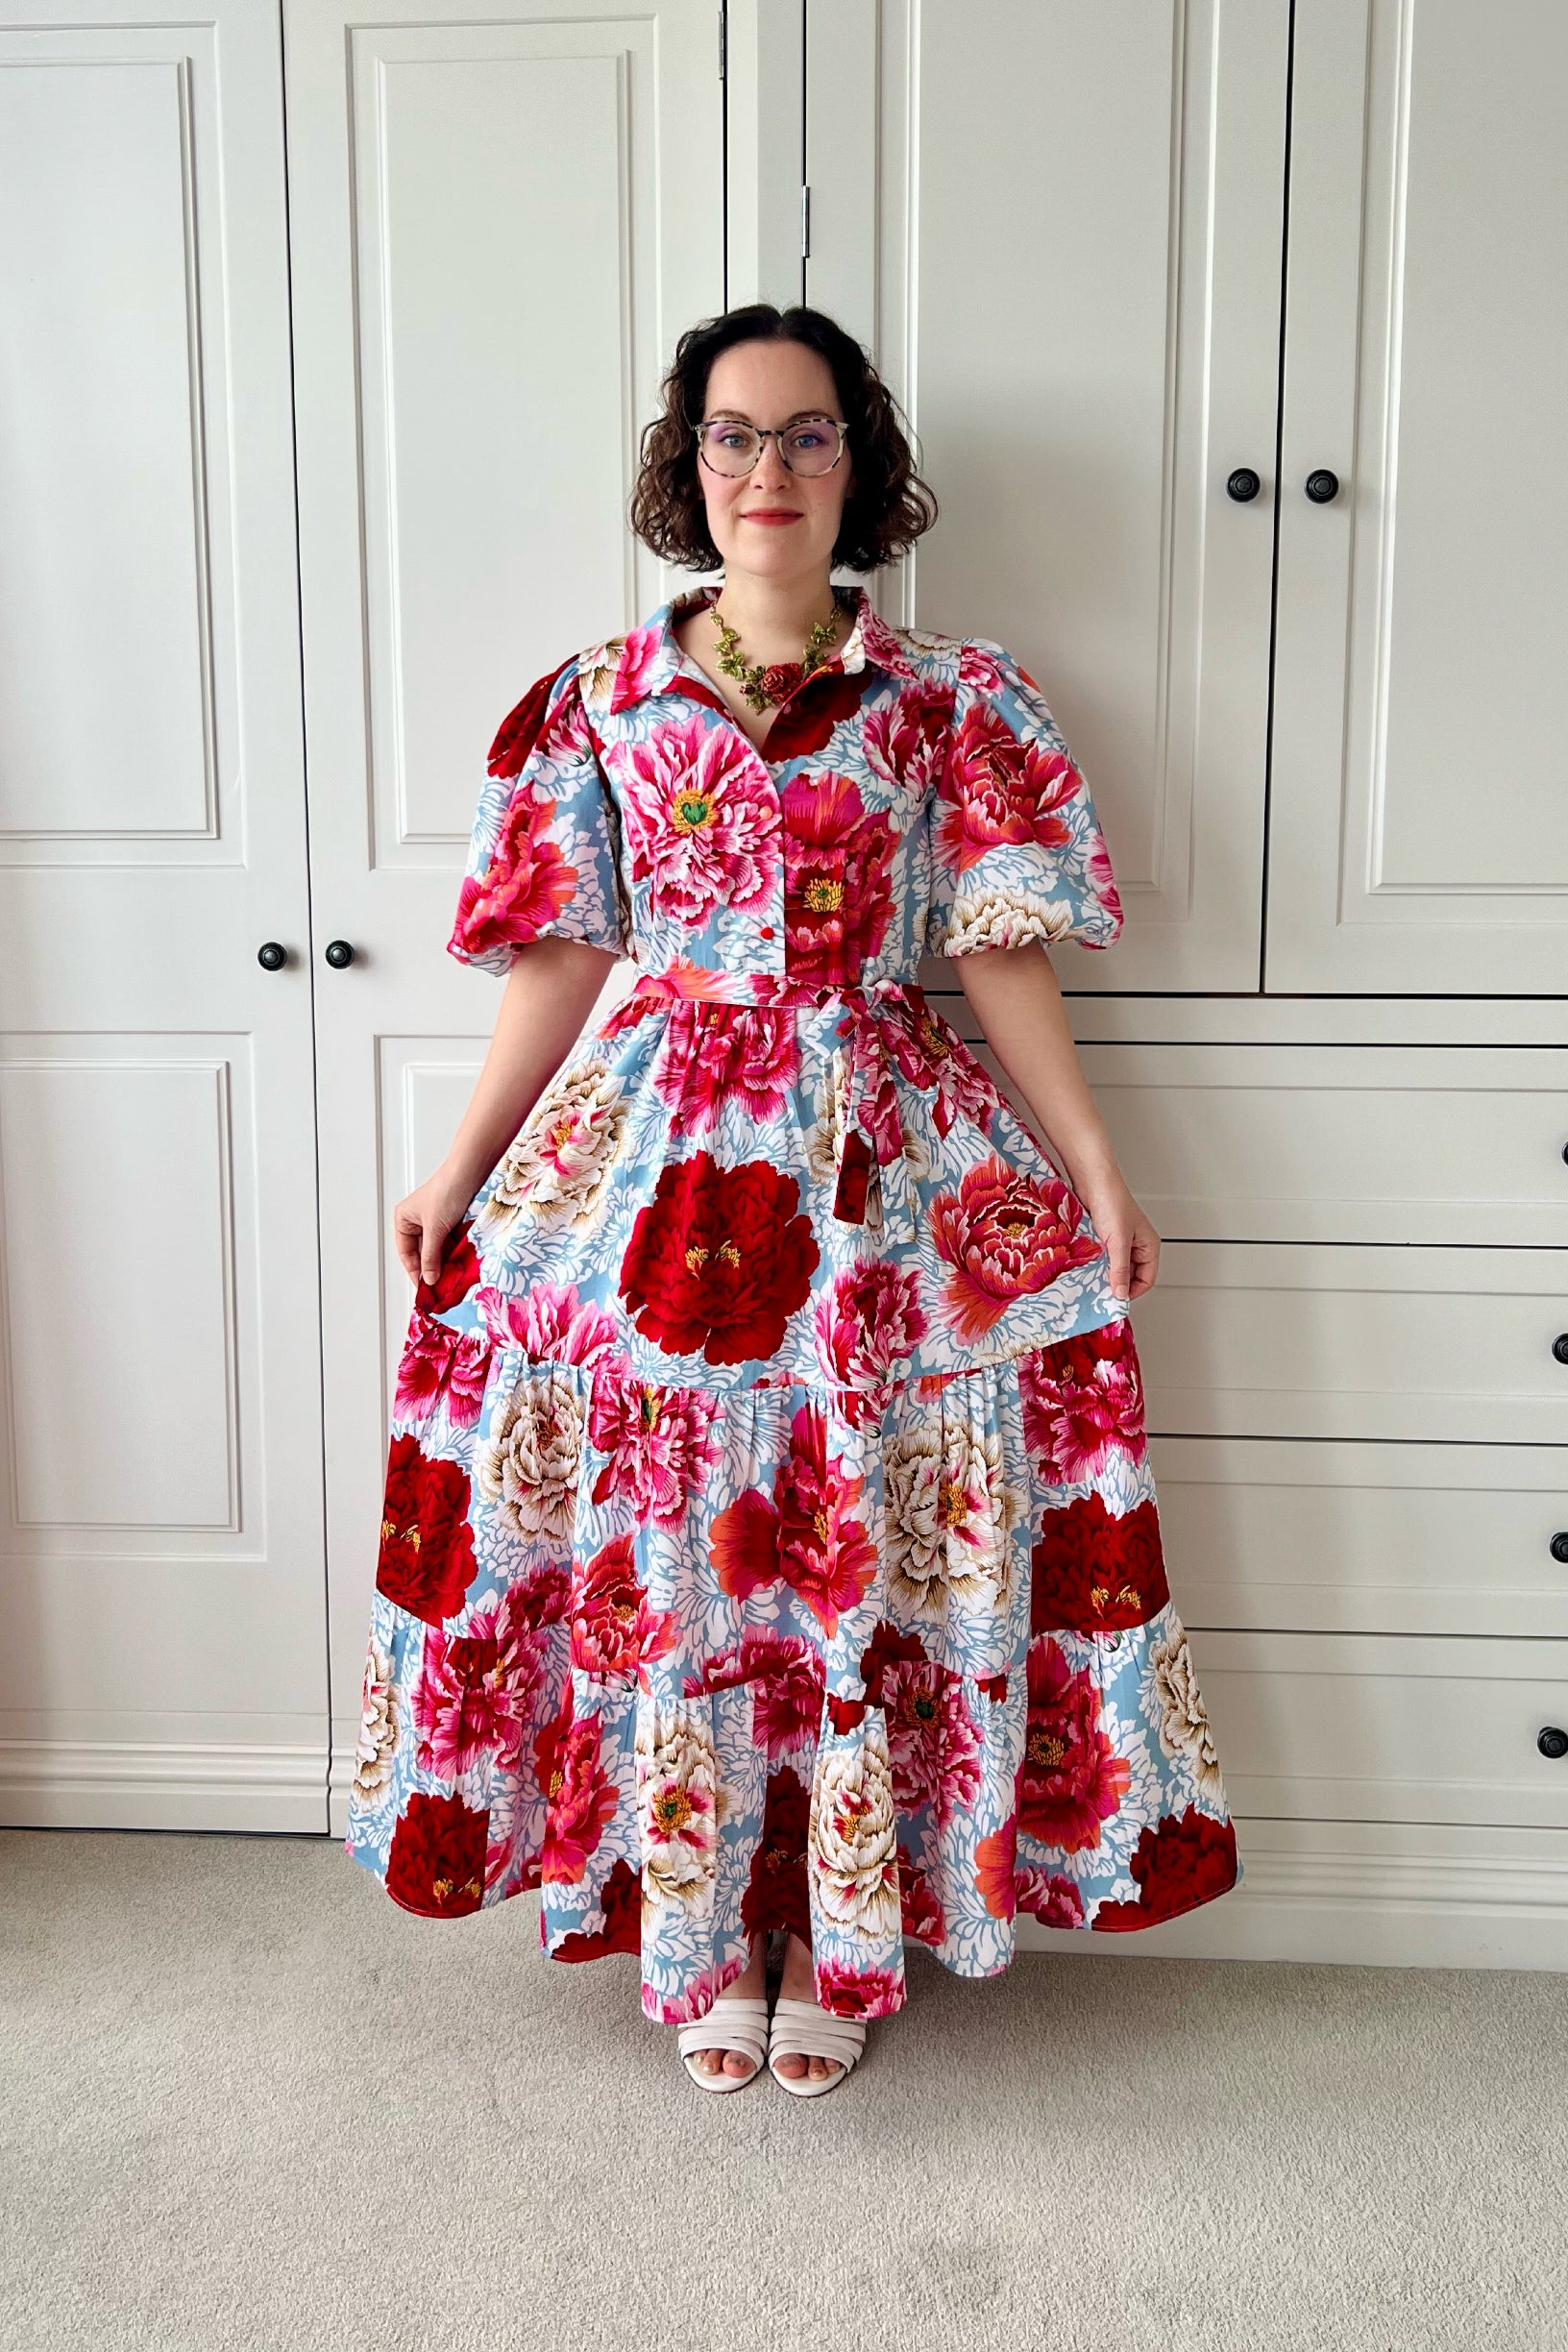
Maybe you’re feeling a bit left out because swimsuits aren’t your thing, but you don’t want to miss out on the cute bodice twist and cut out details? (Spoiler, that’s me) … well fear not, I got you, and today I am going to show you how to turn this swimsuit into a fabulous dress! I will also show you an alternate construction method for the bodice to give a fully lined neckline with an enclosed seam (my personal preference). The best part is that there is very little you need to do to the original pattern to achieve this, plus you can use any skirt or peplum you want to create all sorts of different dresses and tops.
Fabrics I have used in this blog:
- Leopard tropical print DBP from Olga’s Fabrics
THINGS YOU WILL NEED:
• Pencil/pen
• Ruler
• Paper
• Scissors/rotary cutter
• Ellie and Mac patterns – Tropical Twist swimsuit and your preferred pattern for a
skirt/peplum (I’m using Magical Twirl)
• Pins or clips
Optional but useful:
• Pattern weights
• scotch/washi tape
• Pencil eraser/rubber
• Software like Affinity Designer/Inkscape if want to make digital alterations instead of on
paper
If you don’t yet have the pattern needed for this tutorial, you can find it here (afflinks):
https://www.ellieandmac.com/products/tropical-twist-swimsuit-pattern?aff=3401
Please note I use a projector rather than paper patterns so all my pattern alterations take place digitally, but you can follow my instructions just the same using paper.
MAKING THE PATTERN ALTERATIONS:
So, you can cut out all the original pattern pieces as they are, except for the bottom half of the swimsuit (and optionally the sleeves).
For the back bottom piece, cut 2 mirrored pieces at the waist line:

For the front, you have a choice to make. The swimsuit has gathering in the front bottom half, so if you want your front waistband to have gathering, cut one front bottom liner at the waistline, and one outer front at the waistline:


However, I did not want my front waistband to have gathers, so I cut two of the front bottom liner instead, for a waistband with no gathers.
Finally, and totally optional, I wanted my sleeves to be longer. So I superimposed the 5XL sleeve over the top of my sleeve size to get a bigger sleeve. I would suggest placing your regular sleeve on a piece of bigger paper and drawing around the armscye and the outer sleeve edge, and either, if you have access to the 5XL sleeve piece, position the armscye symmetrically over your regular armscye you have drawn, and trace around the larger outer sleeve edge, or if you don’t have that pattern piece, just measure out from the edge of your regular sleeve edge by however much you want to add, in multiple places around the sleeve, and draw a new larger sleeve edge by eye.


On this last picture, I left on my regular sleeve width line for comparison to show how much length had been added.
And that is it on pattern alterations! Super easy. So now, you can either go ahead and make your bodice according to the pattern instructions and then meet me back here in time to add your skirt, or read on for an alternative construction method…
CONSTRUCTION:
So firstly, you can go ahead and follow the first directions in the pattern for constructing the ‘front bodice main’, then, when it moves on to ‘outer front’, stop there.
Next, you are going to need your front bodice main and front bodice lining pieces, which, now that you have done the first bit of construction, should look like this:

Position them right sides together and pin around the neckline, and between the notches in the centre of the lower bodice edge.

Sew the neckline and between notches with a stretch stitch, and sew clear elastic into the seam allowance under slight tension, if desired. I did this, but it would have been fine without it.

Reach inside and pull the fabric from the other side back through the hole.

Press seams well.

Place your back bodice main and lining pieces right sides together and pin around the neckline and around the central cutout along the lower edge.

Sew these seams with a stretch stitch and add clear elastic for additional support and structure, if desired.

It is a bit tighter to reach through to turn this piece right side out, but it is still quite easily doable. Turn right side out and press well.

Position the front bodice and back bodice right side up, with the shoulder edges aligned.

Pull the main fabric shoulder piece across to the side to reveal the wrong side of the fabric, and do the same for the lining.

Pin or clip these pieces right sides together.

Repeat for other shoulder.

Sew with a stretch stitch/overlocker, turn right side out and press.

And now, your neckline is completely enclosed!
Next step, position your front waistband main and lining pieces together and pin between the notches.

Sew this seam with a stretch stitch.

Turn right side out and press well. Position your front waistband below your front bodice.

Like we did with the shoulder, open up the main fabric away from the lining for the waistband and the main bodice.

Place the edge of these pieces right sides together and pin.


Sew this seam all the way across using a stretch stitch.

Turn right side out and press well.

Repeat for the other side.

Sew your back waistband pieces together for main and lining. Position waistband pieces right sides together and pin between the notches.

Sew between the notches with a stretch stitch, and reinforce with clear elastic if desired. Turn right side out and press well.

Using the same method as for the front bodice, sew back bodice to waistband.


An optional step now – it seemed to me like with the cutouts I probably wouldn’t be able to wear a bra with this dress, so I decided to add bra cups between the front main and lining bodice pieces.
You can do this later in the construction steps instead if you wish. It was just easiest for me to demonstrate it at this point.
If you want to add bra cups:
Flip one side of the main bodice forward and insert a cup (position is not crucial at this point), then fold it back down and repeat for the other side.


Next, baste the edge of the main and lining front and back bodice pieces together to make handling them easier in the coming steps.

Pin the wrap/twist bits (as explained in the pattern instructions) across each other to the side seam, just at the seam between the bodice and waistband.

Fold the back bodice down, right sides together with the front bodice, and pin together along the side seams.


Sew both side seams with a stretch stitch, then turn right side out.

If you added bra cups, at this point I would try on the bodice and move the bra cups around til they are in a good position for you, and assuming they are kind of triangle shaped like mine, I would recommend placing a pin to anchor the top point and the outer point nearest to your underarm.

I then hand-sewed these points to the lining only.

I did not anchor the inner point of the bra cup, based on the assumption that, due to the shape of this bodice, it may help to have a little room to move, allowing it to sit nicely each time you wear it.
Next, add sleeves according to the pattern directions (mine are longer, as explained above).

Ok, ON TO THE SKIRT!
Cut your preferred skirt. Here is the shorter version of the high-low skirt from Magical Twirl.


Flip the skirt up over the bodice and pin the edges together, right sides facing each other. We are using stretch fabrics so they will stretch together just fine. If you are using a gathered skirt, gather it to fit the bodice instead. For both skirt types, match the side seams.

Hem your skirt. That’s it! Your gorgeous tropical dress is done!

Tip: If you actually do want to make a swimsuit but still want to pair it with a skirt, why not make the same skirt and just add a waistband? Then you can throw it over your swimsuit and still achieve a very similar look!
 Written by Amy Day.