Hello everyone!
I’ve been testing and making Ellie & Mac garments for years now, and for years to come, I am sure! Why? Because they are so easy to make, and - once you get the hang of it – easy to adjust.
I have been thinking of hacking an EAM pattern to have a draped waterfall neckline for ages, and after doing some online research, I finally gave it a go!
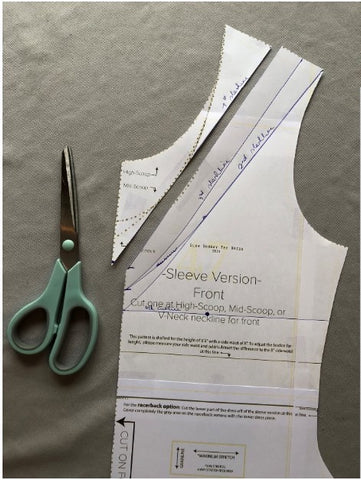
I choose the Slow Sunday pattern to start with, because it has a mid scoop neckline.
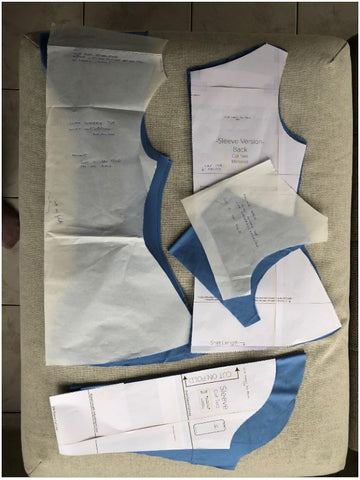
Printed the pattern in size S (chest) and M (hips), graded it and cut it out.
How to adjust the pattern pieces
Adjusting the front panel
Step 1: Draw a breast line, at the height of the top of your chest and mark where your nipples are on that line.
I just held up the pattern piece matching the shoulder line with my shoulders and marked the top of my chest.

Step 2: Measure the distance between the neckline and the breast line you just drew. Divide the distance in half. Make a mark on the middle front fold line.
Measure the shoulder line. Divide in half. Make a mark halfway on the shoulder line.

Draw your first slash line connecting the mark halfway the shoulder line with the mark you made on the center fold line.
Step 3: For the second slash line, make a mark on the center fold line on the breast line. Also make a mark on the shoulder point. Connect those marks to create the second slash line, with a slight curve, following the neckline.

Step 4: For the third slash line, make a mark on the shoulder line in the middle between the first and second slash line. Make a mark on the center fold line in the middle of the first and second slash line. Connect both marks, following the curve of the neckline.

Step 5: For the fourth slash line, you will follow the breast line until you reach the mark for the top of your chest.

Step 6: Cut the first slash line all the way through. Cut off the neckline, creating a straight line.
Step 7: Now you will cut the slash lines, but make sure you don’t cut it off completely.

Step 8: Make a mark on the side seam, 1 inch under the breast line. We are going to create a fold, matching the breast line with that mark. Now create a fold, starting from the chest point, opening up the 4th slash line.

Step 9: Put your pattern piece on a sheet of paper, the center fold along the edge of the paper.
The point of the slash line we just cut, is also on this edge.
Now we are going to pull open the second and first slash line, thus creating our new cowl neckline. The more you pull the open, the more drape your neckline will have.

Trace your pattern piece by following the new edges. Do not cut it out yet.
Step 10: Create the lining of your front neckline by folding over your pattern paper using the new neckline. Cut out your pattern piece and afterwards unfold it the draw the edge of the lining, using a slight curve. Make sure it is at least 4 inches from the neckline. Cut the excess paper away.

Your new front pattern piece is ready!

You also need to adjust the back. Let’s see how!
Step 1: Measure 1.5 inch down from the neckline and make a mark. Measure the shoulder line and place a mark halfway. Connect the marks, following the curve of the neckline. This is the 1st (and only) slash line.

Step 2: Cut the slashline, removing the top part of the pattern piece to create a new neckline, to match the front piece.

Step 3: Create the back lining piece, by following the lines of the back pattern piece, but cut it off approximately 2 inches under the armpit.
How to sew your top, using your new pattern pieces
Cut out your fabric. You will have a front piece with attached lining and a back piece with a separate lining piece. The sleeve piece needed no adjustments.
Step 1: Finishing the edges of your lining. I used my serger to do so.

Step 2: Fold over your lining of the front panel, right sides together. Stitch the shoulder line. Clip the corners and turn it inside out.

Step 3: Put your back lining on top of your back piece, right sides together and sew the neckline.

Step 4: Flip your back lining piece to the inside. Your lining and back piece are now wrong sides together.
Match the shoulder lines of your front piece with your back piece, right sides together and stitch. The tails of your thread are put away by weaving them into your stitching with a needle.

Now finish the top as you would normally do: attach the sleeves and sew the side seams. Hem. Done!
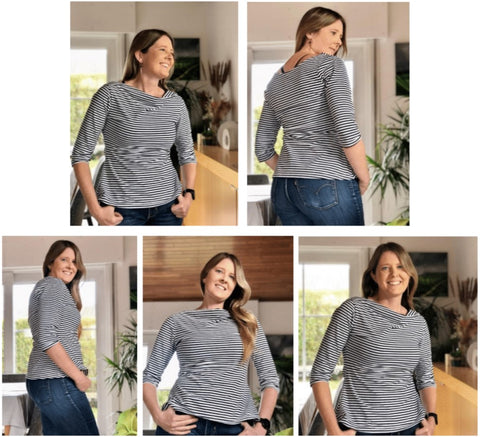
For this first version I used a thin summer jersey, with a nice flow. I cut the front panel on the bias, but was wondering how it would fall if you would just cut it following the natural grainline, since I like to use fabrics with stripes or another pattern on it…
A second version, with some tweaks.
For a second top, I used a somewhat thicker, striped jersey. Since I wanted the stripes to align, I did not cut the front panel on the bias. I just followed the grainline.
Also, I adjusted my sewing process a little. I wanted nested shoulder seams, to avoid the hassle with thread tales hanging loose…


So when I had to sew the front and back together at the shoulder line, this time I folded open the back lining and back panel, and put my front panel in between. I aligned the shoulder seam, and then folded back the lining, so my front panel was sandwiched in between, front and back right sides together.
So this is what it looks like after attaching the sleeve:
-
A nested shoulder seam
-
On the left you can see the finished edge of the front lining
-
You can see the sleeve cap stitching, where it is attached to the top
-
On the right, you can see the finished edge of the back lining.

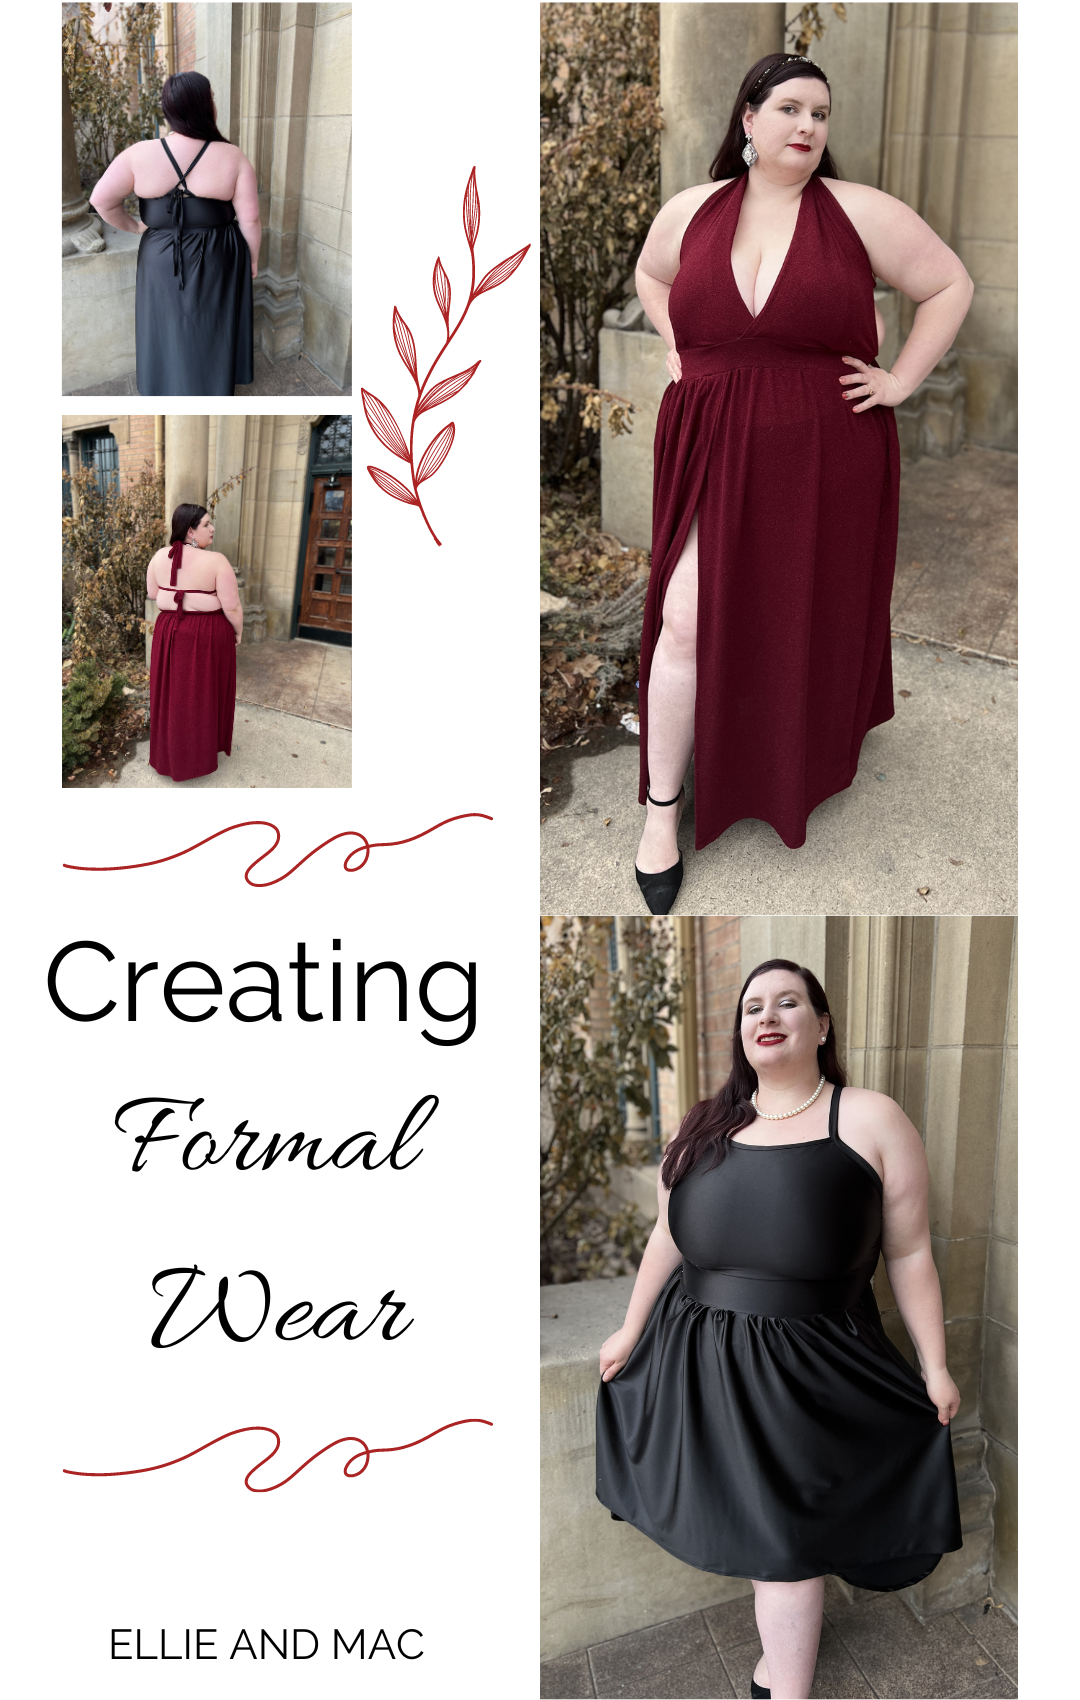
In the end, of course a had to make a dress as well!
For the dress, I used a structured, striped knit with a looser weave and a nice drape.
Top n°1


I am sure more of these will follow, and I will play around with it, adding more drape!
Hope my explanations are clear, but don’t hesitate to ask if they are not!