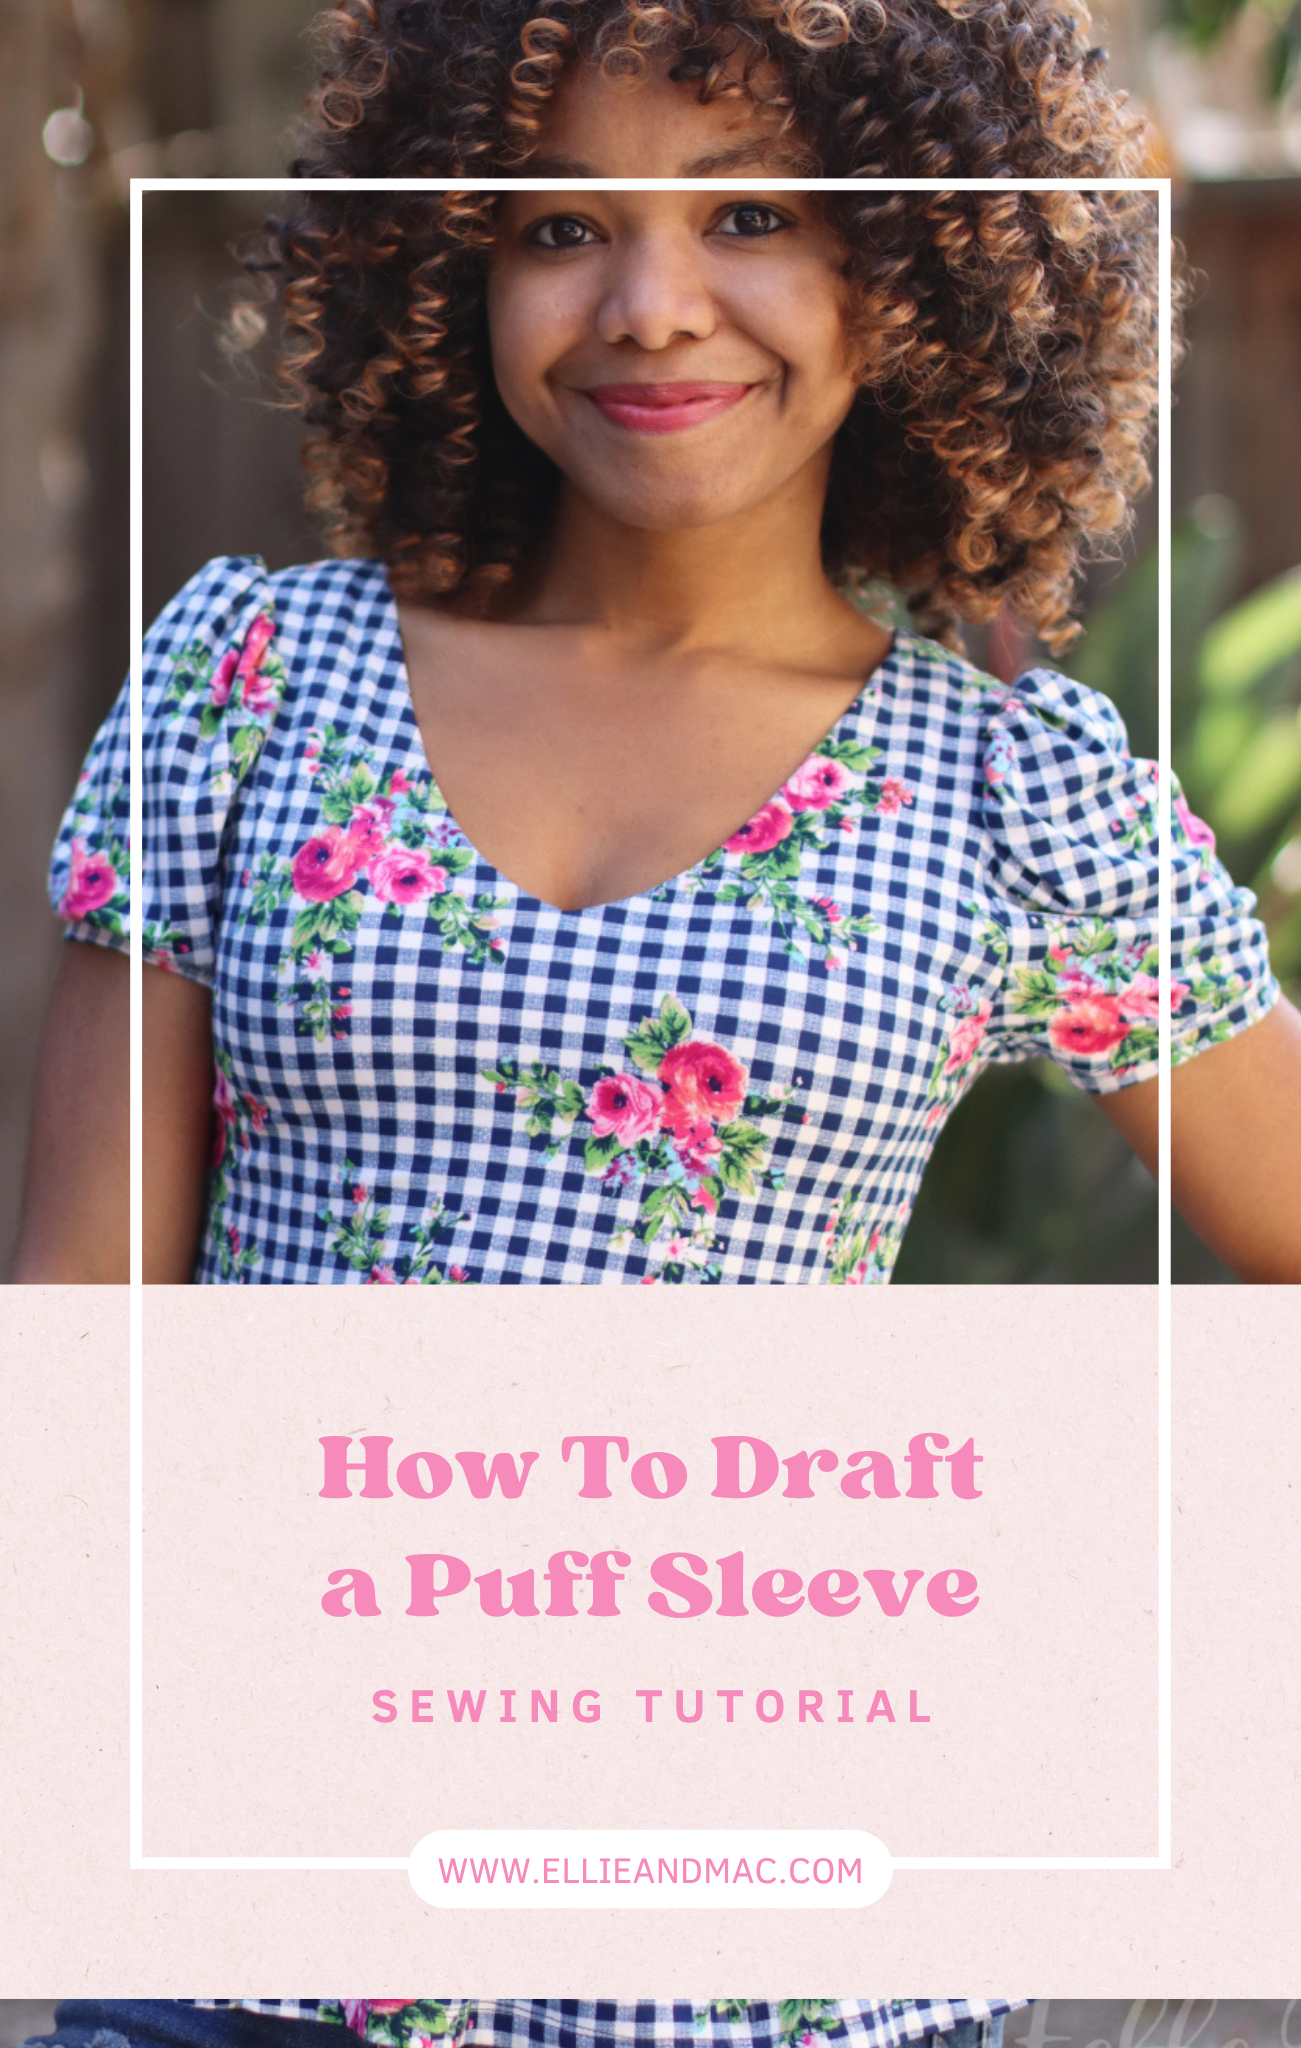


 Hi friends! It’s Amy here, and today I am going to show you how to turn the Natalie Knotted Tank Top into a dress with any skirt you want! The best part is that this is incredibly easy and beginner-friendly for those of you who are just starting to dip their toe into the pattern hacking pool. I will also show you how to fully line your bodice (also super easy), and how to hack the pattern to give a more modest coverage in the underarm to side chest region (also pretty easy!).
Fabrics I have used in this blog:
- Blue gingham spun poly, pink gingham viscose elastane, green butterfly spun poly, all from Knighton Fabrics
- Plain blue sparkle jersey from Rena’s Fabrics Galore (Facebook group)
THINGS YOU WILL NEED:
-
Pencil/pen
-
Ruler
-
Paper
-
Scissors/rotary cutter
-
Ellie and Mac patterns – Natalie top, Trendsetter skirt (optional), Tres Belle (optional)
-
Pins or clips
Optional but useful:
-
Pattern weights
-
scotch/washi tape
-
Pencil eraser/rubber
-
Software like Affinity Designer/Inkscape if want to make digital alterations instead of on paper
If you don’t yet have the pattern(s) needed for this tutorial, you can find them here (afflinks):
Natalie Knotted Tank Top:
Trendsetter skirt:
Tres Belle:
Please note I use a projector rather than paper patterns so all my pattern alterations take place digitally, but you can follow my instructions just the same using paper.
MAKING THE PATTERN ALTERATIONS:
TURNING THE PATTERN INTO A DRESS BODICE:
I am using the Fitted version of the Natalie top pattern, but you can use the Relaxed fit version if you prefer. Are you ready for how easy this is?….. Instead of cutting at the ‘high hip’ or ‘full length’, just cut along the line where it says ‘waist’ (I have marked it in red on this picture):

As long as you have an average sidewaist of 8”, that should be about the right length for a dress bodice. If your sidewaist is longer or shorter, adjust the pattern according to the directions on the pattern piece.
Do exactly the same for the back bodice. Your pattern pieces should look like this.

USING A LINING INSTEAD OF A FACING:
Now, you can use the facing pieces exactly as they come with the pattern, without making any alterations. I just happen to like fully lined bodices. If you would like to try lining your bodice instead of using a facing, all you have to do is cut two full front bodice pieces and two full back bodice pieces, and one of each will be your main, and the other will be your lining.
MODESTY ALTERATION TO UNDERARM/SIDE CHEST:
The risk with making this alteration is that if you increase the coverage too much you risk the armscye circumference becoming loose. I tried this with 1” additional coverage and did not have an issue with the armscye becoming baggy. If you try adding more and encounter this issue, I have two suggestions, firstly, run taut clear elastic through your armscye seam, which will help tighten it somewhat, and secondly pinch out the excess along the side of the bodice at the underarm seam and transfer to your pattern the amount you had to pinch out to stop it from being loose. That should solve this issue if you come across it, however much you add to the pattern.
So I will demonstrate how I added 1” additional coverage. Place your pattern piece over a piece of plain paper that is larger than the pattern piece, and draw round it. Transfer any relevant markings from the pattern piece. You can now set your original pattern piece aside. Draw a 1” line vertically from the top edge of the underarm point on the front bodice pattern:

Using a French Curve ruler, draw a curved line from the top of the 1” line you just drew, to the original point at the top of the shoulder:

Tip: If you draw a shallower/flatter line than I have, that will also give you more coverage (again, if you add too much the armscye may become loose).
Cut out your new pattern piece. Do exactly the same process for the back bodice. Your pattern pieces should look like this:

Here you can see the difference this additional coverage makes - the blue dress is the original pattern, and the pink dress has the 1” modesty adjustment:


Next you need to choose what skirt you want your dress to have, you could choose a circle skirt like the Tres Belle (see the pink dress), a fun high-low hem skirt like the Trendsetter skirt (see the blue dress), or if you don’t have a skirt pattern to use you can easily draft your own simple gathered rectangle skirt (see the green dress).


If you want to use a circle based or gathered skirt from an Ellie and Mac pattern, just go ahead and cut out that skirt pattern. You don’t need to make any alterations. If you want to make your own simple rectangle skirt, cut a rectangle of fabric the full width of the fabric (about 59” wide) by your chosen length (mine is about 21” long).
CONSTRUCTION:
For the bodice, you can go ahead and follow the pattern instructions to contruct it. If you are doing a full lining instead of a facing, use your lining piece instead when the instructions mention using the facing piece. Follow the instructions up to and including the step where you sew the shoulder seam and then stop, and don’t carry out the step to finish the side seams. You can finish the side seams however you like, but here is how I like to do it to get fully enclosed seams, in a way that makes the most sense to me.
Lay your bodice down in front of you with the right side facing up, and the front bodice at the bottom (you can lay it differently if you like, this just looks the prettiest to me):

Pick up the main front bodice piece and fold it upwards, laying it down across the front bodice shoulder straps:

Pick up the main back bodice piece and fold it downwards, laying it down across the back bodice shoulder straps:

Picking up the edges of the one side of the front and back main bodice pieces that you just folded, position the edges right sides together and pin or clip together:

Do the same for the other side:

Now, with your left hand pick up the left side of the bodice where you placed the clip, and with your right hand pick up the right side where you placed the clip. Holding on to one front bodice edge, one back bodice edge, and one clip in each hand, lift your hands up, picking the entire bodice up off the table. Give it a little shake. Lay it back down on the table carefully. The clips are now at the top edge of a tidy little rectangle of fabric with the rest of the bodice tucked away all origami like inside:

I really hope that made sense! Pin or clip down the vertical edges each side:

Serge or sew these edges using a stretch stitch:

Turn your bodice right sides out and it is finished and lined with fully enclosed seams:


ATTACHING YOUR SKIRT:
Super easy – if you are using a circle-based skirt, cut the pieces from your pattern (for example, Tres Belle) and sew the side seams (if there are any). Lay your bodice and skirt out:

They will fit together, there is no alteration needed. Flip your skirt up over the bodice so the right side of the skirt is facing the right side of the bodice. Matching side seams and quarter point of your skirt to your bodice, pin or clip them together and serge or sew the seam with a stretch stitch.
If you are using the Trendsetter skirt, or another skirt that needs to be gathered before attaching to the bodice, run a basting stitch around the top edge, and gather until the top edge of the skirt matches your bodice waist opening:

Like the circle skirt, flip your skirt up over the bodice so the right side of the skirt is facing the right side of the bodice. Matching side seams and quarter point of your skirt to your bodice, pin or clip them together, and serge or sew the seam with a stretch stitch.

Hem your skirt according to the pattern instructions or your preferred method.
Your dress is done!
Tip: Why not wear your Natalie dress over a Felicity top or Puffed sleeve bodysuit for a fun layered look?
Written by Amy Day.


