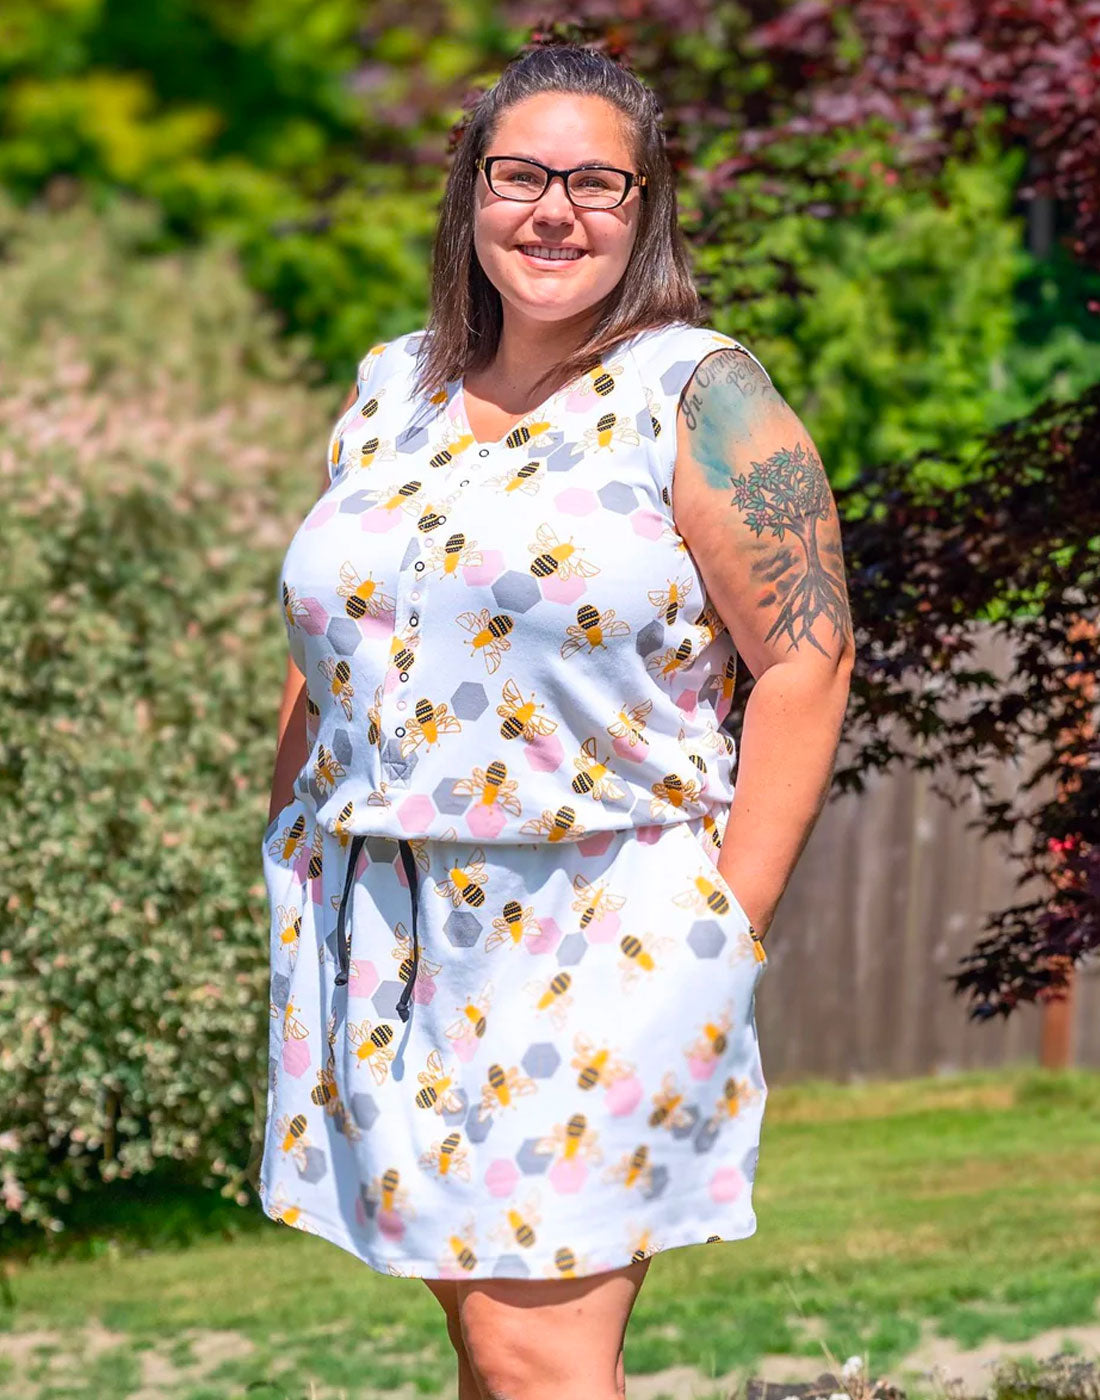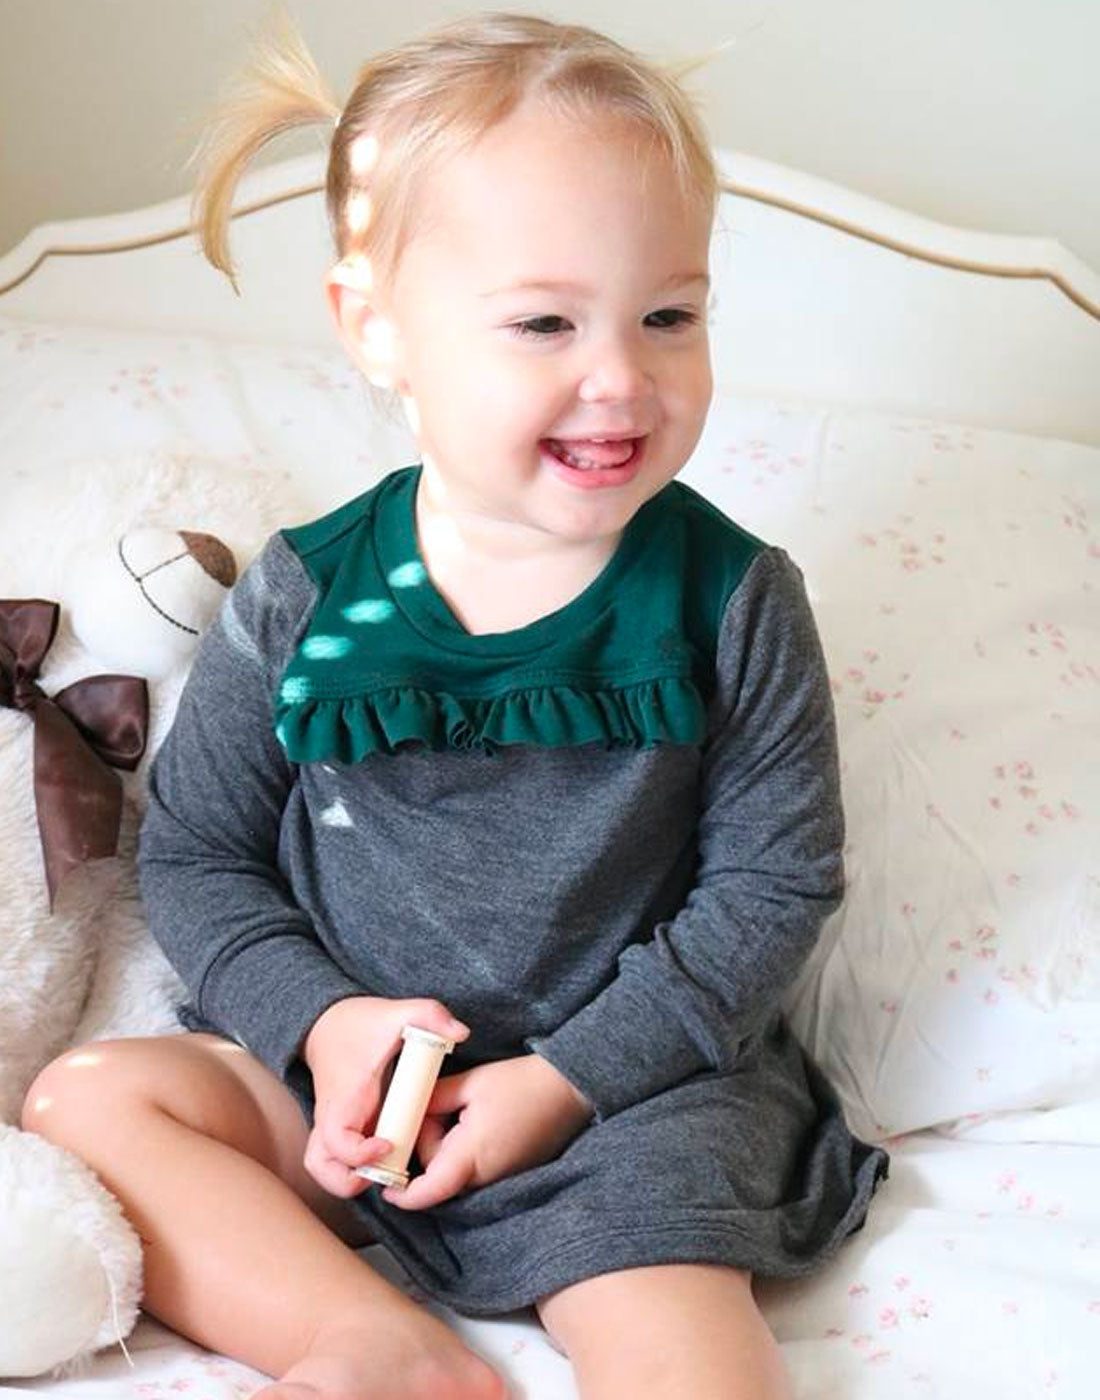


Hello again! I am back with an easy way to add detail to your Slow Sunday Dress or Top, by simply adding a purchased applique’. I know… so easy and cheap, but really carries a detail punch, so to speak.
There is a ready to wear shop that I really love; they have bold & colorful prints, expensive, and typically have lots of details on them. You can probably guess what 2-word ladies name this shop might be.
Then, I thought, I can do that! Slow Sunday was the perfect pattern for it. Most of the assembly will follow the pattern instructions except there is no neckband. There needs to be a finished edge for the applique’ to attach to; I will explain that later.
Let’s get started!
Supplies:
Slow Sunday Pattern (#affiliate)
Neckline Applique’- I bought mine on Amazon
And the usual- thread, scissors, fabric, etc.
The pattern modifications:
Adding ½’ to the neckline. 
Slip a piece of paper under the neckline and redraw it, extending it ½”. This will take up the space where the neckband would have been and give somewhere for the “lining” to attach.
Be sure to add it to the front and back necklines. 
Cut the pattern per instructions.
I had planned to cut a facing, but then realized that the shelf bra would work perfect for this. So, be sure to cut out the shelf bra per instructions. Note that it too has the ½’ extended neckline just like the main fabric.
Sew main fabric front and main fabric back together at shoulders right sides together.
Sew shelf bra front and back together at shoulder seams right sides together.
Place shelf bra on main fabric right sides together, lining up shoulder seams. Stitch around the entire neckline. 
I used the V-neck version, but it can be done with scoop as well.
If using the V-neck version, clip the V just to the stitch line, not cutting through it. 
Flip the shelf bra inside so that the main fabric is facing out. It will now be wrong sides together. Be sure everything lays flat. Iron the seam flat and topstitch to hold it in place. 

Finish shelf bra side seams and elastic per pattern.
Sew side seams of dress per pattern.
The piece is basically done at this point.
Now the fun part!!
Pin your neckline applique’ piece where you would like it to be. 
I used Steam-A-Seam to hold my applique’ down before sewing it, but you could also use Dritz Wonder Tape. Steam-A-Seam says to iron for a permanent hold; I didn’t trust it and did ultimately stitch mine down. 

Begin by lifting the center of the applique’ up, leaving the remaining parts pinned. Mark the center of the garment with washable ink pen or chalk.
Place a piece of Steam-A-Seam or Dritz Wonder Tape down the center of the garment.

Fold the applique’ piece back down, then proceed around the top edge (neckline) taping and sticking until you are comfortable that the entire piece is secure.
Stich the applique’ using a 3.0mm straight stitch with matching thread on your sewing machine. Sew slowly and carefully! I sewed through the shelf bra, your preference.


Hem.

That’s it! See how easy it was!! And the detail it adds is HUGE! Don’t tell, but mine looks just like one of those expensive ones from you know where….

(Written by: Suzanne Todd)


