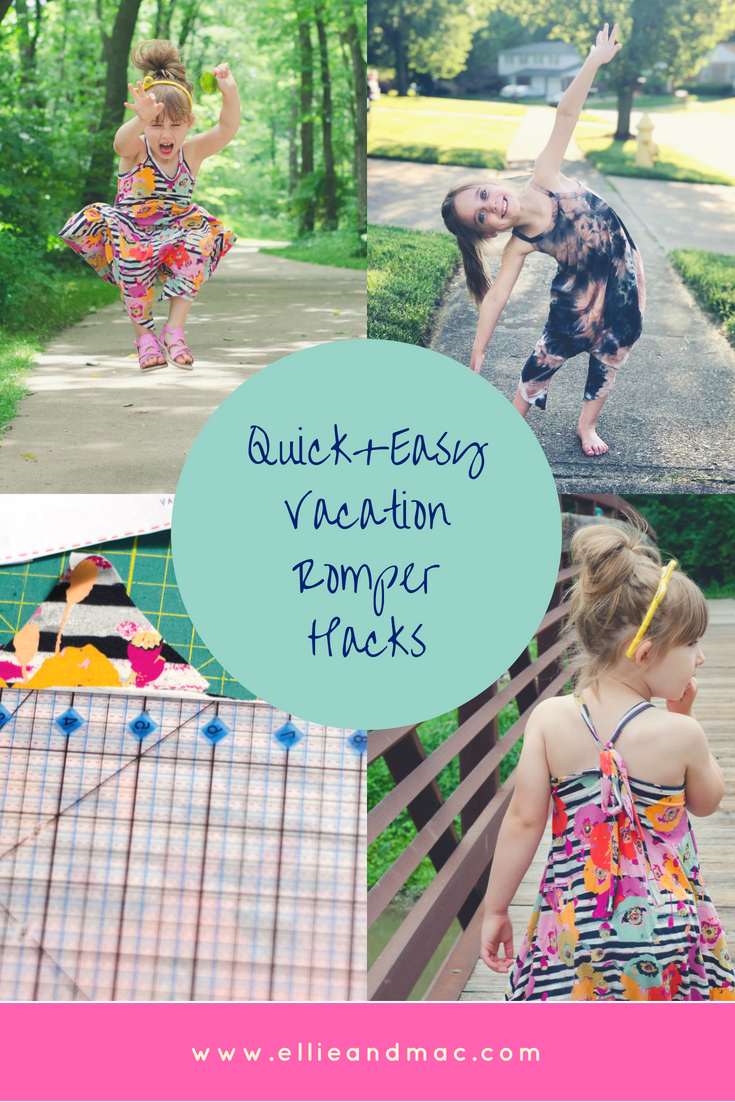
Quick + Easy Vacation Romper Hacks
If I had to pick my favorite thing about sewing clothes for my family, it’s probably the fact that I can alter patterns and fit in numerous ways. So, once I get a pattern I love, I like to play with it and see what extras I can do with it. Recently I decided to do that with Vacation Romper from Ellie and Mac (affiliate link). The vacation romper is a unique romper pattern for both kids and adults that features simple, comfy straps and a unique harem silhouette.
Today I’m going to show you 2 simple hacks you can do with the vacation romper to get a few different fun styles.
-
Slimmed down body - For this hack, all you’re going to do is take the pattern piece and fold in the point. You can bring it in a lot or a little, it’s totally up to you. I start by folding in the point and then I simply rounded the edges a bit as I cut. The good thing about a roomy romper like this is precision isn’t as important because you get that flowy feel.
 By bringing in some of the excess on the sides, you will drastically change the silhouette, but you can still get the harem style in the legs. This hack is great if you want to use less fabric or just have a slightly slimmer harem romper with the same vacation romper legs we all love. I highly recommend using either a thin knit or at least not using a thick cotton lycra with no flow. I used a 12 oz purple cotton lycra when I made this the first time and I didn’t like the flow because, well, it didn’t have any! So instead I will show you one a friend made using the same slimming down methods in a double brushed poly. How sweet is this romper?! And they were able to get a women’s medium and a child’s size 4 out of 3 yards of fabric by slimming down the sides!
-


-
Tie back straps - In the pattern, Lindsey created a great extra tutorial to do tie straps at the top, but I wanted to play with the straps a bit more and tie in the back. For this hack, you cut the front per pattern, but for the back, simply turn down the chest point so the top of the romper back is straight across the back. Then you can cut the back with the straight line for the top of it.

For your neckband and tie binding, cut it an extra 15 or so inches more than the chart in the pattern, depending on how long you want the ties in the back. Then, you’ll measure the length from the top of one point, down the armpit, across the back and up the other side’s point and cut that binding. Sew on your binding, same as the pattern, and attach the back first and the neck with tie last.
Next, cut out a piece of fabric that is approximately 4” x 2”, double fold like bias and sew closed. Fold the strap over and attach in the center for the back into a loop. I like to reinforce it and sew it on, then flip it up and sew it again as seen in the photo below. Now you can take your straps across the back in a V, put the ties through the loop and tie into a bow. Now you have a V Back tied romper! I know what you’re thinking if this is for your kids, “how will they go to the bathroom?”. Thankfully, my five year old tested it immediately and I can say that she could easily pull the straps down, still tied, to use the restroom. Alternatively, you can add two loops so you can have a crossback tied romper. To do this, simply measure to the middle of the back and then put one loop on each side about 2” from the center. After having my daughter wear her tie back romper, I would recommend adding the two loops for a child who pulls on their neck a lot. She has managed to stretch the back loop from tugging, but adding two loops so far has helped alleviate that stretch since they can split the pressure of pulling.
 By bringing in some of the excess on the sides, you will drastically change the silhouette, but you can still get the harem style in the legs. This hack is great if you want to use less fabric or just have a slightly slimmer harem romper with the same vacation romper legs we all love. I highly recommend using either a thin knit or at least not using a thick cotton lycra with no flow. I used a 12 oz purple cotton lycra when I made this the first time and I didn’t like the flow because, well, it didn’t have any! So instead I will show you one a friend made using the same slimming down methods in a double brushed poly. How sweet is this romper?! And they were able to get a women’s medium and a child’s size 4 out of 3 yards of fabric by slimming down the sides!


I hope you like these simple, fun hacks that you can use on both the women’s and kid’s vacation
rompers and were able to come up with some ideas of your own! If you haven’t purchased it yet, be sure to hop over and snag your Vacation Romper pattern (affiliate link) today!
Enjoy your sewing adventure and be sure to let me know in the comments what your favorite ways are to adapt patterns you love!
Thanks for sewing with me today!
Veronica Armstrong
Veronica is the blogger and creator of Caffeinate then Create. She lives in Iowa with her husband and their 5 yr old self-proclaimed pirate princess. She loves to write, play board games, sew clothing and has a deep seeded love of Star Wars and coffee. You can find her on Facebook and Instagram writing about parenting and crafting.