How to Shorten/Lengthen the Adult Stephen Cargo Pants


The Adult Stephen Cargo Pants are the newest pattern in the Ellie and Mac straight fit collection. It is a cargo-style pants that is designed for style and comfort. The pants feature a zipper fly, belt loops, two cargo pockets, two back pockets and two slash pockets.
As you know, people vary not only in height but also in proportion. You can have multiple individuals with a standard height of 5”10 and each one may have a different inseam. Further, even if the inseam is identical there may be variance in rise or the distance between crotch to thigh, thigh to knee and/or knee to ankle.
The goal is to sew a beautifully constructed, well-fitting pair of pants that is customized to your model’s measurements. Before starting with any modifications please ensure that your measurements are accurate and current.
This tutorial will focus on using Affinity Designer to add or remove length at various points in the Stephen Cargo Pants pattern using the “break curve” method. (If you would like to learn how to use “division” as an alternative method, please refer to the blog on How to Sew an Insulated Medical Bag.)
IMPORTANT:
Never work on the original file.
Save as a new document.
Shortening at the Hem Line
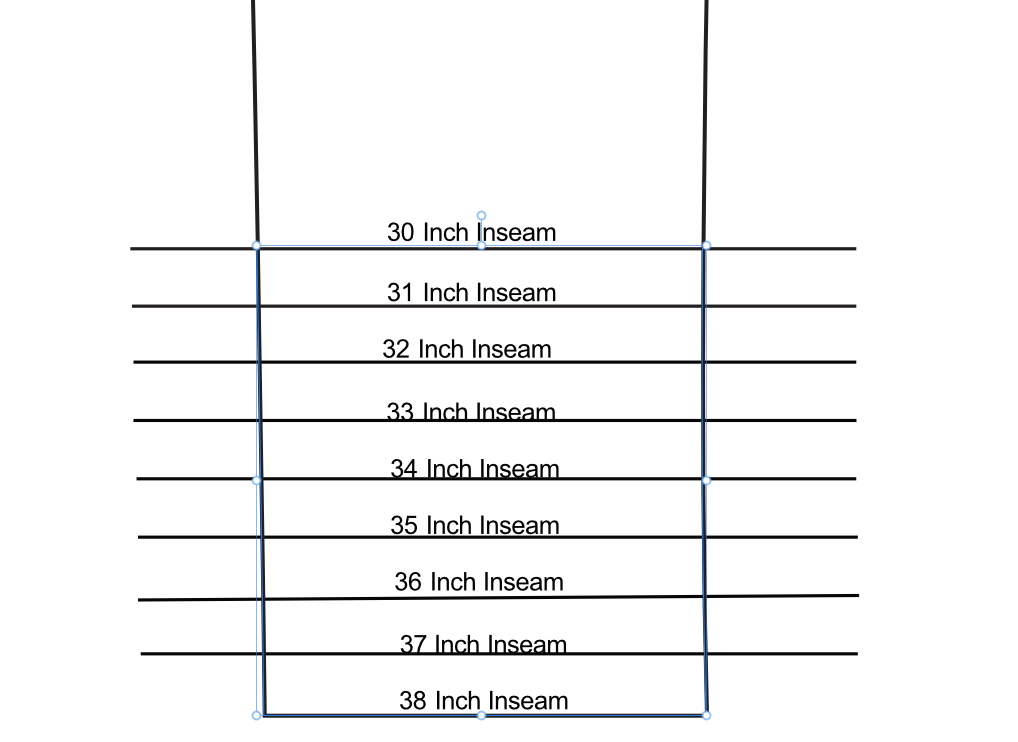
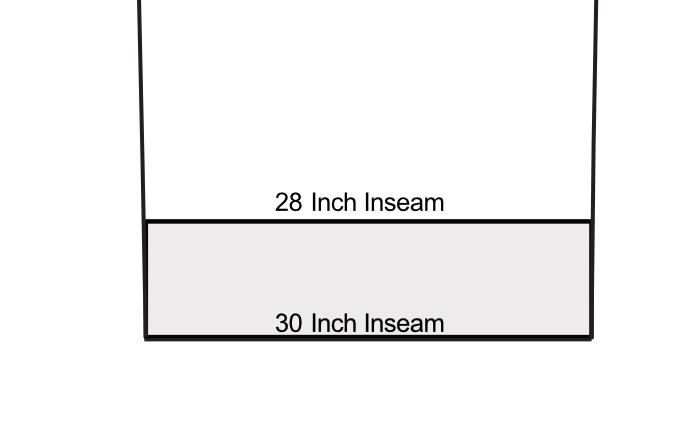
The pattern offers eight possible inseams, ranging from 30 to 38 inches. If your inseam is less than 30” or greater than 38” you will need to follow the steps detailed further on in this tutorial.
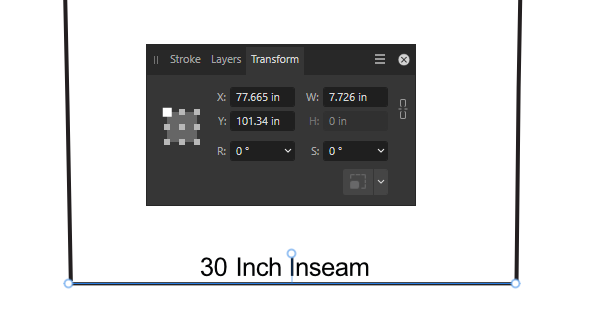
Find the line that corresponds to your model's inseam. For purposes of this tutorial I will choose 30”.
On a paper pattern you would shorten your pattern by taking scissors and cutting along the marked line. We can’t do that physical action on a digital pattern. Instead, we will cut our pattern by breaking nodes. Nodes are all those points that make up the lines of our pattern.
Toggle the “Nodes Tool” (shortcut: [A]). It’s located at the far left of your screen. The icon looks like a white cursor.
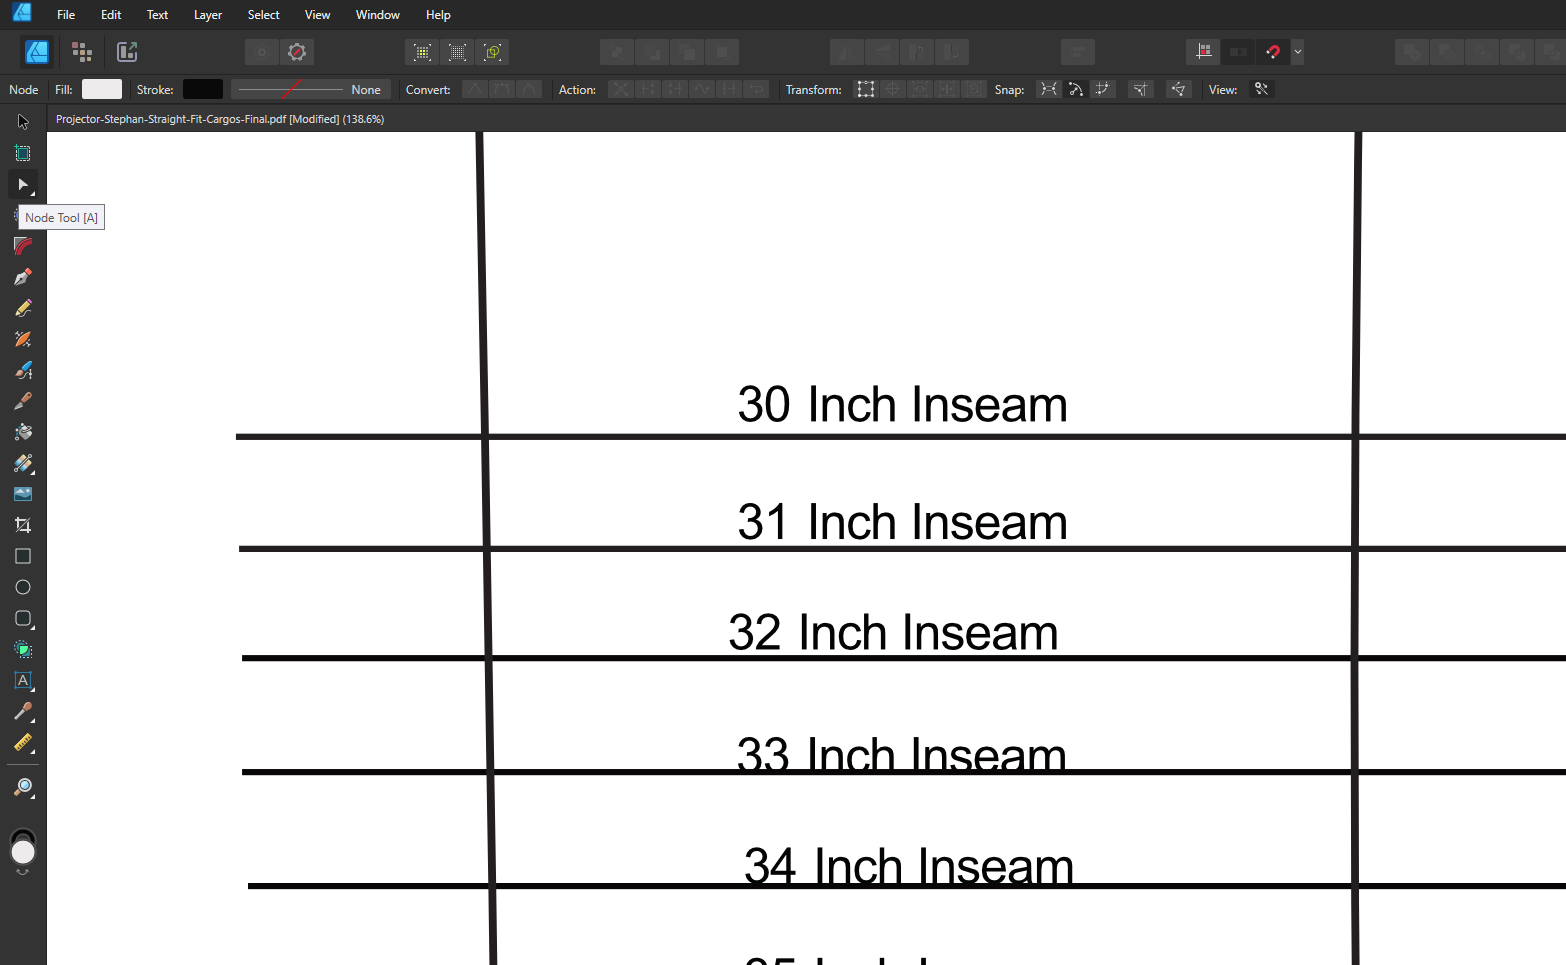
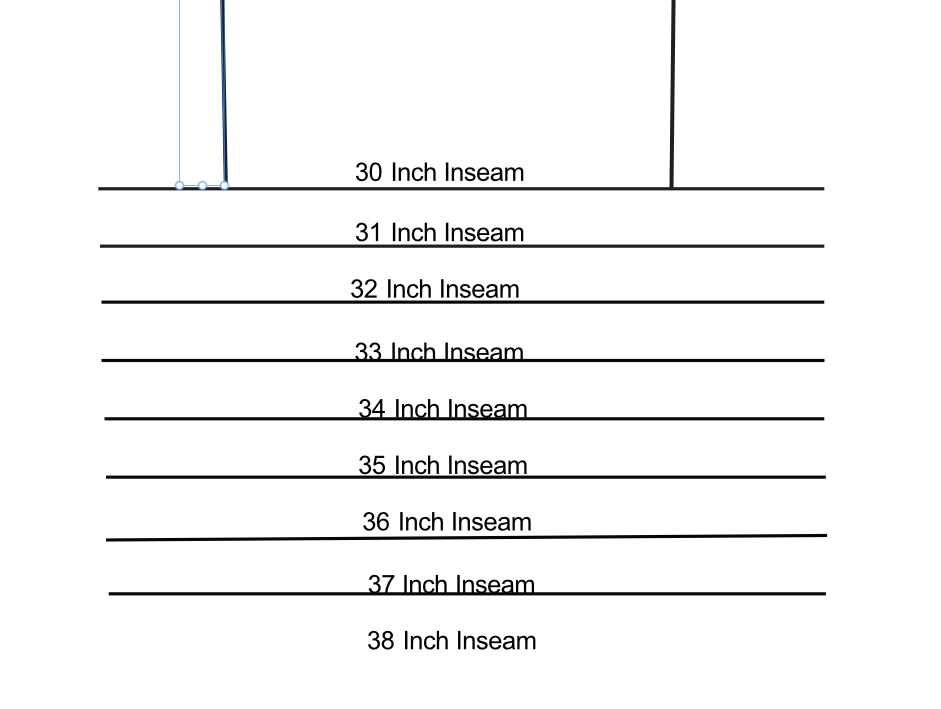
Double click on the point in which you would want to slash your pattern. It’s hard to see in the image but I’ve double clicked on the left hand side of the 30 inch inseam line. I know that I’ve selected the node because when it is activated the dot turns blue. (If the node is white, or if you see multiple white nodes, you will need to reclick the desired node to make it blue.)
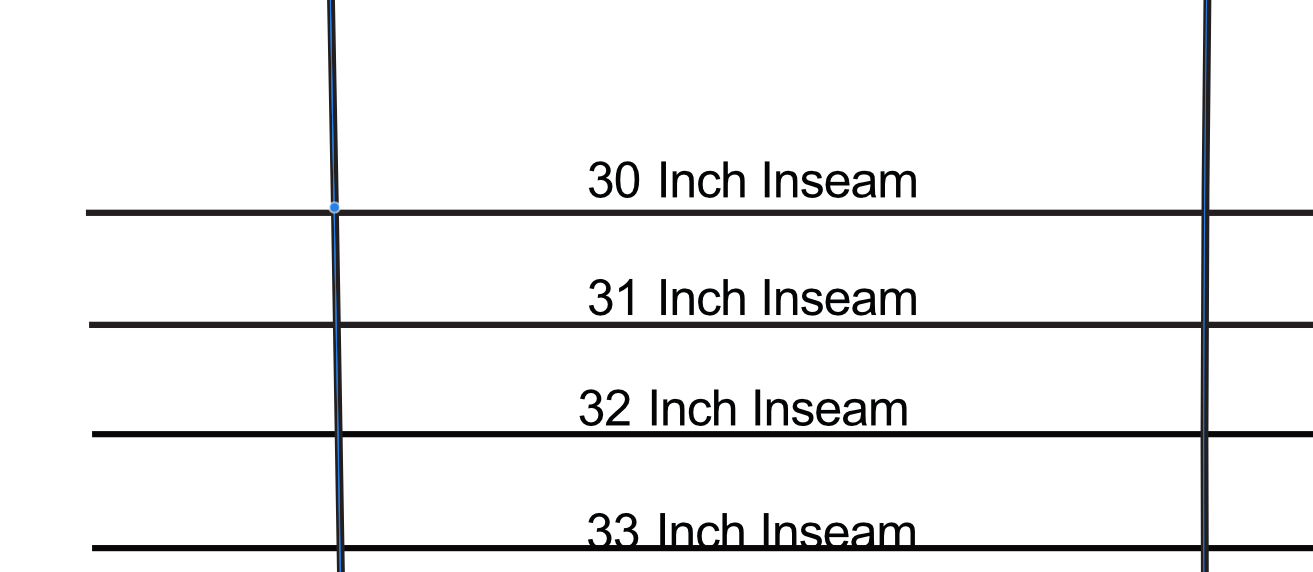
Once that dot is blue select ACTION → BREAK CURVE (shortcut: SHIFT + CTRL + Q). The Action bar is located on the top of the screen. The Break Curve button is the second option.

Select the node on the right hand side by double clicking and break that curve.

Although it may not be apparent at the moment, you have just cut your pattern!
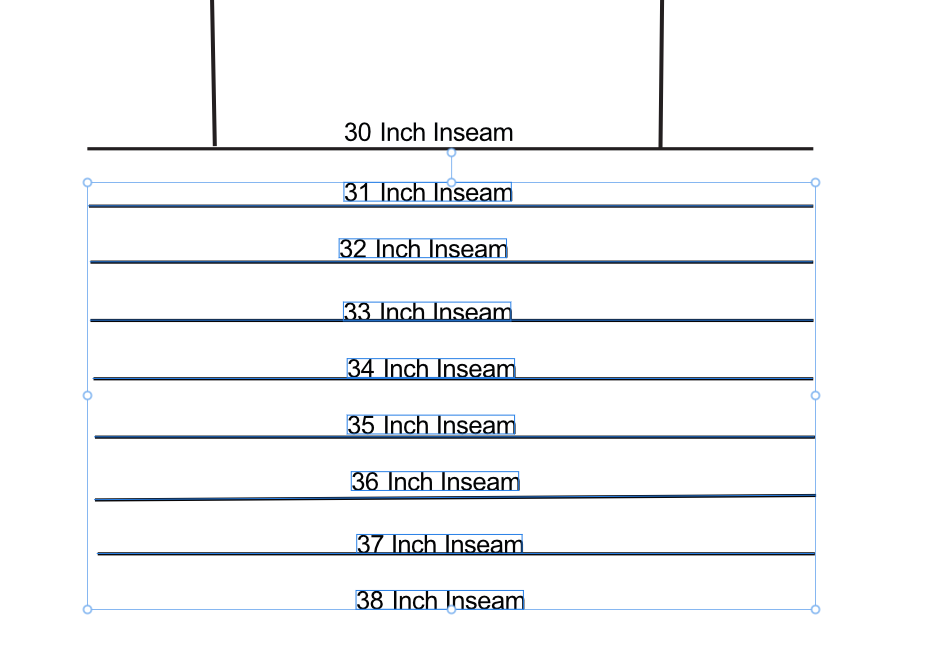
The unneeded seam lines will now be deleted. Select the black cursor, or the Move Tool (shortcut: [V]).

Click on the area below your inseam (in this case, the 30 inch cut line). It should now be highlighted in blue with white nodes.
Press delete. The extra lines should disappear.
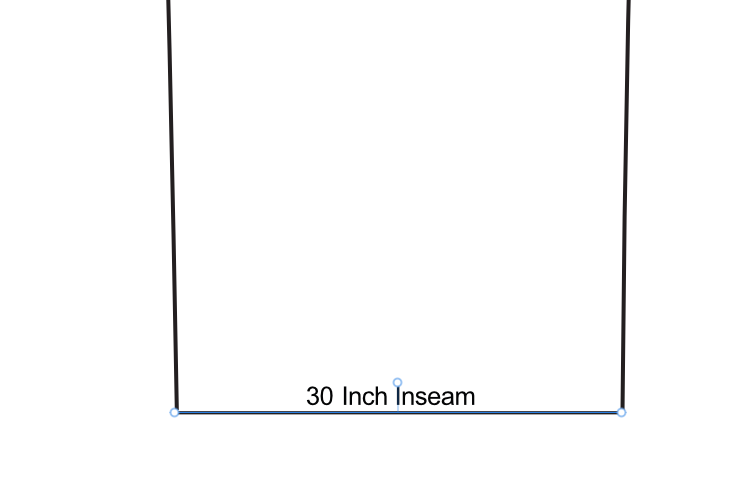
Clean up the screen by deleting unnecessary text and lines. Use your mouse to draw a rectangle around the extraneous area. If your program is giving you a hard time try pressing SHIFT at the same time.
Once it has been selected press delete. Your pattern will look much better! You can use the nodes to shorten the horizontal hem line. Click on the bottom line. When your cursor hovers over the end points you will see it turn to something that looks like a double arrow ( ←→ ). That indicates that you can adjust your line by clicking and dragging it in either direction.
You can also adjust the line width by using Transform. In XS that particular line measures 7.726”.
Creating an Inseam >30” or <38”
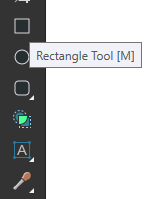
If your model requires an inseam that is less than 30” or greater than 38” you will need to draw a new line with the assistance of a rectangle (shortcut: [M]).
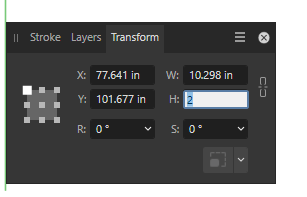
Determine how much length needs to be added or removed. In this case, we are demonstrating how to change the length, in both directions, by two inches. Therefore, I will create a rectangle that is 2 inches long by the width of the pant leg.
Draw any size rectangle and adjust the dimensions using Transform. Input values for width (W) and height (H).
Use Stroke to adjust the line weight to 4 or 5. This will increase visibility and will match the rest of the pattern.
To lengthen the pattern place the rectangle just below the hemline.
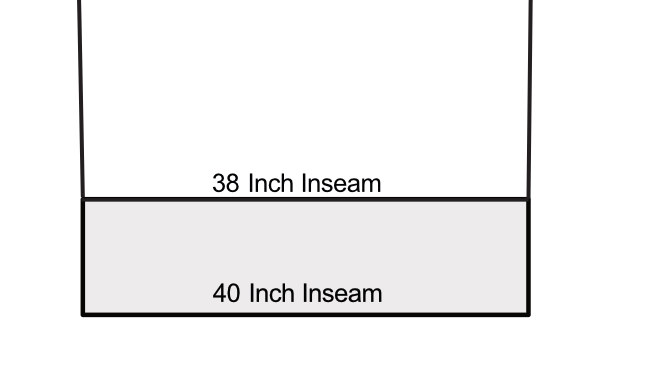
To shorten, do the reverse, and place it on top of the hemline.
IMPORTANT:
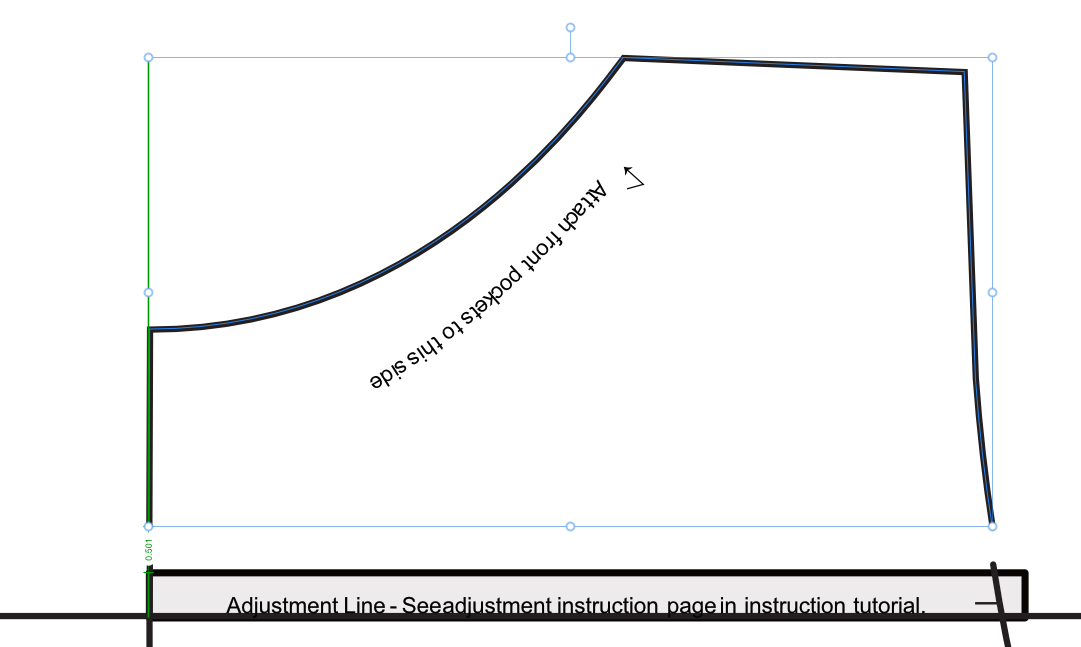
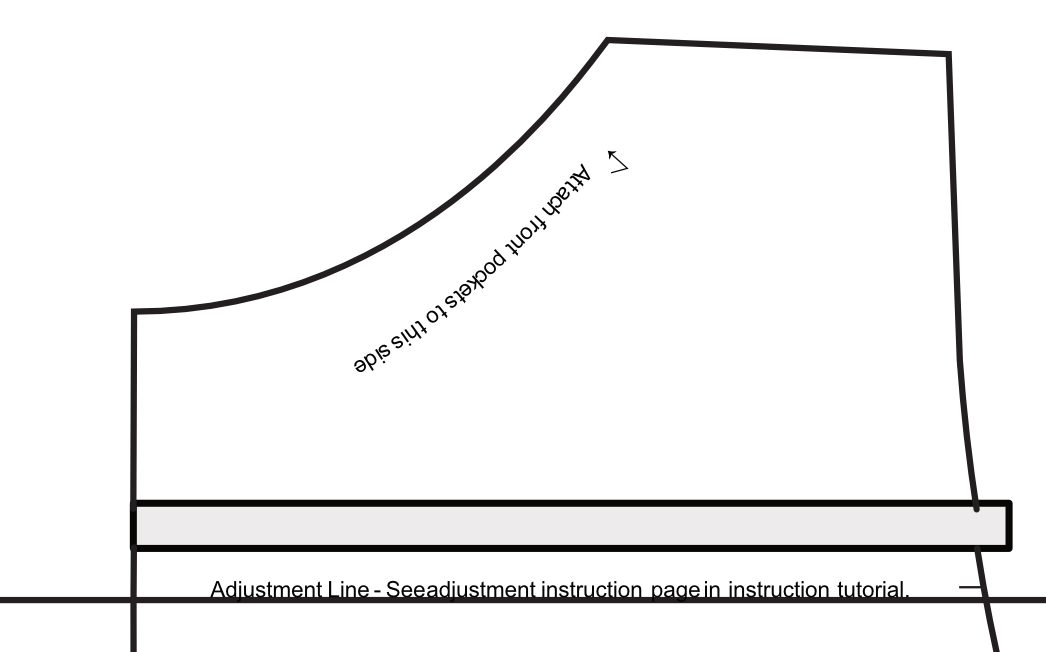
Please ensure that ALL pant pieces are shortened or lengthened, both front and back.
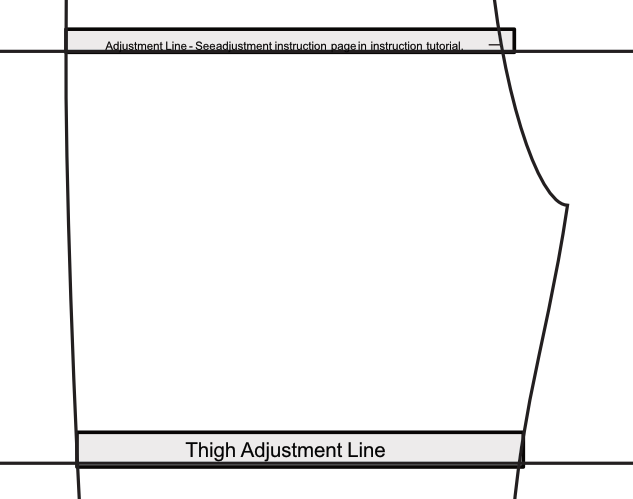
Adjusting the Rise, Thigh, Knee or Calf
When adjusting the length along a non-linear area you will need to:
- Draw and transform rectangles
-
Understand how to break the curve and deletes nodes
PLUS:
-
Smooth out the lines
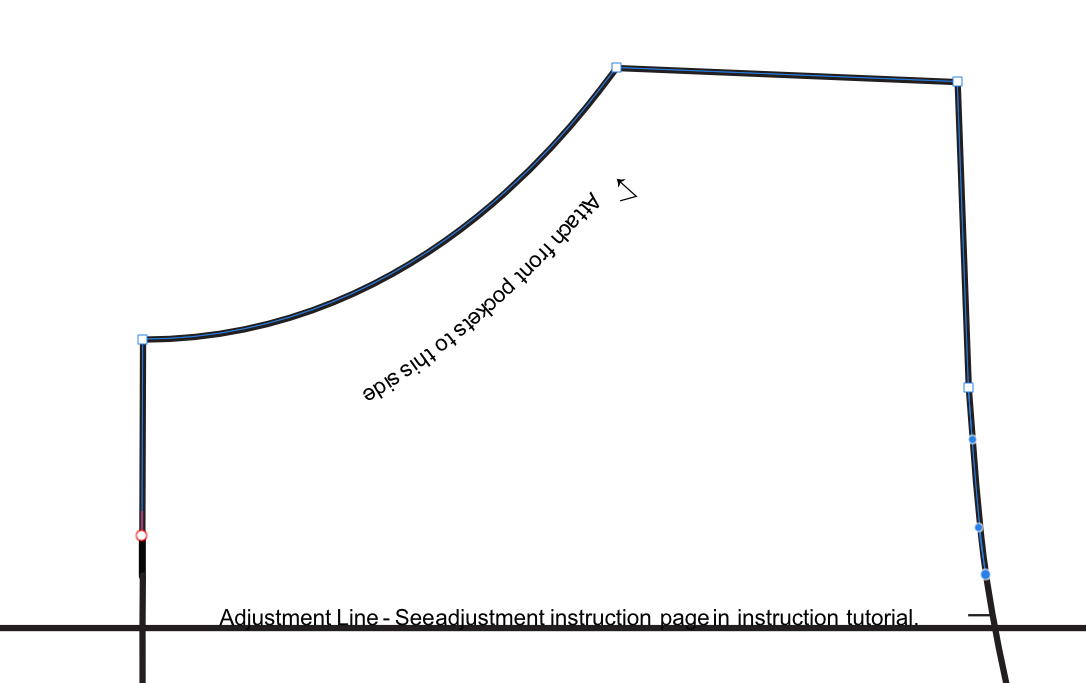
The trouser pattern has adjustment lines marked at the rise, thigh, knee and calf. Modify the pattern based on your model’s proportions, both in length and in width.
Let’s say you need to ADD half an inch to the rise and REMOVE three quarters of an inch from the thigh. Make two rectangles, ½” and ¾”, respectively. Place them at the two adjustment lines.
Break the curve in the nodes just above the two rectangles.
For the rise,height can be adjusted by dragging the top portion. The program will advise the measured distance in green text.
To double check, I have moved my box into that empty space.
Once I am sure that the measurement is accurate I can delete the box and smooth out my lines using the Pen Tool (shortcut: [P]). Nodes can also be extended by clicking and dragging them to fill in the vertical space. Be careful that it doesn’t distort your pattern piece. If you make an error at any point, undo (CTRL-Z) and correct by using an alternative method.
IMPORTANT:
If the rise has been adjusted, do the same for the fly pieces.
To shorten at the thigh, break the nodes on top of the box. To be able to move the upper portion of the pant leg group (shortcut: CTRL-G) the selection before continuing.

Take that upper leg portion and place it on top of the original thigh adjustment line. But first, delete the rectangle along with any lines protruding from the adjustment line (by breaking the curve).

Finally, drag the upper piece to the adjustment line and smooth out the lines. In our example the lines are almost in sync. To be honest, I might leave it as is and worry about cutting a straight line on the cutting board.

But because this is a tutorial, I will do it properly for you to see. Since the variation is minimal, I selected one of the lines and moved the top node ever so slightly to be in alignment.

All adjustments have been completed. The pants were modified at the rise, thigh and inseam. At this point you can group your pattern pieces and move them around for “pattern tetris”.
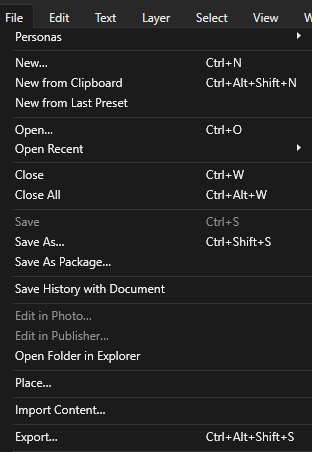
Export as PDF
Affinity Designer saves your modifications in SVG format. Once you are ready to project your pattern you will need to convert it to PDF. Pattern Projector is currently unable to read vector files.
Go to FILE → EXPORT (shortcut: CTRL-ALT-SHIFT-S). Select PDF from the options in the top drop down menu and press export. Then, save your file.
Transferable Skills
The skills you have been taught in this tutorial are not limited to shortening or lengthening pants. You can use the very same methods to adjust length in a bodice, sleeve or skirt.
While I did not demonstrate grading for width, if you understand how to use nodes and the pen tool, you are already halfway there!
I hope to bring you more tutorials on how to digitally modify your patterns. Until then, please feel free to reach out in the Ellie and Mac Sewing Group if you have any questions.
(Written by: Sarah Callahan)