Hi friends! It’s Amy here again today. Today I am going to show you how to create some great Fall dresses by combining elements from Ellie and Mac patterns… and the great thing is you only need two patterns to make these looks, and you can pick and choose all your favourite parts! The patterns we are going to use for these hacks are the I Love the '90s dress and the Sarah Wide Sleeve Sweater.
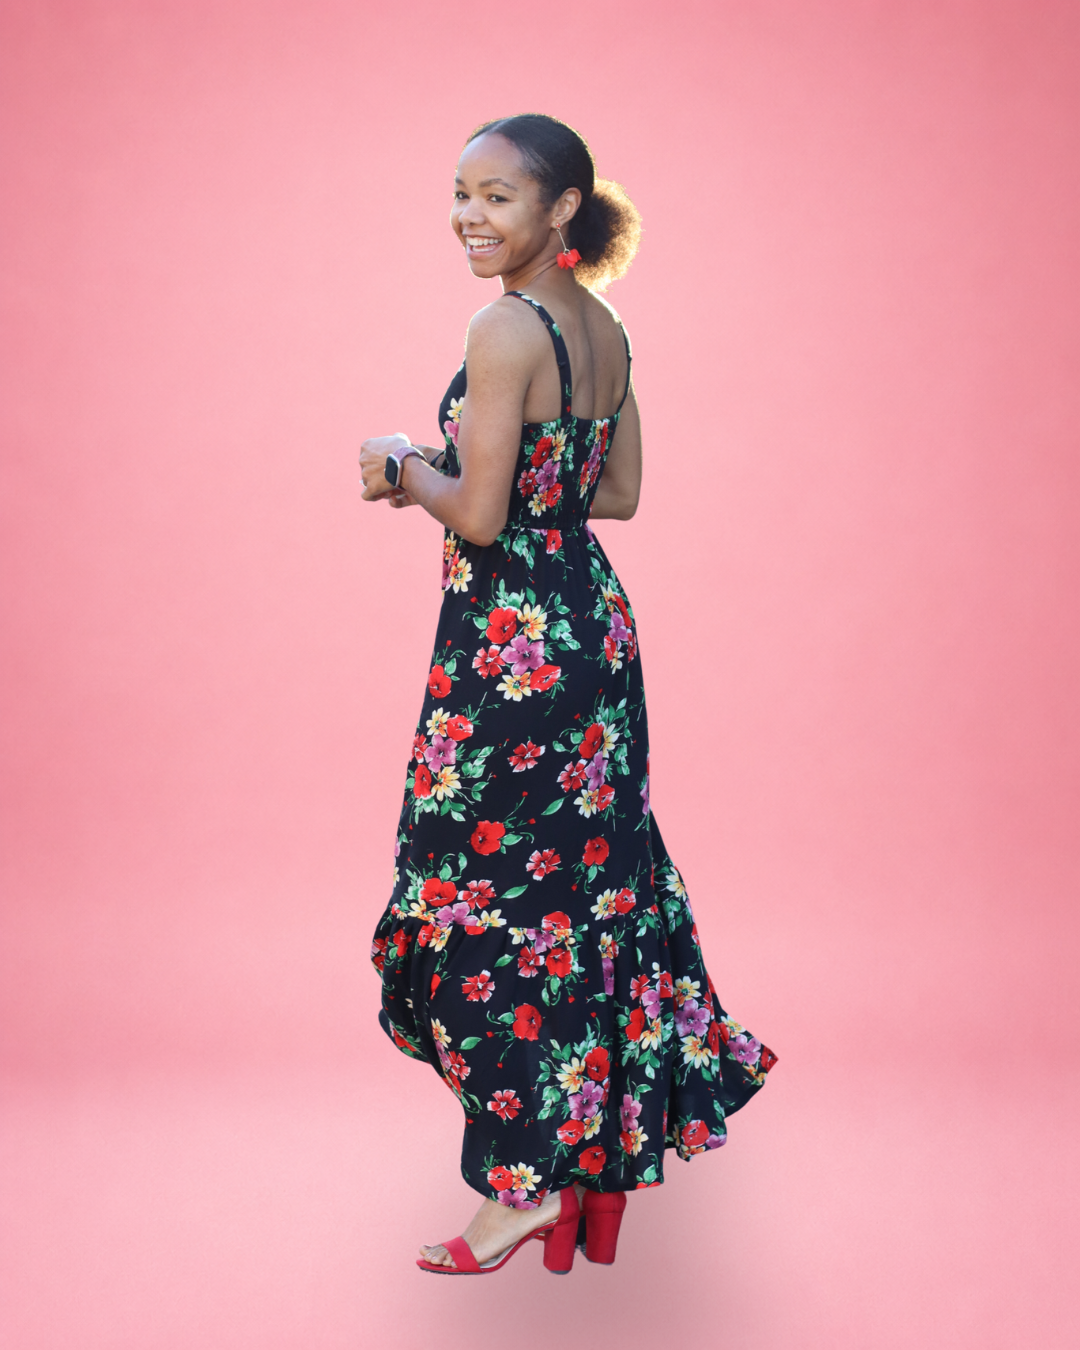
Here are the three dresses I have made to demonstrate some of the possible variations! First up, we have the floral mint green dress. This is a thicker cotton jersey, which gives it a fuller, more structured appearance. This dress has the Sarah slouchy cowl neckline, a tiered version of the 90s skirt, and a slash and spread elastic cuff 90s sleeve.
Next up, the terracotta polka dot dress, which is a thin viscose spandex, so it sits flatter and has a lot of drape. This dress has the Sarah turtleneck, the '90s skirt with extra length added, and a slash and spread XL version of the Sarah bishop sleeve.

Finally, the cream leopard dress. This is french terry, so it is thicker and has less stretch, which makes it much more fitted. This dress has a reduced height Sarah mock neck, the straight '90s sleeve with added cuff, and a slash and spread. circle skirt. It would have been unsuitable to use french terry for the sleeves and mock neck, as it would have been too tight, so I used a light jersey for these elements instead, and the colour blocking creates a cute pinafore look.

Fabrics I have used in this blog:
- Danish Design Secret Garden Cotton jersey fabric from Lamazi Fabrics
- Terracotta dot Viscose spandex single jersey from thefabricmerchantuk
-Leopard print french terry from Fabrikanza
-Plain beige jersey from Knighton Fabrics
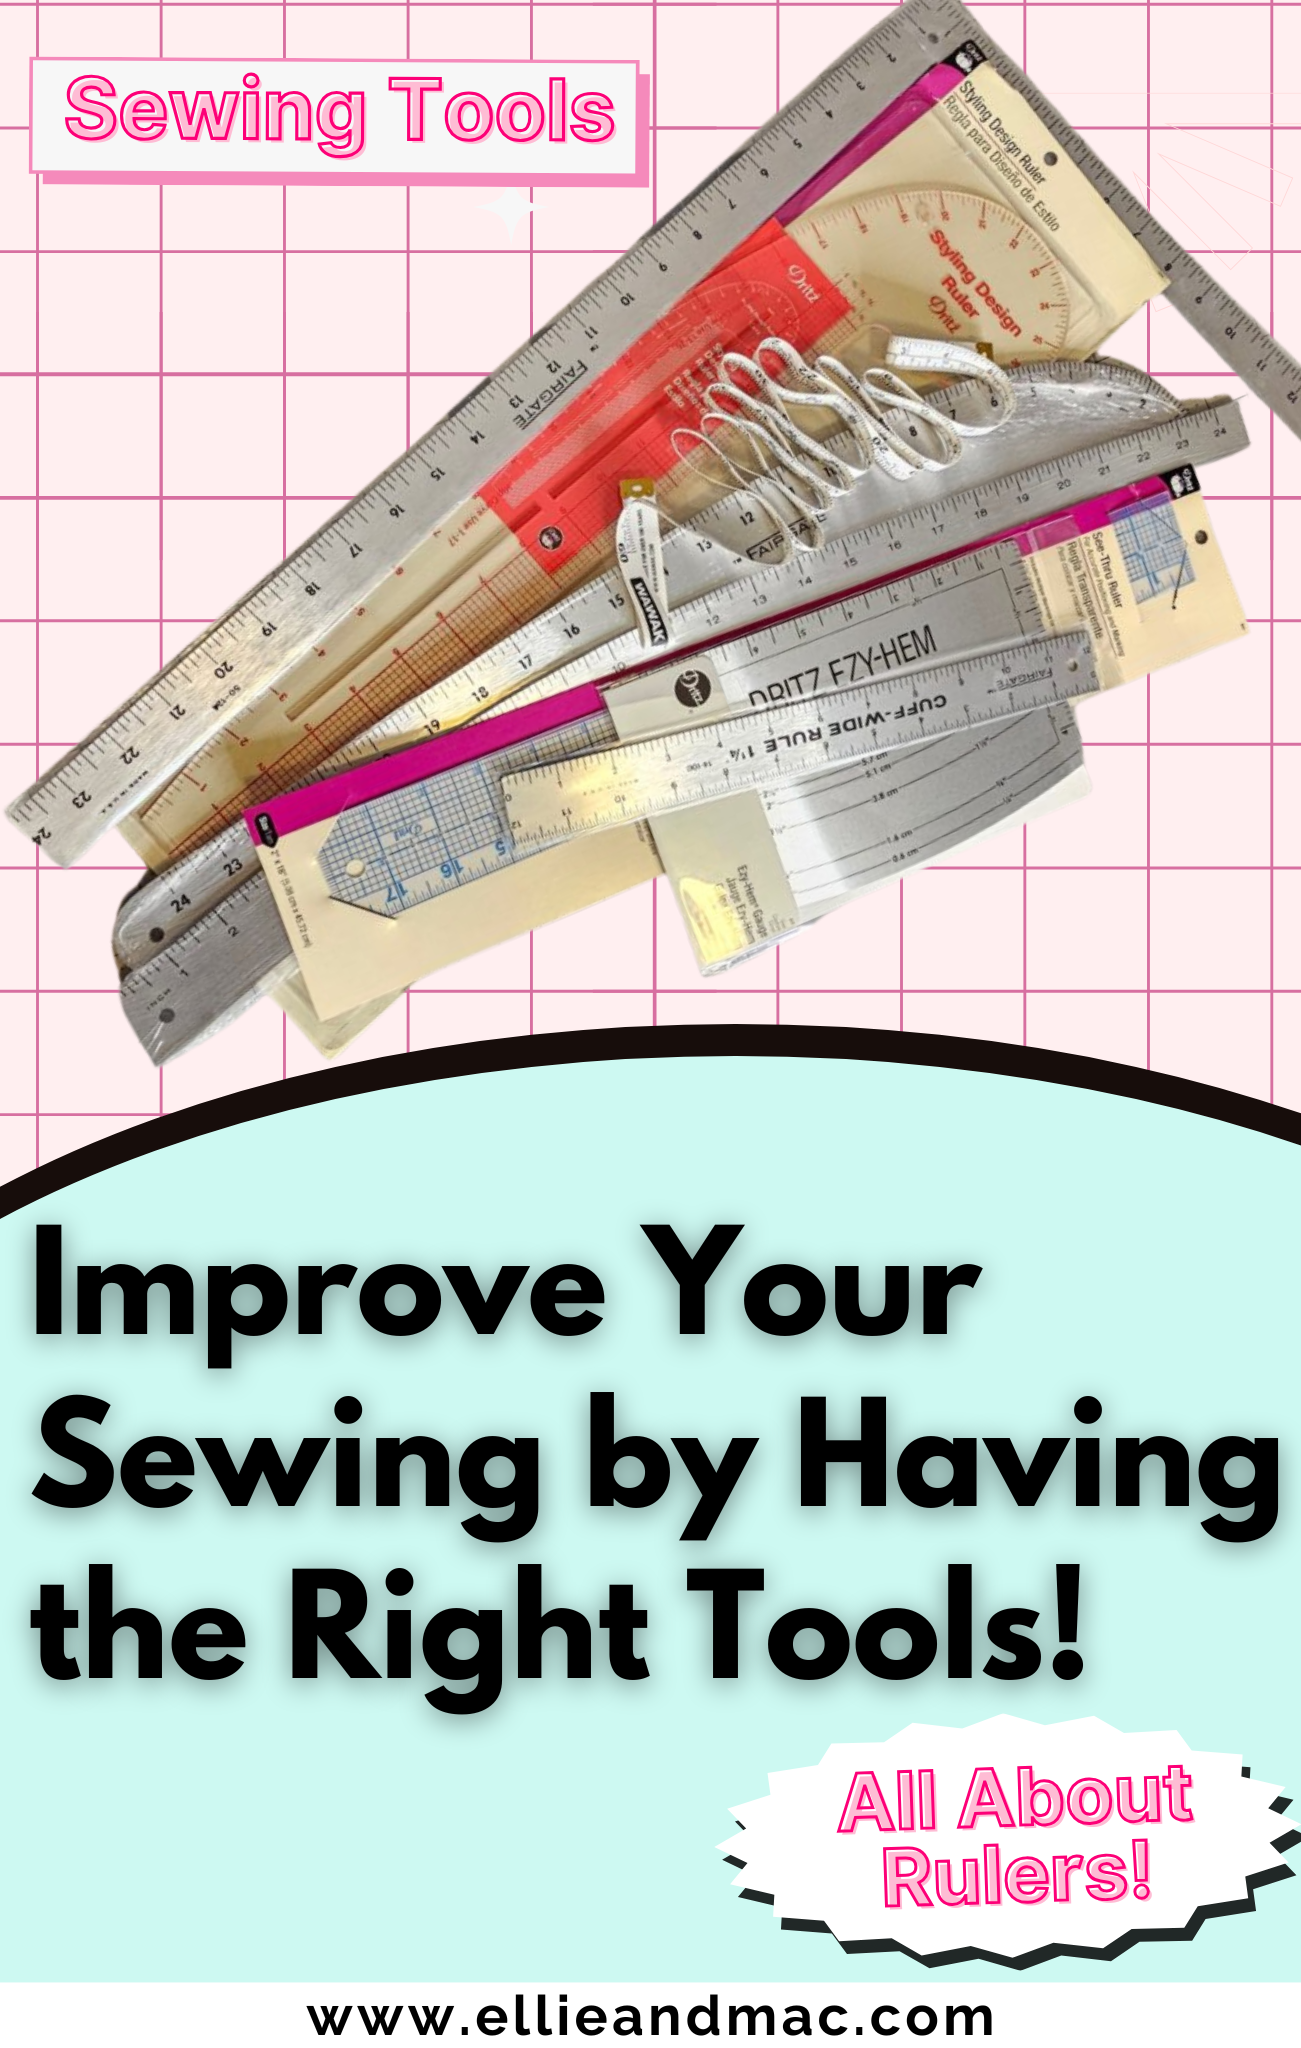
THINGS YOU WILL NEED:
• Pencil/pen
• Ruler
• Paper
• Scissors/rotary cutter
• Ellie and Mac patterns – I love the 90s dress, Sarah wide sleeve sweater
• Pins or clips
Optional but useful:
• Pattern weights
• scotch/washi tape
• Pencil eraser/rubber
• Software like Affinity Designer/Inkscape if you want to make digital alterations instead of on paper
• 1/4” elastic if making elastic sleeve option
If you don’t yet have the pattern needed for this tutorial, you can find them here (afflinks):
Sarah Wide Sleeve Sweater pattern
Please note I use a projector rather than paper patterns so all my pattern alterations take place digitally, but you can follow my instructions just the same using paper.
MAKING THE PATTERN ALTERATIONS:
BODICE ALTERATIONS:
This is going to be a bit of a make-your-own-adventure style blog, since there are a lot of different options. For the neckline, you can use the original '90s dress neckline, or any of the options from Sarah – mock neck, turtleneck, slouchy cowl, or crew neck.
I’m going to demonstrate how to add the neckline for the slouchy cowl, but it is the same process for any neckline you want to use.
First, draw around your '90s front bodice pattern on a spare sheet of paper. Place the Sarah front bodice pattern over the top, matching up the centre line, and the tops of the shoulders.

Trace around the Sarah bodice neckline (whichever one you want to use).

Redraw your shoulders to meet the new neckline.

Do the same for your back neckline.


Cut your new bodice patterns out. Line them up at the shoulder and check the shoulder widths are the same, as they won’t always be.

If one shoulder is wider, trim so they are the same width:


Optional step: There is a lot of ease in the '90s dress. I wanted my dresses to be very comfortable fitting, but not to have as much ease as the pattern calls for, so I reduced the pattern at the waistline.
You do not have to do this, but just be aware that your dresses will fit more loosely in the waist.
I moved my waist point in by about 2.5” on each side of the front and back bodice as shown:

That is it for bodice alteration – to summarize, you can add whichever neckline you like using the technique I have shown, my personal favourite is the slouchy cowl for the most drama!
SLEEVE ALTERATIONS:
Sleeve option: Slash and spread elasticated sleeve option (mint green dress)
Make a copy of the '90s dress sleeve pattern.

Draw lines vertically through the sleeve, and then cut through the lines, leaving a small bit attached along the top edge. I have done this for half of the sleeve, as the sleeve head is very close to being symmetrical anyway, but feel free to go ahead and do this across the entire sleeve.

Place your sleeve pattern on a new piece of paper, and spread the pieces out so that the bottom edge of half the sleeve measures around 8.5”.

Draw round the new sleeve you have made and cut it out. You may only have half a sleeve like me at this point, in which case, fold a piece of paper in half, place your half a sleeve pattern piece along the fold line, and cut it out through both layers of papers, and unfold to reveal your full sleeve.

Sleeve option: XL bishop sleeve from Sarah I already described how to do this in my previous blog, which you can see here:
Skip down to the sleeve section, and then come back when you’re done!
Sleeve option: Straight sleeve from '90s dress
There are no pattern alterations needed for this option. I added a cuff but I will show how to do this in the construction section.
SKIRT ALTERATIONS
I should start by saying, I am 5’2”, so as you follow these instructions you may wish to change the lengths used depending on your height.
Skirt option: Tiered gathered skirt (mint green floral dress)
You will need the skirt pattern pieces from the '90s dress pattern. You may want to make a copy of your skirt pieces, or fold the existing pieces instead.
Measure 12” down the side seam edges of the front and back skirt pieces and cut or fold here:


Your skirt now looks like this:

Next, on a spare sheet of paper draw a rectangle 22” tall, by 1.5 times the width of your top skirt tier
(you will need to draw two rectangles, as the front and back skirts are different widths).

Cut out your rectangles and label which is the front skirt and which is the back skirt.
Skirt option: circle skirt (cream leopard dress)
On a large sheet on paper, draw around the '90s front bodice waist line. You just want to draw half, from the centre line to one side seam. Also mark on the centerline to make it easier to draw a line parallel to this later. You don’t need to draw the little horizontal line at the edge of the waist, just blend it out like so:


Draw a vertical line down from the side seam. I did mine 24” long. Draw a vertical line down the centre line also to end at the same length as the side seam line (the centerline obviously wont be 24” long because the waistline is curved upwards), and then connect them with a horizontal line.

Draw vertical lines through the shape you have drawn. Cut out the skirt piece, and then cut through the vertical lines leaving a small piece attached to act as a hinge along the top edge.

Spread the skirt pieces apart, over the top of a large piece of spare paper. You can choose how far to spread them. I spread mine just less than half the width of my fabric, to get the most volume, but you can choose to spread less for less volume. Just make sure the hip region will end up larger than your hip circumference.

Stick the skirt pieces down to the paper below for stability. Draw a curved line around hem edge of the skirt, a french ruler will help you get a smooth line.

Also draw a smooth line round the top edge of your skirt waist. Cut it out.

Do the same process for the back skirt.
You will need to cut these pieces with your fabric folded and the pattern piece positioned along the fold, or you will need a very big piece of paper to create the pattern piece unfolded.

Skirt option: Single tier, with length added to '90s dress skirt (terracotta dress)
Using the same method as for the first tier in the tiered skirt method, you can add or remove length to the existing pattern as you wish. I made my skirt 29” long (measured along the side seam).
That’s it for pattern alteration! On to construction!
CONSTRUCTION
Bodice construction:
All options:
Sew shoulder seams, right sides together. Add your preferred neckline finish as described in the
Sarah Sweater tutorial (picture shows the slouchy cowl)


Sew side seams, right sides together.

Note: for my mock neck (cream leopard dress), I cut 2” off the height of pattern piece, just for my own personal wearing preference, you do not need to do this, but if making this variation then note your mock neck will sit an inch taller than mine (as the pattern piece is folded in half)
Sleeve construction:
Sleeve option: '90s sleeve slash and spread with elasticated cuff:
Finish the bottom edge of the sleeve if you wish. Fold the edge up .” and press.

Unfold the pressed edge and sew the side seam of the sleeve closed.

Refold the sleeve edge along the pressed line.

Top stitch around the sleeve fold, close to the edge, leaving an inch opening for inserting elastic.

Measure .” elastic around your wrist and add an inch or two of length and cut one for each wrist, thread it through your sleeve cuff using your preferred method, pin the ends together and check it feels comfortable around your wrist, and then sew the ends of elastic together using a zig zag stitch.


Your finished sleeve should look like this:

Attach your sleeves as per the '90s dress pattern tutorial:

Sleeve option: XL slash and spread bishop sleeve:
Follow the construction tutorial in my previous blog which you can find here.
Sleeve option: Straight sleeve from '90s patterns
You can follow the '90s pattern tutorial to add this sleeve, I added a cuff as I prefer this finish to a hem on my sleeves.
If you would like to try this, I cut a couple of inches off the bottom of my sleeves (I have short arms anyway), and then cut my cuffs the same width as the bottom of my sleeves, and 2” wide.
It is neatest to add your cuffs in the round, like you would add a neckband. Sew the seam of the cuff closed, and press the cuff in half (like a neckband). Pin or clip it right sides together with the sleeve end, matching the raw edges, and then serge or sew to attach them.


Skirt option:
Tiered skirt option:
Attach the top tier to your bodice following the '90s dress pattern tutorial.

Sew a basting stitch around the top of your second tier, and gather it down to match the circumference of the bottom edge of the first tier. Clip the two tiers right sides together at the quarter points and adjust your gathers so they look neat, and add more clips to secure.

Serge or sew together, and then hem.
Skirt option: Circle skirt:
Sew the side seams of your skirt right sides together. Make sure you have marked which is the front skirt. Place a pin or clip at the centre front and back on your skirt and bodice.

Flip your skirt up and over your bodice, so that they are right sides together, and clip together, matching the centre points and side seams.

Sew or serge, and hem your skirt.

Skirt option: Lengthened single tier skirt
You can go ahead and attach this following the '90s dress pattern tutorial.


Phew you did it! I hope you enjoyed this create your own adventure, and I would love to see what Fall dresses you create :) See you soon!