Hey, hey, hey! It’s Lakeisha again. Today I’m bringing you a post about gathering! Yup, the fun stuff that people tend to have a love-hate relationship with. Heads up - it’ll also be a bonus post with an extra because I modified the “I Love the 90s Dress” into a tunic for this tutorial. Read to the end to see the modifications I made to the pattern. YAY!
So what is gathering, and where is it used? Gathering is the process that takes a larger piece of fabric and bunches it together evenly to fit and attach to another piece of fabric that’s smaller in width. It’s often done with skirts or bottom bodices and ruffles that are used on hems or for decorative elements. The ratio of gathering to the shorter fabric piece determines how full the finished product is. Gathering *can* be easy, but some people seem to favor circle skirts, especially on knit projects, because they can’t seem to get the results they want. I think sometimes the frustration with gathering comes from people wanting it to be a quick thing and not necessarily taking the time to ensure even distribution before attaching. Other times, issues arise *while* attaching. Hopefully this post helps with both. There are TONS of gathering methods out there. For the purposes of this post, I will only discuss the few that I have personally used before and some of my thoughts on them. Each method I show demonstrates gathering flat, so before your side seams are sewn. I find that I get the best, most even results this way, as opposed to gathering in the round. Feel free to choose what works best for you. Let’s jump in!
Method #1: the “two-rows-of-basting-stitches” method
This is first on my list because it is my favorite, most often used method for gathering. You’ll need a sewing machine (contrasting thread makes it a little easier) and a sewing marker. For starters, I always find the center of both my bodices and skirts before gathering and mark it on the wrong side of the fabric. It is much more difficult to find the true center after you have already started the gathering process.

Turn your sewing machine to the highest straight stitch possible (mine is 5), which is called a basting stitch. Sew a tiny bit over 1/4” from the edge you are gathering. This will ensure that these stitches are outside your seam allowance and easy to remove later. Don’t stop here! Oftentimes, people only do this one row, and it is really hard to control the gathers and keep them in place. An extra row, or even two, allows you to smooth them out evenly and results in a much neater, more evenly gathered finished product. Sew another row of stitches above this one. The second row will be caught within your seam allowance.


After you have sewn your basting stitches, mark the center of the bodice and skirt, this time with pins or clips. Pull the bobbin threads of one side until you have them as bunched as you can up to the center. Repeat on the other side of the skirt. With Right Sides Together, pin or clip the centers together. You will notice the skirt is extremely “small” in comparison to the bodice. I prefer it this way, so that it is easy to evenly loosen them. You can always pull the bobbin threads again to tighten back up, should you loosen too much.


Slowly begin to stretch the gathers out from the center point until you reach the edge of the bodice. Pin or clip the skirt in place. Repeat this from the center to the other side and add as may pins or clips as you need to ensure your gathers stay in place while you move to your sewing machine or serger. At your machine, sew with the gathers facing up so you can make sure they are not flipping or folding on themselves and it’s easy to adjust while sewing. If you are attaching clear elastic in your seam for stability, you place it directly on top of the gathers and sew it all at the same time. I typically add clear elastic to gathers, but the fabric used for this top is an extremely lightweight triblend, so it would have created unnecessary bulk in this instance. Always use your best judgement :)


Once you have sewn the skirt to bodice, the first row of basting stitches will be visible from the right side. Pull on the bobbin thread and shimmy the fabric to the other side. The bobbin thread should slide completely out. (If it doesn’t just tug a little and you may hear it pop. It probably got caught in your stitches. You can also use a seam ripper if needed). Your main thread will be laying on the top of the bodice. Simply pull and it comes right off.


Repeat this process for your other skirt and bodice and you’re all set. If you happen to be attaching in the round, you can modify this method, as needed. I find it easiest to always gather flat, then sew up side seams, as opposed to attaching gathers after side seams have been sewn. The end product is the same, either way.
Method #2: gathering with a serger
This method is extremely quick, but it also adds a little more bulk to the seam since you will most likely use the serger twice (once for gathering, once for attaching). Keep that in mind if choosing to use this method. Personally, I only use it for skirt ruffles that are attached on the hem. I would not choose this method for a close fitting bodice. There are no special changes needed to your serger other than changing your needle threads to another color for easy picking (which you don’t have to do if you can easily identify your needle threads) and lowering all tensions to 1. Make sure to mark all centers before beginning (just like method 1).
Serge across your edge to be gathered. Serger threads will be very loopy and loose looking. This is perfectly okay. Fold one side of the gathered edge and put a pin or clip on it to keep the threads from being pulled out when you are gathering. If you look at the top side of your gathers, you will notice that there are two threads that run parallel to your raw edge. These are the needle threads. In order to gather, you will need to pull on the one on the top (the one closest to the raw edge—it’s called the right needle).


Continue to pull on it as much as needed to gather your fabric with one hand, shimmy the fabric with the other. Gather to the width of your project. Put the edges Right Sides Together, evenly distribute, and sew to attach.

Method #3: gathering with a zigzag stitch and floss
This is a fairly quick way to gather, but, it requires concentration to be certain you’re keeping things lined up perfectly and that your don’t accidentally sew on the floss. You only need your project and a pack of dental floss. You could also use embroidery floss or yarn that is not too thick. If using floss, make sure it doesn’t have any additive that may rub off on your project. Make sure to mark all centers before beginning (just like method 1). Set your machine to the widest zigzag. My machine goes to 7. Place your fabric under the presser foot and pull some floss out to the back (maybe an inch or so). Begin sewing a zigzag stitch from one edge, with the floss directly in the center.


Sew all the way to the end. The floss will be in the center of the zigzag stitch. Fold one side of it over and pin or clip in place so that you do not pull the floss out while gathering.

Pull the floss with one hand and shimmy the fabric with the other. It will begin to bunch up. Gather to the width of your project. Put the edges Right Sides Together, evenly distribute, and sew to attach.

Method #4: gathering with clear elastic
**DO NOT** confuse this with stabilizing, though! Using the elastic for gathering is entirely different than using it simply for stabilization. Many EAM patterns use clear elastic to stabilize only. Gathering with clear elastic is not a method that is demonstrated often in tutorials, but it takes care of two things. First, you end up with the gathers that the pattern calls for. Secondly, your seam is automatically stabilized from the elastic. This is my least favorite gathering method, but maybe some will enjoy it. I do not recommend this method for very large amounts of gathers. It is harder to control and work evenly and requires both hands to guide it. If you choose to gather a large amount, I recommend adding more dividing points to your bodice and elastic so you make sure you’re stretching evenly in between them. Note: regular elastic was used in this tutorial to demonstrate, but the method is exactly how you gather with clear elastic.
Stretch your elastic a little before proceeding to next step to help it loosen up. Cut elastic that is about 2-4” longer than the width of your smaller piece. Place it onto your small piece so that the extra hangs off each side evenly, and mark the edges of the fabric on your elastic with a marker or pen. I just used a Sharpie for photos. This marks how wide your finished gathers should be (which should be as wide as your “bodice” or whatever you’re attaching the gathers too). Next, mark the center of the elastic between these two points and the center of your large piece to be gathered (or bodice). If you are gathering a large amount, continue to fold and divide fabric and elastic so that they are equal portions and mark those, as well.

Set your machine at a zigzag stitch and place the elastic onto the Wrong Side of the piece to be gathered. Align the first dot with the edge and place the needle down. Backstitch once or twice before proceeding so that the elastic is secure. You will need to stretch the elastic to your next point. It was hard to photograph, but you should keep one hand on the excess piece of elastic to help pull the project backward while keeping the elastic stretched in front with the other. Sew until you get to your point and adjust your hands, if needed. Continue doing this between however many points you marked until you reach the other end of your project. Backstitch once or twice to secure it. Because of the nature of the gathers, no adjustments are needed at the end. Attach gathered portion to your project accordingly.


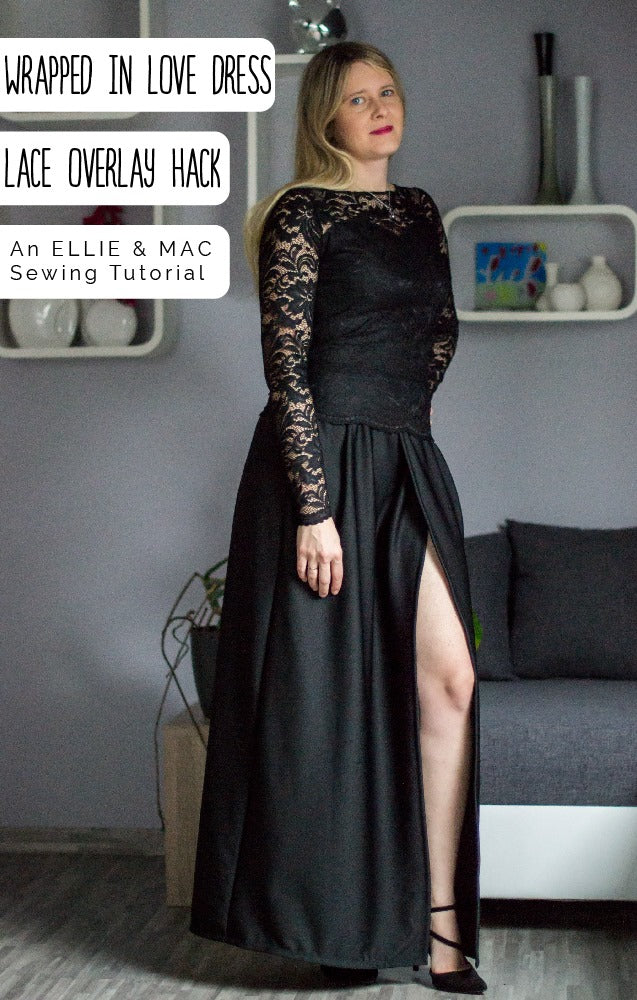
Bonus post: Remember how I said if you read to the bottom, you’d find out how I modified the “I Love the 90s Dress” to a tunic? Tadaaaaa! I have made the dress version before, so I actually tried it on to determine how long I wanted the skirt to be. I chose 12” and measured from the OUTER seam on both front and back skirt pieces. 
Because I wanted to add a neckband to the pattern instead of lining it, I overlapped the bodice of the Breezy peplum and traced the neckline onto the 90s pattern to make the shoulders a little less wide and the neckline a little lower to accommodate for the band height. You could use whichever banded pattern you desire, this one happens to be on my “forever shelf” and is close.
I measured a band at 1.75” high and 87% of the opening. Sew the pattern up following the tutorial (except for lining), add your neckband at the end, and you’re all set!

Finished top!
So now that I’ve shared some easy methods for gathering, I do hope you’ll be less intimidated and more excited to try it. If you actually love gathering, do you have any other methods that you love? I’d love to hear about them! Until next time…
(Written by: Lakeisha Webb)