Hey lovely Seamstresses! I'm Sequoia, and I am back from SequoialynnSews. Today, I want to talk a little bit about sewing for the plus size or curvy body. A few days ago, I polled 10 awesome ladies who you see burning up the boards in the PDF groups. These ladies all look amazing and they are all curvy! The group ranged from the smaller end to the larger end of what can be considered plus size. What I asked of them was simple - Tell me what adjustments you are making to get your clothing to fit so well. Several of them are just grading between a few sizes while other gave me a list. Both of these are perfectly acceptable. It would be very rare to buy a pattern and it fit perfectly without some adjustments unless it is drafted to fit your body. Lucky for us, we have sewing machines and sergers and the ability to sew for our specific shape and size. So today, I am going to walk you through step by step on how to do a full bicep adjustment for a set in sleeve. Exactly half of the ladies who answered my question said they are doing it, maybe you should be too?
First off - Do you need it? Do you get pull lines around your arm or from your arm pit? Does your arm not fit into your sleeve properly causing your bodice to not fit properly to your body? Do your biceps feel like they are busting out of your shirt? Are your fingers blue due to lack of blood flow? These are all reason to try out the full bicep adjustment.
Next- Start with checking the instructions for a finished measurements chart. Some companies include the bicep measurement and some don't. If you aren't supplied with the number, simply lay your pattern out flat and measure from about 1/2 inch below the arm pit point all the way across your pattern. Now remove your seam allowances and you will have the width of the bicep section on your sleeve. My bicep is 19 inches and I often need to add 1-2 inches on patterns. Keep in mind how much ease the pattern already has. Now subtract the pattern number from the measurement at your bicep. Ex: My bicep measures 19 inches and the pattern measures at 18. 1 inches difference. This is how much of an adjustment I need to make.
Step 1 - Print and tape the pattern together. Most designers only provide you with half a sleeve which you cut on the fold. Since we are adjusting the sleeve, you need to use scrap paper and trace out another sleeve half. Tape as needed and cut out around your sleeve.

Step 2 - Now that you have a full sleeve pattern, draw a line vertically from the top center point to the bottom center point. If you didn't overlap your papers at all, this will be the line where both halves meet. Now draw a horizontal line from about 1/2 inch below the arm pit point around to the opposite side at the same point. Your lines should make a large cross shape on the pattern. I like to use a rotary cutter and a long quilting rule to slice on these lines. Keep in mind, you need to stop about 1/8 inch from the edge in order to make a hinge. If you accidentally cut all the wear through just put a tiny piece of tape there to hold it in place.


Step 3 - Spread the pattern open the distance you need to add. You should measure along the same horizontal line you cut earlier. You will notice the hinges are working to hold everything in place as you spread it. I like to use a small piece of tape and stick it to my cutting mat. Once you have added the needed width, you will insert scrap paper behind your pattern and on top of your cutting mat. These pieces of paper fill in the opening and once taped down, will stabilize the pattern.

Step 4 - Now you will use scrap paper to add across the bottom to straighten it out. At the hinge, you will see it has created a point. Use your straight edge ruler to redraw a straight line from the right side to the left size and recut the line.

Step 5 - If adjusting your pattern created a small dip at the center of the shoulder cap, use the same technique as Step 4 to even it out. At no point during this process should the length of the shoulder cap curve have changed. This ensures it will fit into your shirt according to the pattern. TA- DA You did it!!! You added width to your bicep area! No More Incredible Hulk Arms!!

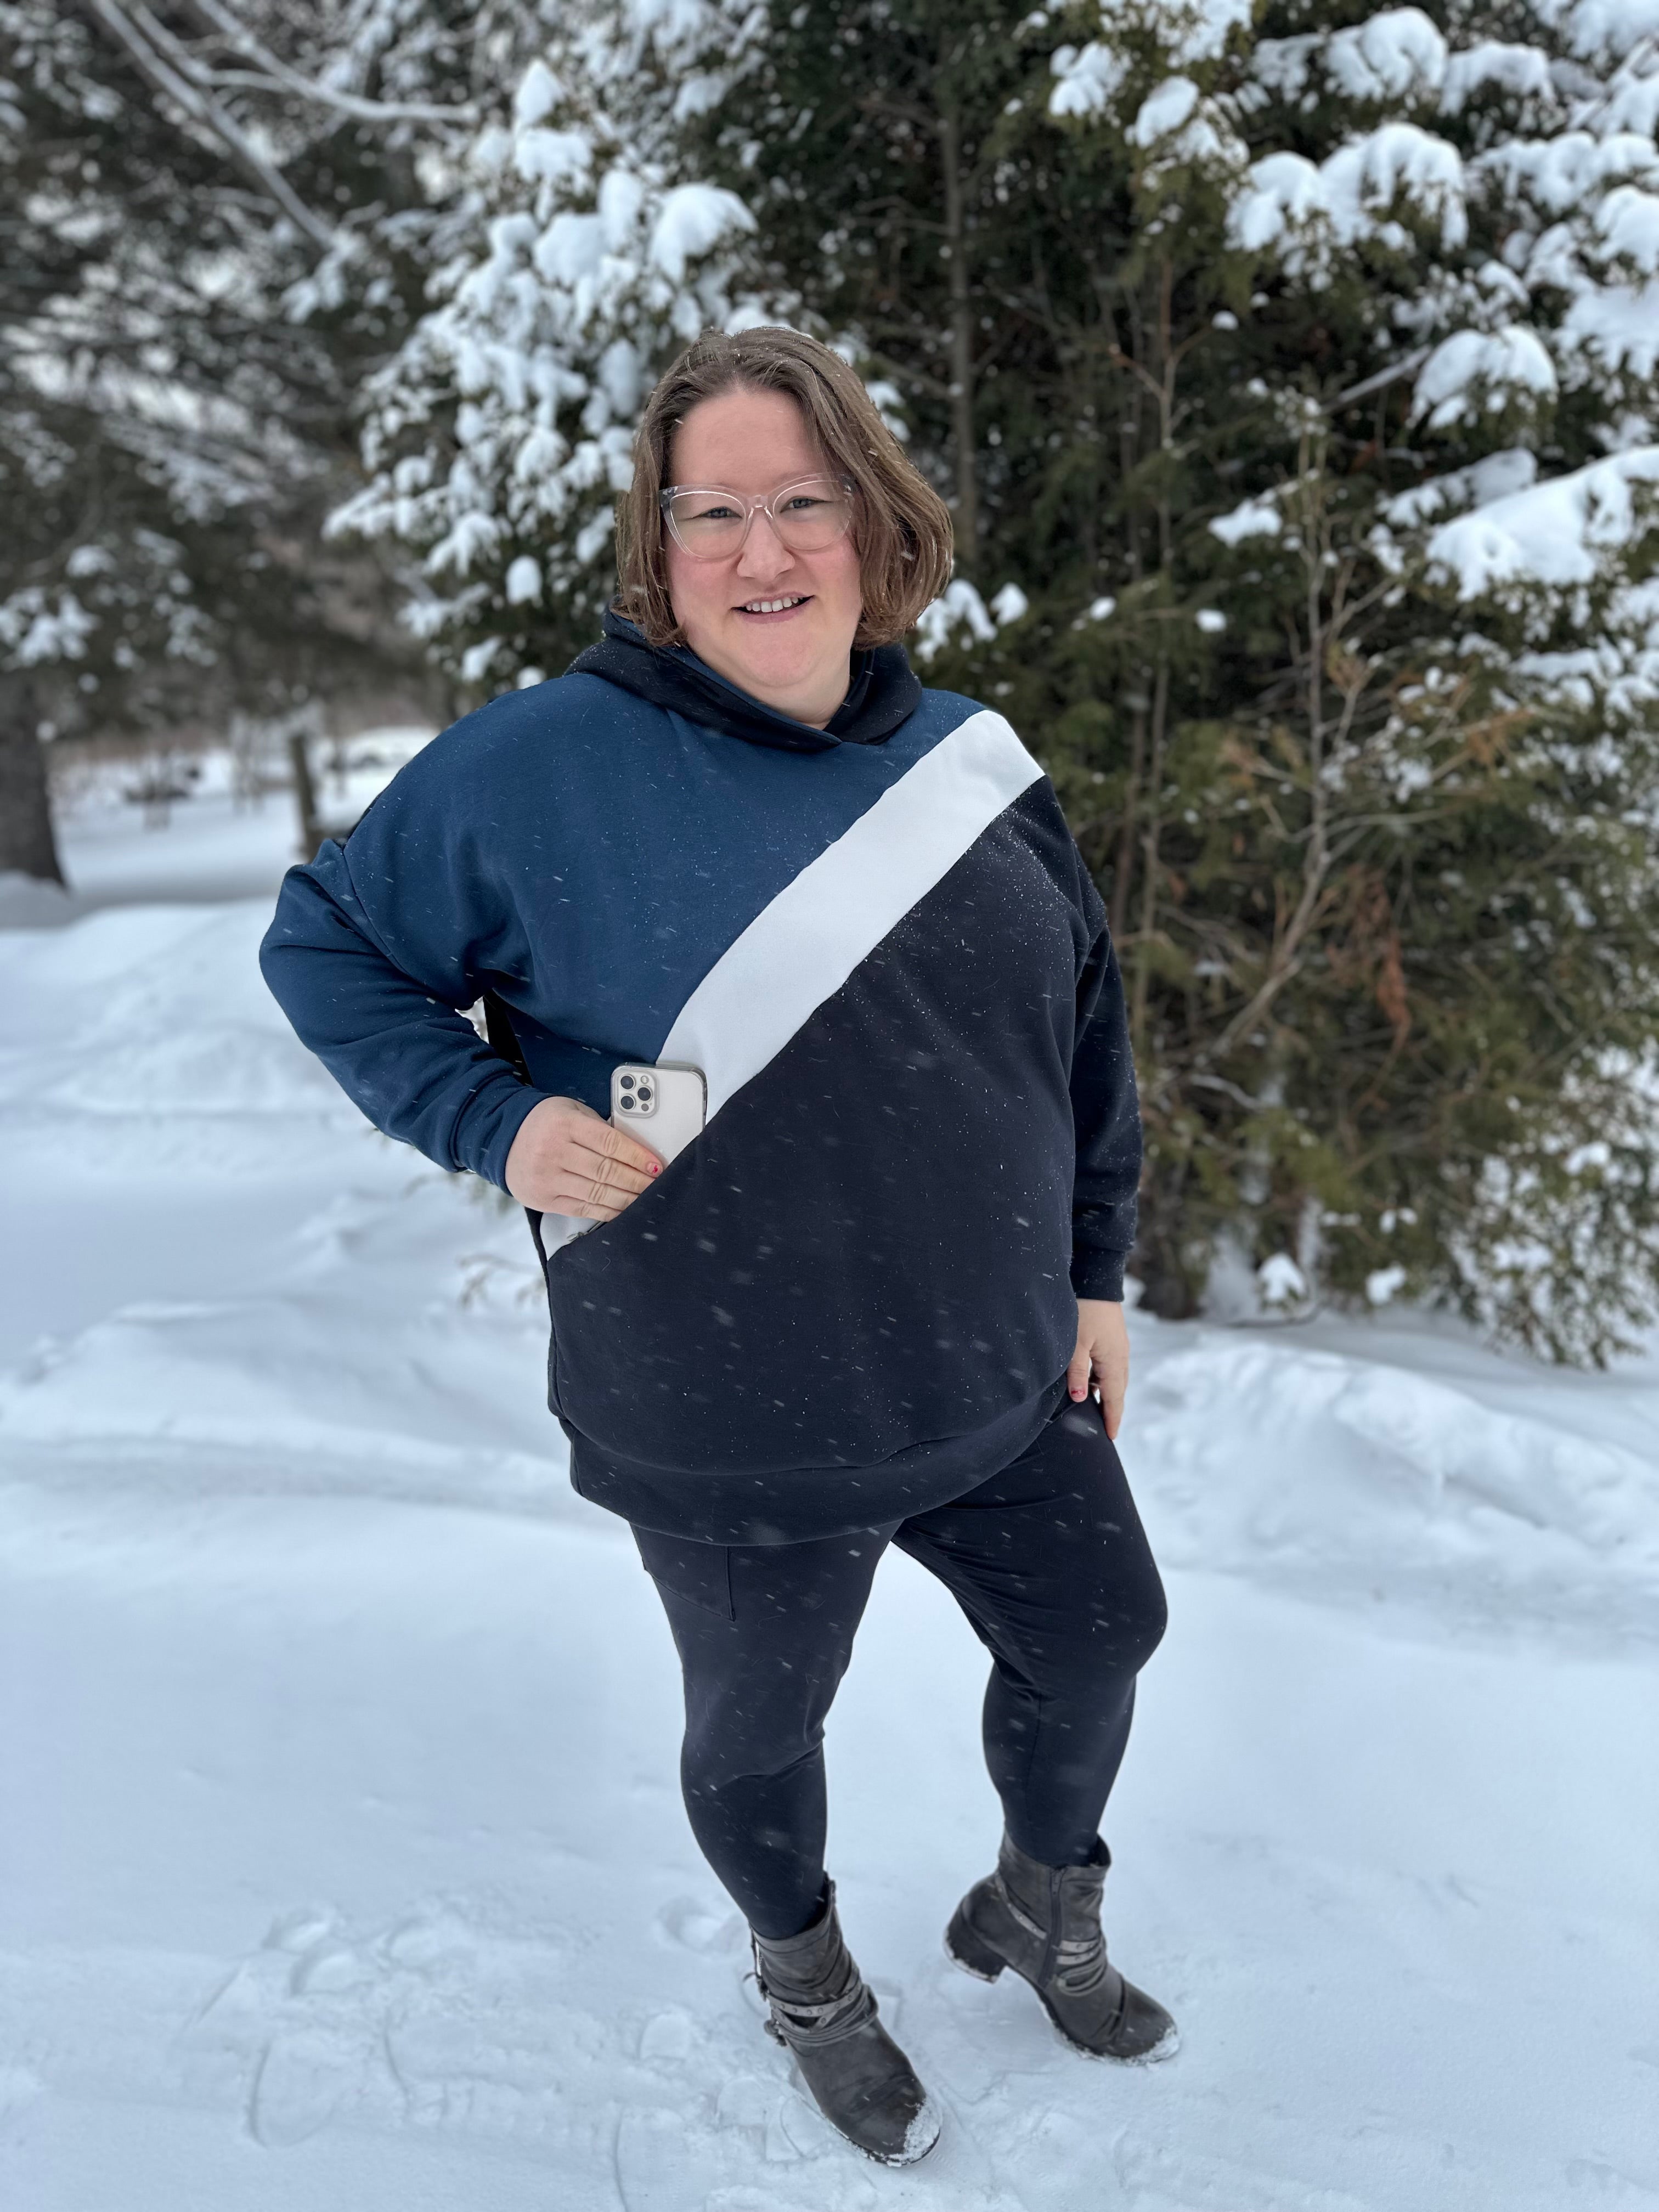
For this lesson, I used the slim fit sleeve pattern from Sitting Pretty. It is the pink shirt in the intro photo as well as the closing picture. I am also wearing the Wrap Shirt by EAM.
If you would like either of these patterns, feel free to use my Affiliate link and #Showmelove.
I hope this post will help you achieve the perfect fit! If you enjoyed reading this please stop by my blog to see what else I am up too! SequoiaLynnSews


