Hello Everyone! I hope you are having wonderful day!
Katie here, first time blogger, long time Ellie and Mac sewer.
I am here to talk to you about my most recent pattern hack. I love seeing how we can mix and match things so they work for what you need or want.
I was recently talking to my neighbor. Her daughter is going through chemotherapy. She mentioned that one of the worst parts was her daughter having to undress for the treatments. They need to access her chest port. When I went to look for medically accessible patterns, this type of modification isn’t something you see commonly in patterns. There are a few patterns out there for access but we wanted to try a raglan seam for her port location.

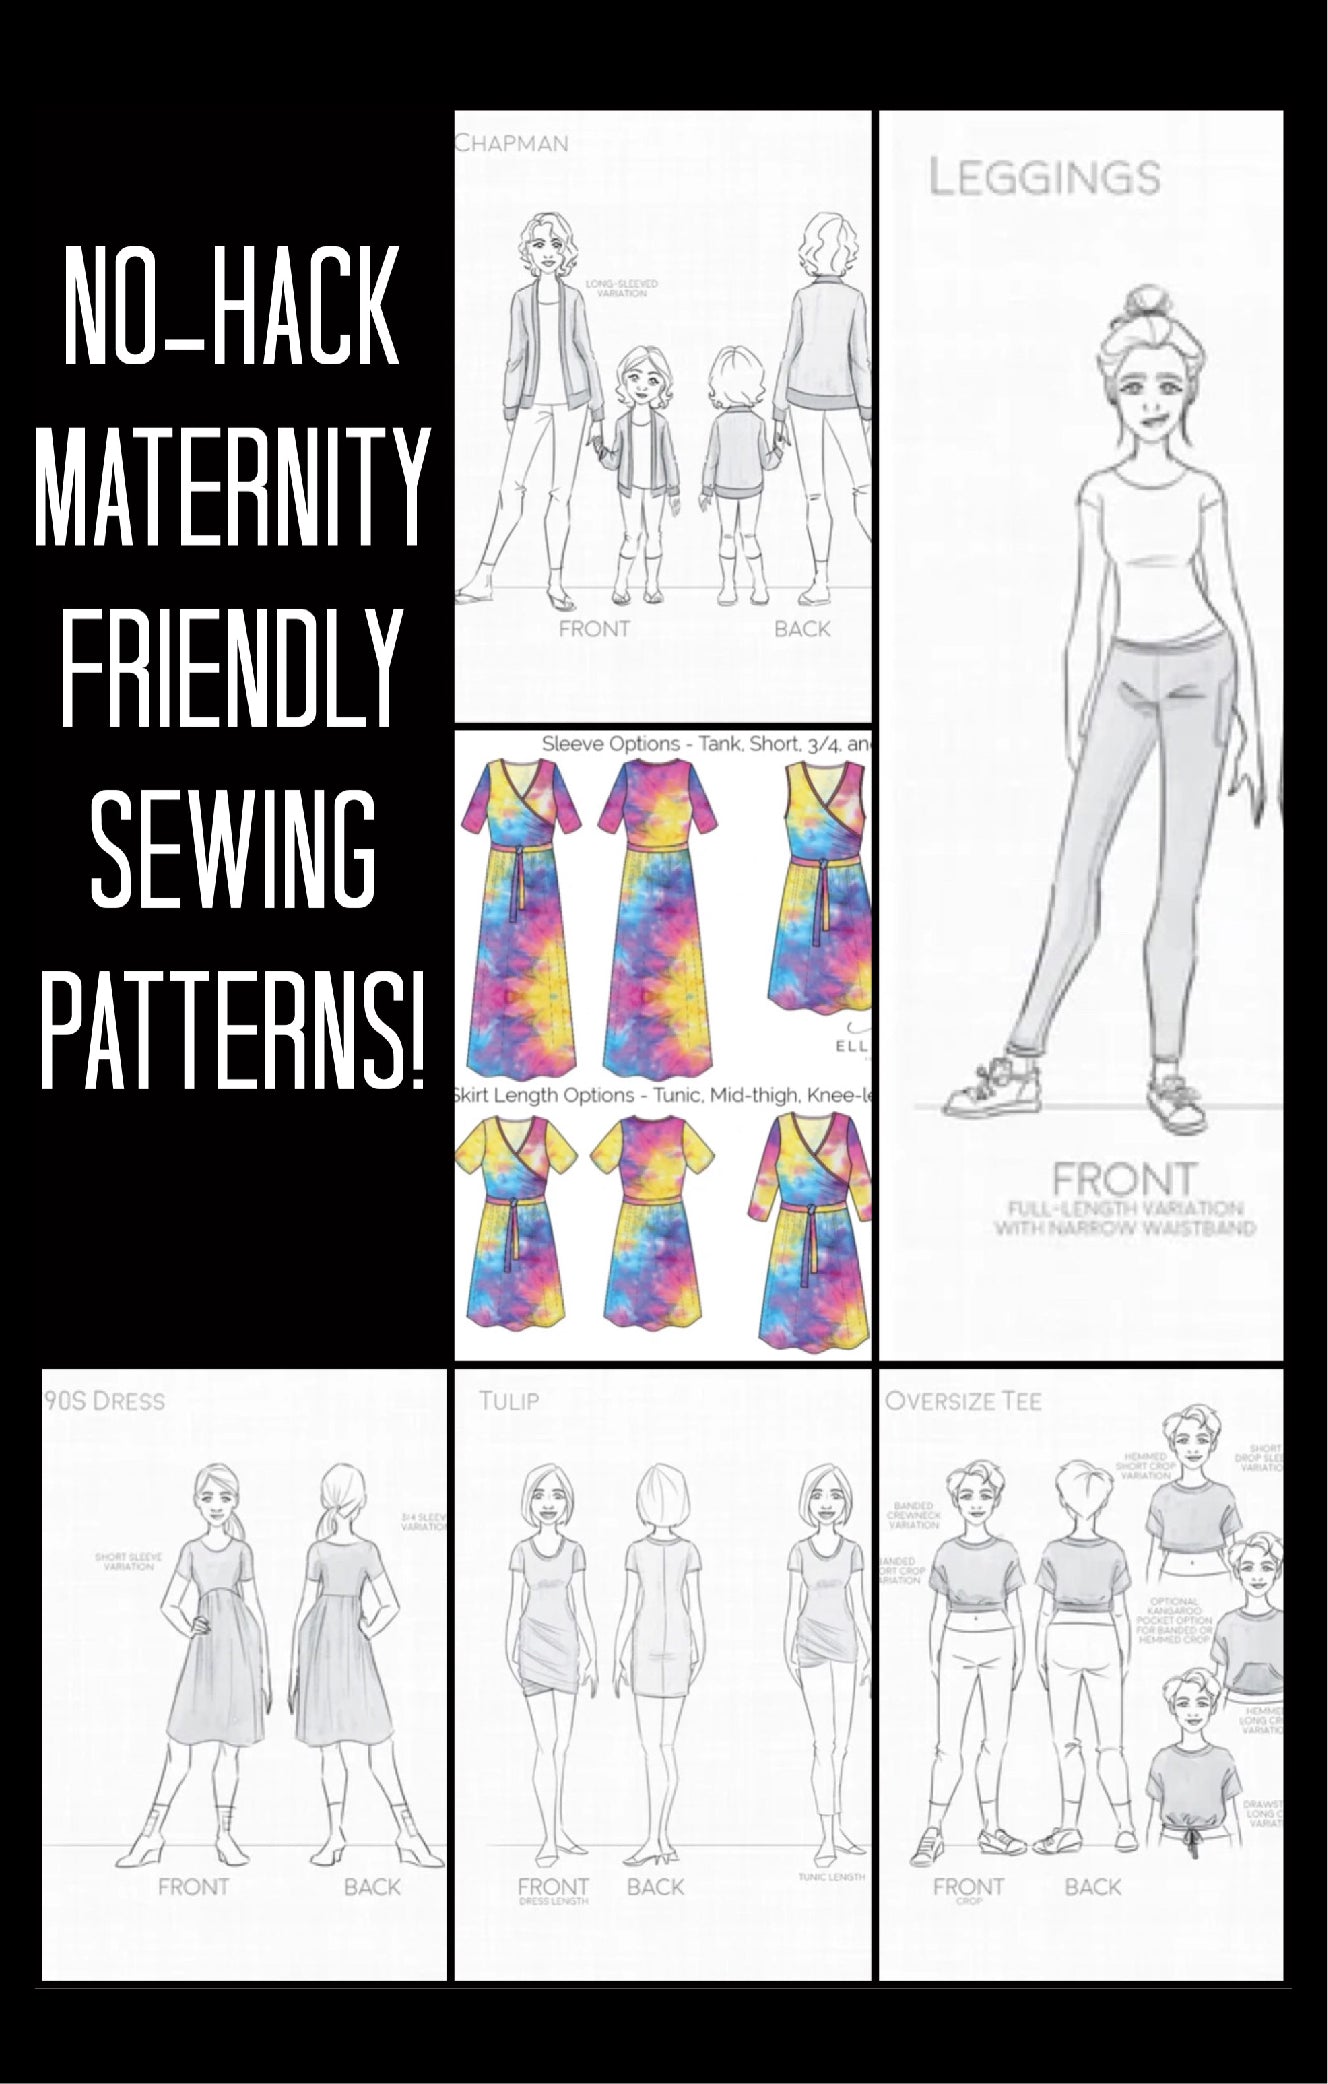
For this pattern hack, I chose the Going Home Sweater & Dress. This gives me three options in length to choose from and is a highly loved E&M pattern by many.
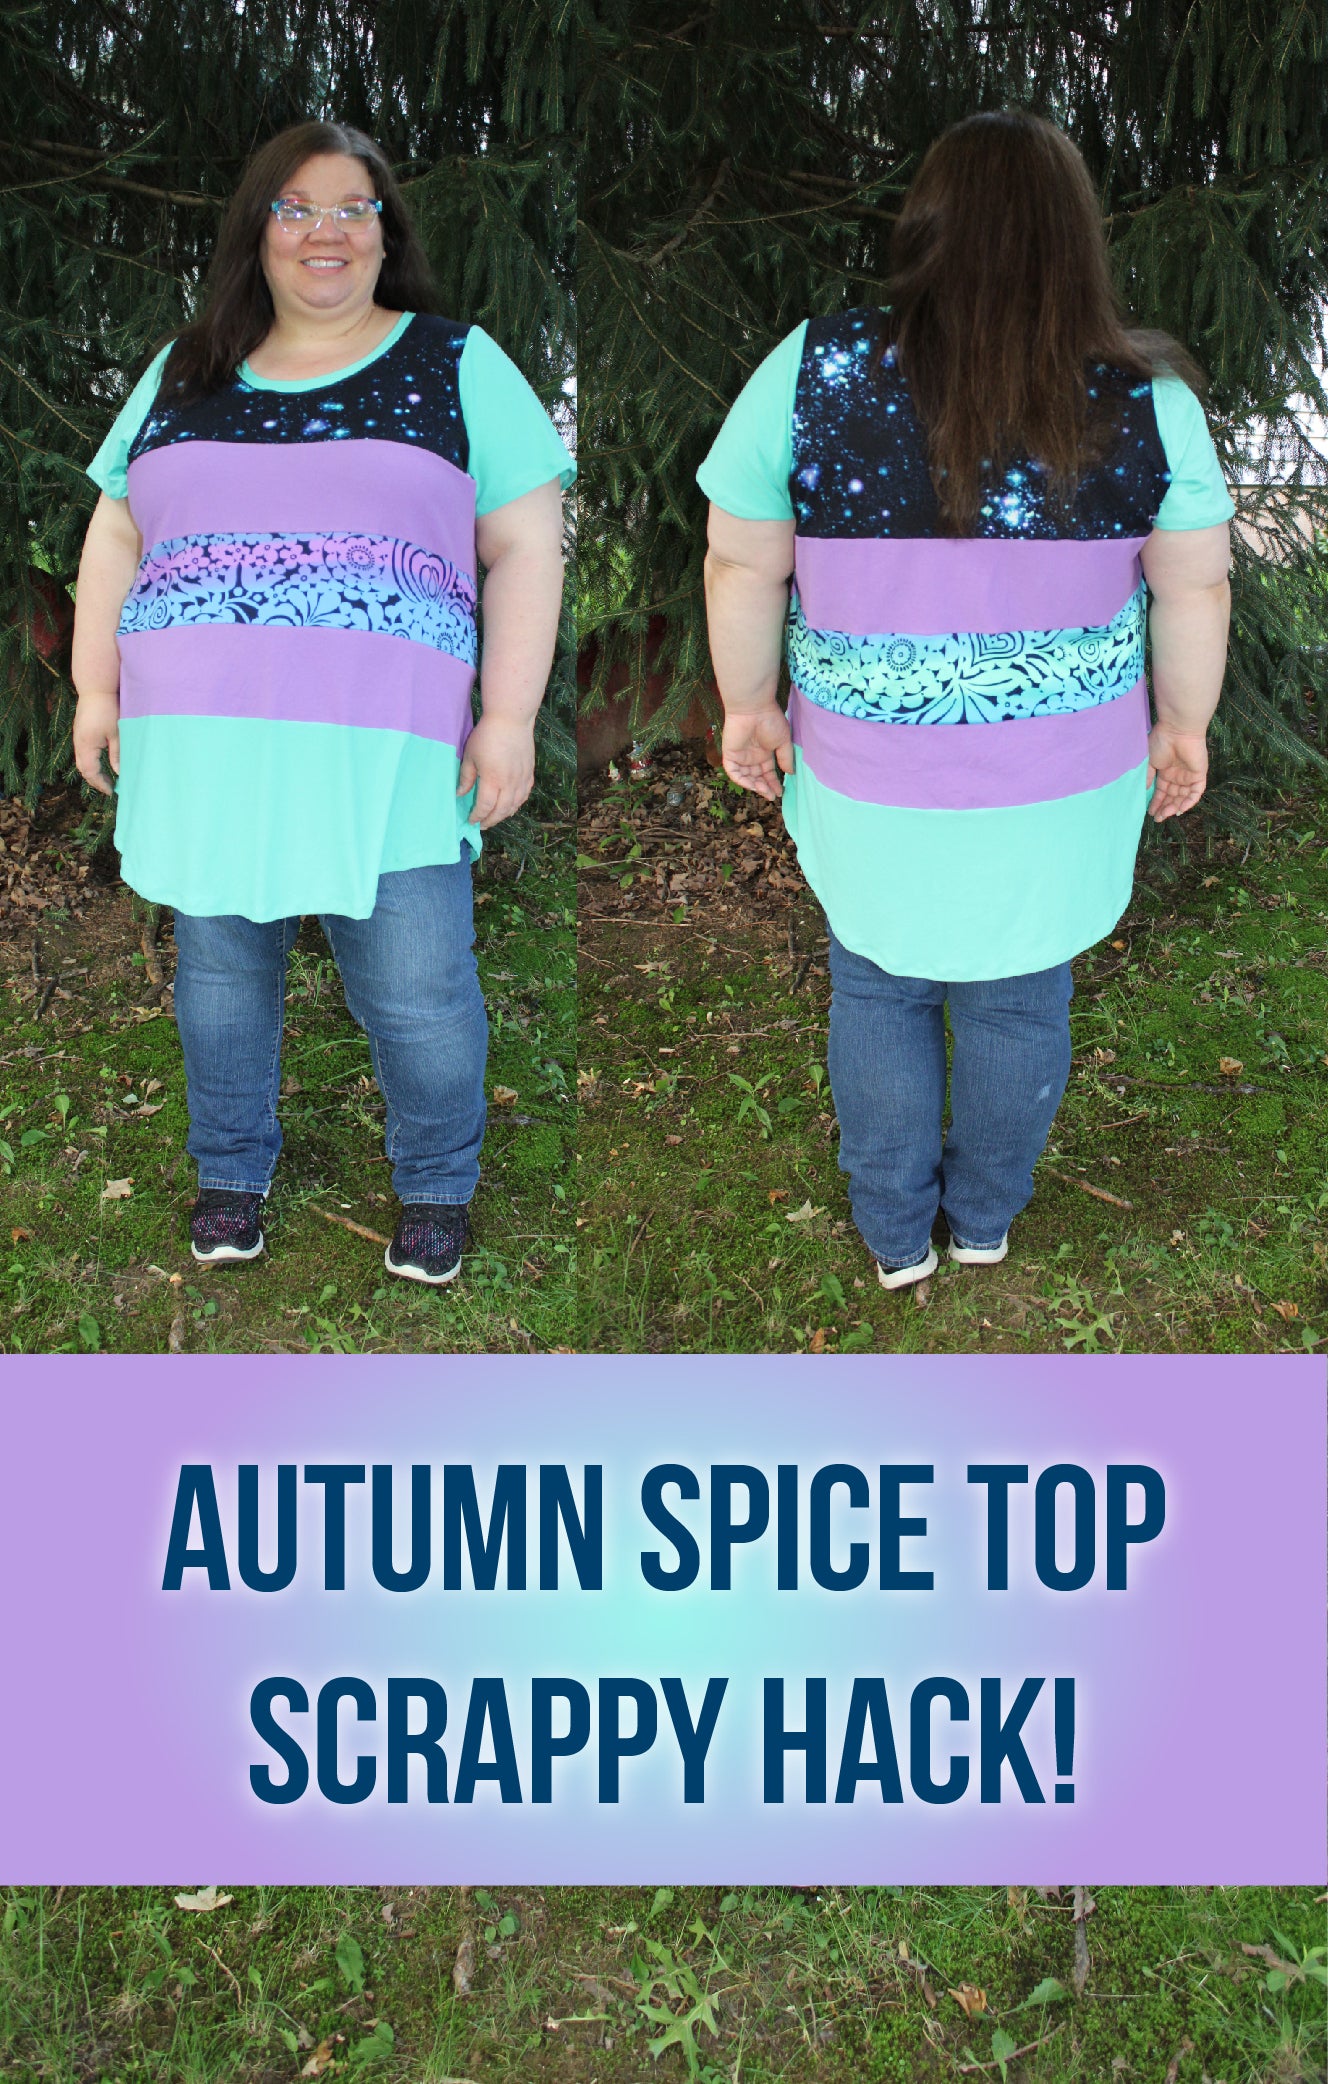
I first tested this in a shirt length and then recently made a dress length as well. The only change in addition to access were sleeve bands to the short sleeves instead of hems.
To start with, in addition to your normal fabric and sewing equipment, you will need the following:
-
Iron on stabilizer
-
I used Tender Touch since I keep it on hand to layer over the back of embroidery work that touches the skin. It has some stretch to it as well so it works well with cotton lycra. You can buy this online or in stores like JoAnn in a roll or bolt.
-
-
Coordinating fabric to your garment you are making.
-
Snaps/Press/Awl
-
I used size 20 Kam Snaps and the Kam snap press DK93 with the quick change dies and KX adaptor. I found an assortment of KAM star snaps on Amazon.
-
There are many affordable snap kits out there to get you started.
-
If you are new to snaps, like I was I recommend you head to this E&M blog and Youtube channel. I found these super helpful!
-
-
I started this project by measuring my model, grading, and cutting out my pattern.
I did not cut the neckband, per the pattern since it is modified.
-
For the neckband, I added 1.5 inches in length. This is due to overlap needed when adding snaps. Whether you cut your neckband now or later, do not sew ahead on it, we are changing that part slightly.
-
Once you have your pieces cut out, it is important to make sure you have identified which pieces are snaping together versus a normal seam.
-
Measure the seam you are modifying.
-
For a straight seam (like color blocking) you would use the width of the seam.
-
For a curved/angled seam (like a raglan) I added at least an inch to my measurement (overhang on both sides) and then trimmed the excess later.
-
-
Cut two strips of fabric, and four pieces of stabilizer:
-
2.5 inches by measurement (adjusted in step 3) rectangle of fabric and stabilizer*.
-
1.5 inches by measurement (adjusted in step 3) rectangle of fabric and stabilizer*.
-
Two - 1.5 inch by the height of the neckband* (shorter side of neckband) of stabilizer to add to the ends of the neckband.
-
* Note: I cut my stabilizer on both sizes slightly smaller than my fabric so it doesn’t attach to my iron or hang past my fabric.
-
-

-
Iron the stabilizer to the wrong side of the fabric like shown.
-
Fold the 2.5 inch piece of stabilized fabric wrong sides together and attach* to the sleeve seam of the bodice as shown. This will create a placket for the snaps to snap too. Press this seam open as shown.
-
*Note: I centered my pieces to ensure a little over lap on both sides. Since the seam is ultimately angled, this allows me to trim the excess later for cleanly constructed seams.
-

-
Attach* the right sides together of the 1.5 inch piece of stabilized fabric to the matching shoulder seam as shown.
-
*Note: I centered my pieces to ensure a little over lap on both sides. Since the seam is ultimately angled, this allows me to trim the excess later for cleanly constructed seams.
-
-
Press the seam open (right sides out). Use your normal seam allowance (1/4 inch) to fold under and act like a binding. Stitch this down like shown.

-
Tip: I used wash away seam tape to make this quick and easy for me.
-
-
You can now lay the shoulder sleeve over the bodice portion and this is how your garment will fit together. I prefer waiting till the neckband is complete and attached before adding my snaps. For now, I pinned my fabric together so that it would act like an attached seam (one piece of fabric at this point).

Follow the next steps in the pattern of attaching your sleeves. Our next modification comes before sewing the side seams through the arms.
-
Prior so sewing your side seams, lay the seams together like you would to pin and sew, but first you need to trim the excess so that you have a clean seam. Then pin and baste if preferred, then sew like normal.
-
Your arm seam section needs to be strong, if not serging I would recommend reinforcing those stitches with an extra pass on your machine.
-

Continue to follow the normal pattern until you are ready to work on the neckband, this part is different.
-
Attach your 1.5 inch sections of stabilizers to the ends of the neckband piece on the wrong sides as shown.
-
Fold the neckband in half long ways, right sides together on the inside as shown. Sew along the short ends, to close the ends of the neckband. Turn right side out and press.

-
Attach to the neck opening after trimming opening. Do not stretch to section on the plackets/bindings we created for the snaps.

-
I recommend basting at least these end sections in place.
-
Then stretching like normal and attaching to the rest of the neck opening as shown.
-
-
Adding the snaps: After garment assembly is completed. If added before, they can add bulk causing issues in the serger. If you are new to snaps, don’t forget about the Ellie & Mac blog on snaps or the Youtube video. Both are great resources! Link above.

-
Marking out your snap spacing ahead of time on the top is best so that you don’t end up with uneven spacing at the end.
-
I used my awl punch through both layers together to ensure proper alignment, removing pins as I worked down the end of the garment.
-
Leave .5 to 1 inch space from seam to snap placement.
-
Make sure you have sets (inner and outer pieces on opposites sides from each other) for the snaps to work.

It always feels great when we can master something new.
I hope you have enjoyed this post and can’t wait to see your creations on the Ellie & Mac Facebook group!
(Written by: Katherine Pangrazio)