Sewing patterns are a base, and to get the best personal fit, you might want to make some pattern adjustments.
Before you cut into your lovely fabric, you want to invest a little time in making a fit first. The fit shows you if you need to make any personal adjustments. When you have to make corrections, you can transfer them to your pattern piece(s), and you can cut into your lovely fabric without any doubt.
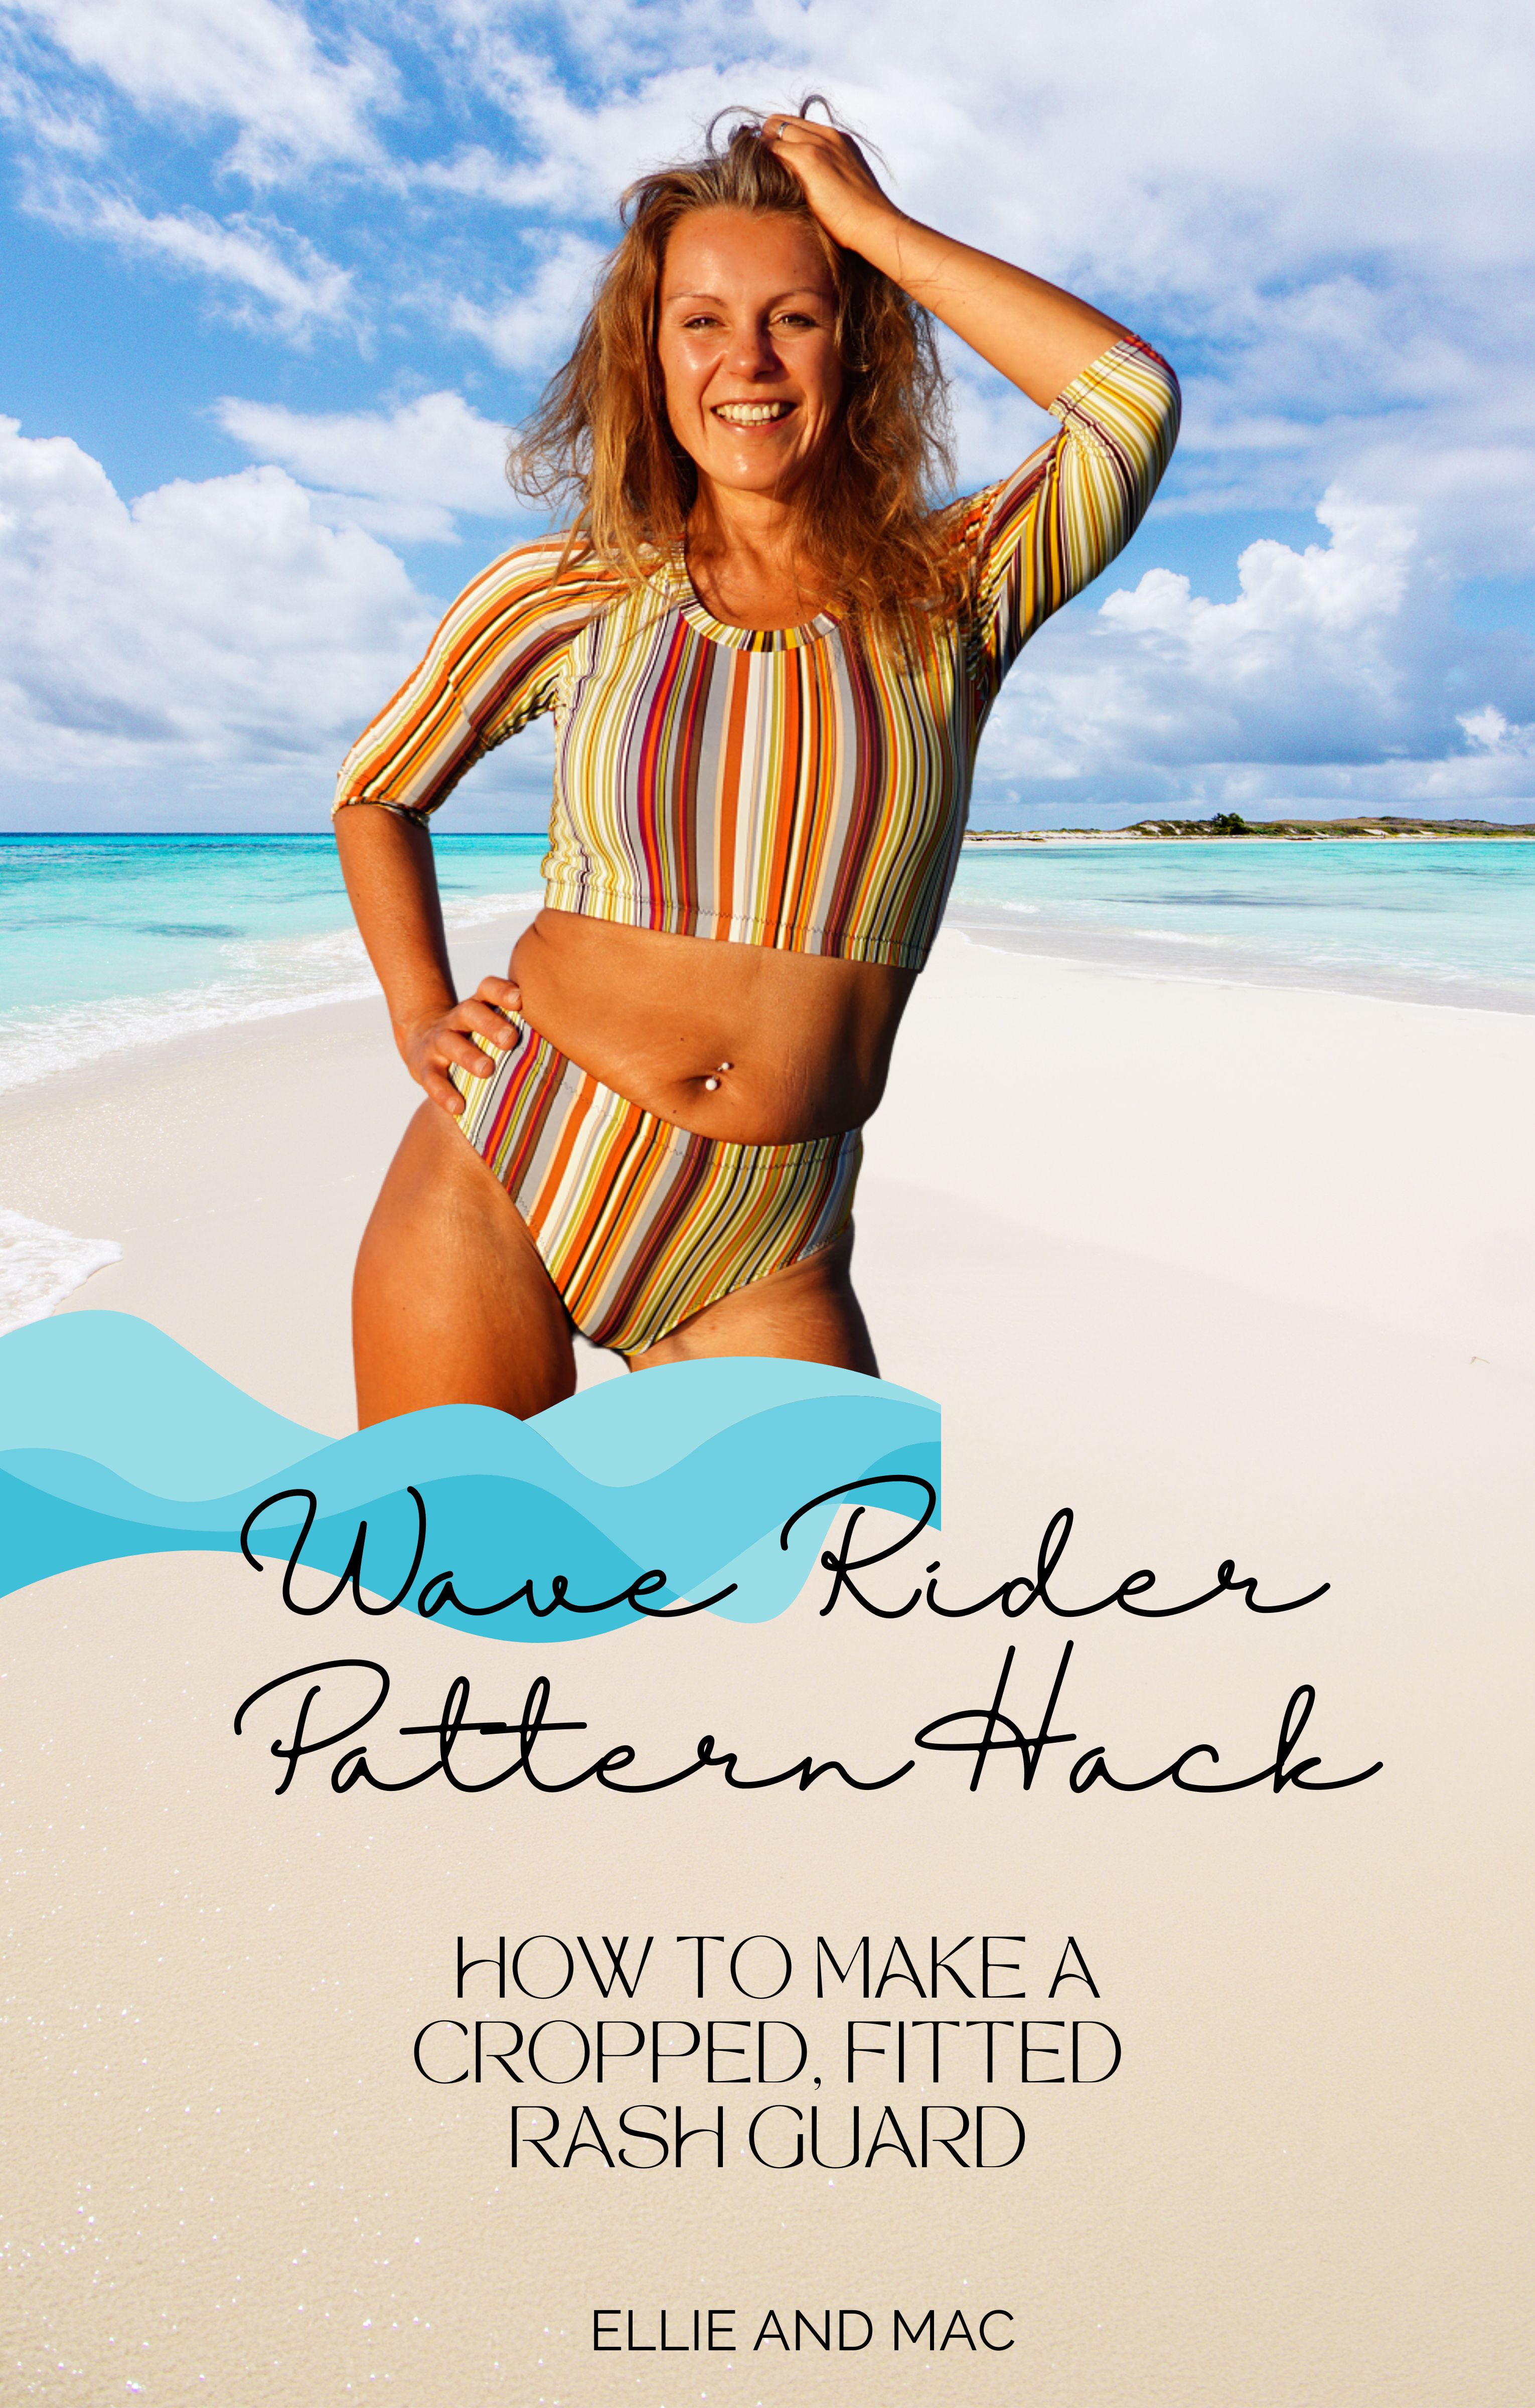
The pictures below show the pattern piece of the Wave Rider Rash Guard & Swimsuit Sewing Pattern's bikini bottoms of the rash guard and swimsuit set. When making the swimsuit, it is better to cut out the whole swimsuit in a different fabric and baste the sleeves to the front and back, baste the side seams and leave the crotch open (to get it on). Once on, clip the crotch closed, check, and when needed, make your adjustments.
For the bikini bottoms, you measure & adjust your rise and grade when needed. Cut the lining and baste the side seams and crotch together. Don't add elastic.
Put your lining bottoms on with the wrong side out. The intended fit is- without elastic- that it hugs your bum. It should not sit tight and not be too loose. When it is too tight, measure yourself again you might need to size up or check the stretch from your fabric. When it is too loose, you check first if you can take out the extra room by taking the fabric in at the side seams and maybe at the crotch. After this, if there still is some gaping at the bum: a flat bum adjustment is what you need.
Flat Bum Adjustment
Pin the excess fabric away, starting at the bottom towards the center top back in a dart shape. Do this on both sides.
Sew and try on again. Happy? Then you measure how much you took out and transfer this to your pattern piece. (Pic 1)
Cut out the darts (pic 2)
And move the sides to each other so they are touching and it is one piece again. (pic 3)
Now lay your new pattern piece over the original one (this can be your projector file: an adjustment like this always needs to be made on paper but can be drafted to paper while using your projector) and draw the original waistline in again. (Pic 4)
Here you see the adjusted pattern piece on top of the original to show that you draw in the waistline completely in your size. From the waistline top, you draw a smooth line to your new pattern piece. (Pic 5)
Your new personal pattern piece is ready! Without losing width at your waist, you have corrected it, and the gaping at the bum is gone. You now have a new adjusted pattern piece!
Make sure you won't lose your new pattern piece so you can use it for further sews. You can also lay it over the swimsuit, and you won't need to adjust that part anymore.
Check out our video tutorial page for more adjustments.
Happy sewing!